


DIY Fall Beaded Wreath

Do you remember my original beaded wreath tutorial https://www.hometalk.com/diy/craft/seasonal-decor/diy-beaded-wreath-44262603?! I had a few fans on that one and decided to make a fall edition of the beaded wreath and I am so excited to share it with you all! I LOVE these beaded wreaths--they are really the cutest and so customizable for any home! Don't forget to watch my Youtube tutorial on this project https://youtu.be/AGl-BoU7l_o!
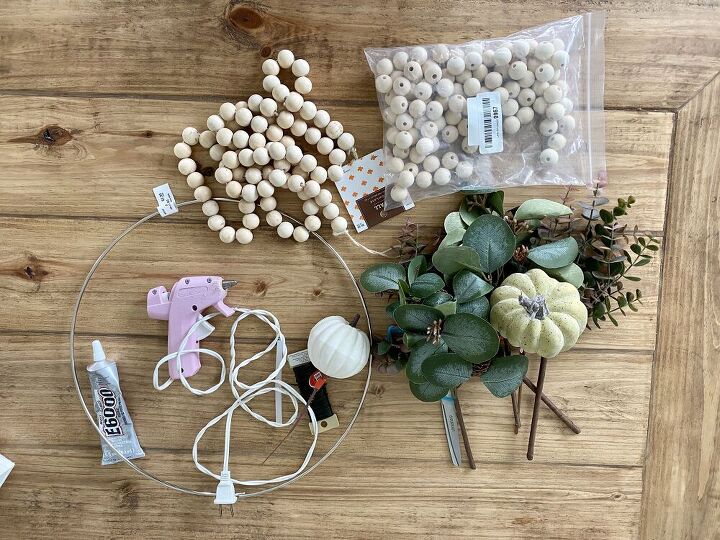
For this project you will need:
- a steel hoop
- pre-drilled wood beads
- floral stems
- glue
- floral wire
- scissors
- ribbon (optional)
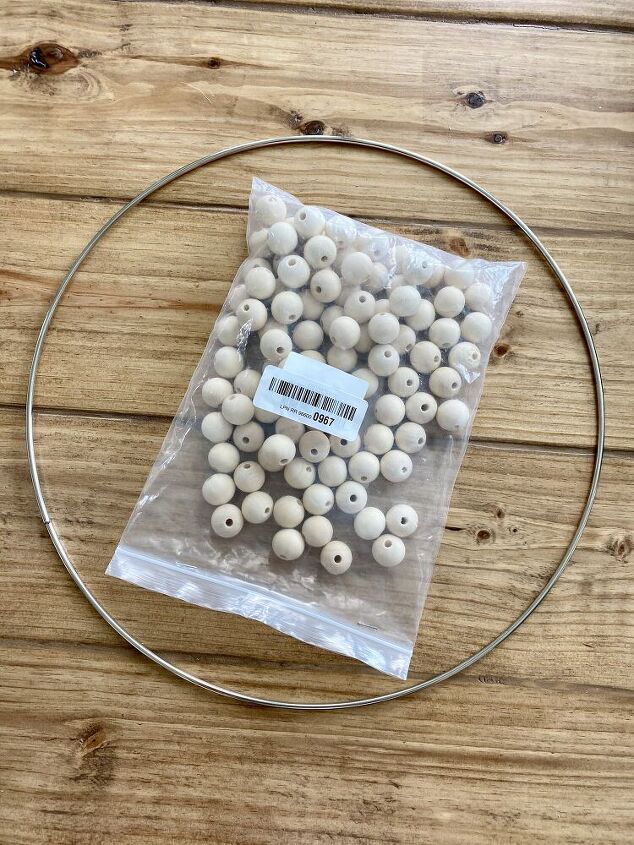
Start by breaking your steel hoop to make an opening in the hoop. I used a pair of pliers on the first beaded wreath but I just found the seam on this hoop and bent it until it opened up.

String your wood beads on the hoop. Tip: Once you are near the ends of the steel hoop, add some hot glue to the hoop to make your beads stay easier until you are able to secure the hoop together. To secure the hoop, use your E6000 to put the hoop together. The E6000 takes about 24hours to dry so I went ahead and added some hot glue to it as well in order to make the hoop stay together when I started the floral arrangement.

Start planning how you want your floral arrangement to look. I chose floral stems with wire in them--this makes it easier to bend the stems and make them stay.
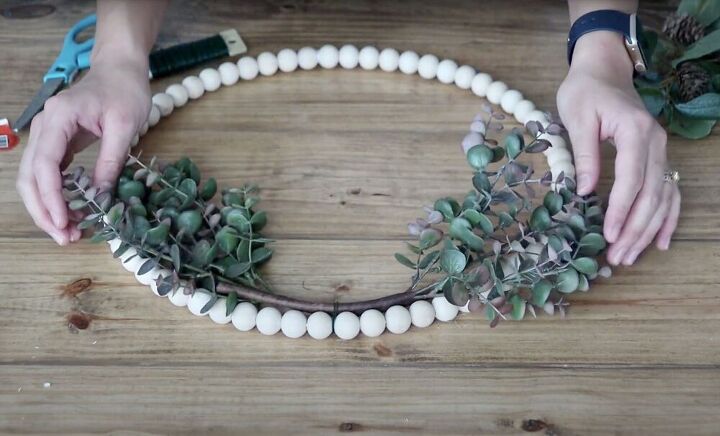
Take your floral wire and start attaching the floral stems to the beaded hoop. I used my scissors to cut the wire into small pieces. When wrapping the wire around the hoop and the stems, make sure to tuck in any sharp edges so it will not scratch your door.

I layered two stems on top of each other to give it a "full" look.
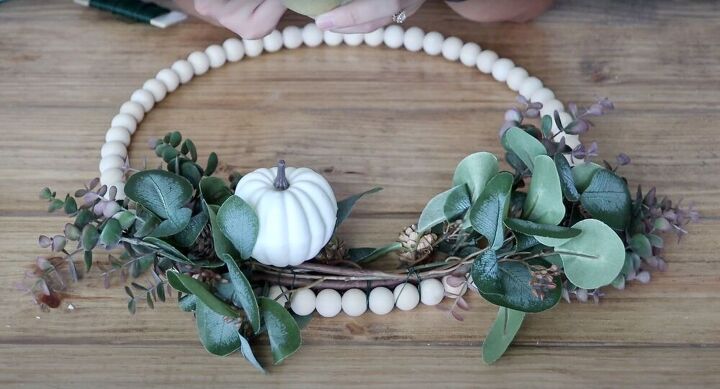
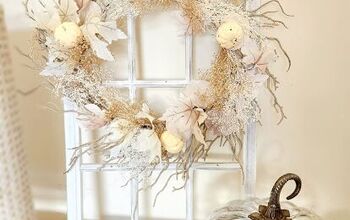
I added small pumpkins to my arrangement to give it more of a "fall" look.
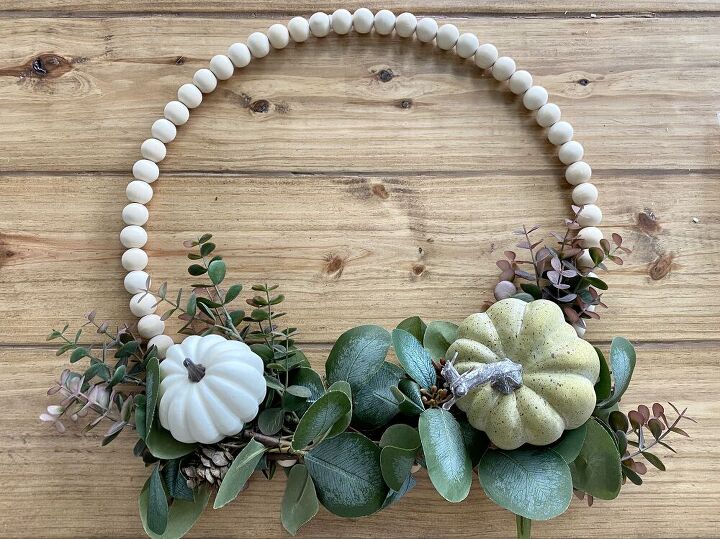
All finished with the floral! It is very easy to manipulate the stems in order to fill in any gaps or spaces that you have. You add more wire to make certain leaves or stems stay in place.
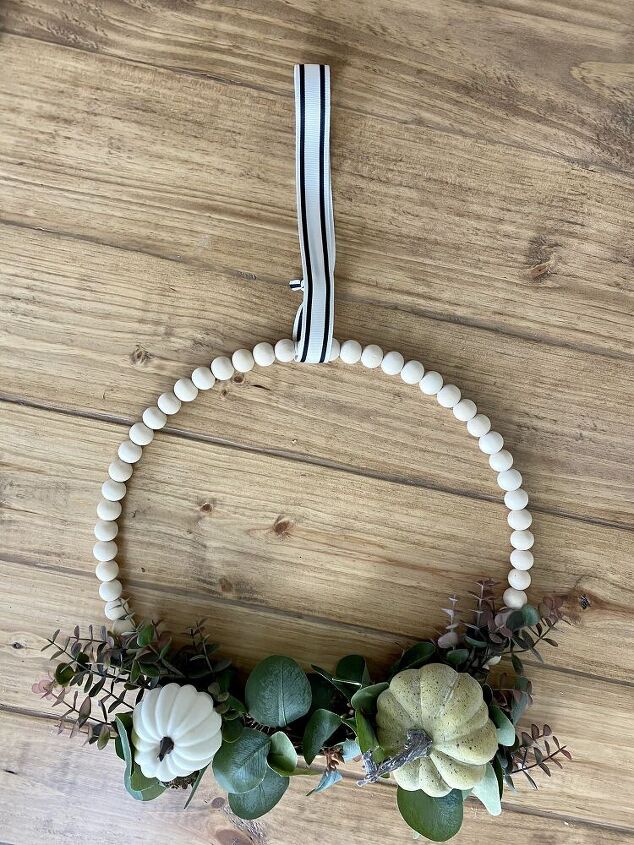
I added a piece of ribbon to the top of my wreath.
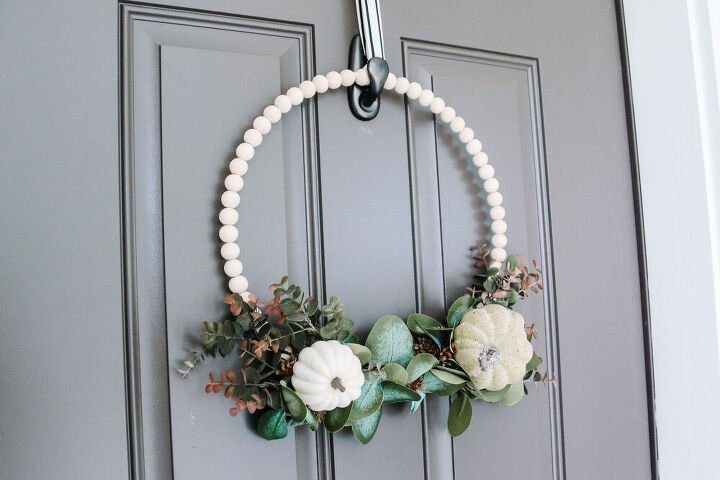
I used command hooks to hang my wreath.

All finished!
Resources for this project:
See all materials


Comments
Join the conversation
-
Very pretty. Am a firm believer that less is best. You nailed it.
-
Gorgeous!!


Frequently asked questions
Have a question about this project?
what size beads, and ring did you use?
Great minds think alike! I was wondering what size the beads were also