


How to Inexpensively Update a Cabinet
10 Materials
$55
3 Hours
Easy
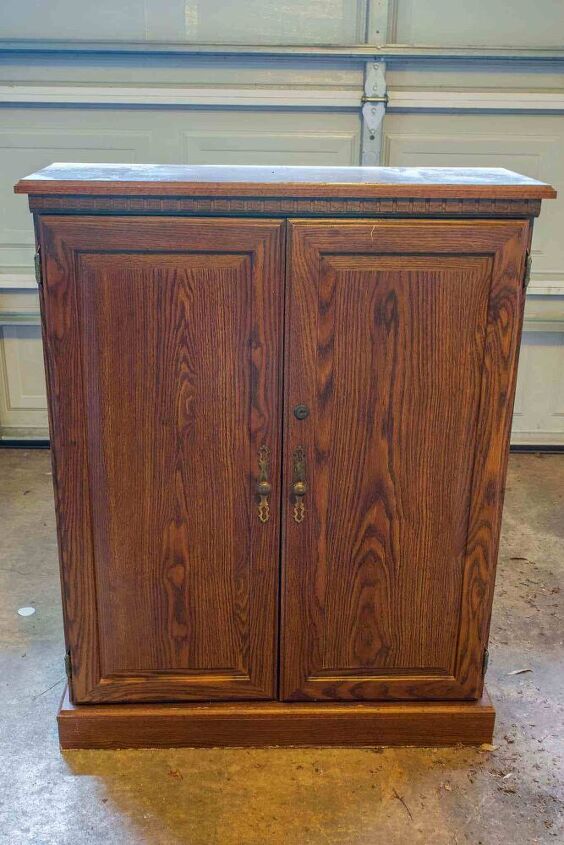
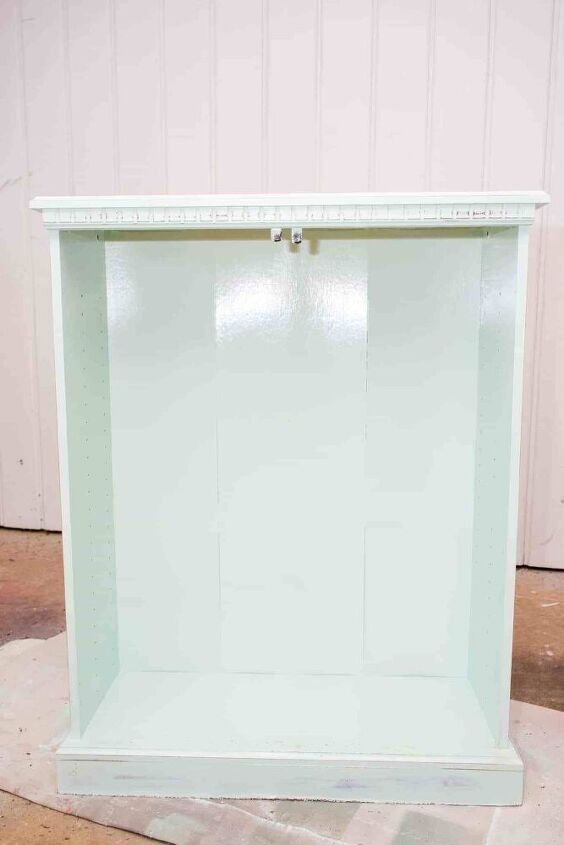
Transforming furniture doesn’t have to be difficult or expensive. Seriously! Let me show you how to inexpensively (and easily) update a cabinet.Toys here, toys there, we have toys everywhere! Legos and Little People and Hot Wheels, oh my!If you are a parent, you can probably relate to these statements. The amount of toys that one child can amass is pretty astounding. I know I was amazed at how quickly the toys accumulated after we had our first child. And then we had another one…Unfortunately, we don’t have a dedicated play room in our house. So, our main living room serves double duty as a play room for the kids. As someone who doesn’t like a lot of clutter, the toys can easily drive me nuts. After we had our first child, we got a cube storage piece for the living room. It has always worked well for us because it provides easy access to the toys for my daughter, and the baskets we use in it hide a lot of the toys, which helps keep me sane. So, it’s always been a win-win for everyone. ( Click here for other ideas on how to organize toys.)Since having my son, though, the toy collection has grown (despite my best efforts to keep it somewhat thinned out), and we had collected a few toys that didn’t quite fit in the cubes; therefore, they’ve just been sitting out on the floor next to the toy cabinet. Talk about driving me nuts… So, I have been on the hunt for a small cabinet to put in the living room for a little extra storage space.I needed something fairly small, and I really didn’t want to spend a lot of money on it. If you read my recent post about my Top 10 Tips for Decorating on a Budget, you’ll know that one of my top tips is patience. And let me tell you, my patience paid off on this one.After a couple of months of keeping my eye out at garage sales and estate sales, I finally found a cabinet at an estate sale that I thought would work well for what I needed. It was definitely a bit of an ugly duckling, though. It needed a facelift, but I knew the potential was there. With just a bit of time and work, I was able to completely transform it to fit my decor, and my total cost was only about $30 (since I had most of the supplies on hand already)!So, without further ado, here’s my tutorial on how to inexpensively update a cabinet.
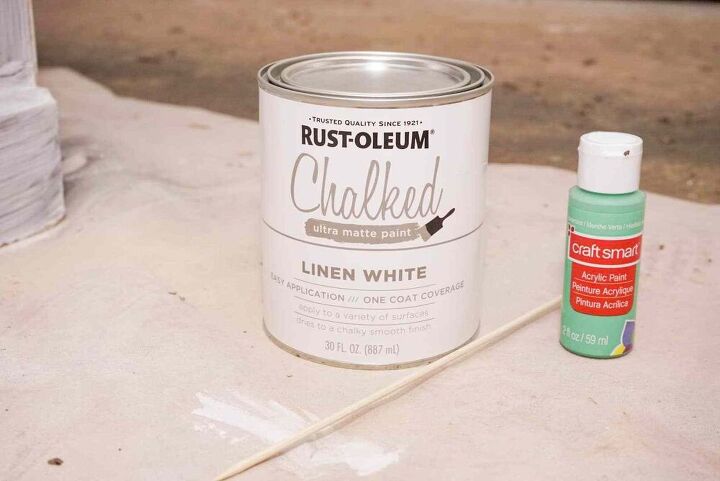
Step 1
Step 2
Step 3
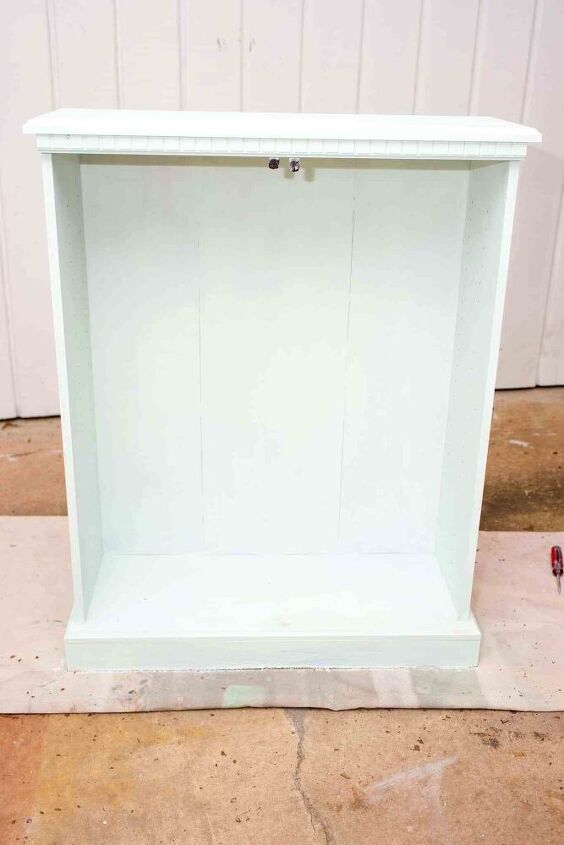
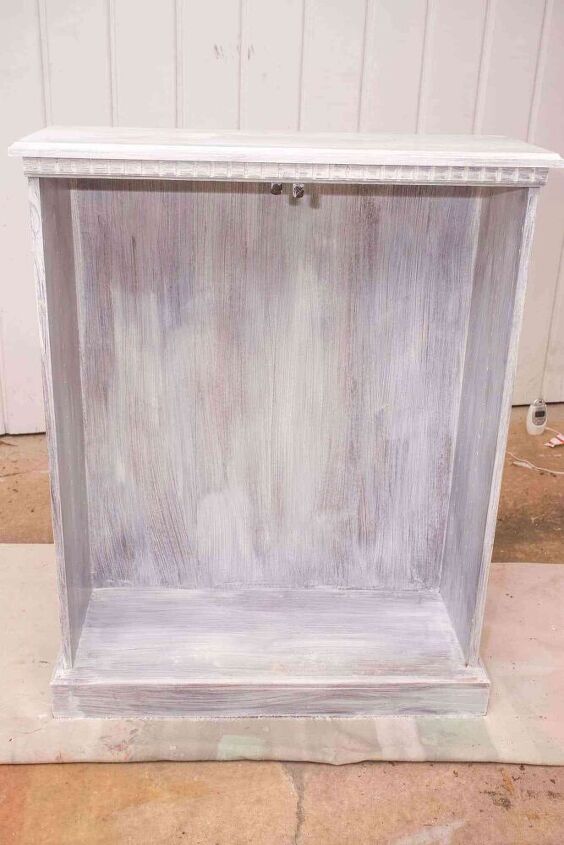
Full disclosure – I did have some stain from the cabinet that bled through the paint and just would.not.cover. Since I a) wanted to keep this project cheap, and b) just wanted to get the darn thing done, I decided to not worry about it, as I was planning on distressing it anyway. I was hoping the distressing would cover up some of the bleed through, and guess what?! It did! Maybe it didn’t exactly cover it up, but it all just blends in now as part of the distressing.
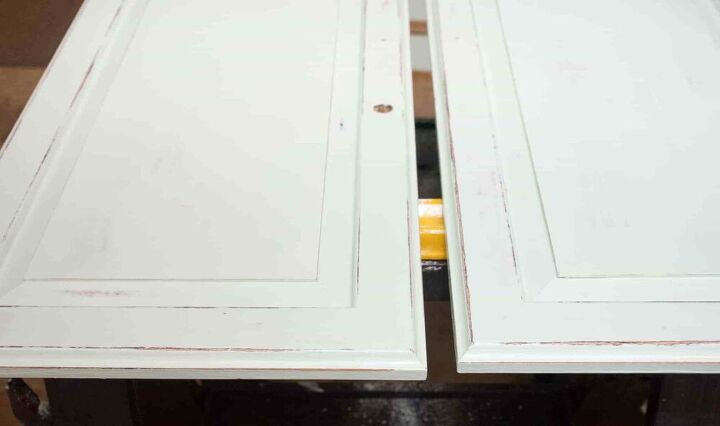
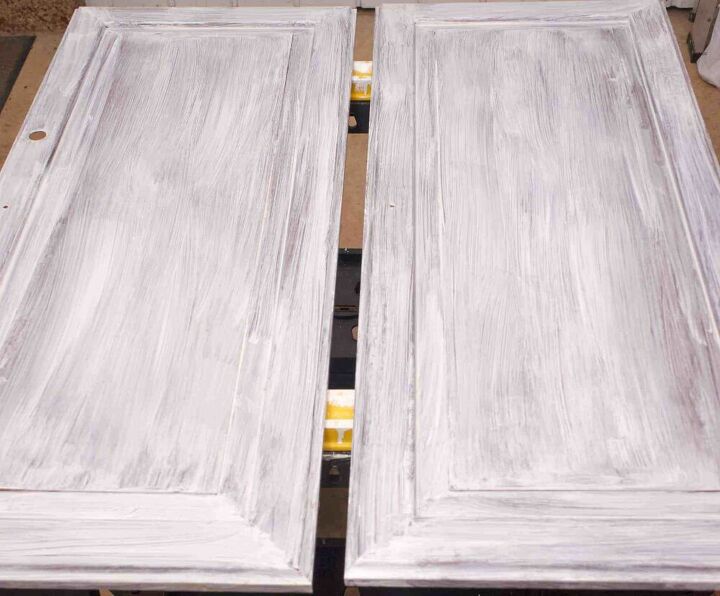
Step 4  , which is fairly fine, but it won’t leave harsh scratches in the surface.) It’s easy to sand down corners and edges, where a piece would naturally get distressed. For this piece, I also took a fair amount of paint off of the flat surfaces, as well. You can do as much, or as little, distressing as you like. So, just have fun with it.
, which is fairly fine, but it won’t leave harsh scratches in the surface.) It’s easy to sand down corners and edges, where a piece would naturally get distressed. For this piece, I also took a fair amount of paint off of the flat surfaces, as well. You can do as much, or as little, distressing as you like. So, just have fun with it.
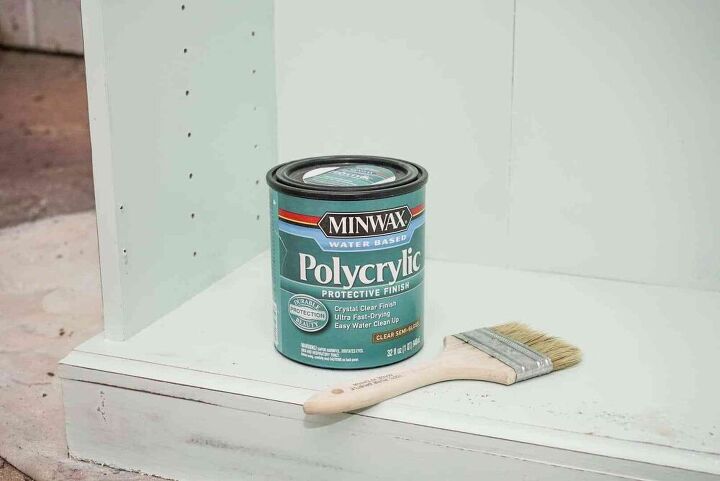
Step 5  . It goes on just like paint, and you’ll want to make sure to use long brush strokes across the surface. It needs a couple of hours to dry, and again, I did two coats.
. It goes on just like paint, and you’ll want to make sure to use long brush strokes across the surface. It needs a couple of hours to dry, and again, I did two coats.
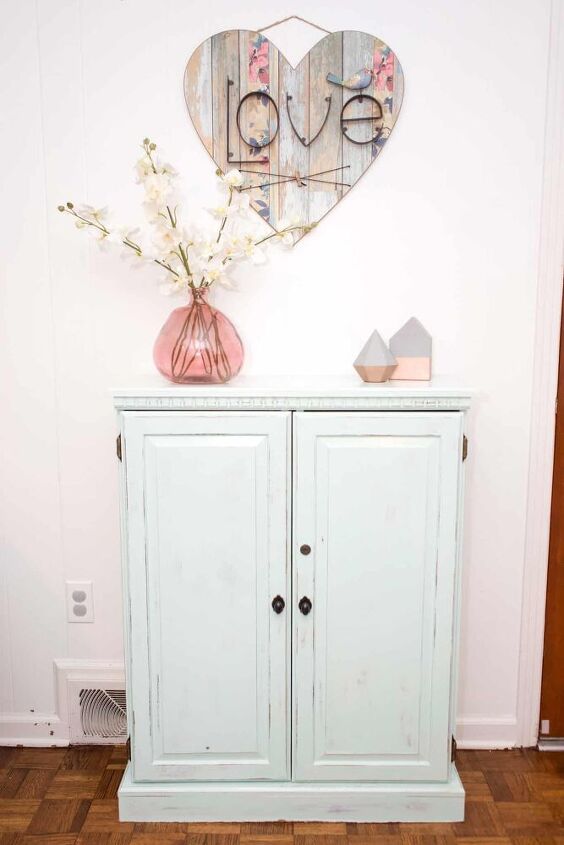
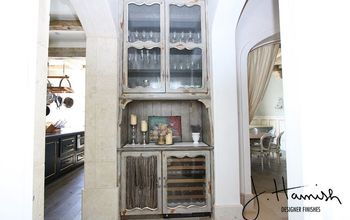
I bought new knobs for it, and the cabinet was transformed. It fits perfectly in my living room, and is exactly what I needed in the way of extra storage.
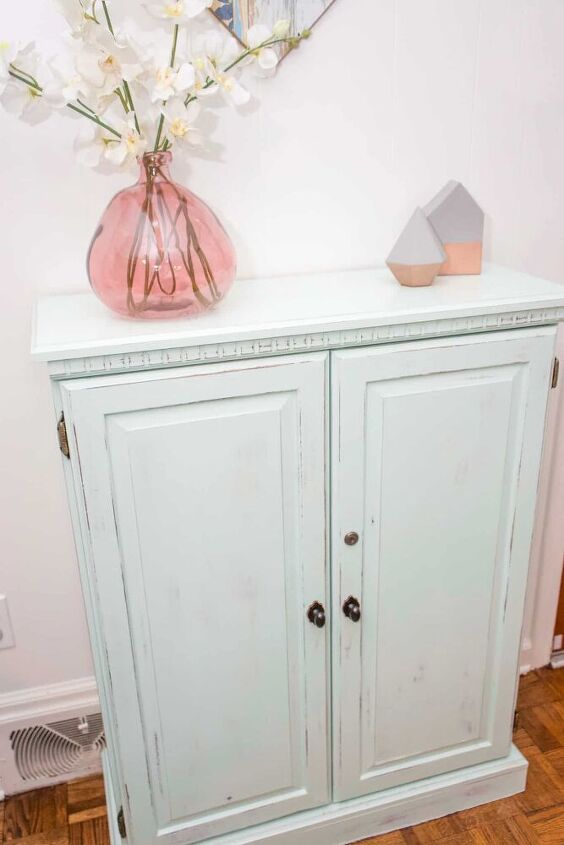
I was actually quite impressed by how well this $10, cheap-o cabinet turned out.

So, there you have it – how to inexpensively update a cabinet. What do you think?
Resources for this project:
See all materials


Any price and availability information displayed on [relevant Amazon Site(s), as applicable] at the time of purchase will apply to the purchase of this product.
Hometalk may collect a small share of sales from the links on this page.More info

Want more details about this and other DIY projects? Check out my blog post!
Comments
Join the conversation
1 comment
-
Another tip for disguising bleed through when you haven't used a primer first, is to distress the painted piece with dark wax.


Frequently asked questions
Have a question about this project?
Looks good, I have a small cabinet I use for cookbooks. I rarely use the cookbooks! Lol. I want to paint it to go with the farmhouse style of my new home. I love your color but will probably stick with cream and maybe a natural color top. Are you satisfied with the liquid sandpaper? It wasn't hard to use?