


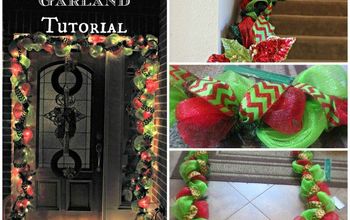
Easy DIY Halloween Rag Garland

Have you ever seen a rag garland? They are so easy to make and add a fun touch to your holiday decor. The great thing about them is there is no right or wrong way of creating one. You can decide the pattern, length, colors! The possibilities are endless!
I wanted to create one for my Halloween decor this year. I'm going to show you an easy way to whip one out in just a couple hrs!
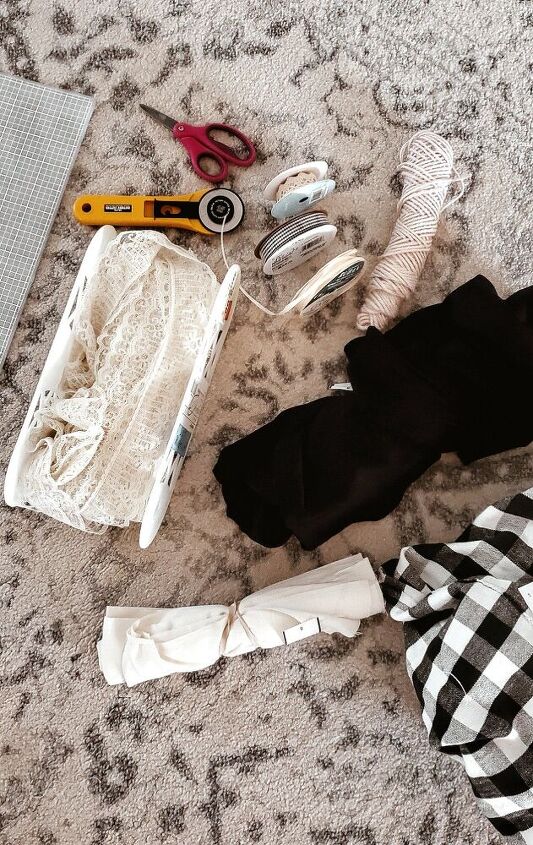
For this project, I used fabric, fabric scissors, twine, and lace.
The fun thing about this project is, you can add as much or as little as you please! I wanted a full garland, so chose a few different fabrics, some lace, and ribbon. I ended up not using the ribbon.
Fabric can get pricey, so I like to keep my eye out at thrift stores for it. All the fabric I used here was thrifted.
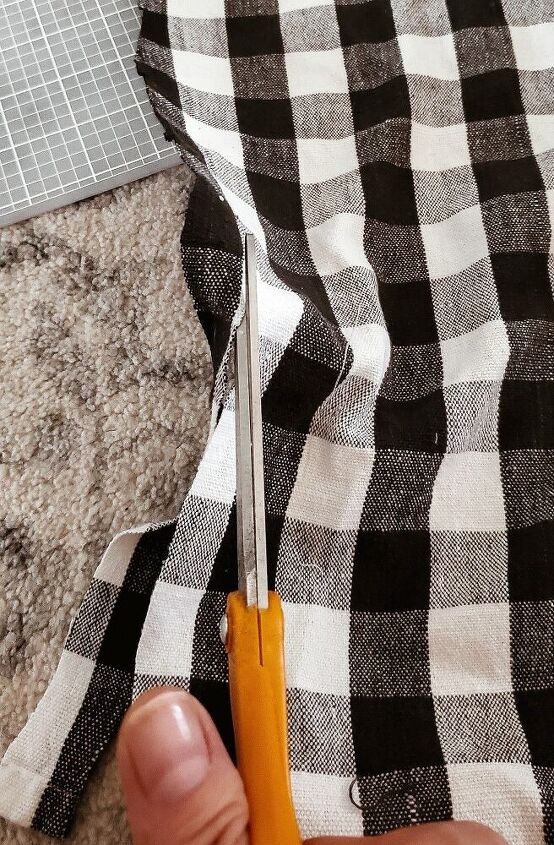
I started with one fabric pattern at a time. It just worked easiest for me. I basically just cut strips of fabric. You can decide how thick or thin you want your strips to be. I just tried to keep them the same length.
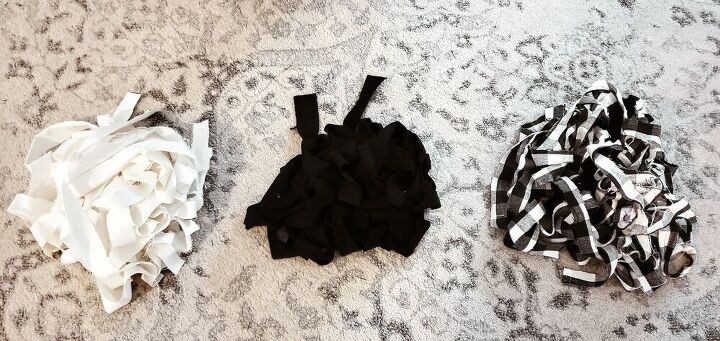
I found it easiest to create separate piles of each fabric. This helped keep my fabric pattern in order, while adding to the garland.
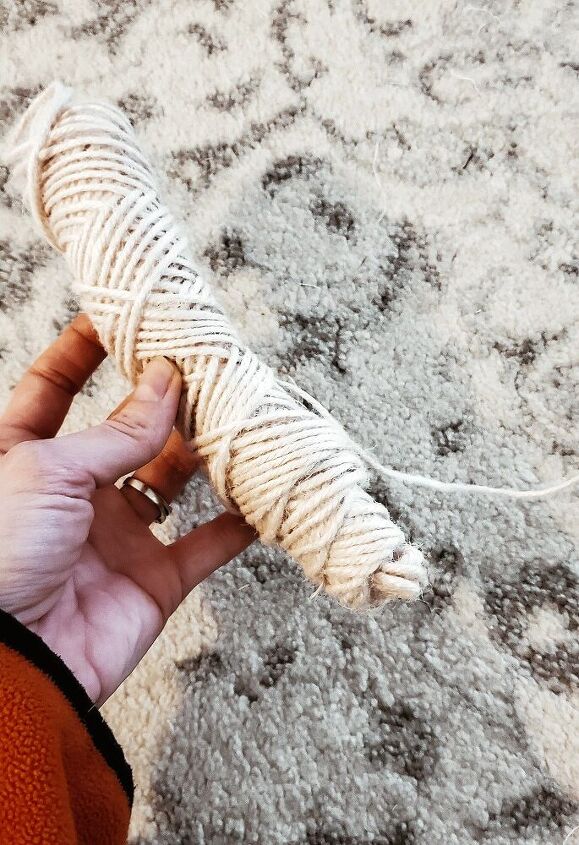
I used this twine, which I had on hand, to tie my fabric too. I measured out the length of where I plan to hang the garland. I then measured the twine to the same length and cut what I needed.
It's totally up to you how you decide to apply your fabric to create your garland. I created a color/pattern scheme. I applied white, black, then Buffalo check (in that order) from end to end.
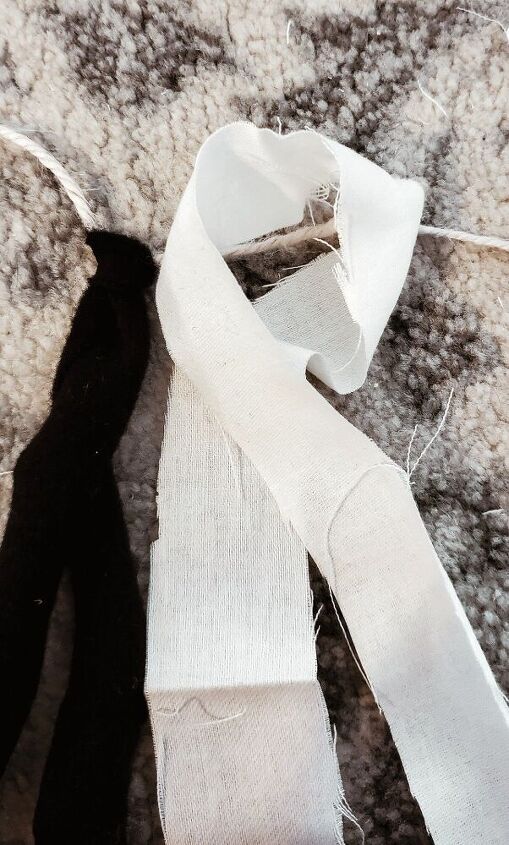
The fun thing about rag garlands is, they require little extra materials. You just tie each piece of fabric on your twine. I find it easiest to place the fabric over the twine (as shown in picture.) Make a loop at the top, as shown.
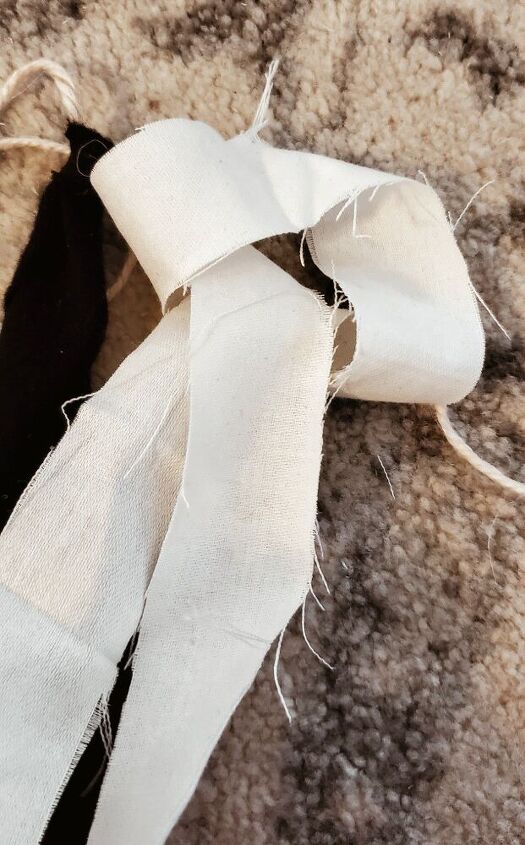
Next, pull the tails of the fabric under twine, (behind the loop,) and then bring it up through the loop.
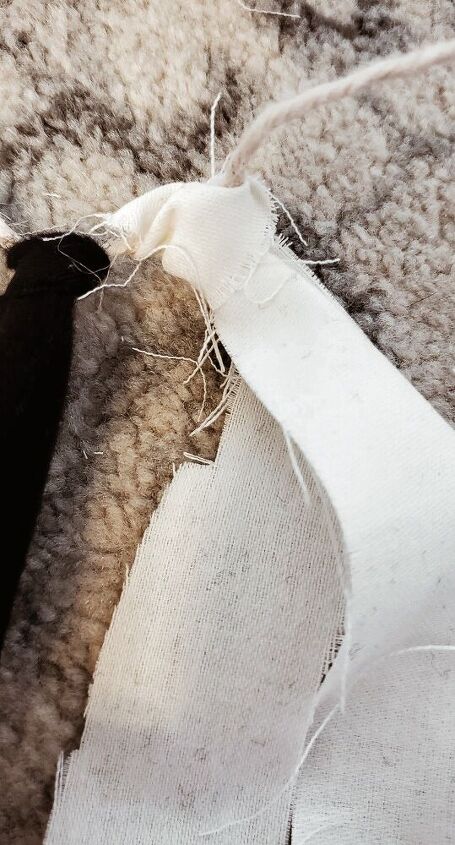
This method creates the perfect little knot and holds the fabric secure. Of course, you can choose any method you please.
Continue the process until you have reached the length you want your garland to be.
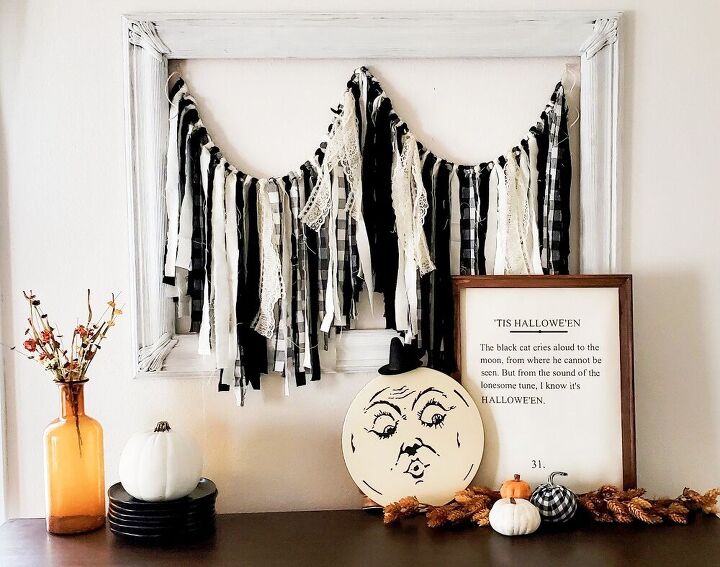
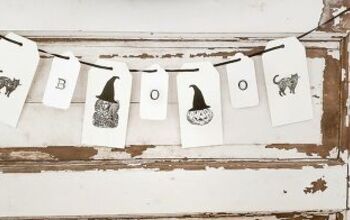
I decided to hang my garland inside this empty frame. Personally, I think it adds just the right amount of spooky fun. Ok, it's not really spooky; but definitely add a fun touch of Halloween!


Comments
Join the conversation
-
Great idea. Something for the Grandkids to help with. Also, I love you witch-hatted moon. I suppose you made that as well?
-
Your garland is darling and your instructions are great. Your Halloween display is so cool with a nice vintage vibe ~ the garland pulls together all the other decorations to make for a perfect and classy celebration of Fall.
Thank you for sharing AND inspiring.


Frequently asked questions
Have a question about this project?
Hi Georgia! I was wondering where you found the "Tis Hallowe'en" picture. Love your rag garland, the ideas are endless! Thank you!
Where did you get the moon? 😍
I have one similar!