


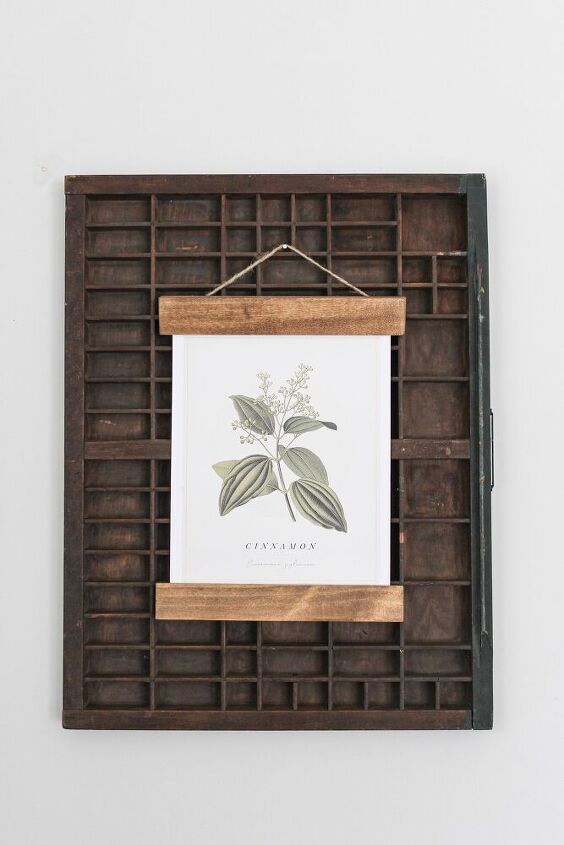
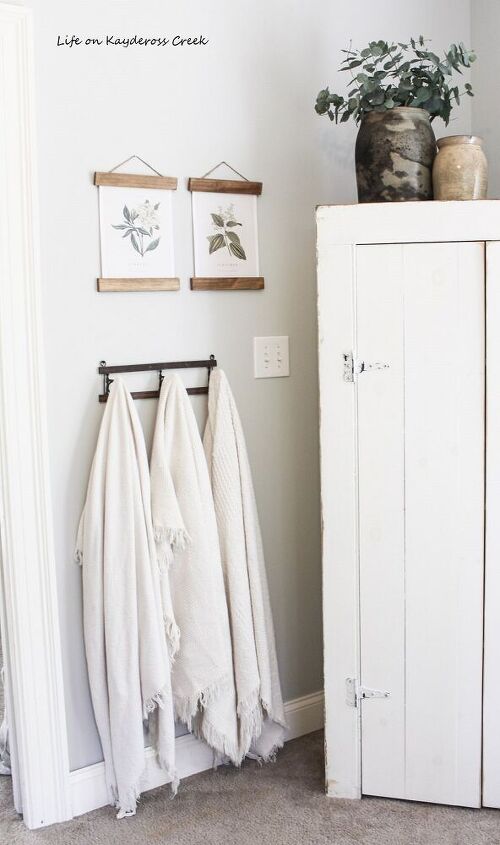
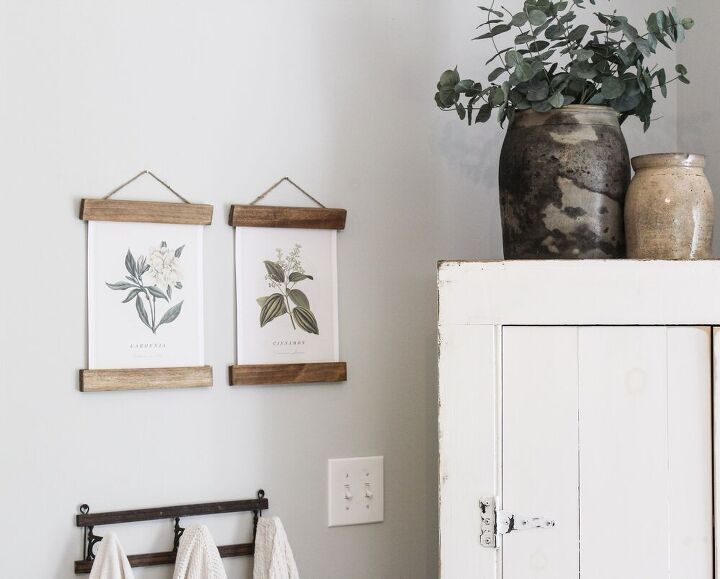
Easy DIY Wall Scroll Hanging
This project actually started when a friend of ours was cleaning out his Dad’s garage and found this entire bucket full of paint stirrer sticks. He knew we do a lot of painting so he offered it to us. So what does one do with a bucket of paint stirrer sticks besides mix paint?
You make stuff!
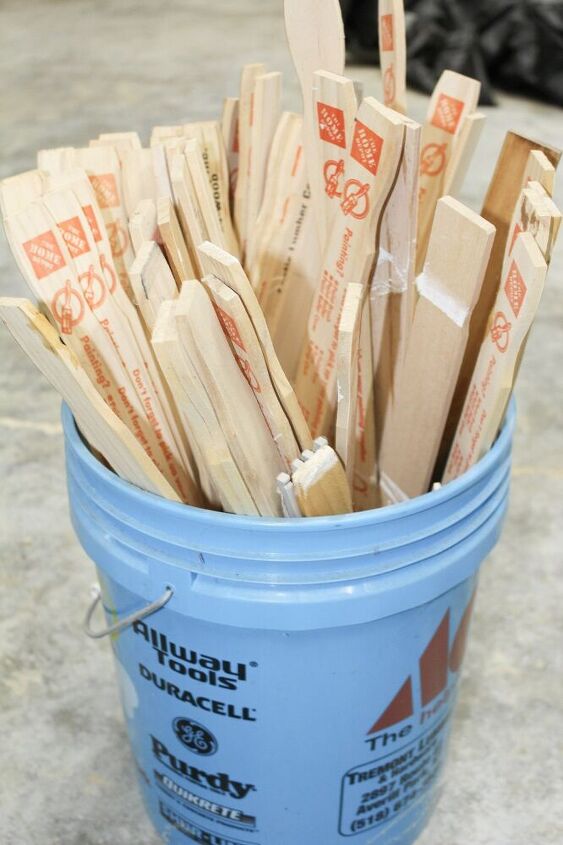
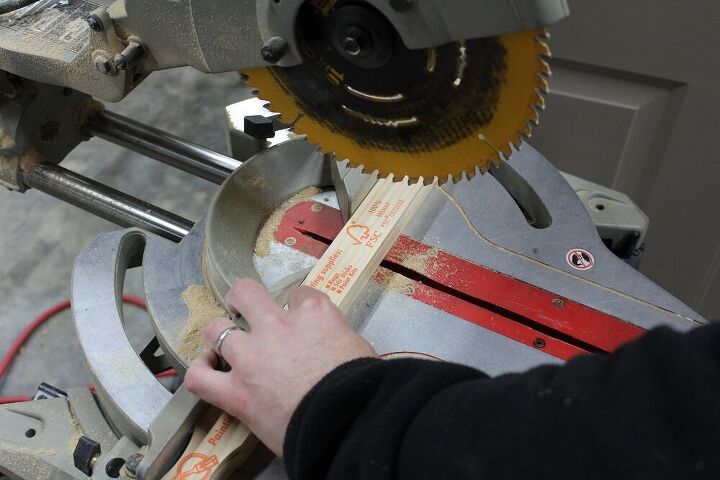
- Choose 4 clean, straight paint stirrer sticks in the exact same size, I used the larger ones (14″ meant for a 5 gallon bucket) because I like the thickness. They could also be used if you have a landscape picture and you need a longer “frame”. You can pick these up from a hardware store or get them on Amazon in bulk if you want to do a grouping of these wall scrolls.
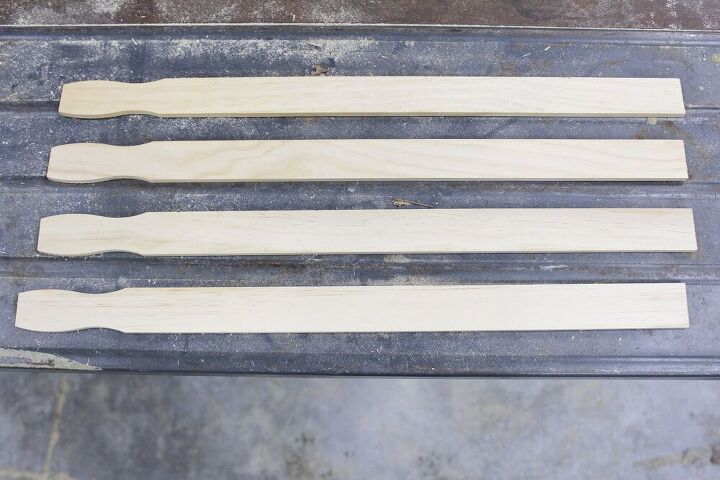
2. Measure the length of the print you want to “frame”. I wanted to use these on an 8.5 x 11 picture so I cut the sticks to 9.5 inches to allow it to extend just a bit on both sides of the paper, about 1/2 inch.
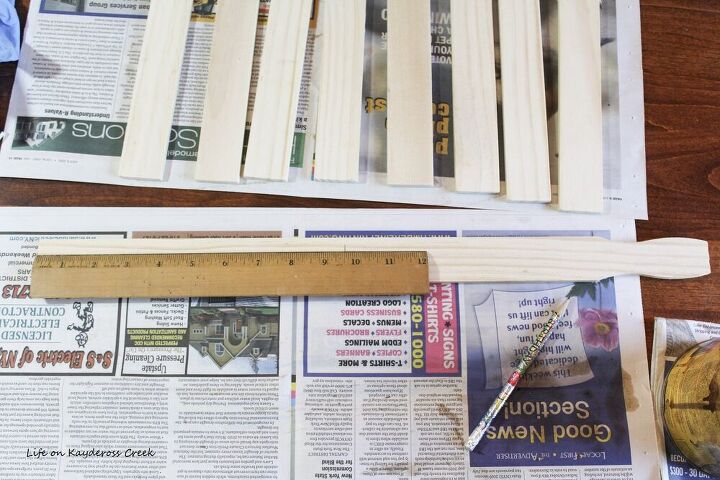
3. Cut the paint stirrer sticks to the length you need. We did this with a chop saw but you could also do it with a handsaw.
4. Sand down each piece to remove any splinters or rough edges. This will be especially true for the ends.
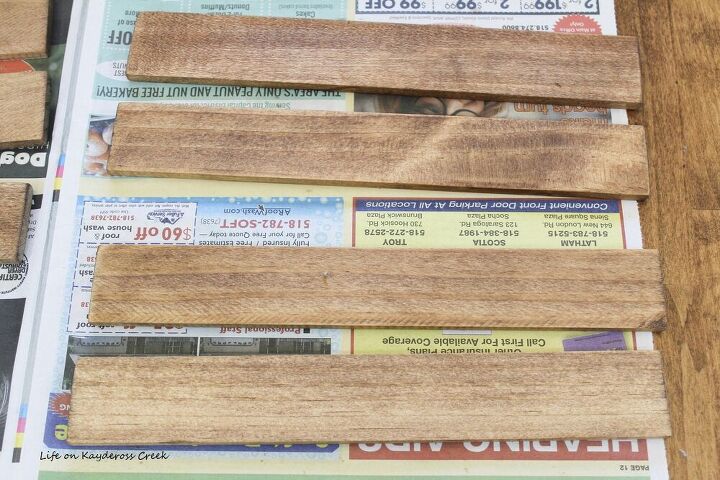
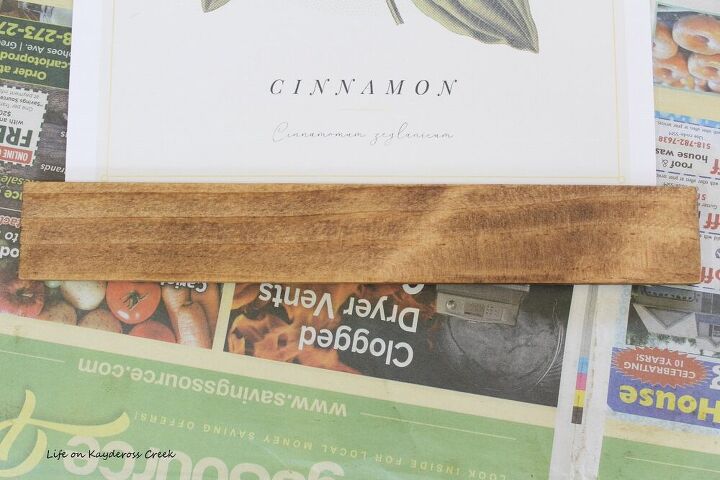
5. Stain each piece with your choice of stain color. I used a mix of Ipswich Pine and Dark Walnut. Be sure to get the back just a bit in case the pieces don’t line up evenly.
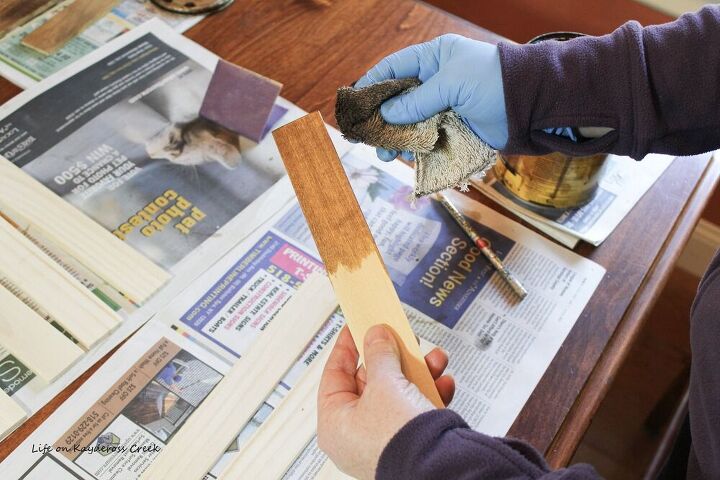
The wood on each piece may stain differently because the material may be different. I used the best pieces on the front and the not so good pieces on the back side.
6. Grab your printable of choice. You can easily search “free Printables” on Pinterest. Many bloggers offer these if you sign up for their emails but some do not.

7. Once the wood is dry, you can glue the printable to it. While the printable is laying flat with the front side up, add a line of hot glue to the bottom where you want the wood to sit, at least 1/2 – 3/4 of an inch on the paper.
8. Line up one of the pieces of wood in the so it is evenly spaced on either side of the paper and hold it down for a few seconds until it sticks.
9. Add another line of hot glue to the top of the printable and put the second piece of wood down on top of the glue. I found it worked better if you attach both the top and the bottom on one side and then flip the whole thing over and attach the wood to the other side on both ends. It was easier to handle that way.
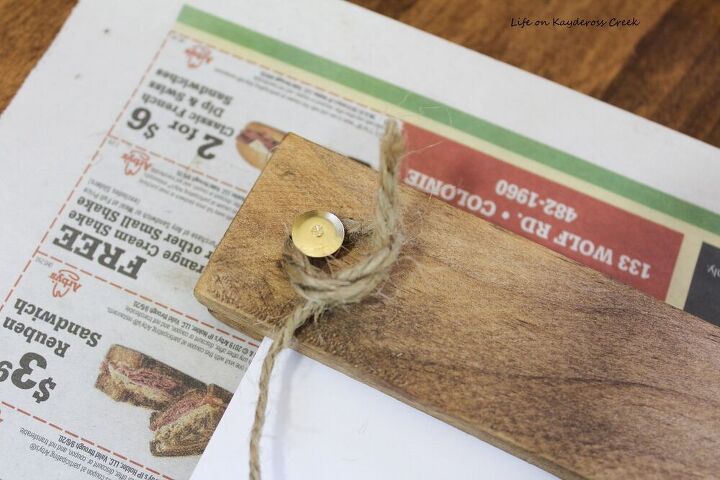
10. Once the glue has dried completely you can add the twine to hang it with. Grab a thumb tack and tack down the twine on one side of the back.
11. Once that is secure, you can measure how long you want the piece of twine to be which will determine how much of the twine will stick out of the top when it’s hanging. I chose to go with 9 inches.
Cut the length and use the second thumb tack to secure the other side of the twine.
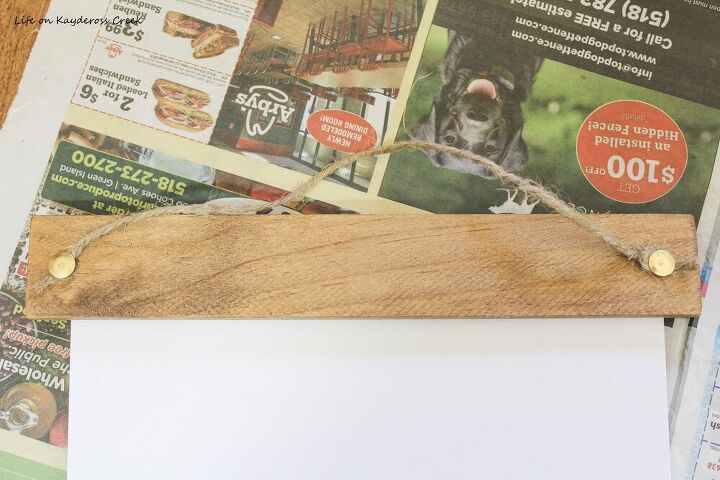
That's it! You're done!
For more DIY and decorating projects, visit my blog at
www.mylifeonkayderosscreek.com.
Resources for this project:
See all materials


Comments
Join the conversation
-
Oh, I love these!!
-
Great idea


Frequently asked questions
Have a question about this project?
Could this idea be used with family photographs?
I love your idea. Calendar pictures would also be good to use.