


How I Rebuilt a Garden Shed Using Free Reclaimed Wood!
I have a little rustic garden shed out back that had been deteriorating over the years. But I hesitated on fixing it because it needed structural work, something I had never done before. Talk about scary...
But since I didn't wish to spend $5k plus on a new shed just to cover firewood, I decided I had nothing to lose and potentially, gain a 'free' shed back again if I at least tried to fix it myself...
So I just started.
From demolition to learning how to frame, I had to learn every. little. thing as each new task came up. YouTube was my best friend during a lot of this time.
But... good news! I'm here writing about this now, because by golly, I did it! I saved the shed and it's even better than it was previously!
So if you too have either a shed you'd like to enhance, or try and save, this inspiring post is for you...
Here's what I did...
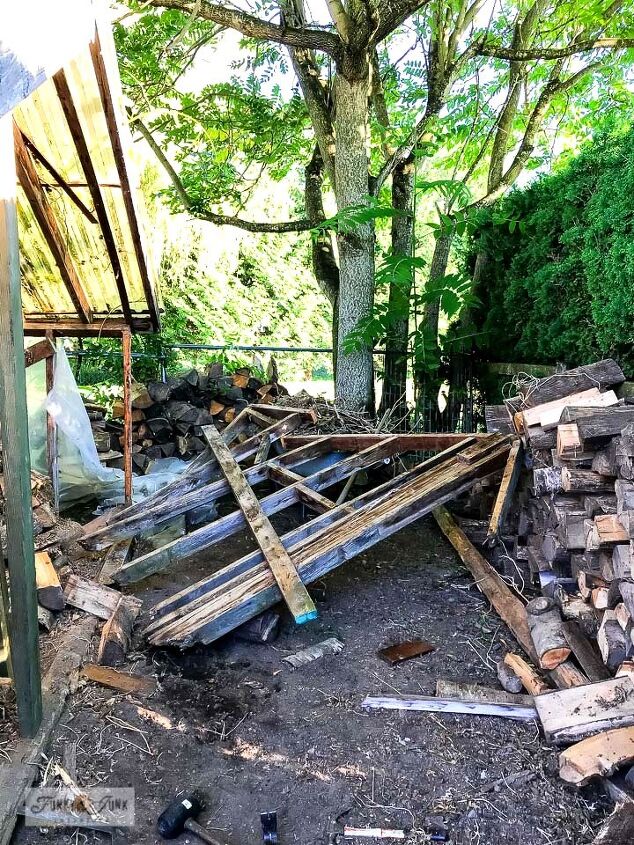
Demo day!
My garden shed wasn't properly weather protected, so it rotted out. Yup, that's the back!
So first up was getting rid of the old. Each rotten section was cut off, then eventually all hauled to the dump.
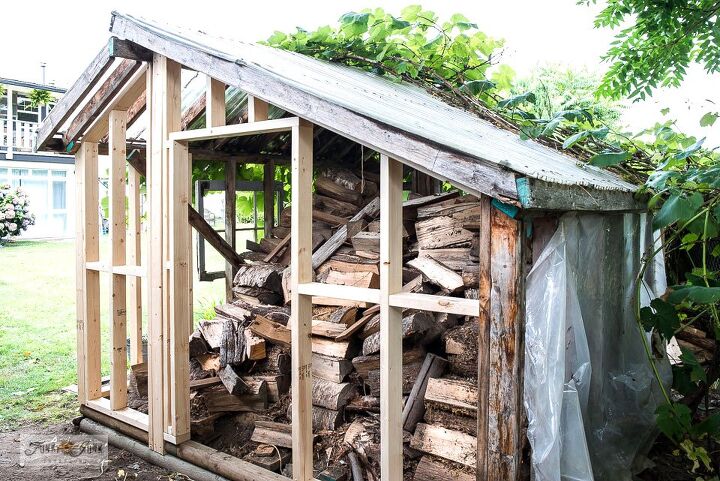
Framing
Then I had to learn how to frame. I picked up some new 2x4s, then copied what the other side of the shed looked like from inside.
I even challenged myself to make another doorway: frame, door and all!
Copying created an easy road map to work from!
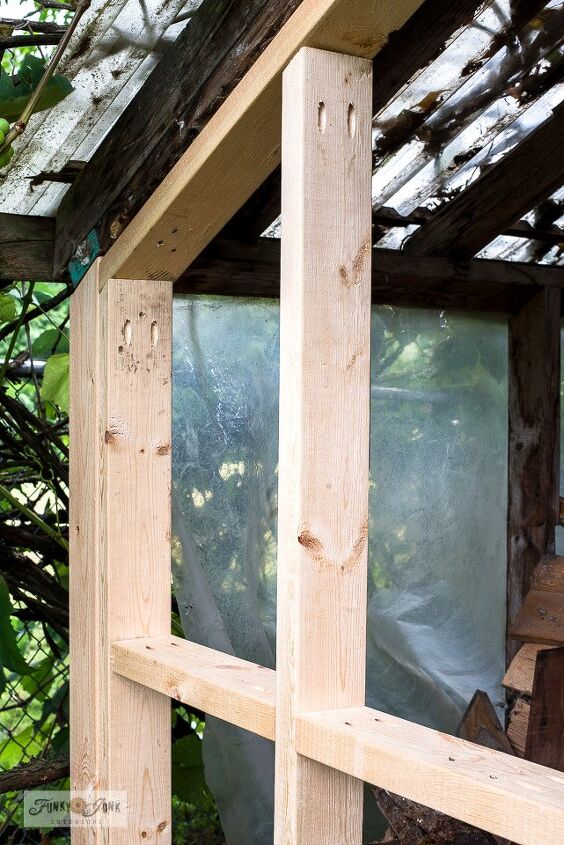
How to frame basics:
- Purchase new 2x4s, treated or untreated.
- Determine where the main support needs to be by looking at the rest of the structure.
- Cut each board to proper length, then position and screw in. To attach, I used a Kreg Jig for some joins that were challenging to attach, while others I just used screws driven in on an angle.
- Add enough framing boards until the structure is both well supported and has enough supports to attach weatherproofing and siding to.
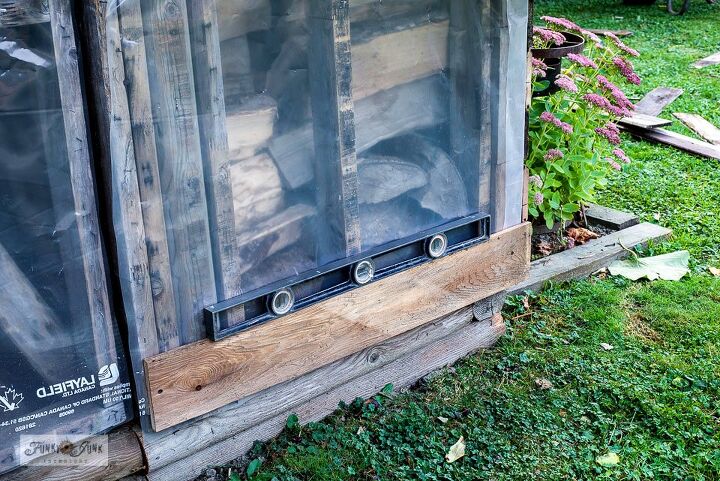
Weather-proofing:
Next up, I water-proofed the shed by wrapping the shed with heavy duty plastic, then using an electric stapler to attach the plastic to the framing.
Adding windows:
Old barn windows were positioned where desired on the shed, then attached with screws.
Adding siding:
- Reclaimed wood was gathered, pressure washed, then allowed to dry before used as siding.
- Each plank was pre-measured and cut to fit a desired area.
- A level was positioned into place, then positioned with the help of using a level on top.
- Each plank was screwed into the framing, working around doorways, windows, etc.
- Plank until covered!
Adding shingles:
In the areas I desired shingles, I left the plank siding off and placed on shingles instead!
- Start from the bottom and work up, cutting each shingle to fit where needed.
- The shingles were attached with screws.
More info on all these steps can be found in the original blog post series link below this post.
Adding details
With the shed now completely built, it was time to add the finishing details!
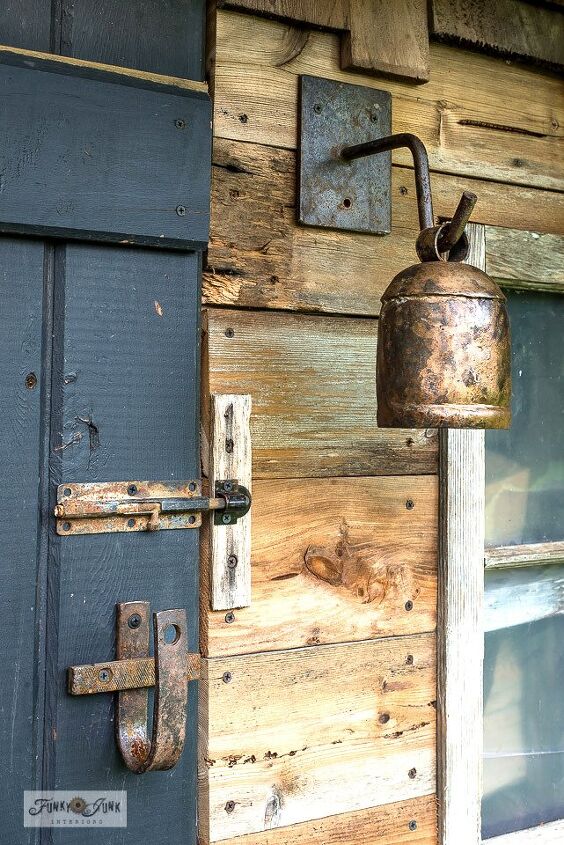
Old hardware for a lock and door pull, a bell, etc. added to the rustic charm!
Check out that personality emerging!
To create the door:
Reclaimed planks were cut then attached to the door frame to create a barn door effect.
But let's add one more feature...
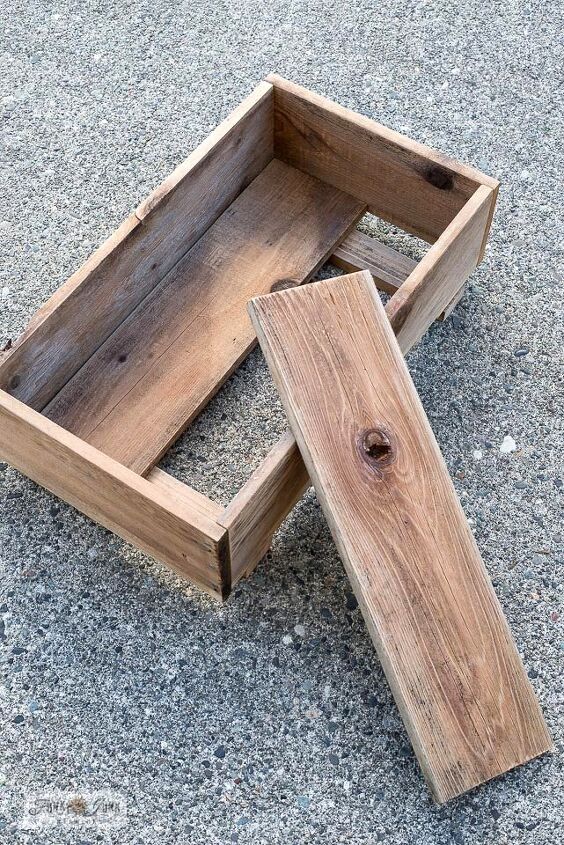
A window box
Using reclaimed wood, I built a wooden crate which was then used as a window box under one window.
How to build a crate:
- measure then cut wood to desired lengths
- assemble with screws
Learn more about how to make the crate through the blog post link below.
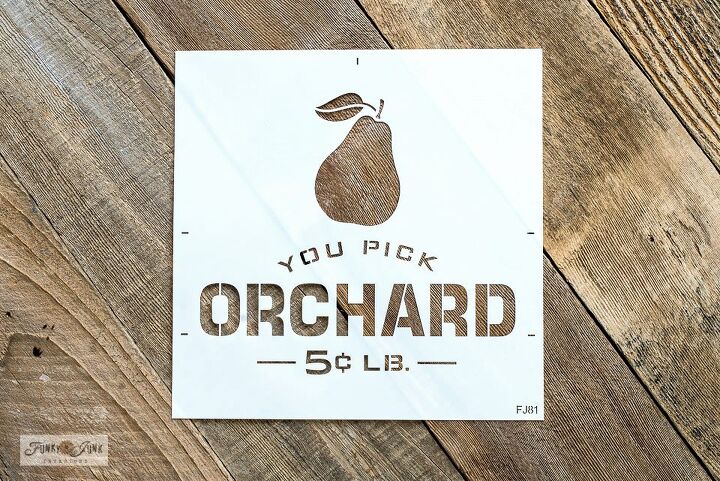
This Orchard stencil was used to stencil the window box crate in black for a stamped crate look.
How to stencil
- position stencil into place
- load brush with paint, then remove most with a cloth
- tap paint through stencil for desired image effect
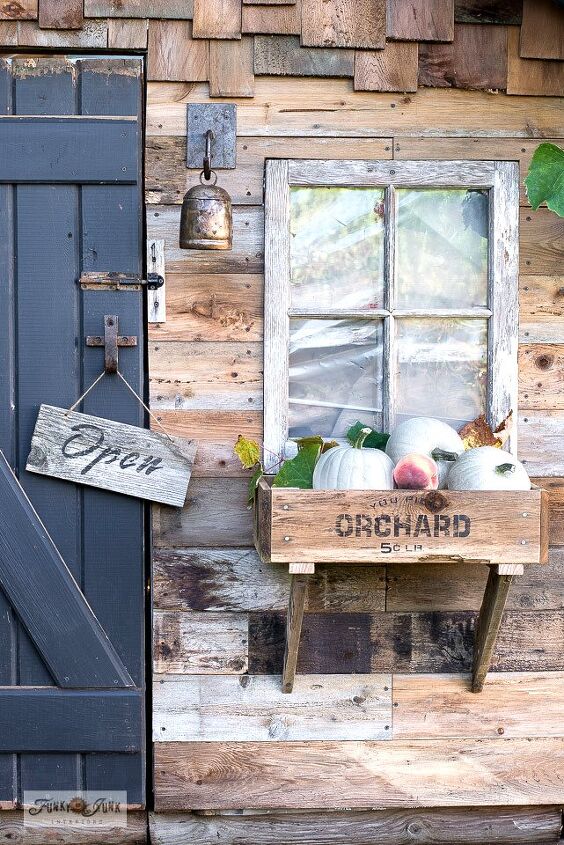
Since it was fall, the window box was filled with mini white pumpkins and a few fresh peaches.
However I plan to change it to a flower box this summer!
See the final Fall View HERE
includes a pumpkin garden, directional fall signs and more!
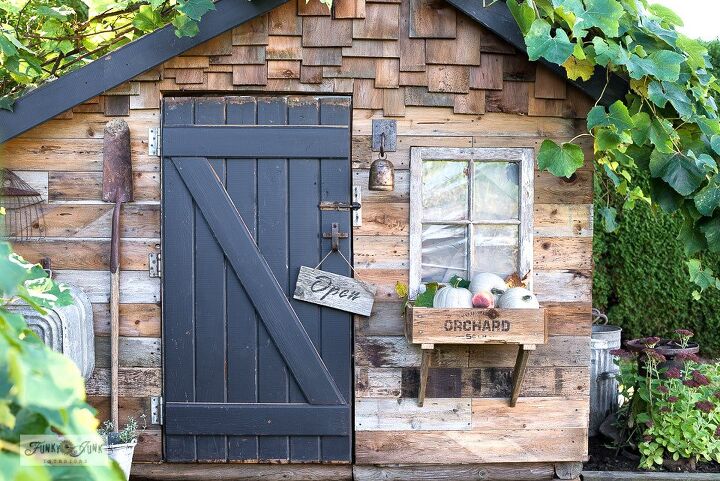
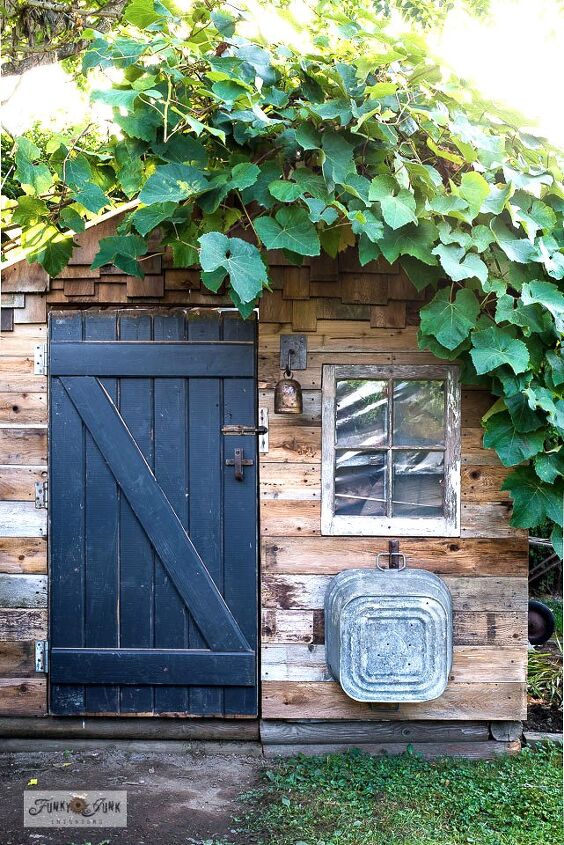
The finished shed!
And THEN it was officially complete! Isn't it the cutest?!
All I know is, I'm positively thrilled that I managed to save the shed, saving a TON of money while practicing up some building skills as well while creating a beautifully rustic focal point to my yard!
Because this shed build was so involved, I broke up each stage into a separate blog post so I had the opportunity to go into detail.
Visit the entire Save The Shed series HERE
*includes: beginner tips for each step including demo, framing, how to add a door, siding and more!
Isn't it adorable? Think you'll copy a few of these details to add to your own garden shed this summer? Which are your favorite features?
Resources for this project:
See all materials


Comments
Join the conversation
-
Wow! What incredible workmanship 🙀🙀🙀
-
I love this. Oh my so wonderful. Goodness how wonderful. Can't believe nobody's checking out their email right now or they would see this post.


Frequently asked questions
Have a question about this project?
COULD YOU DO THIS TO A METAL SHED?
This is amazing, you did a great job
What is your floor or base? I need something like this, but I will have to start from ground up.