


Easy Nordic Christmas Ornaments Using Airdry Clay

Few more days and we are leaving October behind. Every year I try my best to come up with unique ornaments to hang in our Christmas tree. This year I want it to be simple and easy to make.
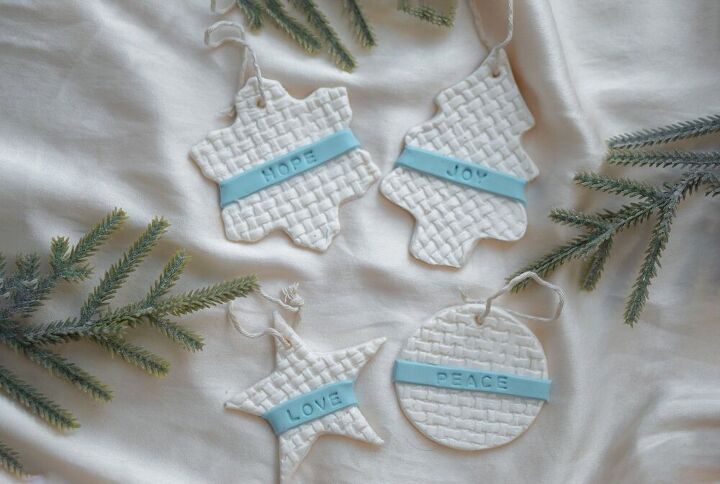
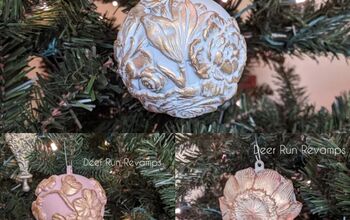
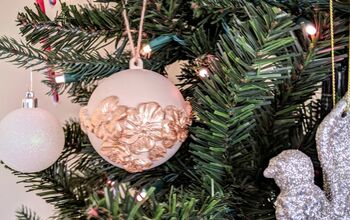
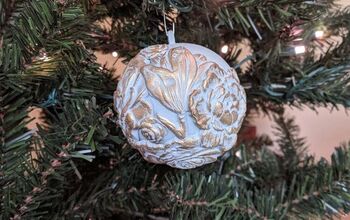
With only two colors I was so happy with the outcome of my recent project.
To make this, read along the steps.
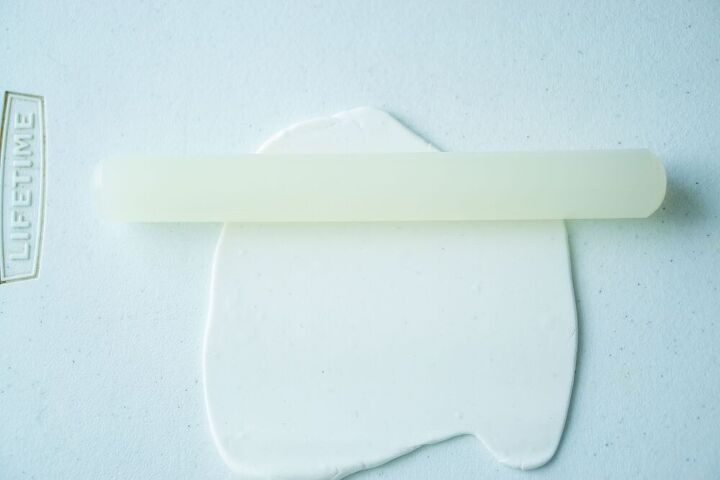
To start, roll out your clay using a rolling pin or a glass bottle. Keep rolling until your desired thickness.
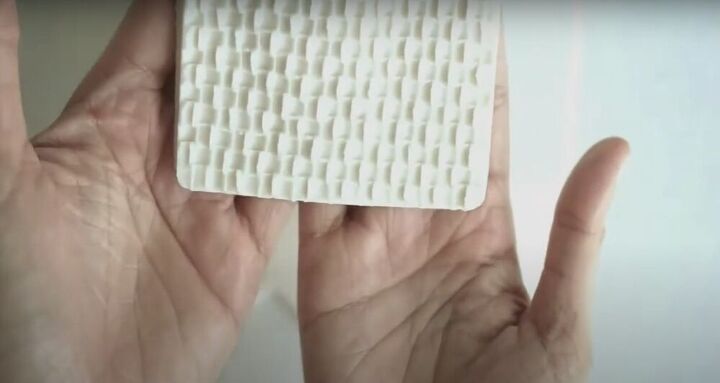
For the texture, I used my old knitted mold and roll it out twice to make sure that details are transferred nicely .
If you do not have a textured mold. You can use other items at home like a crochet table top or a textured vase. Make use of the resources that you have :)
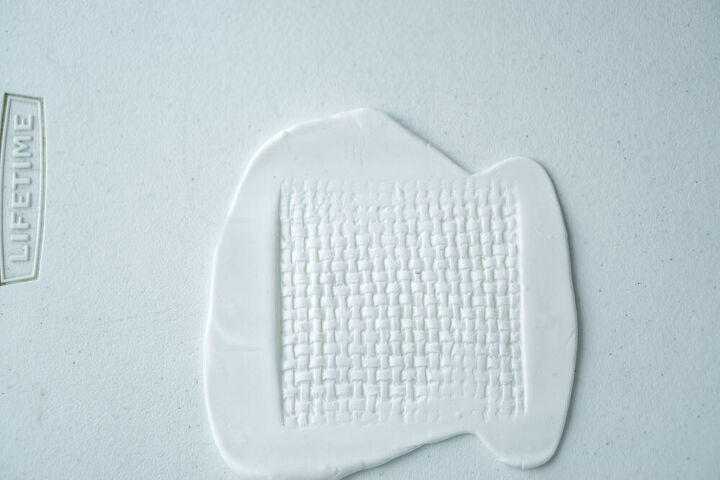
I'm satisfied with the texture so let's move on with the fun part.
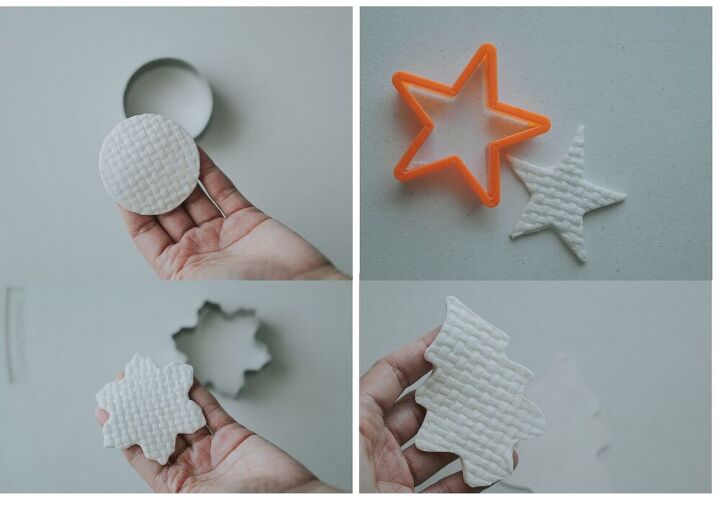
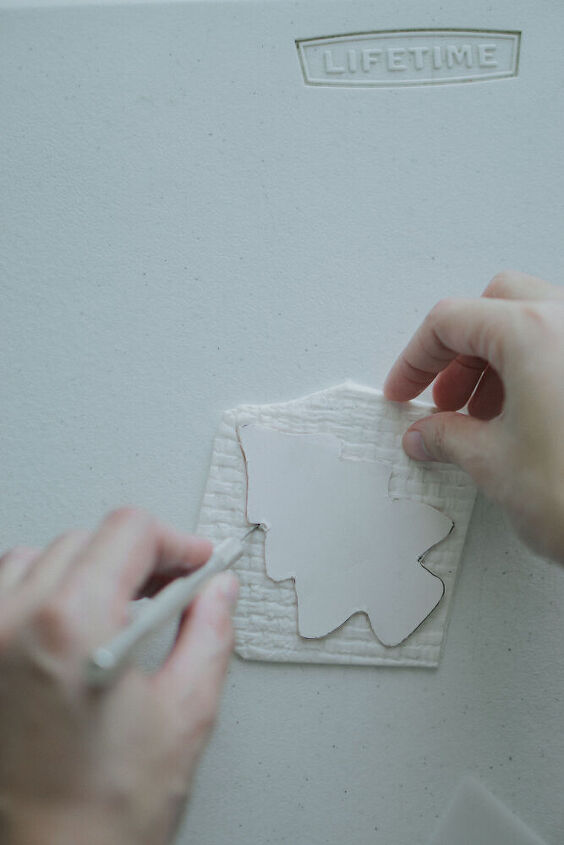
I use cookie cutters for a precise outcome of shapes. Stencil is a good alternative if you do not own one (Christmas tree sample)
I printed out a Christmas tree shape from the internet and cut it out in in a cardboard
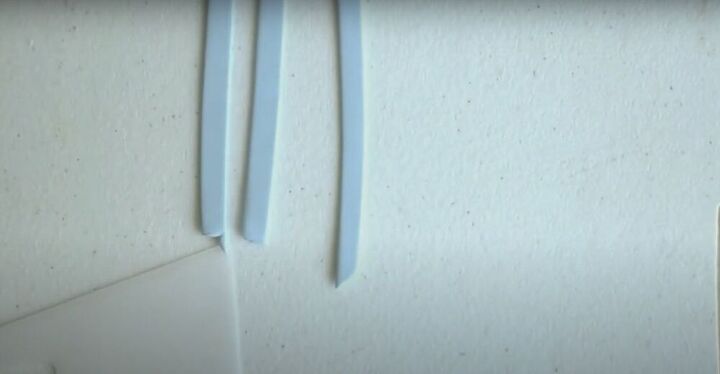
Next, roll your blue clay and cut it into banner shapes.
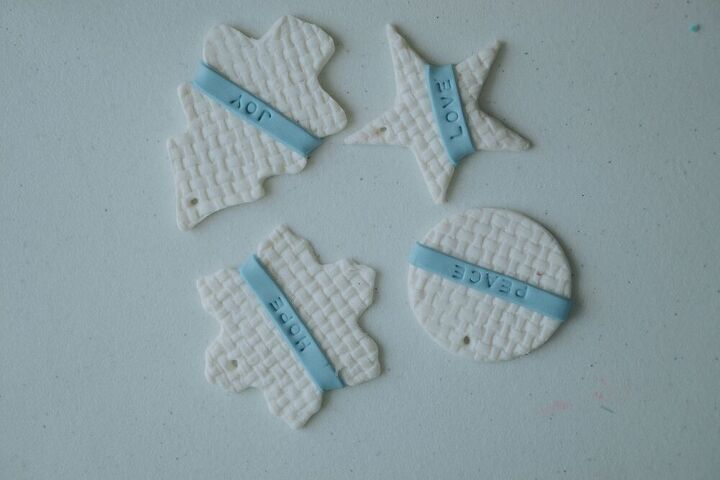
The stamp made everything extra cute. Once you are done, you just need to leave it for a day to dry.
Add jutes and it's ready to hang.
Here's a YouTube tutorial for this project for a complete guide. Happy crafting! :)


Frequently asked questions
Have a question about this project?
How did d you make the clay?
Just a repeat, how did you make the clay? Second, where did you get the textured knitted mold? Thank you.
Would love to do this, but where would I find the lettering kit?