


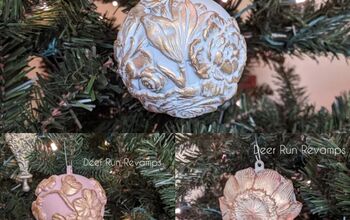
Unique & Elegant Christmas Ornaments Using Paper Clay & Silicone Molds

I absolutely LOVE to play around with these silicone molds by Redesign with Prima. They are easy to use and can add so much drama to a rather plain piece.
Every holiday, I incorporate these silicone molds, and I often use them on furniture too!
At the end of this post, I'll include links to my previous Hometalk posts using this technique on different surfaces (one even has a video!)
You can even grab the kids to join in! Paper Clay is usually a hit 😁
The cost will make at least 12-20 ornaments (depending on how much paper clay you use on each ornament)
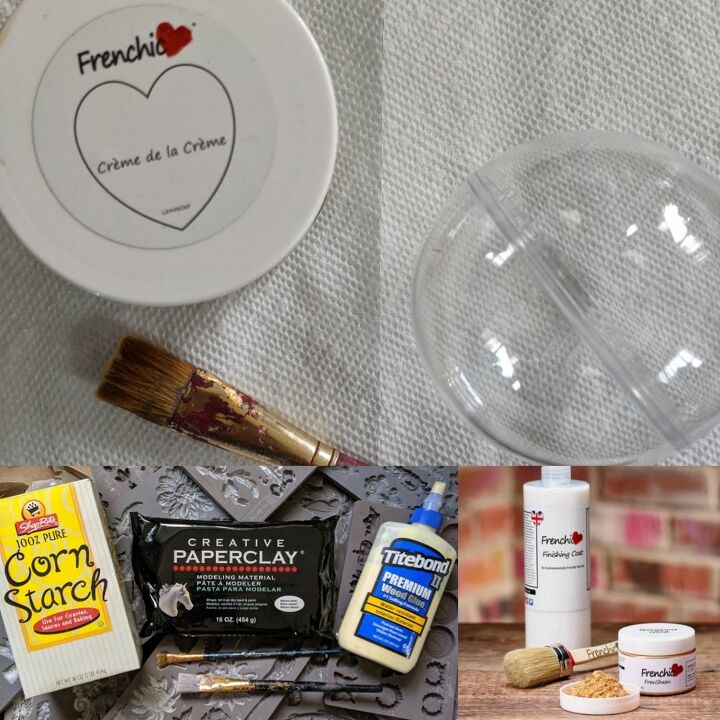
First, grab your supplies.
You'll need preferably plastic ornaments. Any kind and size will do. You can even use colored ones or ones that you already have!
I happened to have plastic ornaments on hand that are two halves and snap together. They worked perfectly! I purchased them in a pack of 20 from Amazon.
The reason to use plastic ornaments is because you'll be gluing the molds to it and applying pressure. Glass ornaments are rather fragile and may break when pressure is applied.
A package of paper clay. Grab it from Michael's with a 40% off coupon!
You'll also need corn starch and a detail paintbrush to dust the silicone molds. This prevents the clay from sticking.
Wood glue and a detail paintbrush to brush the glue onto the paper clay molds. I prefer titebond brand wood glue.
Paint color of your choice with a smaller paintbrush to paint the ornament. Or get plastic ornaments in the color you'd prefer to avoid painting them.
Frensheen metallic pigment mixed with Frenchic Finishing Coat or clear wax and a detail paintbrush to paint the molds.
Redesign with Prima silicone molds. One, two, ten.. as many as you'd like and whichever designs you prefer. Mix and match and get creative!
*Plastic ornaments
*Paper Clay
*Corn starch
*Wood glue
*Paint
*One small paintbrush
*Frensheen metallic pigment mixed with Finishing Coat
*Redesign with Prima silicone molds
*Three detail paintbrushes
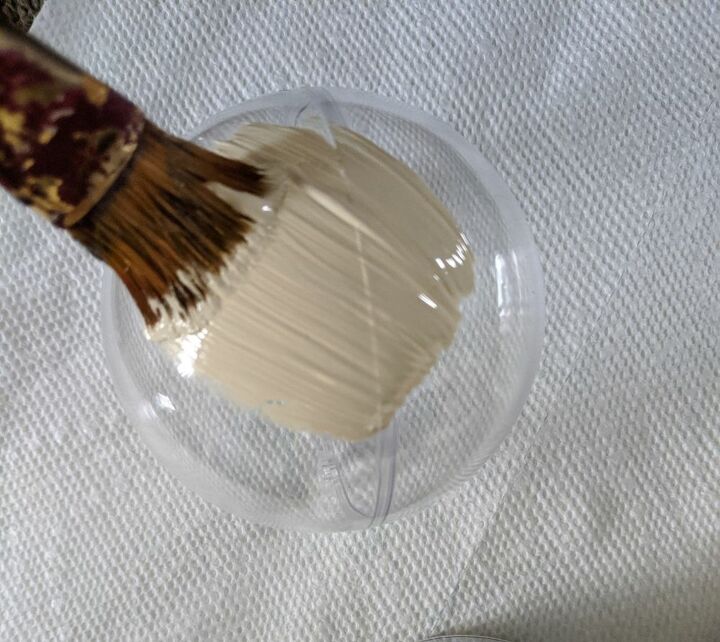
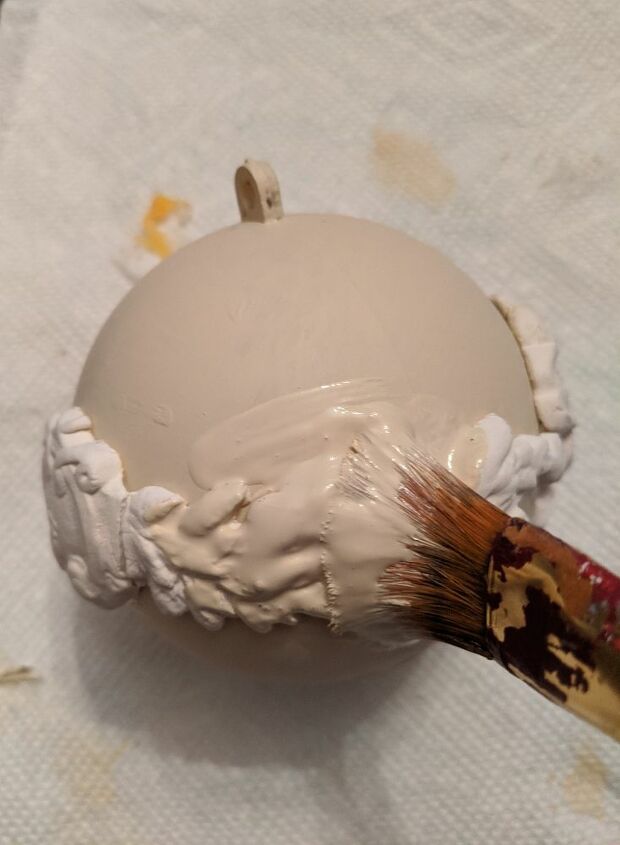
Paint your plastic ornaments in your chosen color. I decided to use Frenchic's Creme de la Creme, a beautiful creamy off white. If using a light color, it may take a few coats to completely cover the ornament.
If you'd rather not paint the ornaments, pickup some ornaments in colors you like and skip this step.
Once your ornament has dried, you can start making your paper clay appliques ❤️
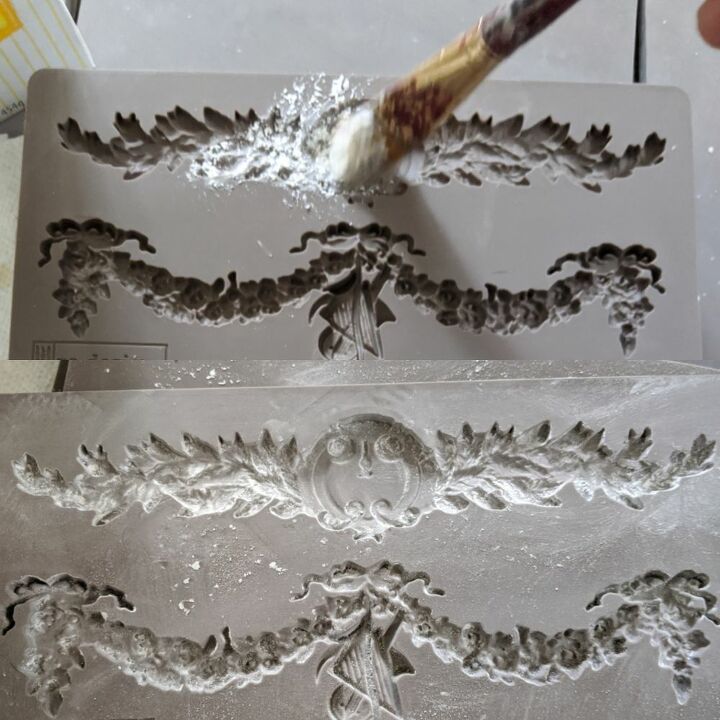
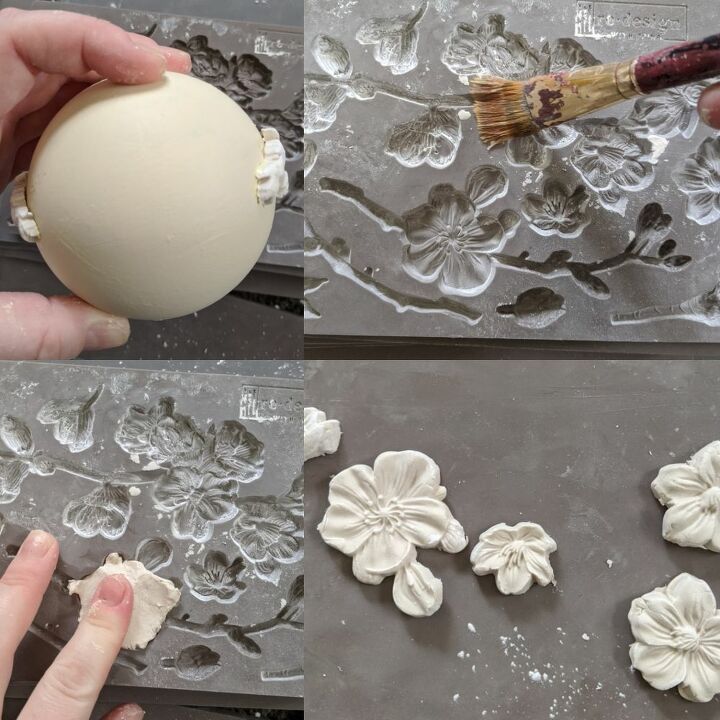
Dust the silicone mold with corn starch. This will prevent the paper clay from sticking. Tap out any excess corn starch so that it isn't piled up in the corners.
Grab a ball of paper clay and play with a bit to warm it up. Now press it into the silicone mold, removing the excess around the edges. It should flat and even with edges visible.
To easily remove the paper clay, flip the silicone mold upside down and slowly peel the mold back as the paper clay releases.

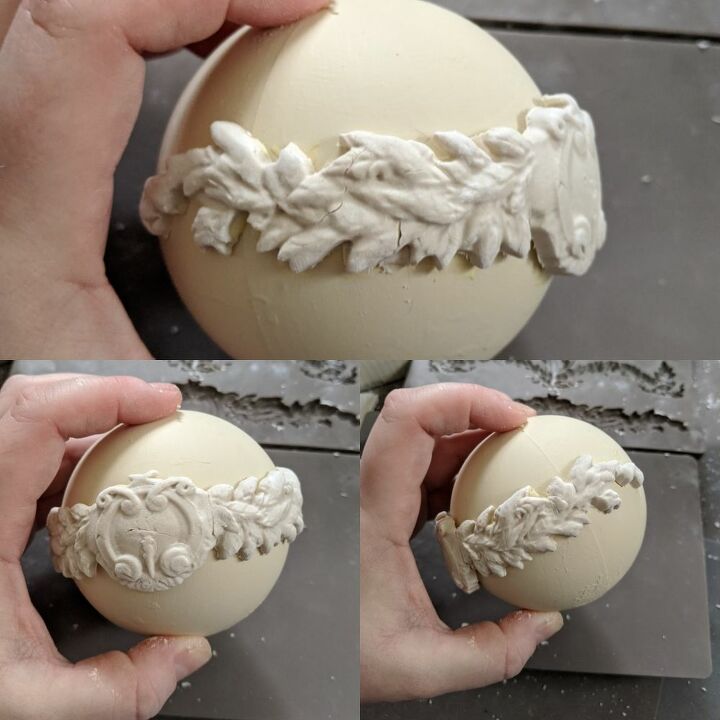
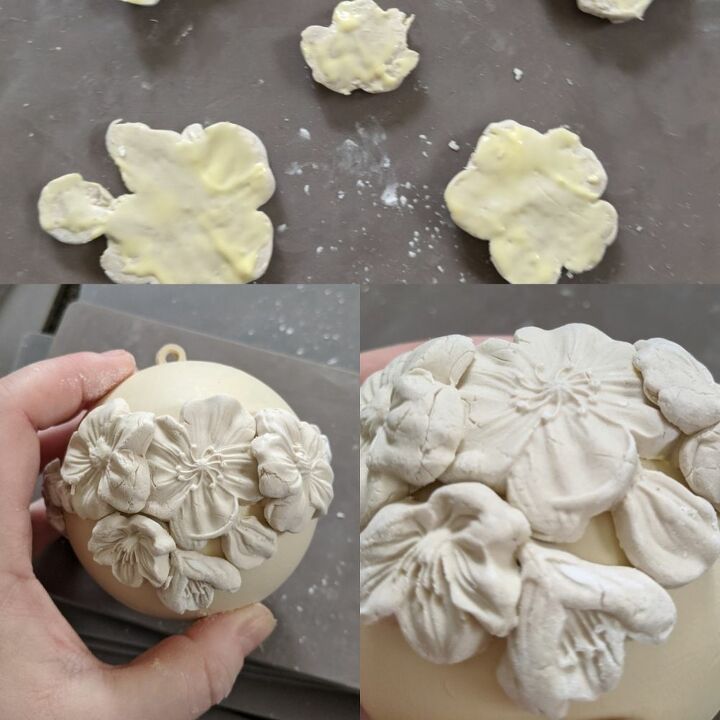
Now, flip the paper clay applique upside down and apply wood glue to the flat side using a small paintbrush. Be sure to get the edges but don't overload it. As you press it onto the ornament, the glue will ooze out the sides

Carefully pickup the paper clay mold and position it where you want it on the ornament. Carefully and lightly press down, adhering the paper clay to the ornament. Some edges may be stubborn and not want to stay down. As the glue dries, it'll get stickier, so just keep pressing down the stubborn edges every few minutes and it'll eventually stay down.
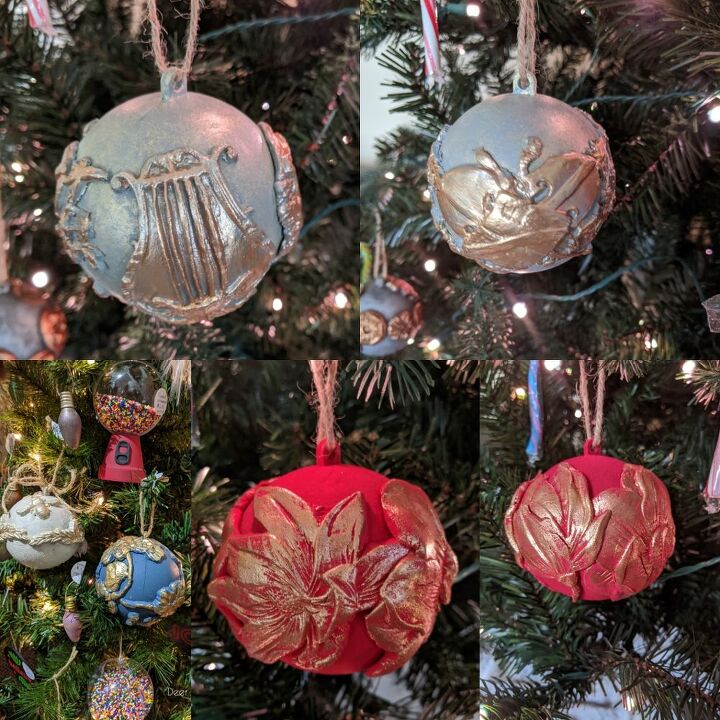
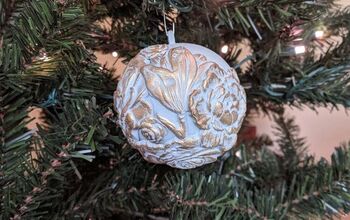
For the other side, I decided to add to some cherry blossoms. Repeating the previous steps, I added more paper clay molds to the other side.
When overlapping paper clay molds, be sure that it forms to the other paper clay molds while still adhering to the ornament.
Allow the paper clay to dry for 12-24 hours until dry and then paint them the same base color as the ornament. Make sure you get all of the edges and that no paper clay is visible. Allow the paint to dry
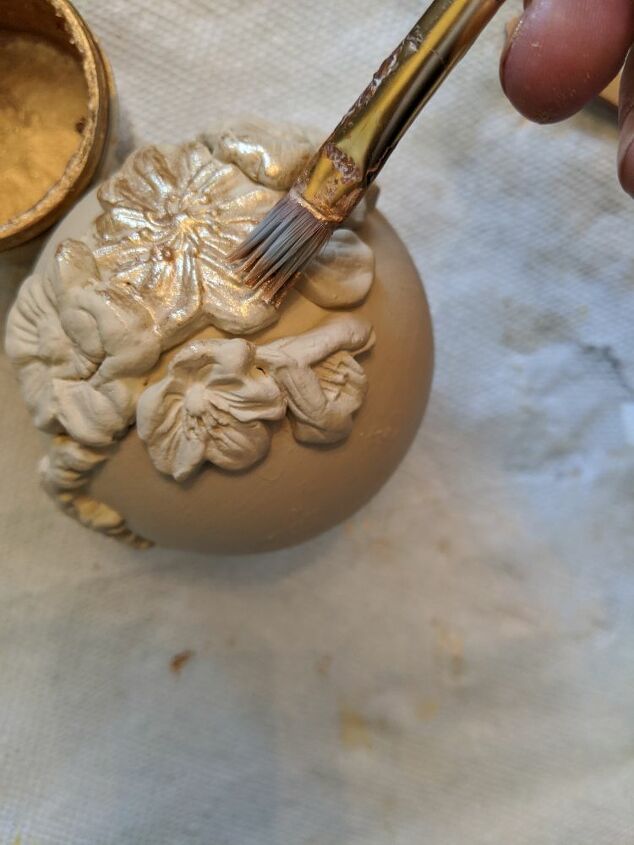
Mix your Frensheen (metallic pigment) with Finishing Coat (or another waterbased topcoat). In a small container (I use 4 ounce containers with lids found on Amazon), mix 2 tablespoons of Frensheen with a teaspoon of Finishing Coat. You want a pancake batter like consistency, so add more/less topcoat/Frensheen as needed to achieve the correct consistency.
Using a detail brush, lightly brush on the metallic Frensheen just over the raised tops of the paper clay molds.
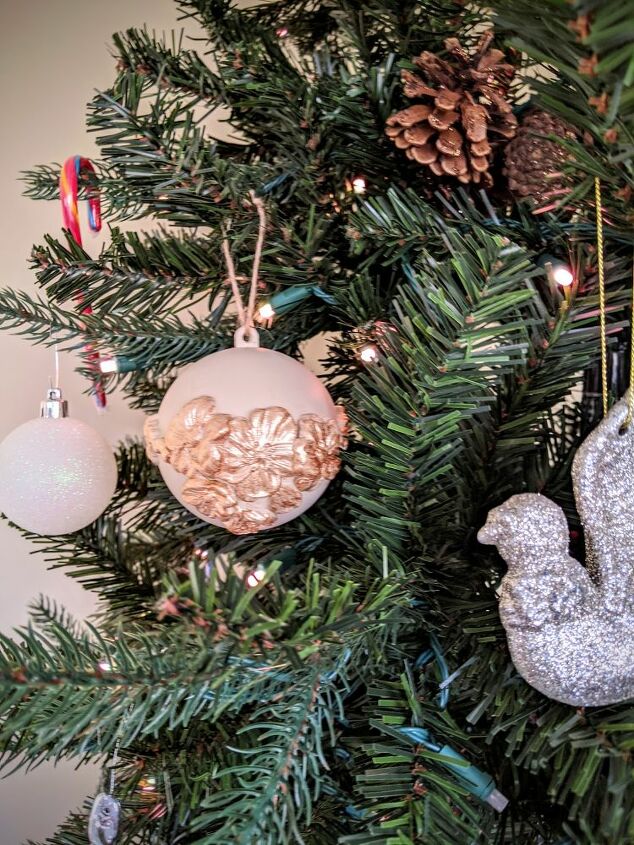
Now, attach either some twine or an ornament hook to the top and hang it on your tree!
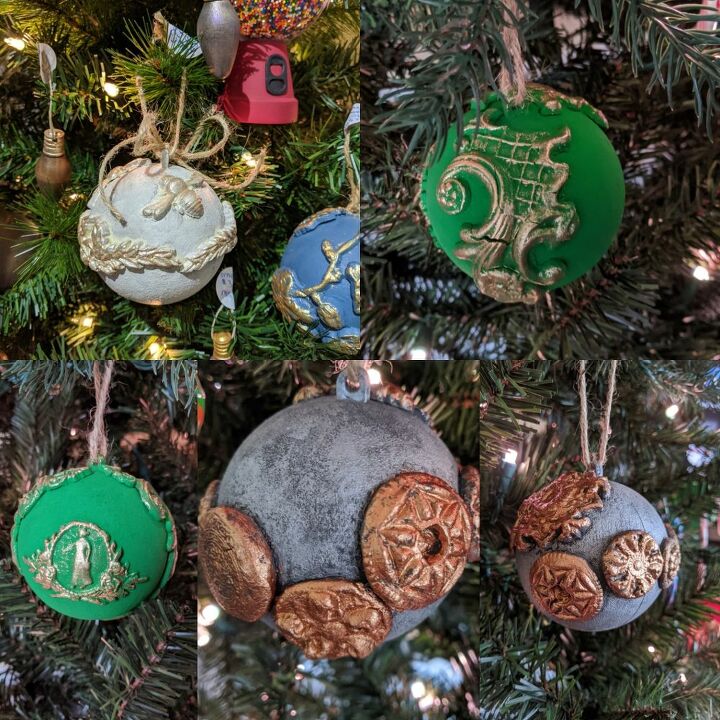
You now have a unique, one of a kind ornament ❤️
I hope you enjoy making these paper clay molds 😁 There's so much you can do with them! Check out my other tutorials using these amazing molds!
https://www.hometalk.com/diy/kitchen-dining/kitchen-dining-furniture/how-to-get-an-elegant-floral-look-on-furniture-with-video-tutorial-43913009
https://www.hometalk.com/diy/decorate/pumpkins/how-to-make-elegant-foam-pumpkins-using-silicone-molds-43841669
https://www.hometalk.com/diy/bedroom/furniture/how-to-update-a-dresser-using-resin-and-paper-clay-molds-43355467
DIY Christmas Decorations
Resources for this project:
See all materials


Comments
Join the conversation
-
Very pretty and one of the best ideas I have seen on Hometalk. A lot of work but looks so nice on the tree. Glad you have time to do such nice work! Made me think it would be something to work with to add something artistic to my kitchen cabinets that are a drab almond color of laminate. If only I had time.
-
I love this idea! Well worth the time and effort to make these vintage looking ornaments! Well done!


Frequently asked questions
Have a question about this project?
How can I print the instructions? I work in a NICU and it would be a great gift for the parents, especially if I could use molds of the baby's feet!!!
babynurse33@yahoo.com
Just to make sure - you stick the wet clay and then it dries on the ornament? Does one have to wait any length of time before you remove it from the mould?
Where did you find Paper Clay?