


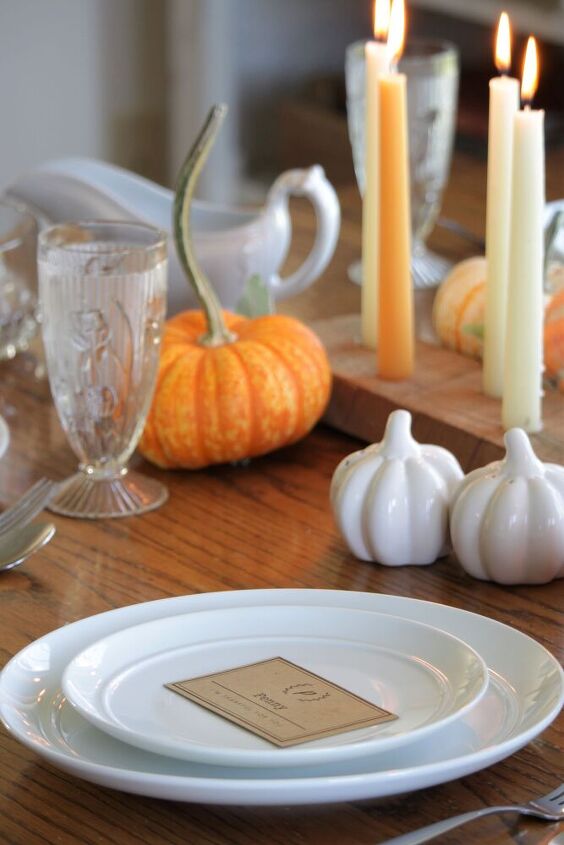
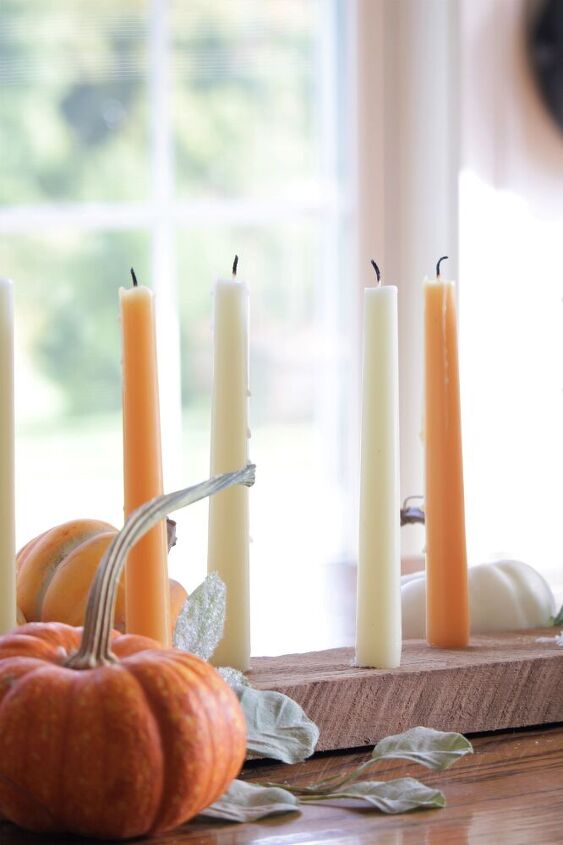
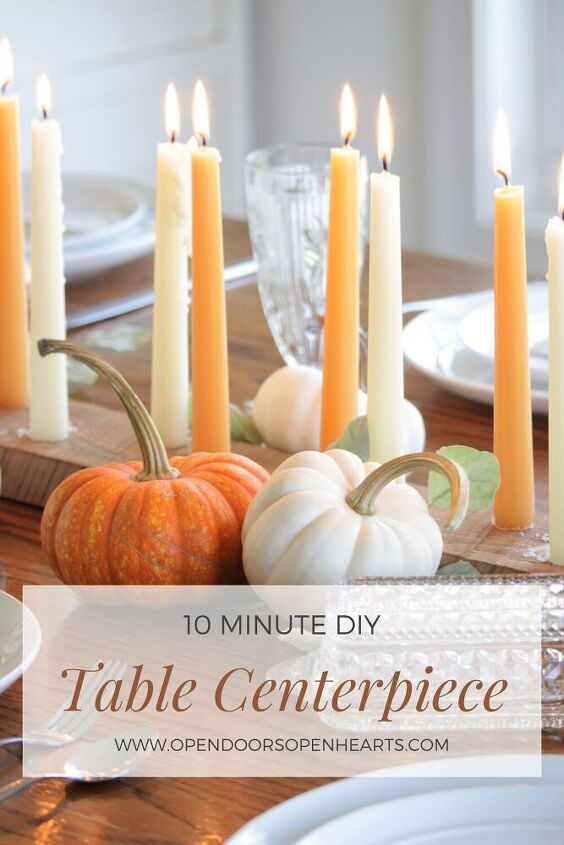
How to DIY a Table Centerpiece in 10 Minutes
A couple weeks ago, I shared a table setting with this beautiful and easy DIY table centerpiece over on the blog. I wanted to share the steps on how to make it with you in case you still didn’t know how you were going to decorate your table for Thanksgiving this year.

When I say that this DIY table centerpiece took me 10 minutes, I’m not exaggerating in the slightest. It is truly that simple. But, even though it is simple and quick to make, I think it helps create the perfect foundation for a cozy and inviting table setting for Thanksgiving this year.
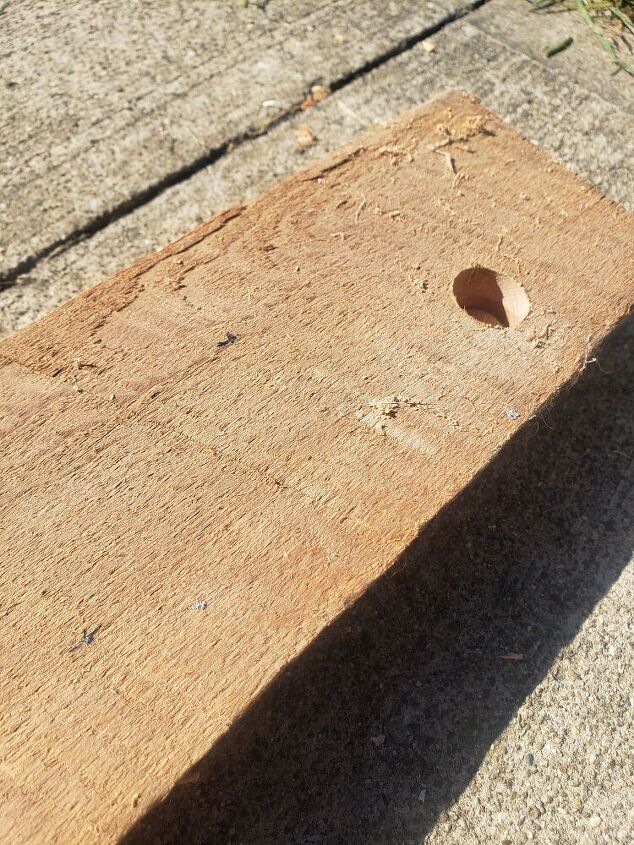
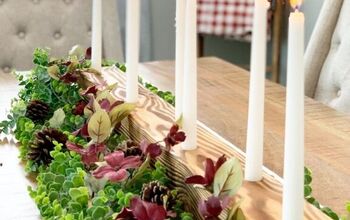
First I picked out a piece of wood. I decided to use a rough sawn 2×4. We brought it home from the mill at the family farm a while ago, but I hadn’t done anything with it yet.
Step 2.
Next, I had to decide how long I wanted it to be and how many candles I wanted it to have. This piece was 39’’ long, which was perfect for our table. As far as the candles, I chose 15. This wasn’t a magical number, but when I eyeballed the spacing by placing the candles on the piece of wood this is the number it ended up being.
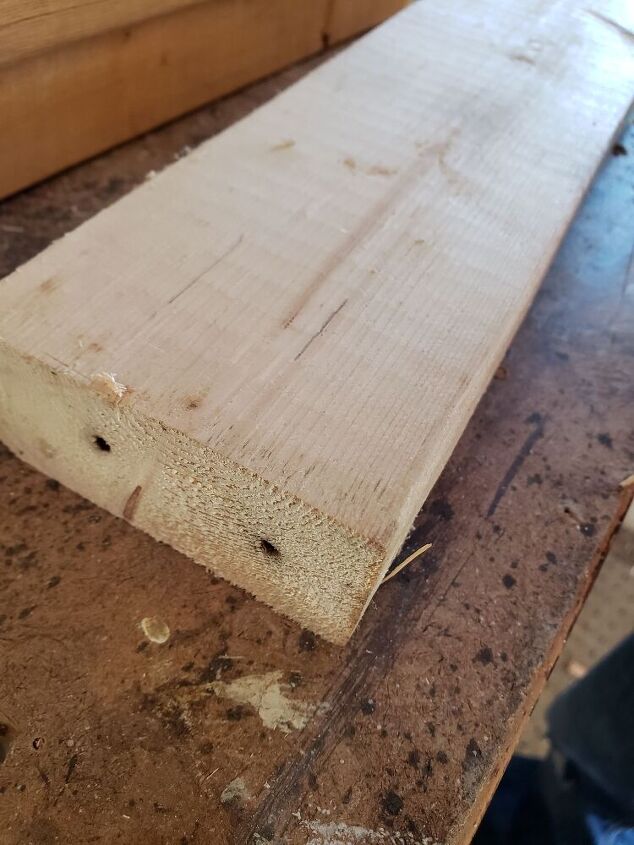
To make sure that we did everything right, we grabbed a test 2×4 and did the entire process on it. My husband is a big supporter of the “measure twice and cut once” method. He’s also the guy who reads the directions first. Wish I did that…haha!
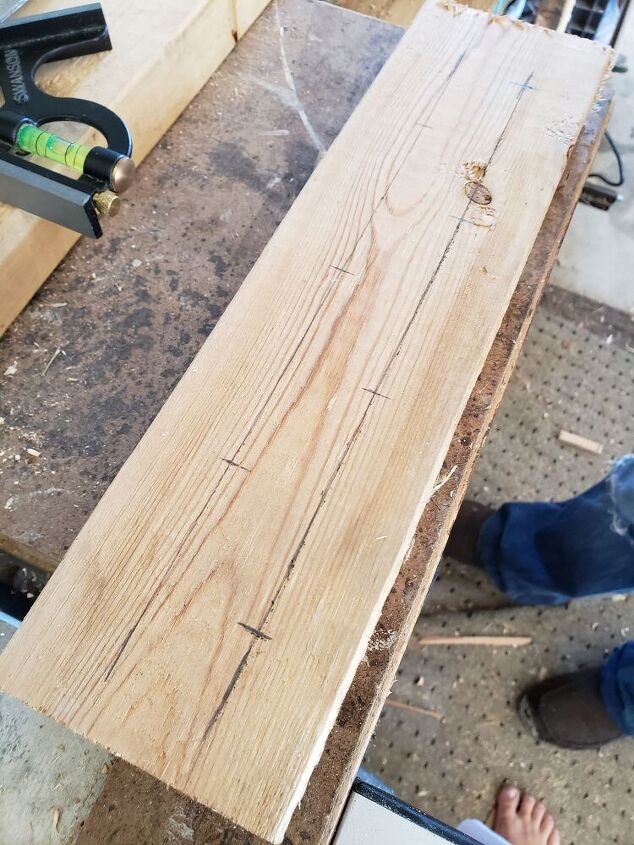
Now that we had selected the wood, we measured and marked the 2×4 into thirds lengthwise. Mark very lightly. As you can see on our test piece that markings were quite obvious and not very attractive. By doing this we were able to drill the holes in 2 straight lines down the piece of wood.
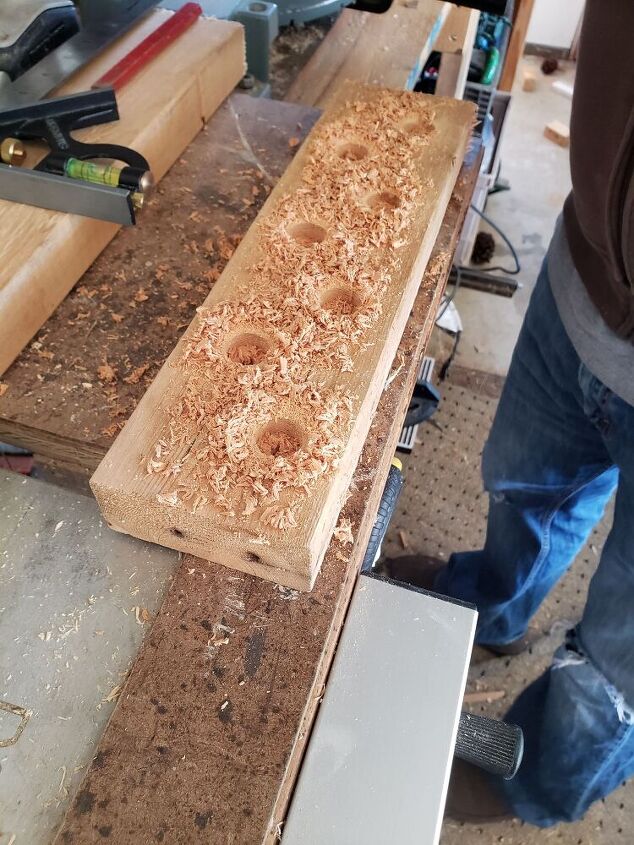
Next, we marked the exact spots we were going to be drilling the holes. I knew I wanted 15 candles, so one line was going to have 7 candles and the other was going to have 8 candles. The goal was to create a “perfect” zig-zag pattern with equal spacing all the way down the 2×4.
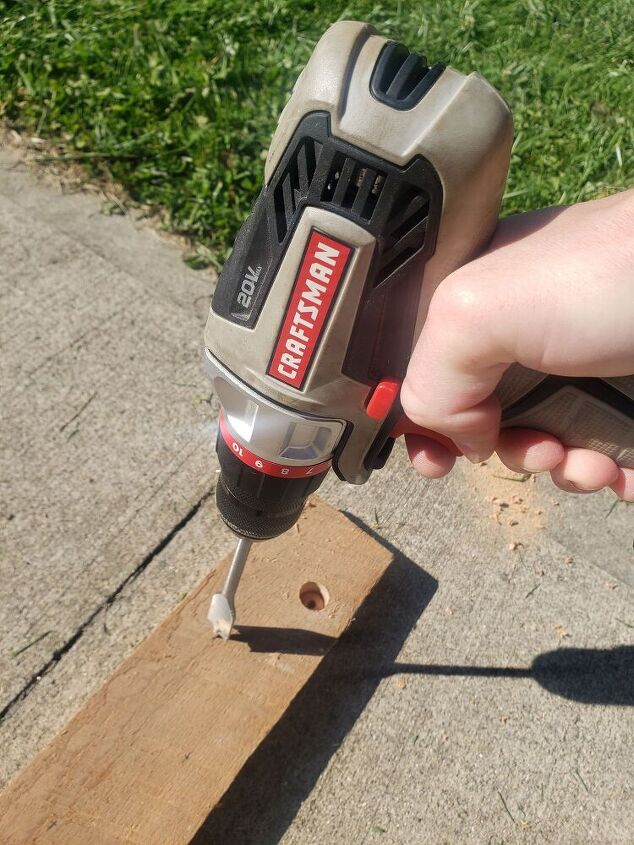
Now that everything was marked, we grabbed a drill with a ¾” paddle bit and began drilling holes at every mark. (When I did this, I didn’t go all the way through the 2×4. I drilled far enough to make sure the candle would sit down in it and not fall over.)
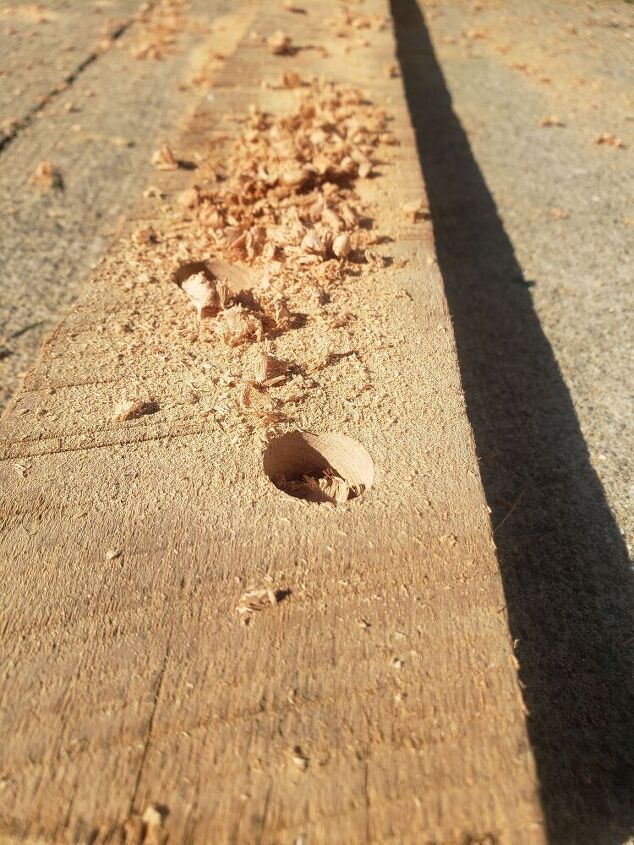
After all the holes were drilled, I cleaned up the rough edges a little, by simply brushing and pulling big splinters off.

Resources for this project:
See all materials


Comments
Join the conversation
-
Definitely going to try this. Love this idea! Might paint mine Gold? Will see? :)
-
Great idea, I've got some weathered boards out back with very worn ends and edges.was supposed to take them to the dump, sure glad I didn't. Gonna give em a good wire brushing. You could take a power rasp and create a live edge effect to soften the effect on new lumber.


Frequently asked questions
Have a question about this project?
Where did you find the beautiful stemmed water glass on the table?