


Easy DIY Snowy Houses
Hello everyone, I'm Cindy and blog at Cloches & Lavender where I share painting furniture, crafts, decorating and the occasional recipe.
I hope to inspire my readers to be creative, enjoy painting furniture with different techniques.
I enjoy upcycling pieces and giving them new life too.
It's almost Thanksgiving and for a blogger that means I'm getting read y for Christmas. Why? I want to be able to share craft projects with you. This gives you time to get the supplies needed.
It also gives you ideas so you can create the same project. Make it your own way of styling or Pin for next year's plan.
Whatever the reason, I hope to inspire you.
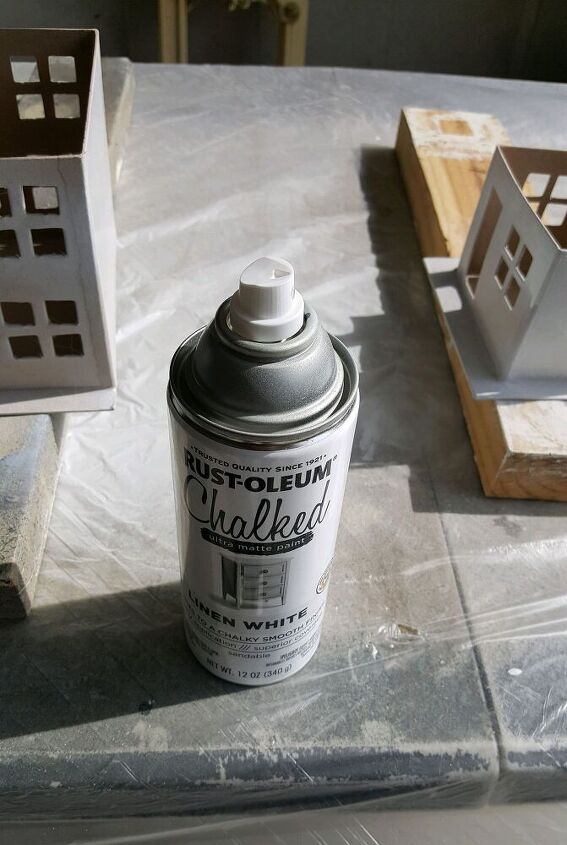
Items Needed:
- Paper Mache or Cardboard houses
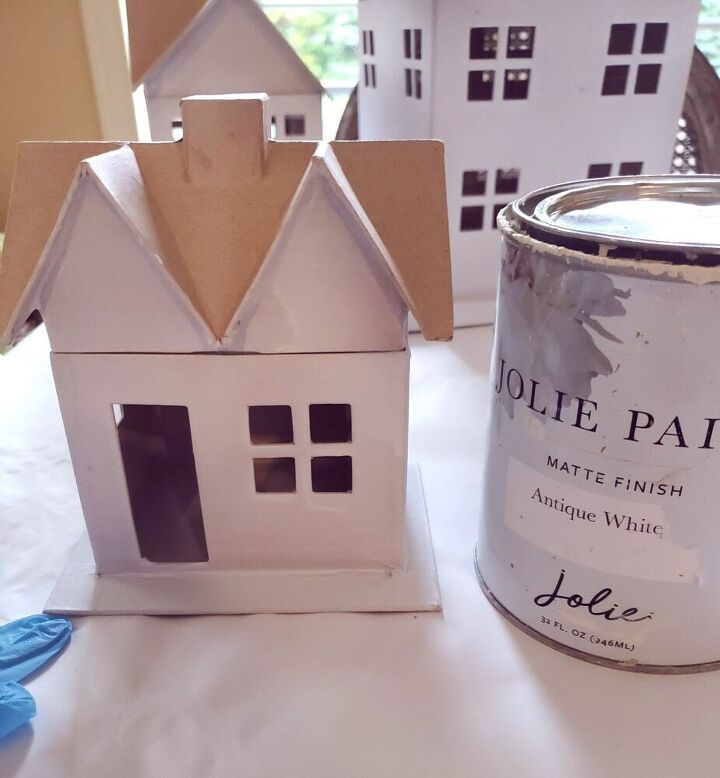
- ASCP Old white paint or paint of your choice
- Mod Podge or Elmer’s glue
- Chip brush and sponge brush
- Glitter of your choice
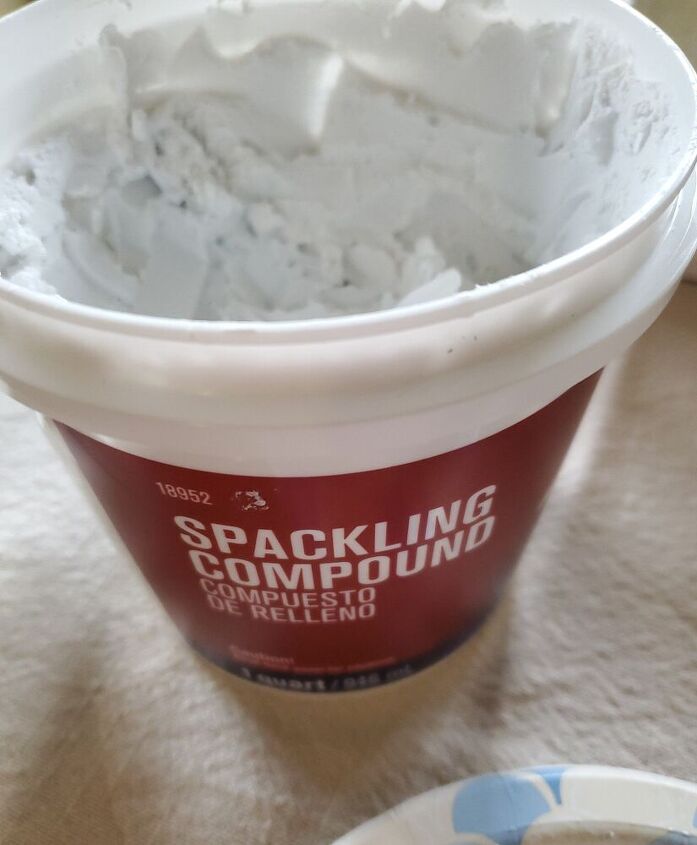
- Joint compound optional
- Spray primer
- Polyurethane optional
Let’s Begin the Easy DIY Snowy Houses
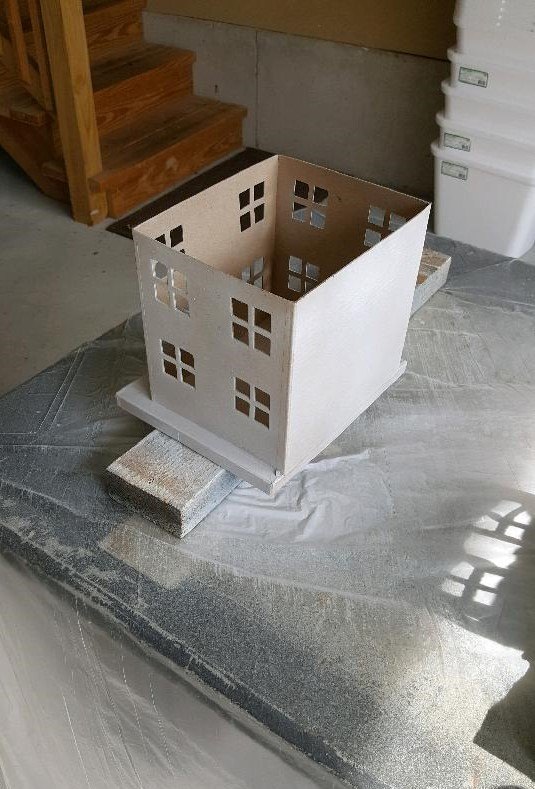
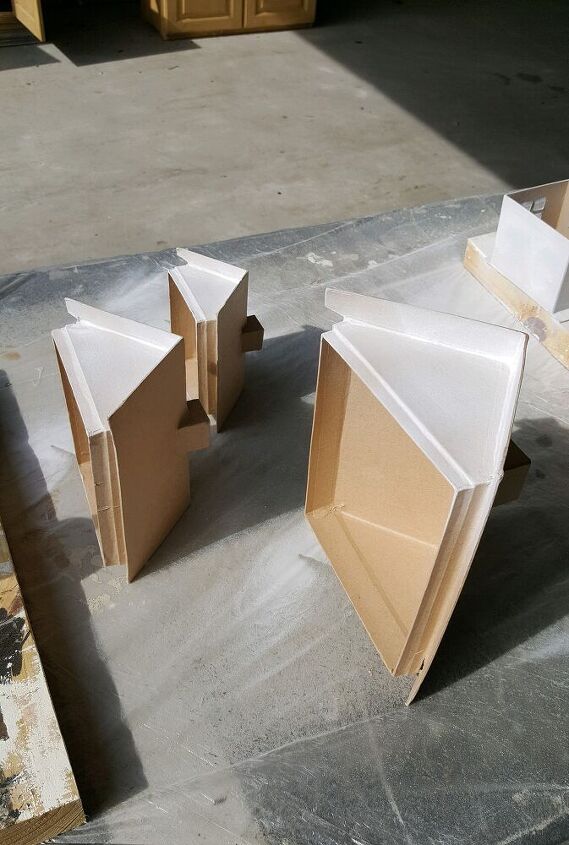
After gathering my supplies, I spray primed the houses using chalky spray paint I had on hand. Then painted them with ASCP Old white to create my easy DIY snowy houses. You can also use any white paint you prefer or other chalk paints.
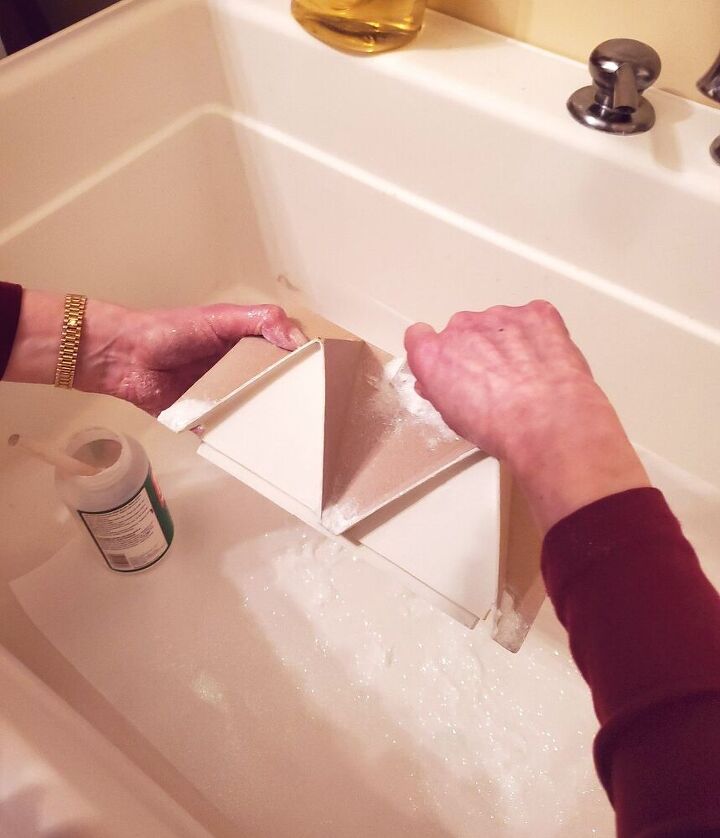
At this point, I tried to add extra Mod Podge to the grooves of the rooves to add the look of snow accumulating. I was not happy with the look.

Because this didn’t work, I painted ASCP Old white so, sometimes an error works in your DIY favor.
I pride myself with being an honest blogger. Sometime things don't go right.
I like to share that information to let my readers know that DIY's don't always work perfectly.
I find the alternative so you don't have to wonder if it will work.
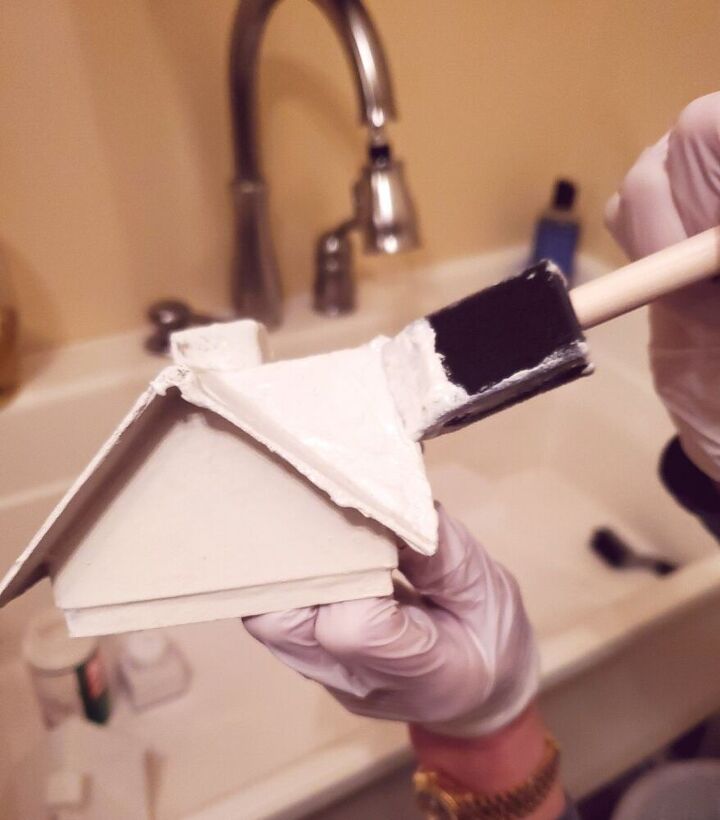
So then, how did I fix the problem?
After looking at the houses I decided adding joint compound to the edge of the rooves would add the appearance of snow hanging on the edges that I was wanting.. While doing this application I also added joint compound to the grooves of the rooves for the appearance of snow as it melts off a real roof. I let this dry overnight.
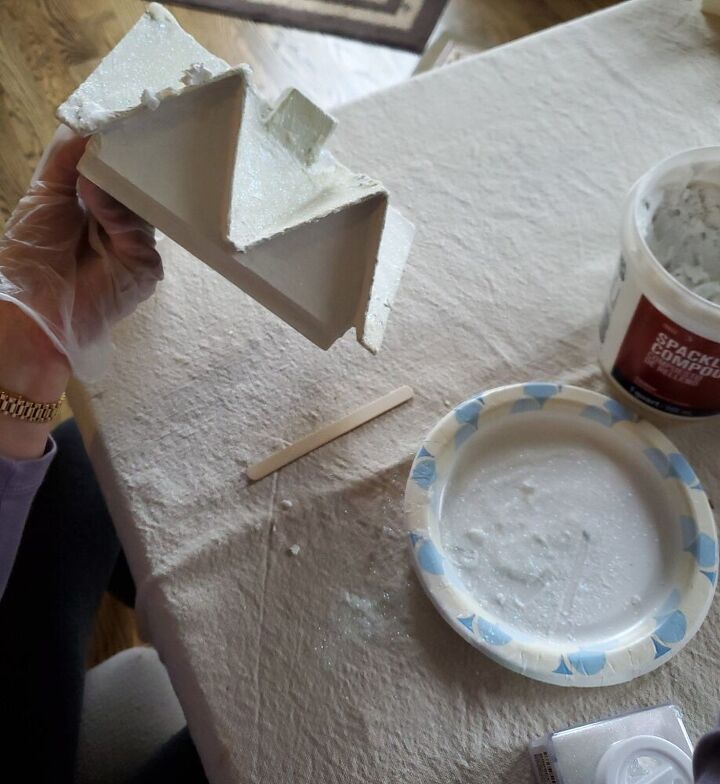
The estimated time below is longer if you choose to use the joint compound to give it drying time. I highly recommend going the extra mile!
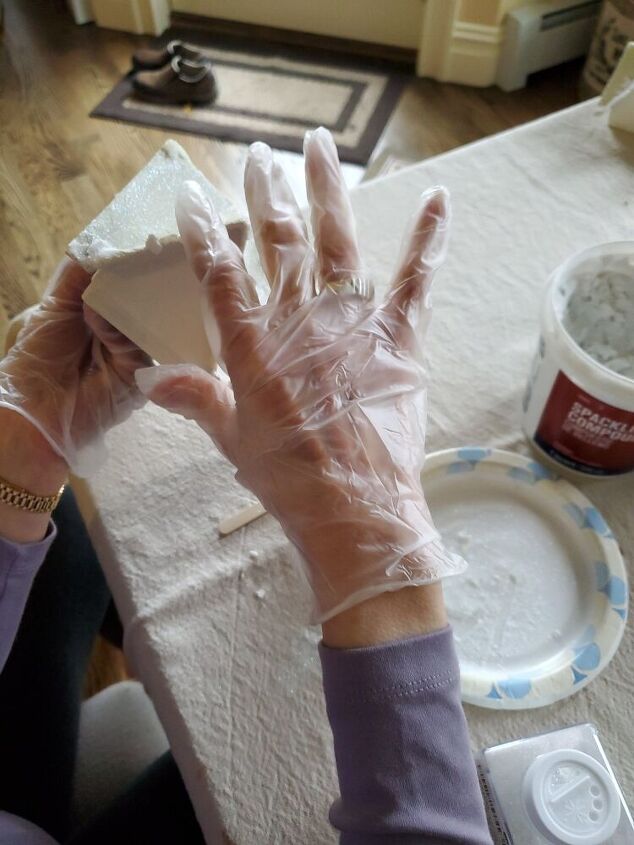
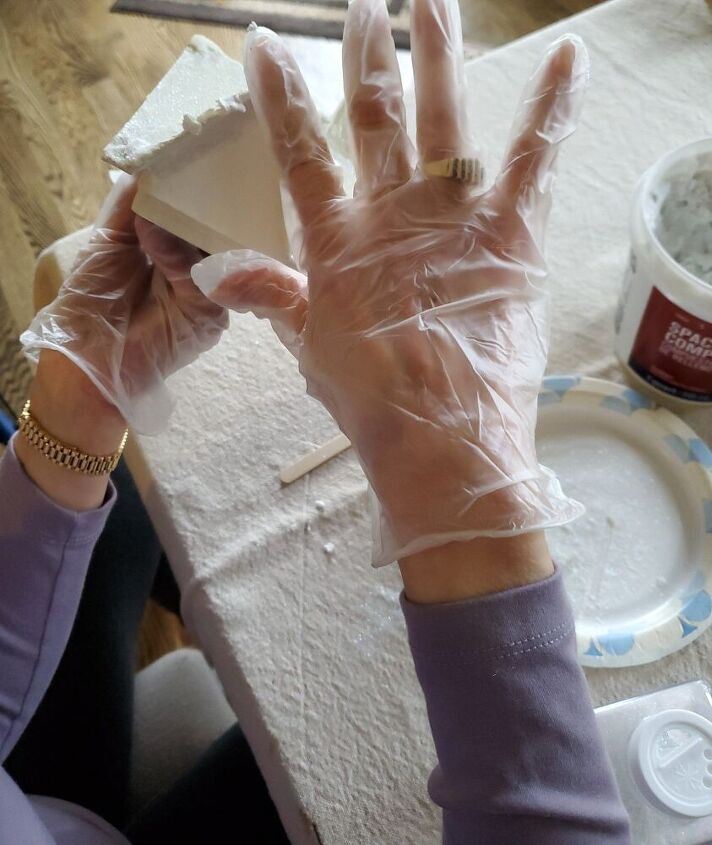
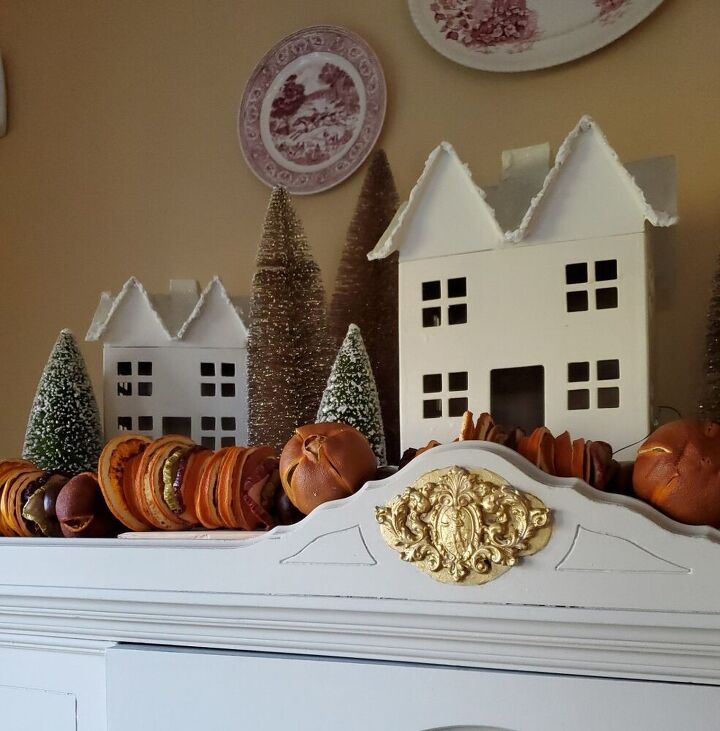
Adding the joint compound added a beautiful look to my easy DIY snowy houses.
Lastly, I applied a quick coat of polyurethane because I wanted to prevent the glitter from constantly falling.
What do you think, will you give these a try to add some whimsy to your Christmas or winter décor?
I hope you found this DIY inspiring and will give it a try. It's very easy and doesn't take long.
These snowy houses will add so much charm to your Christmas or winter décor.
Next, I will be sharing a DIY for the simple dehydrated fruit garland you see in the photograph.
Until next time, enjoy!
Resources for this project:
See all materials


Comments
Join the conversation
-
Thank you for this! I have several boxes of ceramic houses that I’m painting white and I think this will work on these too. I had plans of just adding crushed glitter glass to the tops but I like the idea of having a bit more of a snow look on the roofs of these houses before adding the glass, so thanks for sharing!
-
You could use hot glue to give that appearance then paint. Less messy.


Frequently asked questions
Have a question about this project?