


Transform a Rabbit Hutch to Beautiful Coastal Cabinet

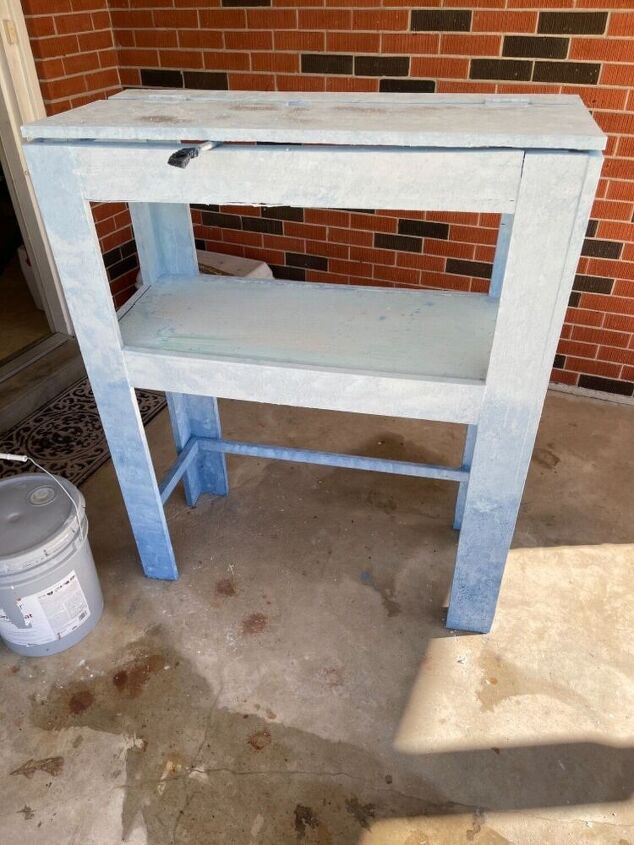
I needed to figure out something to build for my microwave that would fit a small area. Sure I could go buy one but if anybody knows me I got to make things. I came across this wonderful rabbit hutch on the side of the road. I loaded it up in my jeep took it home and went to work. I really wanted to try adding sea salts to my paint to see how it would turn out. This was my first try and kind of a learning experience.
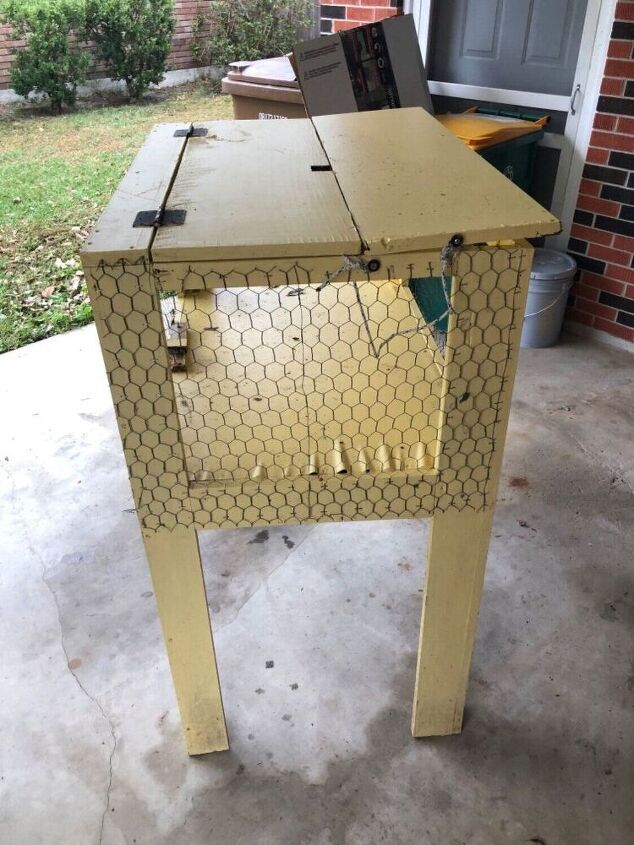
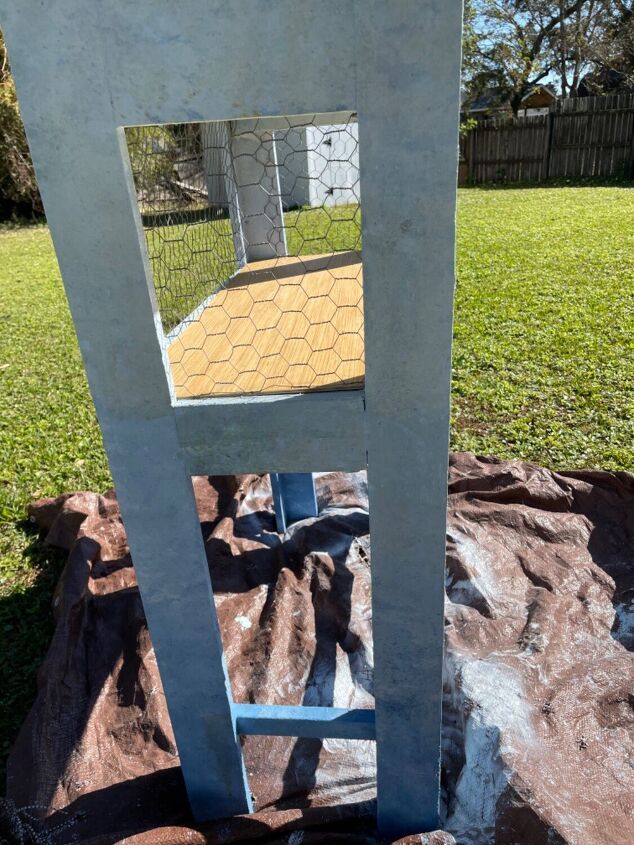
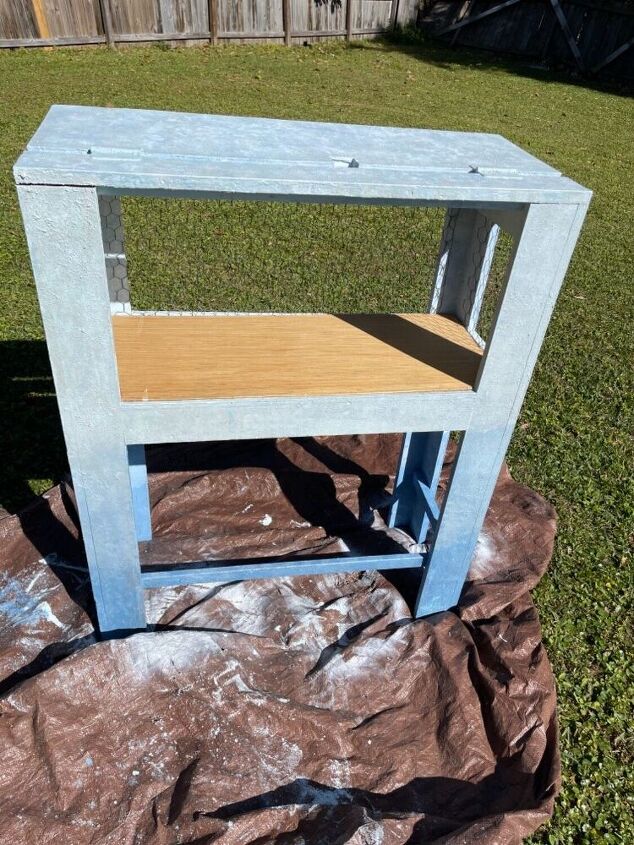
The rabbit hutch had good bones but was too large for the area I need it. So I decided to cut it down. I removed all the chicken wire measured my area took apart the front face and cut it back.
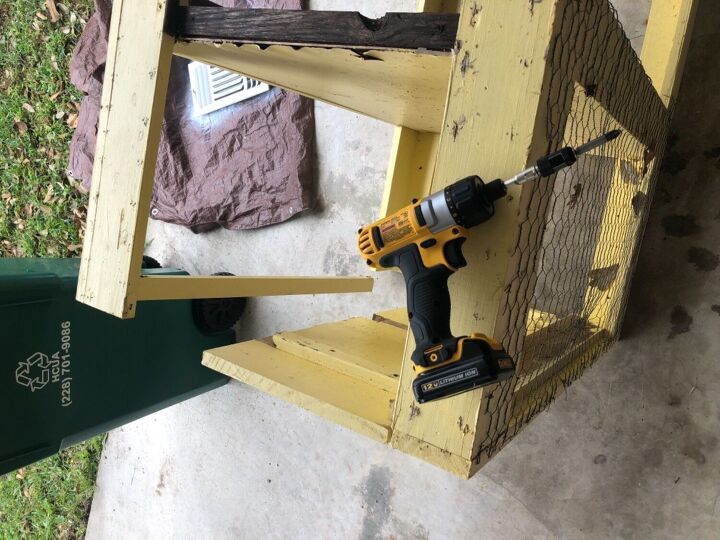
I only removed the front wood boards so that I could cut it back and it would still be stable.

Here it is put back together in the dimensions I needed.

I puttied all the holes with drywall mud and painted it with primer. It was a rabbit hutch so I didn’t want any smells to bleed through. And really wanted to cover schools bus yellow paint.
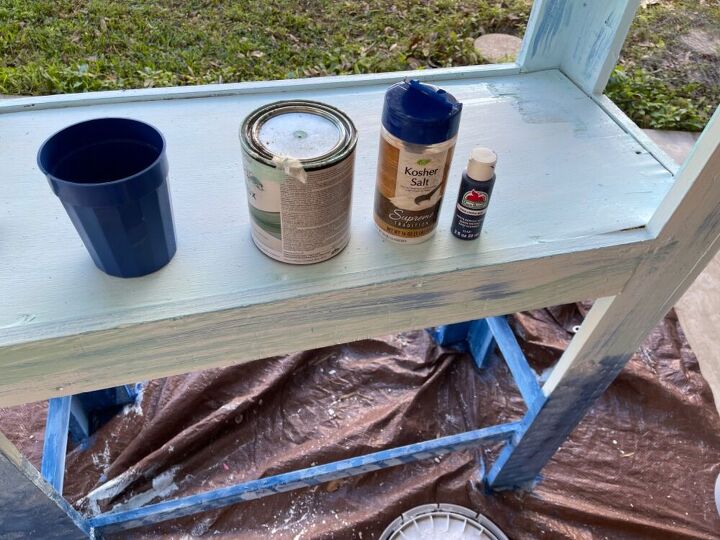
I started adding blue color to the base of the legs and worked my way up. I use the blue cup I would add a little paint add a little powdered drywall mix and kosher salt. Because of the texture of the salt in it I needed to dab it on more than stroke it.
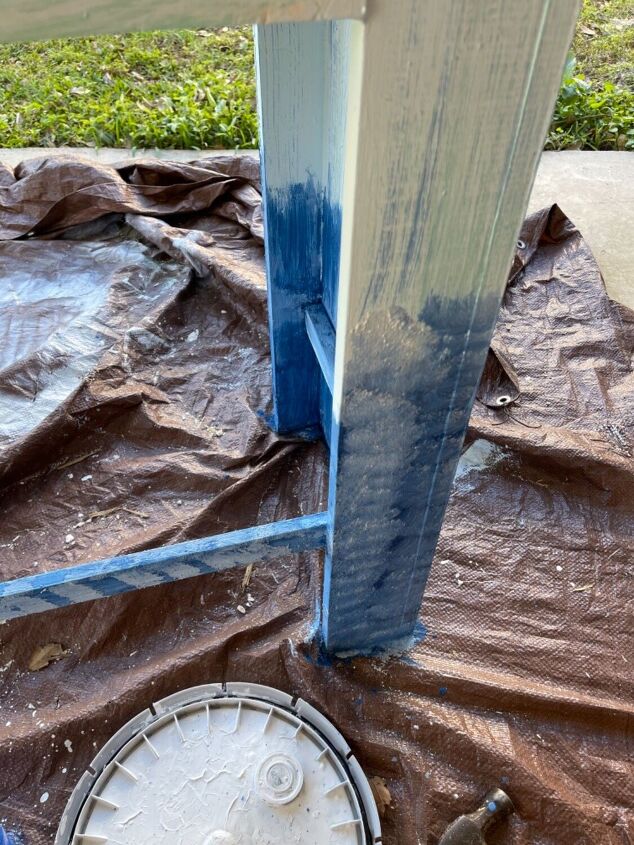
Here you can see I Started dabbing the color of the leg, I know it doesn’t look like much but it does all come together.
As I worked my way up to the top I would simply add a little white to lighten it a little more. By the time I got to the top it was a pale blue.
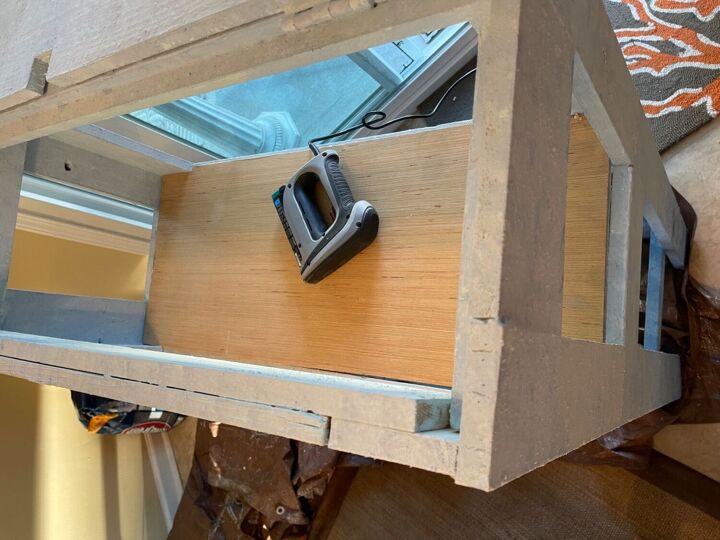
Not sure if you could see from the original picture but the original Venere that was in there was bubbled crack peeling so once I got done with the paining I added a sheet of veneer to the base of the shelf
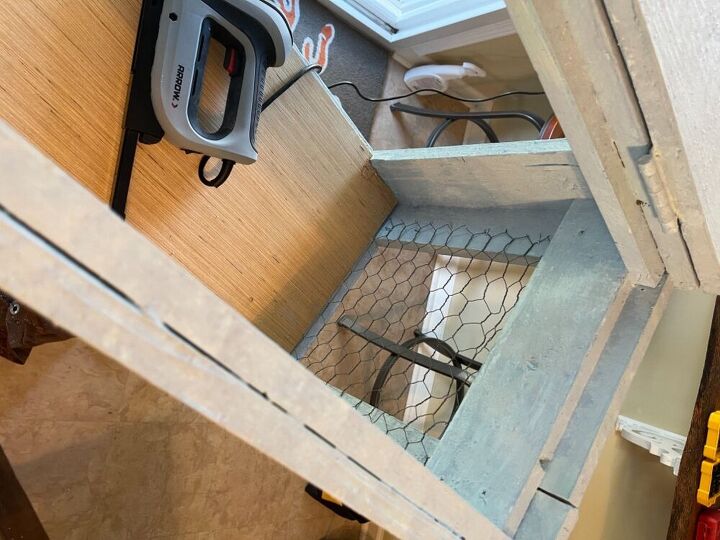
Once I got the veneer attached with the staple gun I attached the chicken wire back but this time I attached it on the inside rather then outside as it was before.
Once I got it all put back together I drug it outside and put a clear coat of polyurethane over the top.
I would recommend you use the spray polyurethane otherwise you’ll be knocking off the salt granules when you try to paint it
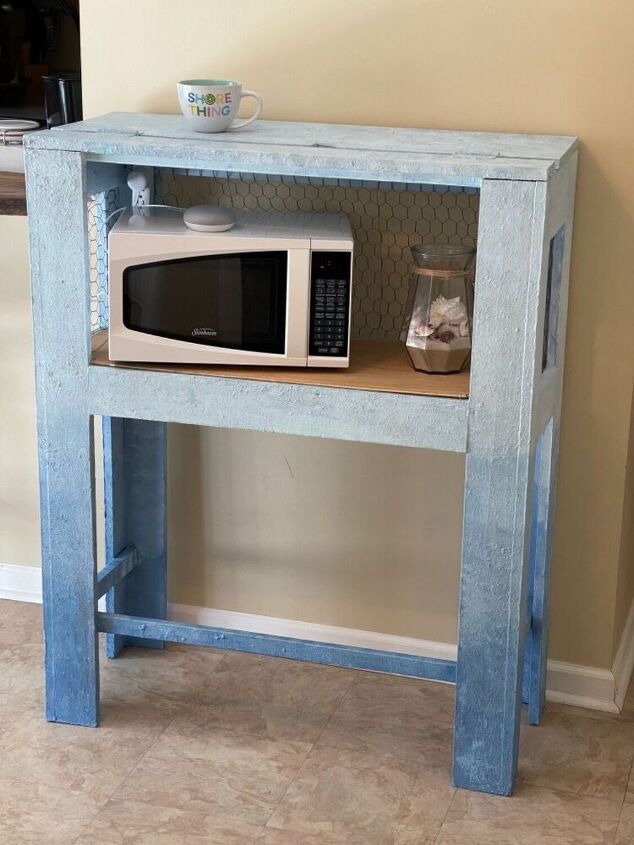
I left the top open hatch, you could always covered up but I wanted everybody to know that it was once a rabbit hutch.
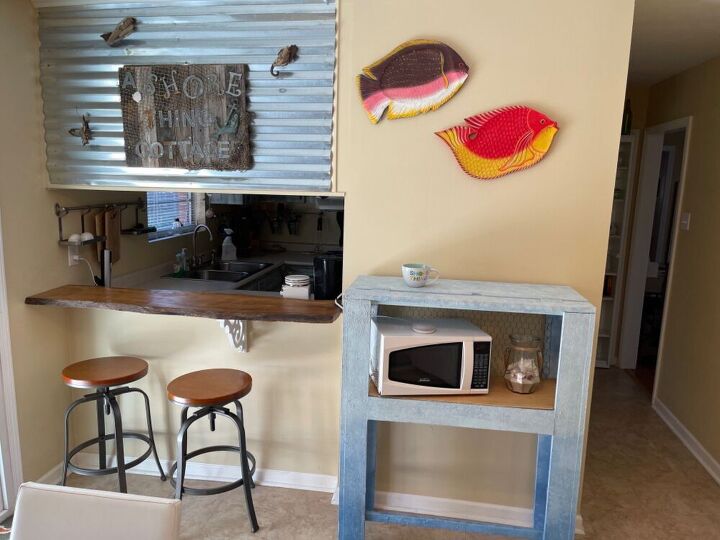
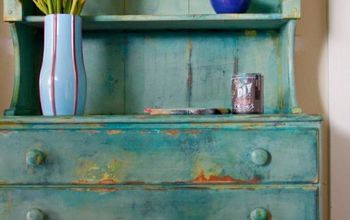
Here is the completed project works perfect with my wood bar and my metal wall. It took a little time and patience taking it apart and putting it back together but I really like how it turned out and I think I’ll try the salt painting a lot more. Thank you and let me know your thoughts!
Resources for this project:
See all materials


Comments
Join the conversation
-
Good job and saved money as well
-
Love that you kept the wire. Cool piece and i keep noticing rabbit hutches when I see them I linger...great idea and inspiration.


Frequently asked questions
Have a question about this project?
Do you do any sanitizing before you started.