


Building Blocks of Love

This has been a tough year with the pandemic keeping families apart. And we have two new grandbabies so even though we live nearby it's been a challenge to make sure they know who we are.
This is a quick and easy project and it makes a wonderful gift!
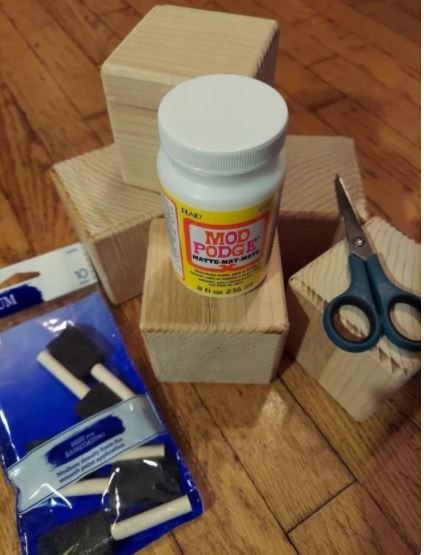
You'll need Mod Podge Matte, Foam brushes, scissors, printer paper, and most important- WOOD BLOCKS.
NOTE: The wood blocks should be chemical free and not the treated stuff used for outdoors. I suggest 3 or 4 inch cubes. You can buy the wood and cut it to size (best price) or buy it already cut into square cubeso n Amazon or a craft store like Michaels . If the edges aren't rounded you will want to sand them down so they're more rounded.
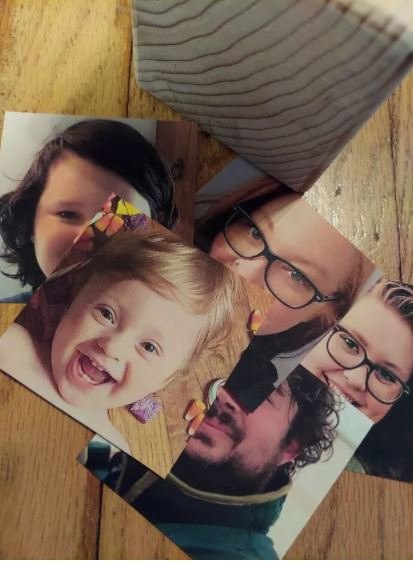
I chose headshots of each family member and printed them on my home printer using regular white paper and the printer setting for best quality. My printer is an HP Envy 5000 series and it does an amazing job for an inexpensive printer.
I went with 3 blocks for each baby- one block had the 4 grandparents, one block had our daughters family and one had our sons family.
Obviously you have 6 sides to a block so if there aren't that many family members for a block you can include family pets or put words on the remaining sides of that block.
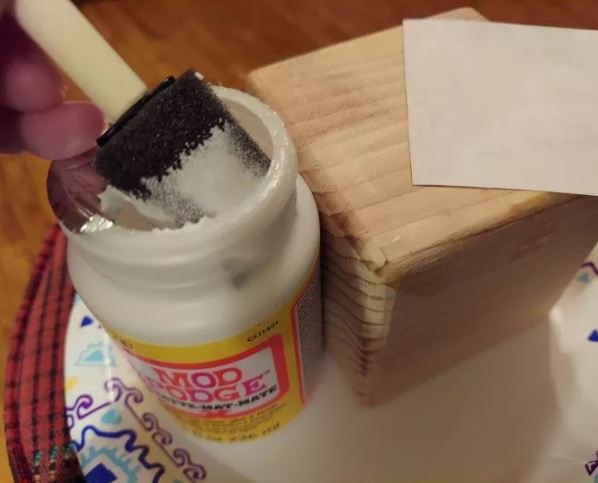
Prep the blocks by coating the entire block with Mod Podge and let it dry. It doesn't take long.
(1) Next apply some Mod Podge to one side of a block and apply one of the photos to it. Then with clean dry hands use the side of your hand to smooth the picture onto the block gently pushing any air bubbles out. I will say I still ended up with some bubbles so don't feel bad if you do too. It's still going to look great!
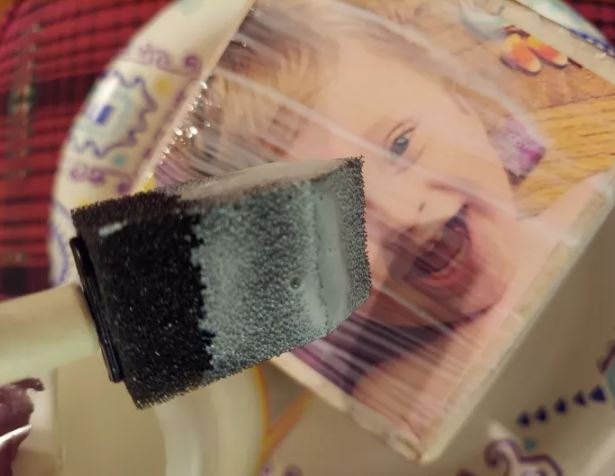
(2) Once you have the photo applied to the block and smoothed out brush the Mod Podge across the face of the photo. It dries clear pretty quick!
NOTE: If you brush too much the color does come off a bit so just make sure it's covered nice and smooth and that will be good. After it dries you can give each side another coat if you feel it needs it.
Now move onto doing the same 2 step technique with each side & a photo until you've used all your printed photos.
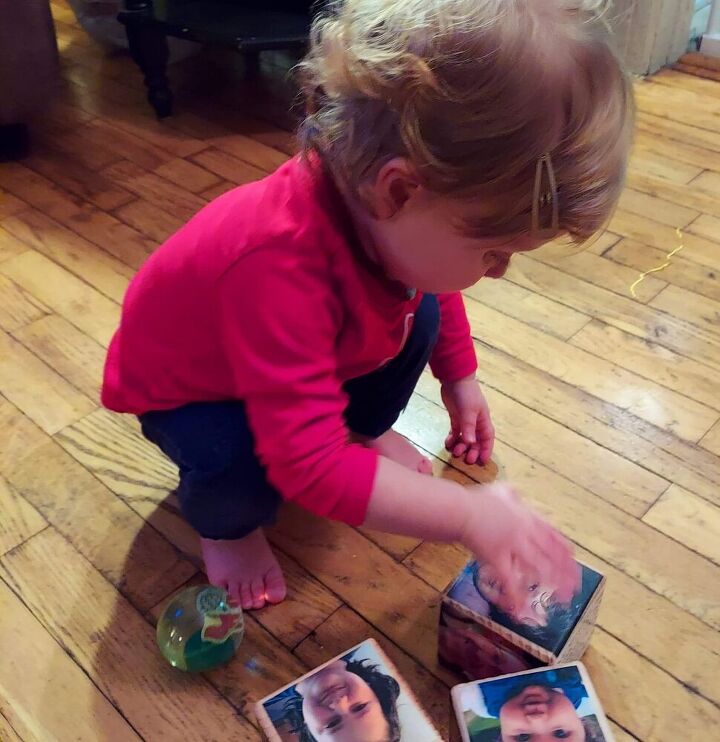
He loves playing with the blocks and saying the names of each person. Adorable!
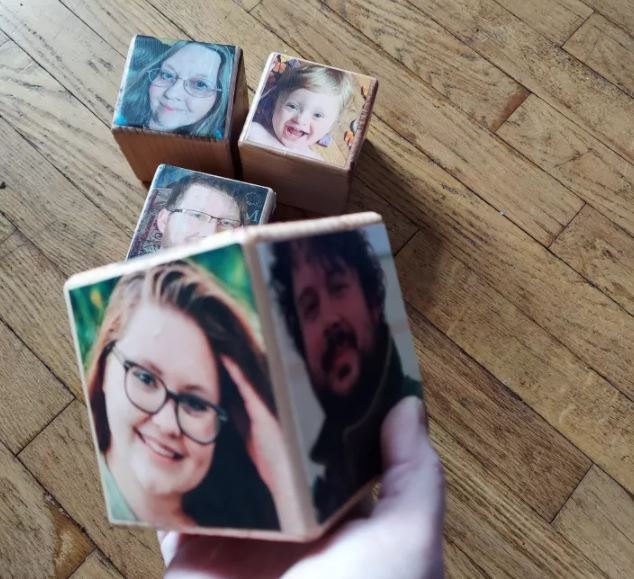
These photo blocks are so easy to make and look great stacked up on a shelf so really they're not just for little ones!
Resources for this project:
See all materials


Comments
Join the conversation
-
Wonderful idea and one that I am going to see about doing. I have a brand new Great Grandbaby & a 6 yr old Grandson. Both would benefit from this idea. Thank you so much for sharing!
-
I loooooove this idea! My mom has Alzheimer's and this is a great idea (and it does look so easy) that I can do for her, (I will just add the name of the person in the picture) and an added bonus, since living in an assisted living where she will have a roommate once covid rules are lifted.
She can just stack the blocks for space saving and look at them anytime!!
Thank you so very much for the post!!!


Frequently asked questions
Have a question about this project?