


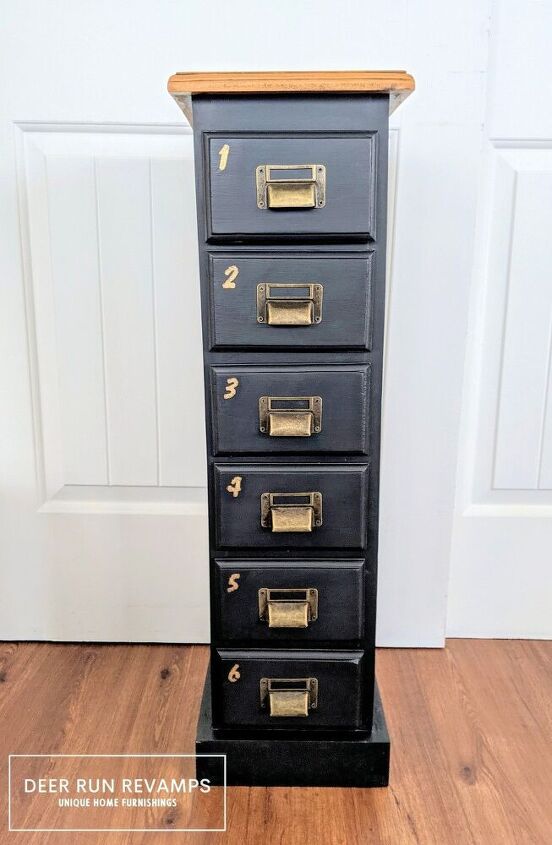
We're Giving A Little Apothecary Chest A Quick Industrial Makeover

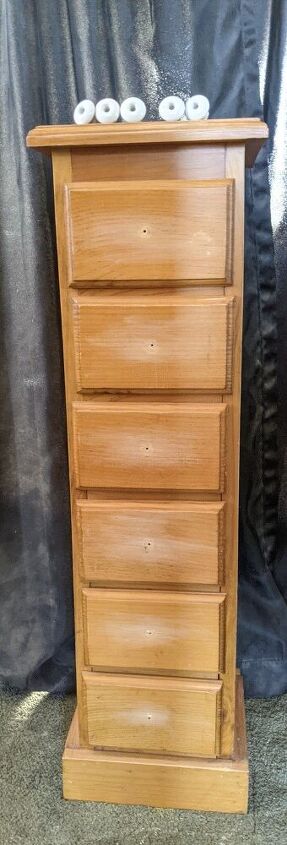
These little organizers are great for storing random items... craft room storage, makeup organizer, spices...
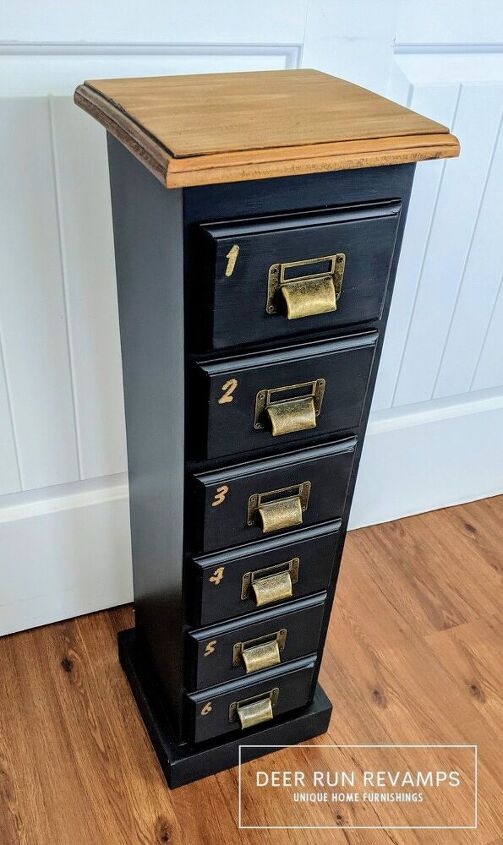
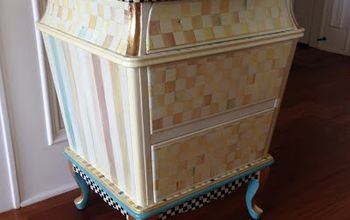
And this one is the perfect size! It's about 24"tall 6"wide and 6"deep so it sits on the ground.
Let's get to work!
I based the price off of the amount of product used for this project.
Time does not include dry times
Prep is so important, regardless of the paint that you use.
First, remove all the hardware.
Then scrub it down with a good degreaser. I use Sugar Soap from Frenchic Furniture Paint. This stuff is awesome and non toxic. I sprayed the piece and then wiped it down. If your piece is super dirty, use a scrubby sponge to clean it. Get inside the drawers too!
After it dries, do a quick scuff sand wherever you're painting. Do this using 220 grit sandpaper and quickly go over the surface to "key" it. This helps with paint adhesion. Then wipe down the entire piece with plain water
I wanted to add new pulls so I had to plug up the old knob holes.
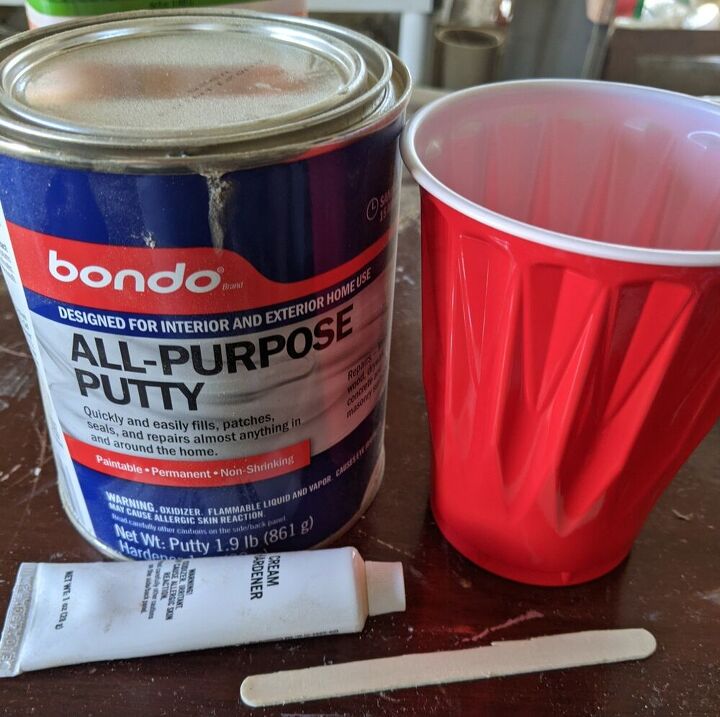
Bondo is my preferred product for this job. It won't eventually crumble like most wood fillers do over time.
Bondo dries very fast, so work quickly.
Grab a disposable cup and popsicle stick.
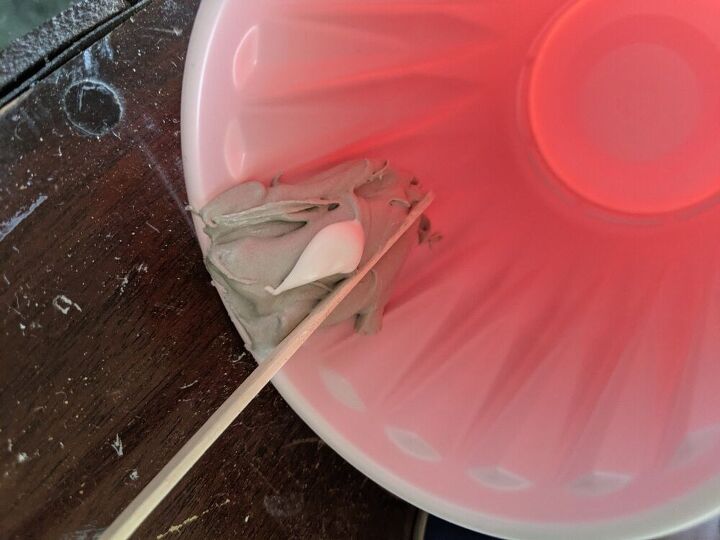
Put a small amount of bondo into the cup then squeeze a small blob of the hardner ontop and mix it together very well.
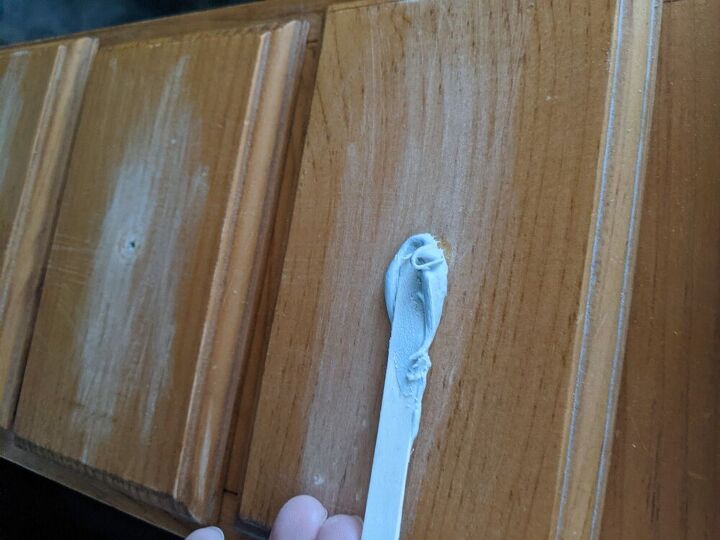
Then apply it to the holes. Make sure you press it down in there, and then scrap off the excess
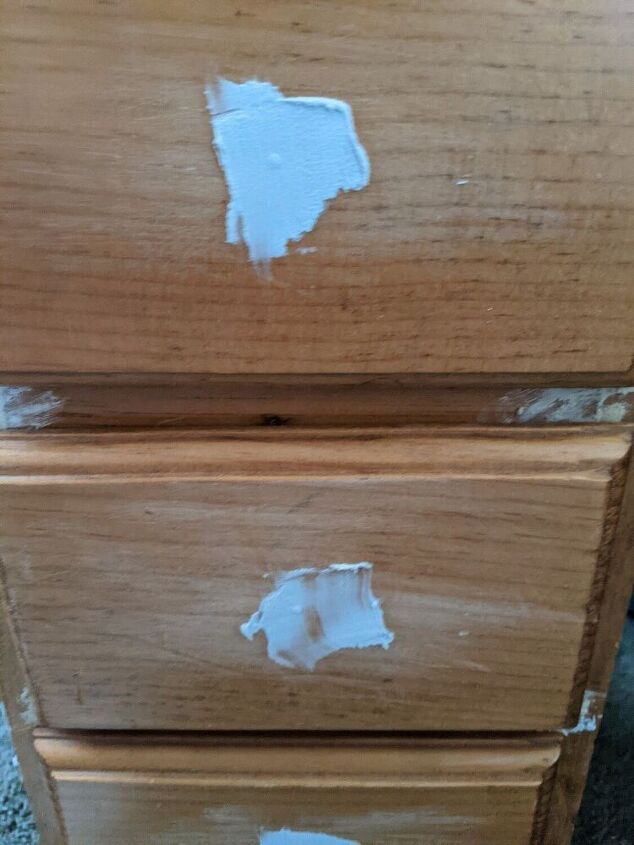
You can also fill in any other deep scratches, or other imperfections
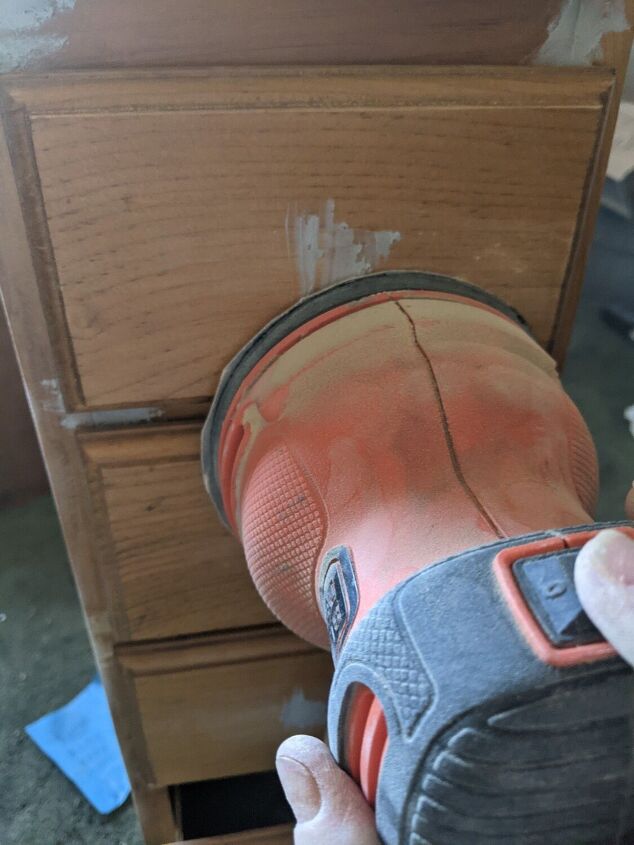
Allow the Bondo to cure for about 45 minutes and then sand smooth using 150 grit sandpaper
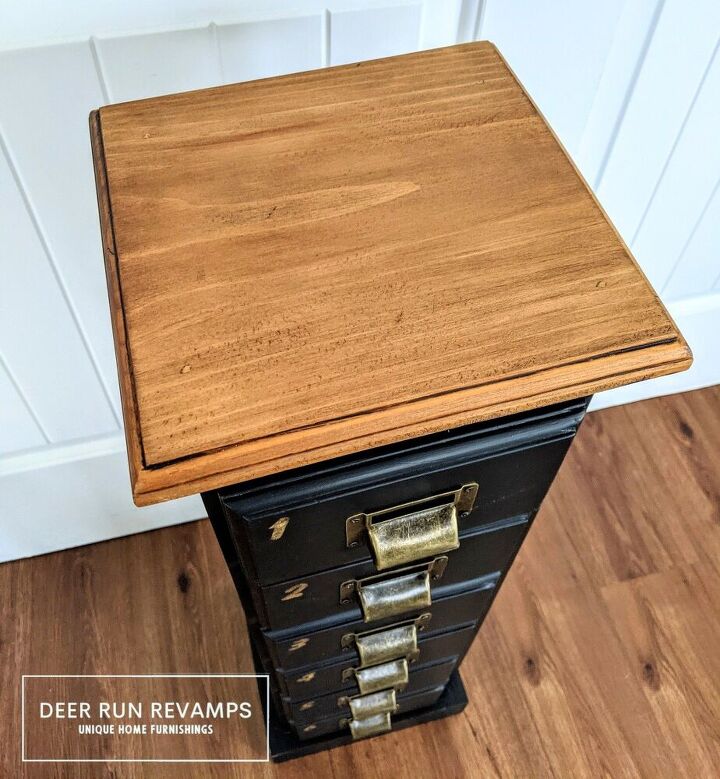
While we had the sander out, I decided to sand the top down to bare wood.
For the top, I started with 120 grit sandpaper to remove the old stain and finish. Usually I would strip the surface first, but since it's such a small surface area and didn't have any varnsih, I'll have it sanded down in no time.
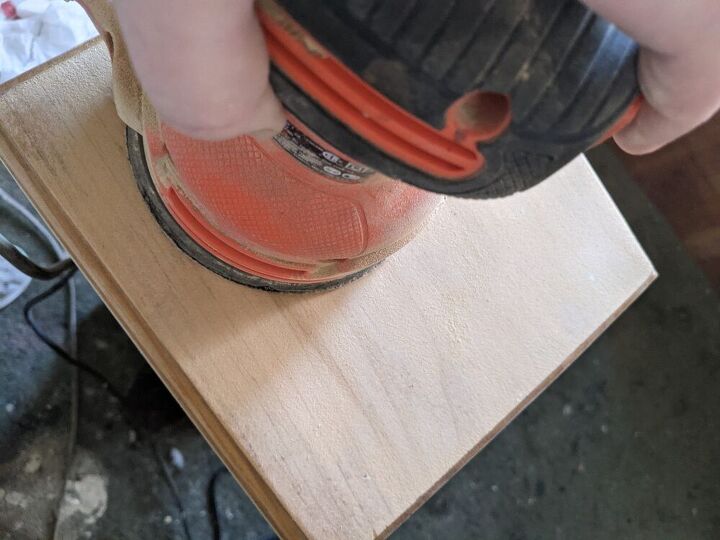
Once the old finish and most of the stain is gone, i switched to 180 grit sandpaper and smoothed it out. Then went to 220 grit to finish it off.
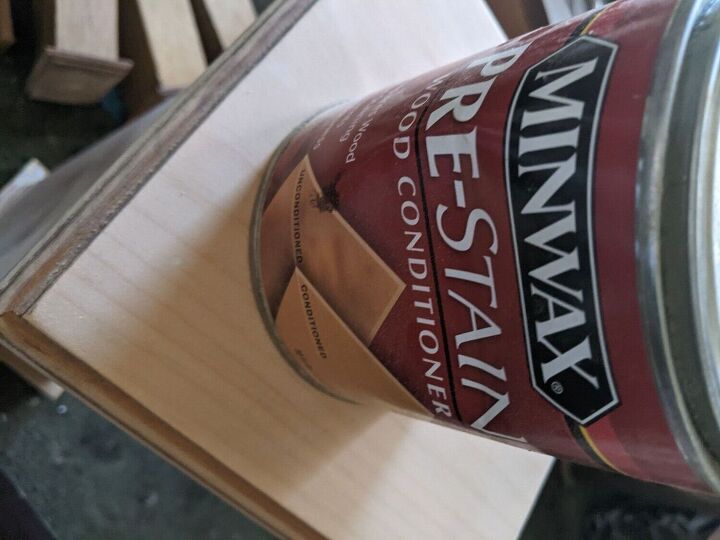
I'm leaving the top natural but I still like to use a prestain regardless. Typically, the prestain is used before staining wood to ensure a more uniform application...but it also moisturizes the wood as well and darkens it just a shade. It gives it that finished natural look I was after
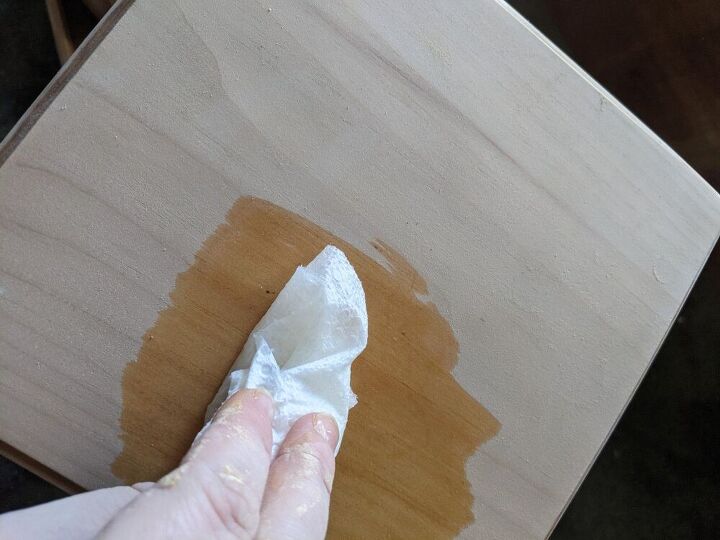
It's a liquid and I apply it using a paper towel to the top only.
If staining, follow the directions for drying time before doing so.
Once that was dry, I did apply Frenchic's Clear Wax to seal it with a bit of Browning Wax on the edges to darken them
Now, paint 😁
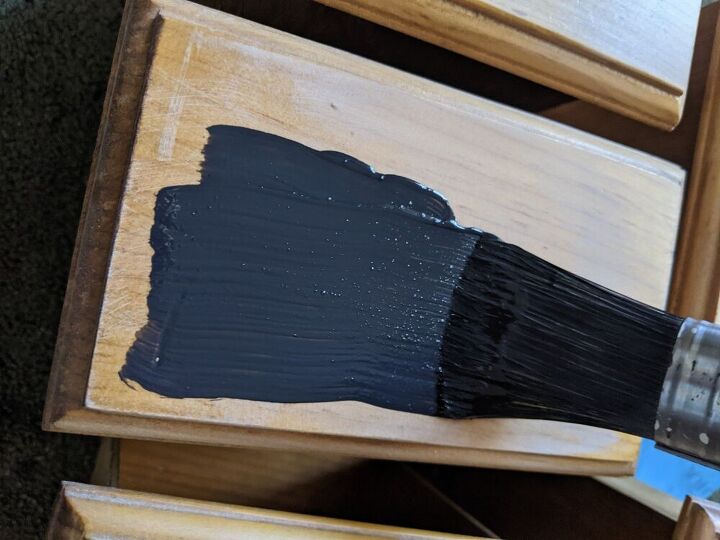
I used Frenchic Furniture Paint's Loof from their Lazy Range. These paints do not require priming or a topcoat, both are built into this eco friendly chalk and mineral paint.
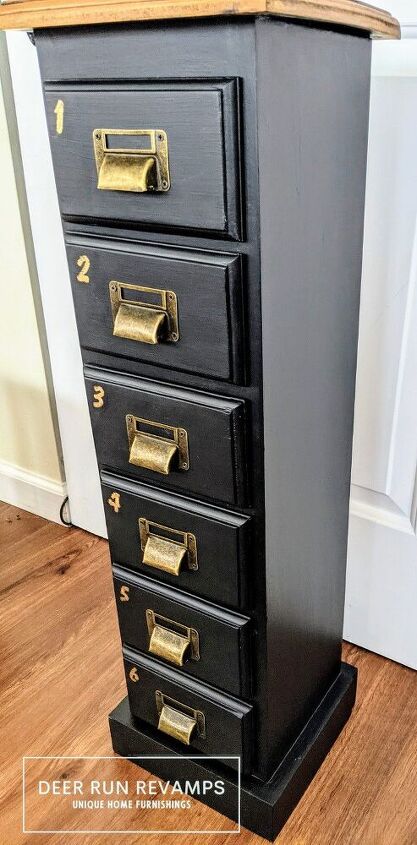
I painted the entire piece except the top. 2 coats was all I needed
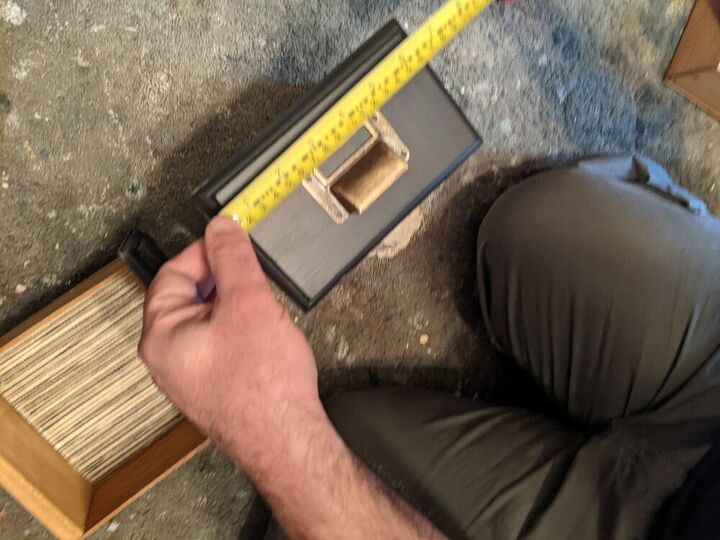
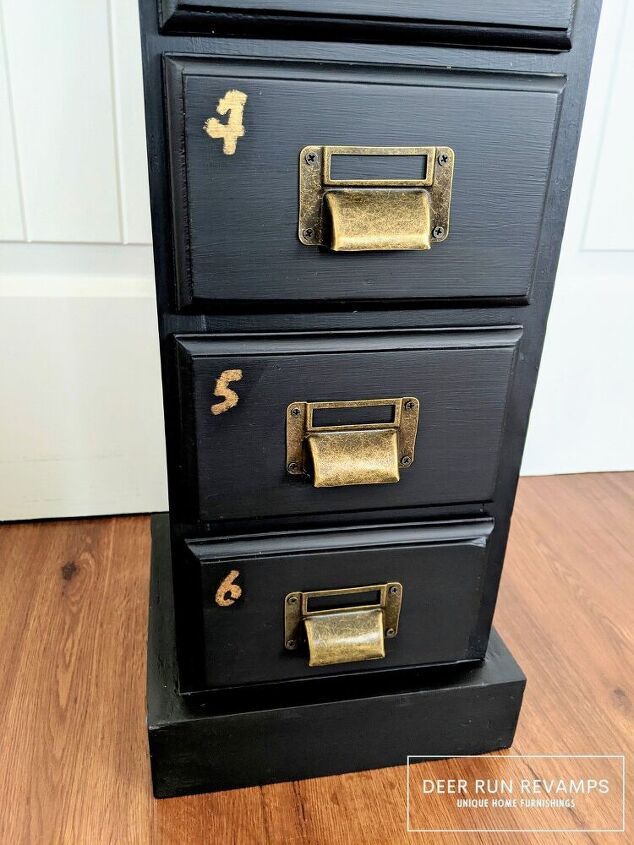
Then, it was time to install the pulls. I got these cool library card catalog pulls from Amazon. They are the perfect size, and the price was phenomenal!
The pulls have the screws that go in from the front, so no drilling was required.
Measure each drawer out and mark it, then install the pulls
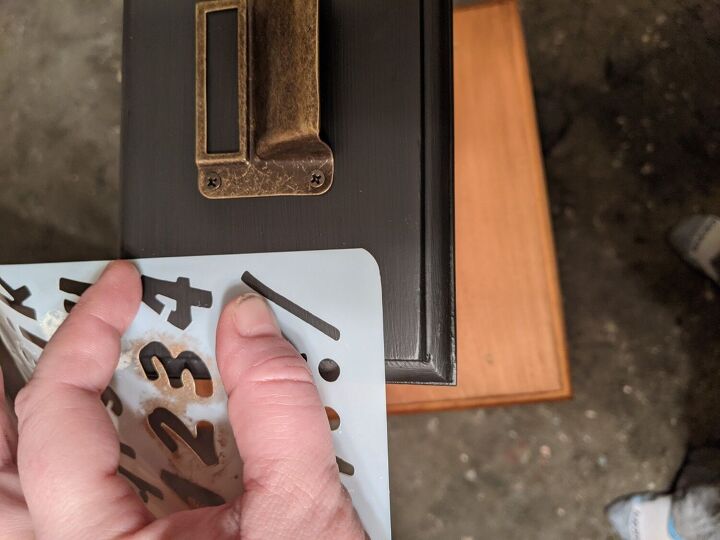
I wanted to number the drawers so I grabbed my stencil and Redesign with Prima's Eternal Decor Wax. The wax matches the pulls perfectly!
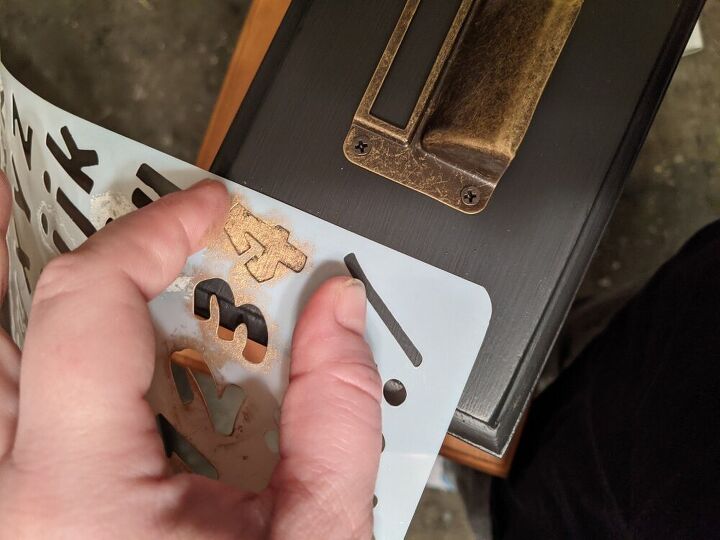
I then dabbed the wax onto the stencil for each drawer
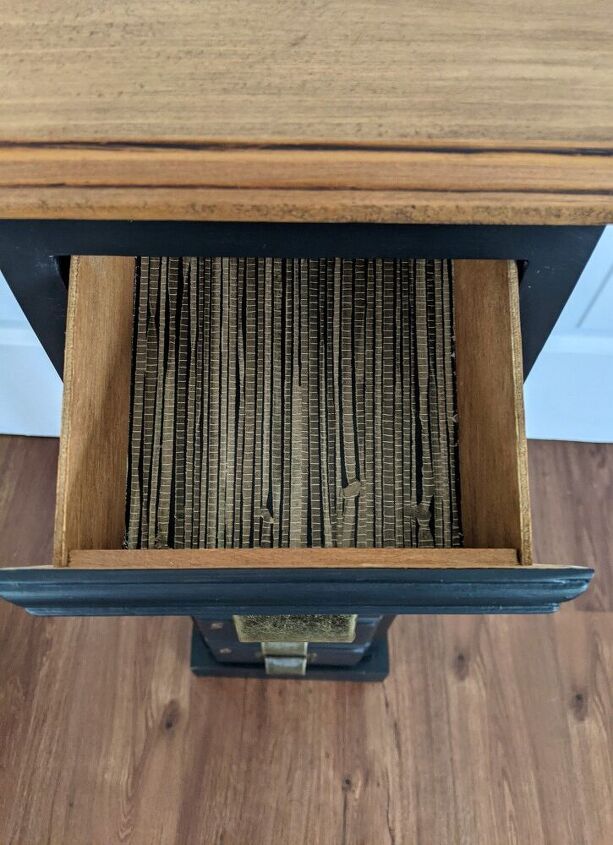
I also decided to line the drawers with a contact paper. These extra little details are a great selling point!
Now, you can fill up the drawers and enjoy the little piece that you created ♥️
You can find Frenchic Furniture Paint, Redesign With Prima products as well as this piece and so much more in our Etsy shop
If you'd like to check out our other projects, get inspiration, or just to chat, visit us on Facebook
I'm obsessed with those pulls 😍
Thanks for reading our tutorial! I hope this has inspired you to create something beautiful 😍
Resources for this project:
See all materials


Comments
Join the conversation
-
Love the color combination. I agree, the pulls are really neat! ❤️
-
Really a nice little piece! Colors are great but I would have preferred the numbers in the card pulls as they are meant to be used.


Frequently asked questions
Have a question about this project?