


Kitchen Updated With Chalkboard Paper

If you read my article about my Pretty Darn Good Kitchen Makeover, you'll remember that I didn't have enough time to paint the inside of the kitchen cabinets. Today I will share my Plan B of how I finished the cabinets.
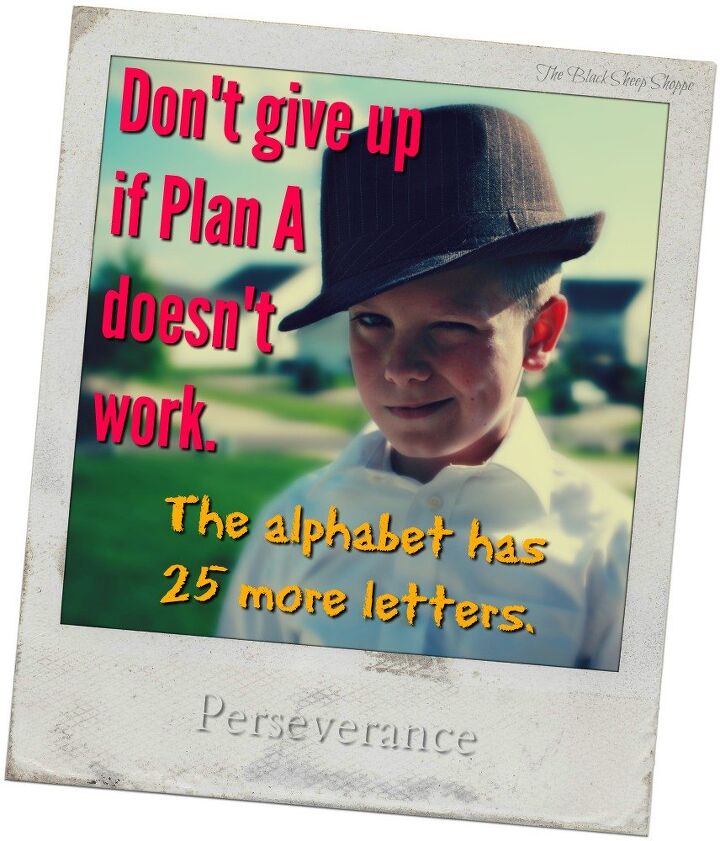
Since Plan A (painting) didn't work out, I luckily had a Plan B in mind to complete the project. The best part of Plan B is it was less expensive and not nearly as labor intensive as painting. Plus I think it is more functional in a vacation rental, too.
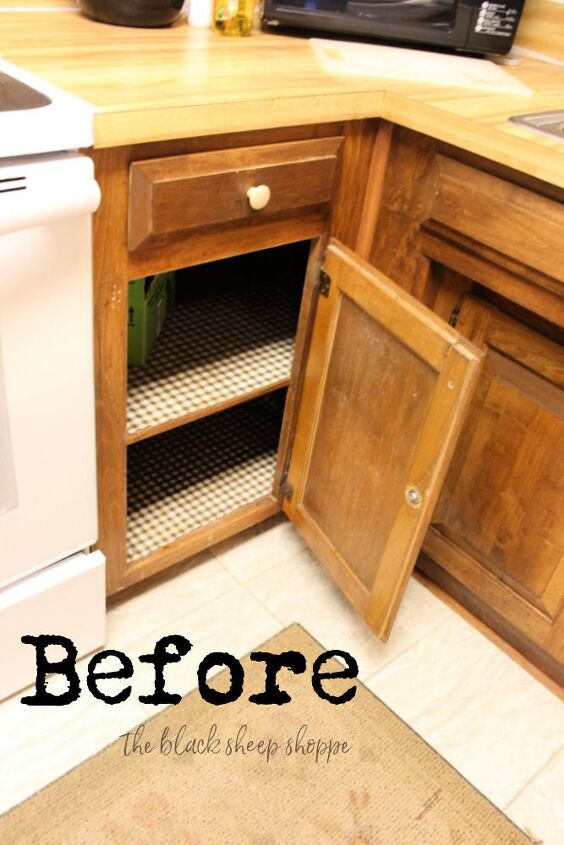
The kitchen is definitely being worked on in stages. This is what it looked like when we first bought the condo. My first order of business was to remove the old shelf liner paper and replace it with something new and fresh.
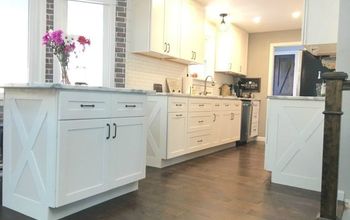
Then I painted the kitchen cabinets, but as I mentioned I ran out of time to paint the insides of the cabinet doors. It's not horrible, but it looks a little unfinished . . .
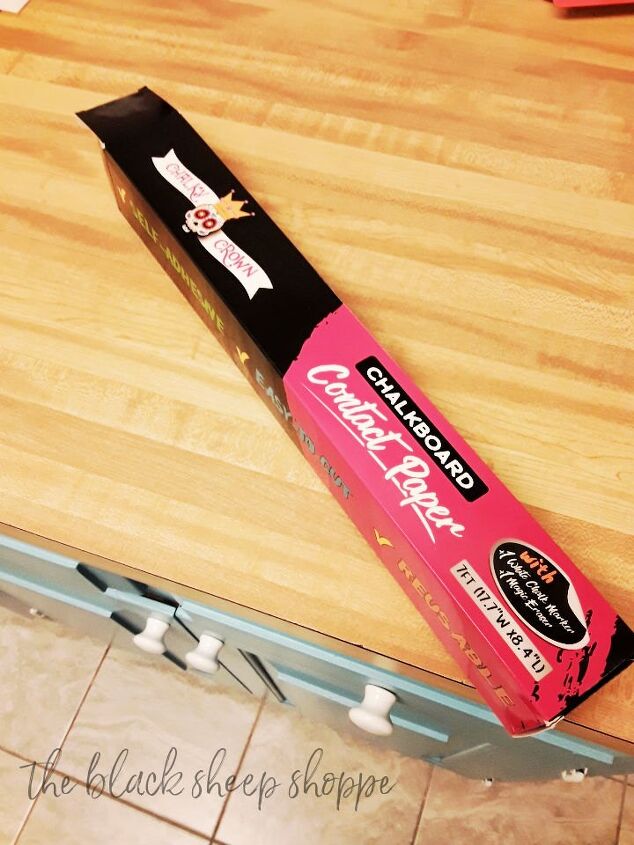
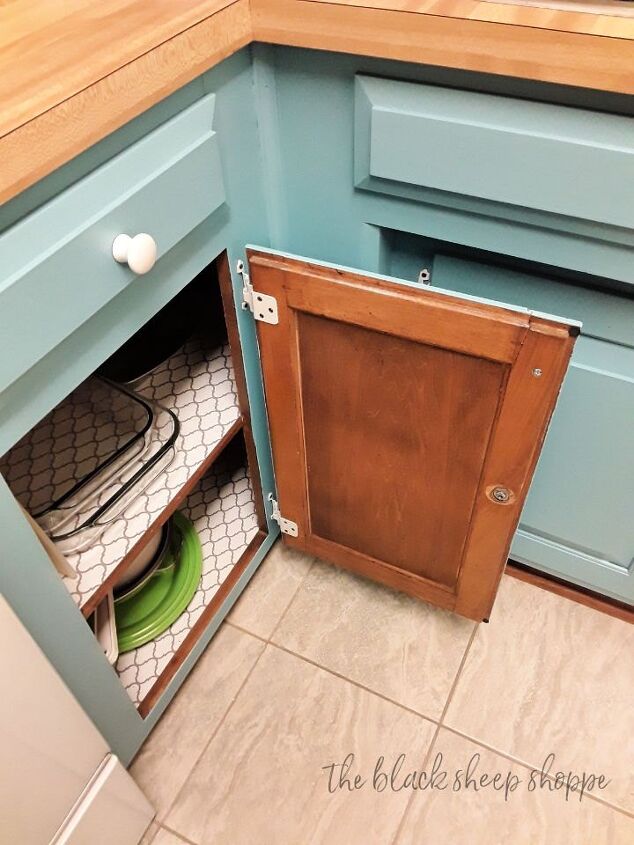
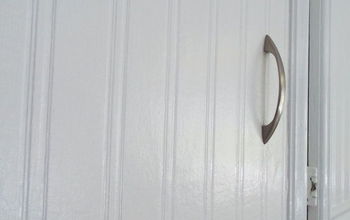
My solution? Ta-da! Chalkboard paper! (Affiliate link to the product I actually purchased.) Not only is it easier, faster, and less expensive than paint, it allows for better organization of the kitchen cupboards. The particular brand I ordered also came with a chalkboard marker and eraser.
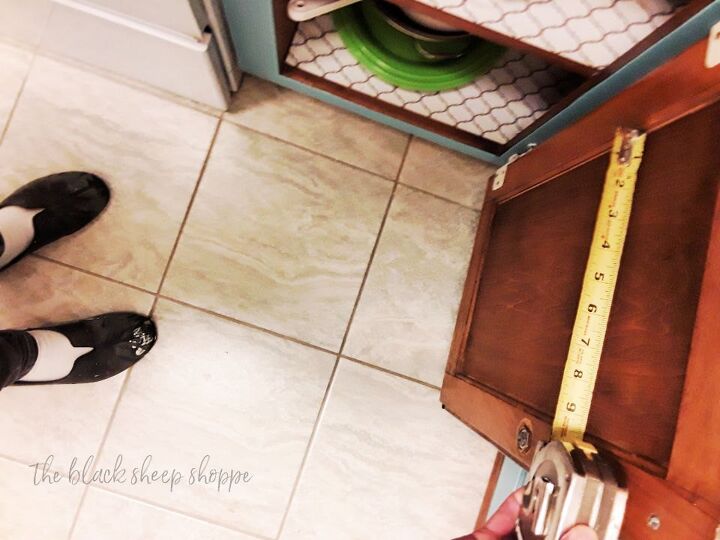
Here's the process I used to complete the project: First measure the space.
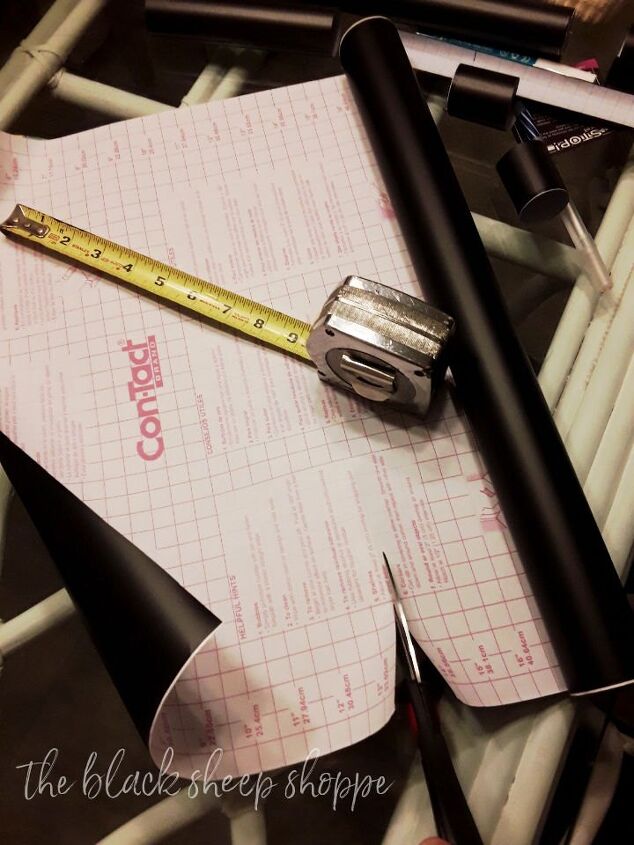
Unroll the chalkboard paper and cut to size (bonus it has grid lines on the back).
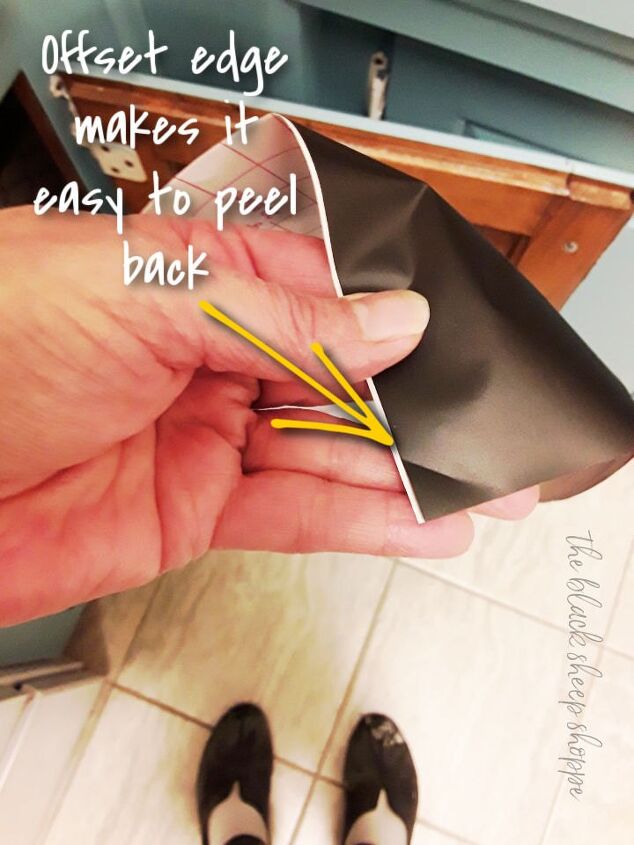
The actual chalkboard paper is slightly offset from the backing which makes it easy to separate and peel away. If you've ever worked with paper that doesn't have the offset edge, you definitely appreciate this!
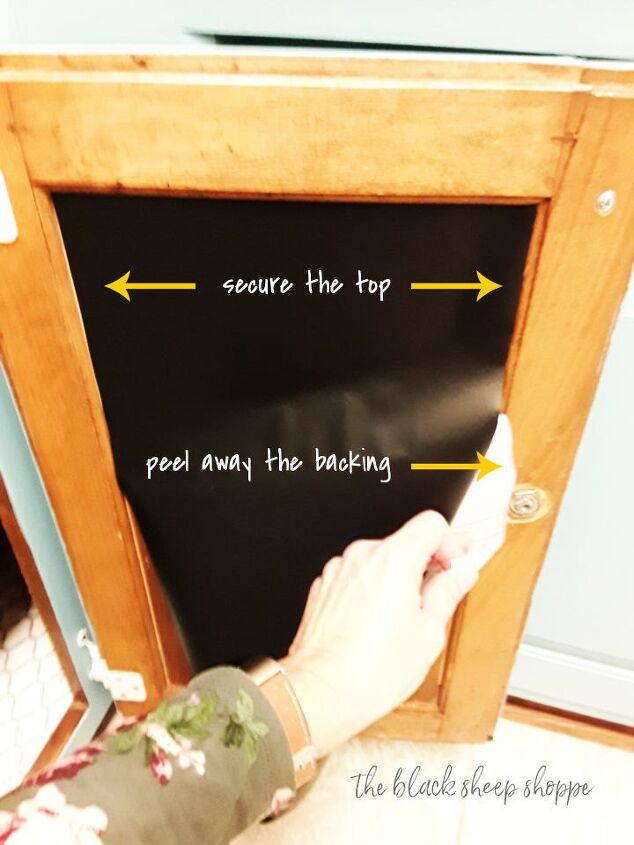
I peeled back the top section of the chalkboard paper, lined it up, and then pressed it to the cabinet. Once I was sure it was relatively straight (if not then just remove and re-position), I peeled away the rest of the backing and smoothed it into place.
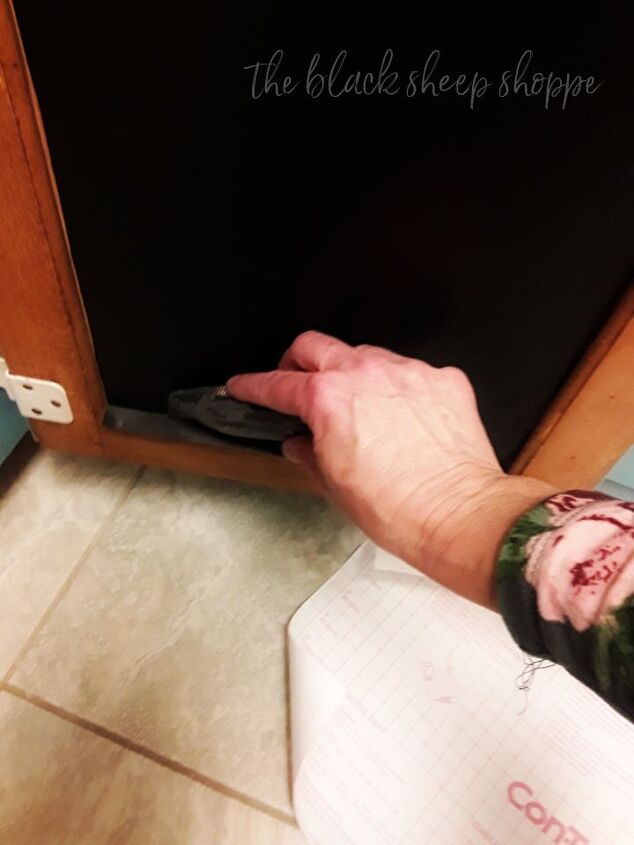
You know the saying, "measure twice, cut once"? Well I measured once and had to cut twice, ha ha. No worries, I just used a razor blade to trim off the excess.
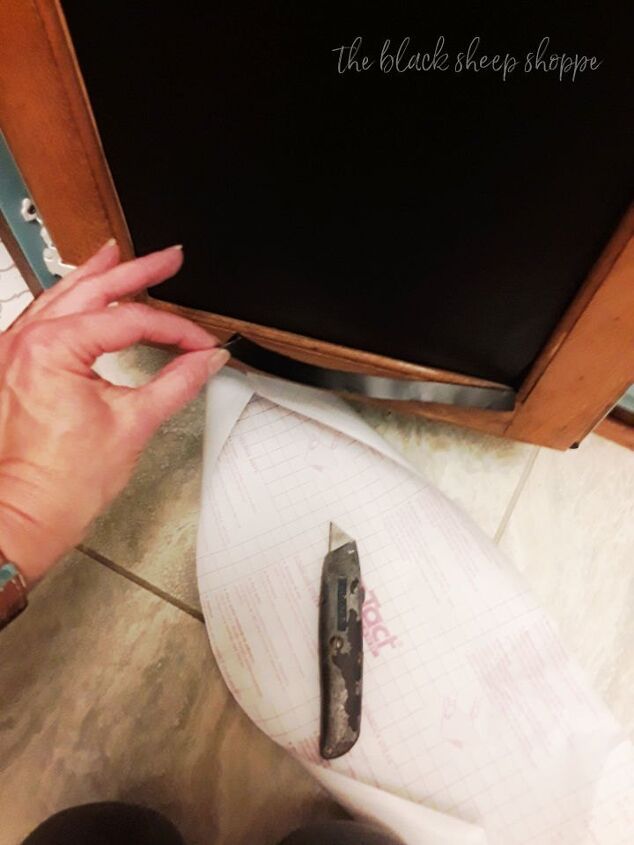
And then simply lifted the excess away. Perfect fit.
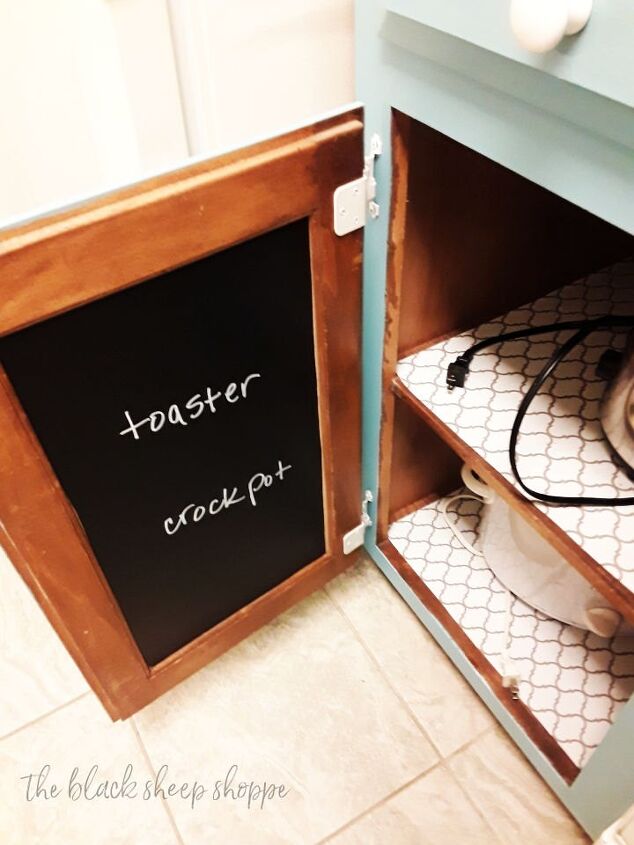
I used a chalkboard marker to label what's inside the bottom cabinets. Since the cabinets are deep it's helpful to see at a glance what is inside the lower cabinets. It saves having to do deep knee bends to find something in a kitchen that you're not familiar with (vacation rental).
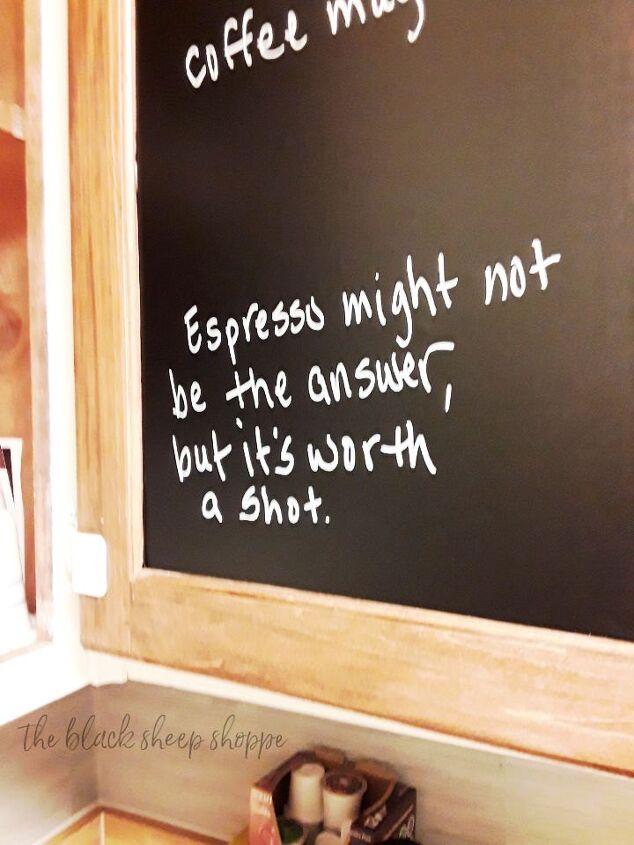
I was only going to line the lower cabinets, but I had enough paper with me to line the uppers, too. I sprinkled a few fun and inspirational quotes throughout, too. I have some other sneak-peak photos of some other updates going on, so be sure to stop by my blog (link at end of post) if you're interested in taking a look.
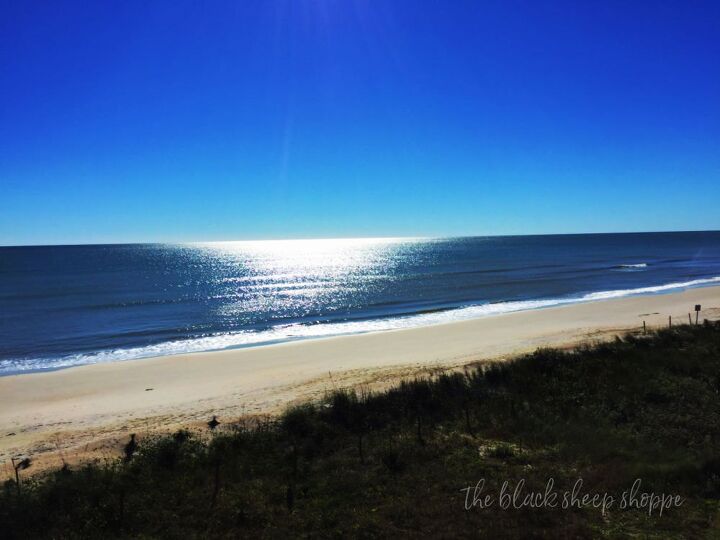
This is the view from the balcony that makes all the hard work worthwhile! Be sure to visit my blog, The Black Sheep Shoppe, to see other projects I am working on to freshen up the condo on a really tight budget.


Comments
Join the conversation
-
But it looks like a greenish color. Am confused.
-
I used that chalkboard wallpaper on the end of my cabinet and trimmed with copper nails for a grocery list. It's been there for 3 years now and we write on it almost daily! There is no dust from the chalkboard or from wiping it off.


Frequently asked questions
Have a question about this project?
What color paint did you use on your cabinets it’s a very pretty color.
Where is this rental at. Love it!
does this get chalkdust in the cabinet?