


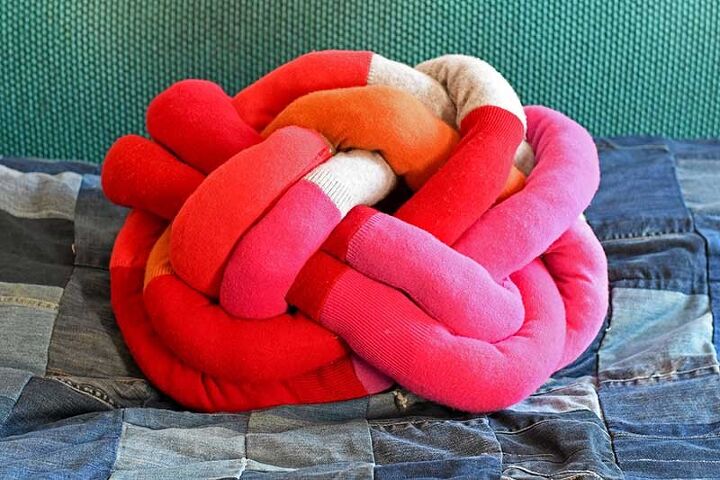
DIY Sweater Knot Pillow
This fun pillow was made from the leftovers of another craft. When I made a sweater felt rug, I cut the sleeves off the jumpers/sweaters and saved them for this project.
I actually got the idea for this DIY knot pillow when I spotted them in a gorgeous Scandinavian interior shop in London.
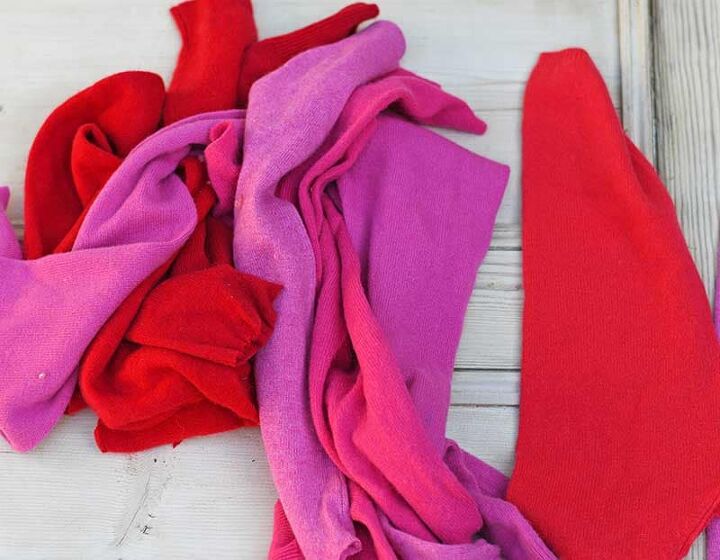
I used the sleeves of half a dozen wool sweaters leftover from another craft project. If you use handknitted wool sweaters then you will need to felt them in hot machine wash first. However, with most machine knitted sweaters these days if you cut the sweaters they don’t unravel. There is no need to felt them first.
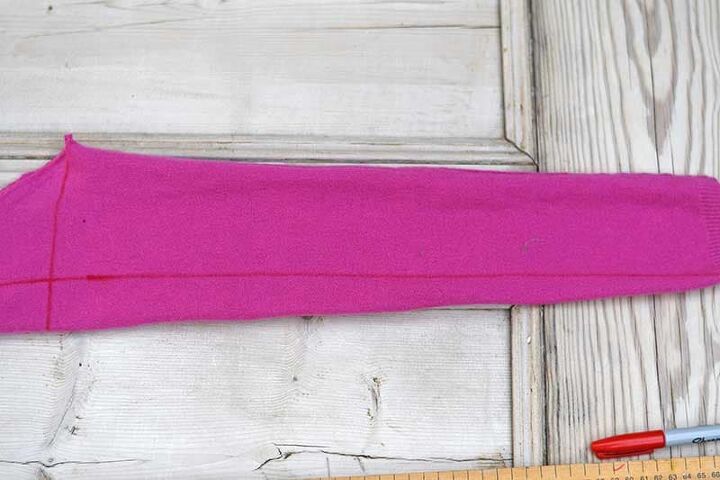
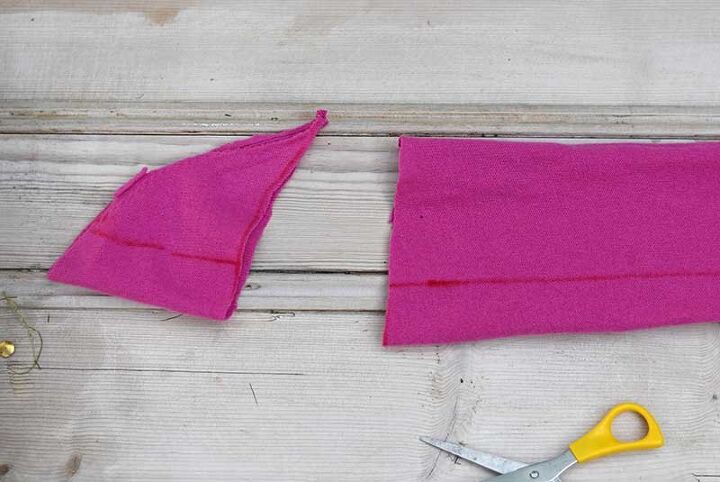
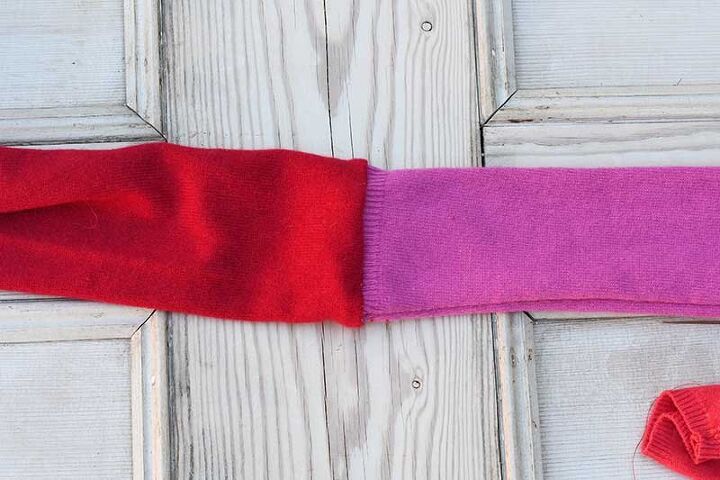
The sleeves are tapered. You will need to make them into even-shaped tubes. Mark them with a sharpie and cut away the excess.
You want enough sleeves to form a tube 5-6 meters in length. I used the sleeves of 6 sweaters in total.
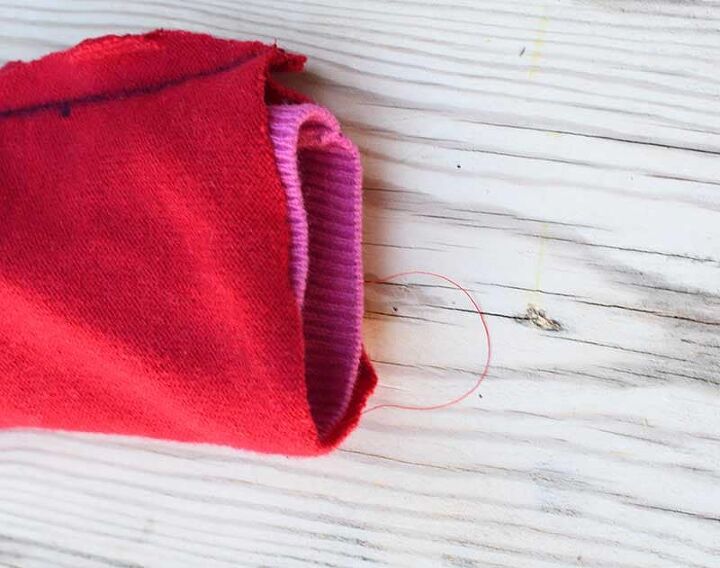
Turn the first sleeve inside out and then stitch up the end. Next, turn this sleeve right side out and then take the next sleeve and place this over the first sleeve so that both right sides are facing. Stitch the right sides together at the end. Then pull the 2 sleeves out.
Stuff the first sleeve tube with fiber, before sewing the next sleeve onto the sweater tube in the same way. It is much easier to sew and stuff the pillow tube as you go along than to try and stuff one long tube at the end.
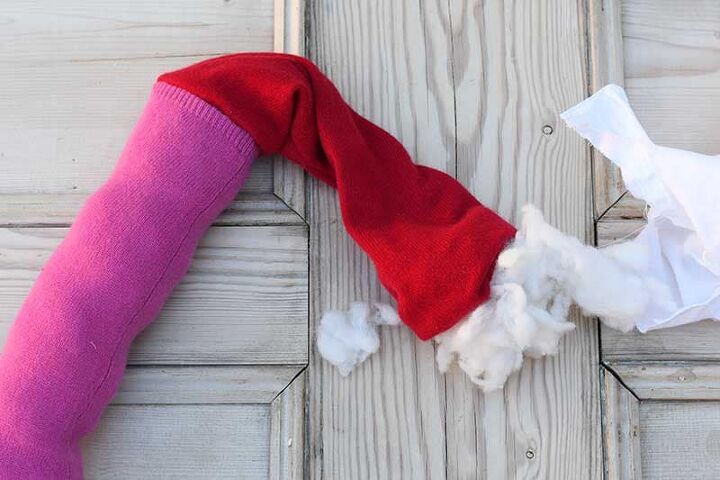
Carry on sewing and stuffing the sleeves together. Then stitch the last one closed. You should end up with one very long tube pillow (5-6 meters).
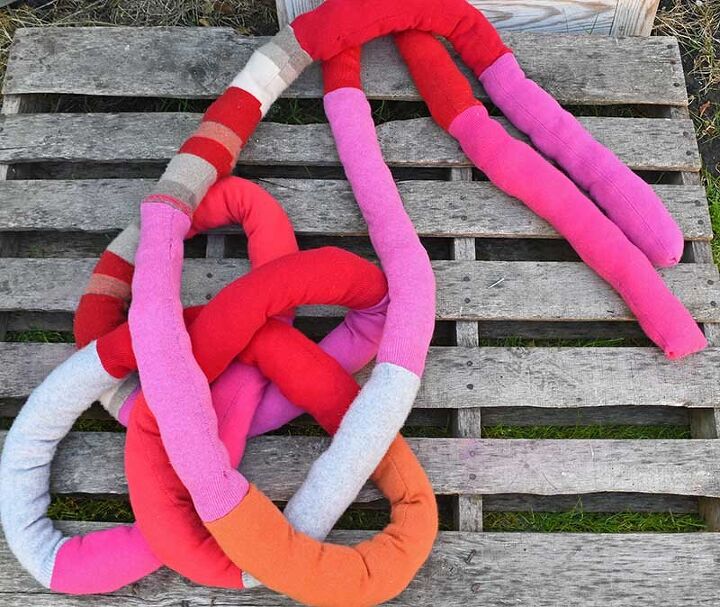
Tying The Celtic knot Sweater Pillow I literally got myself in knots when first trying to tie my Celtic knot for this DIY pillow. But once you get it, it’s quite straightforward. I suggest you practice with some strings first.
There are many different knots to try. There is a link to a video on my blog post at the end that slowly shows you how to tie the knot.
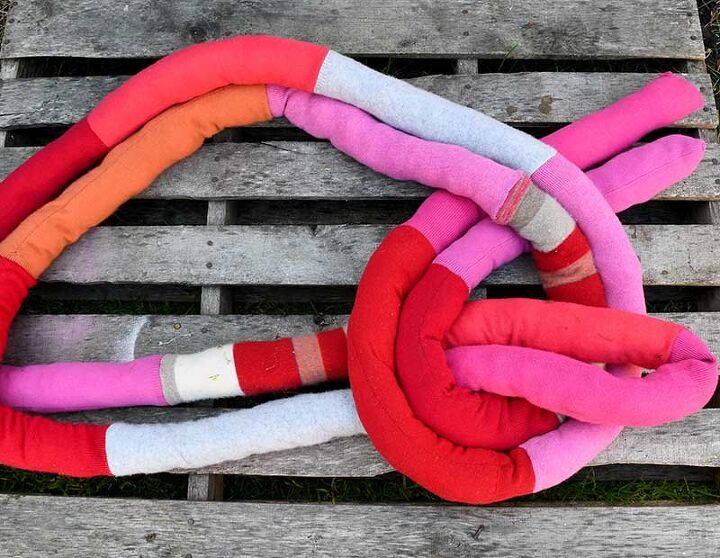
First, double up the tube and half its length. You may want to peg the 2 loose ends together whilst tying the knot to stop them from moving apart.
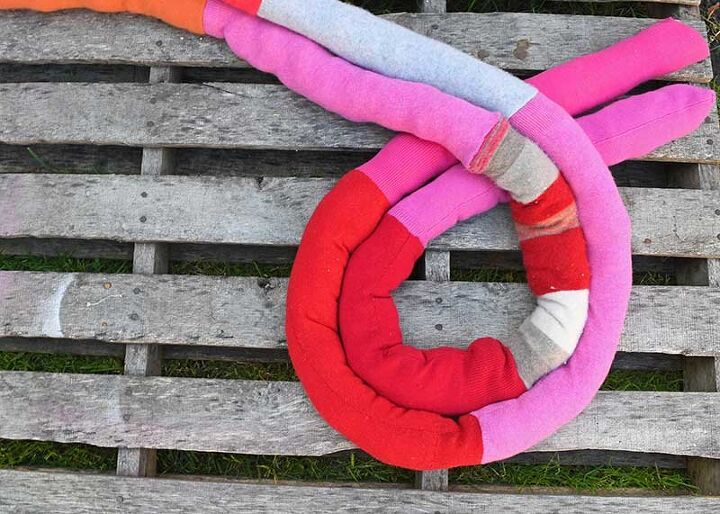
Then fold the tubing over itself to create a loop.
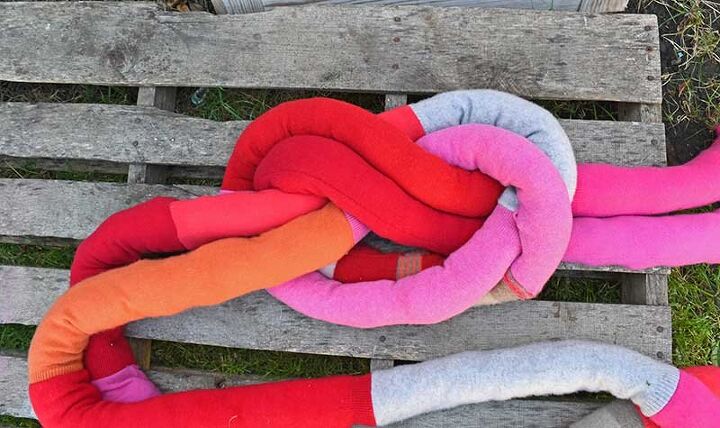
Next, bring the working end back down through the lower loop and then upwards through the top loop.
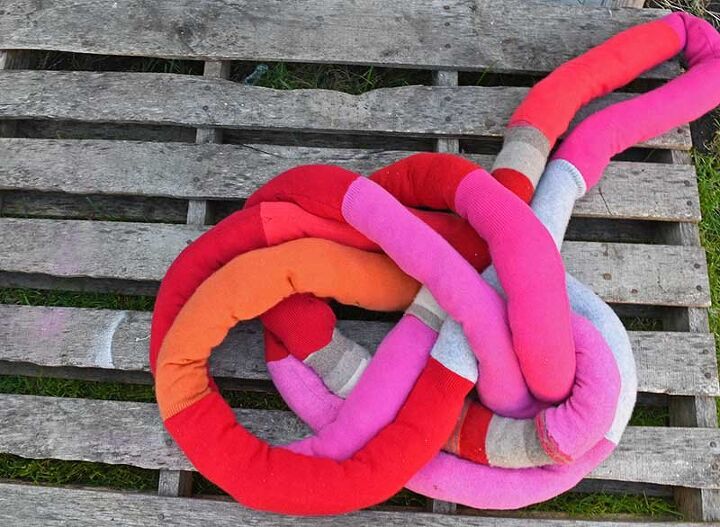
Next, take the working end of the tubing up through the back of the top loop and then. Then, thread the end up through the center loop and then back down through the bottom loop.
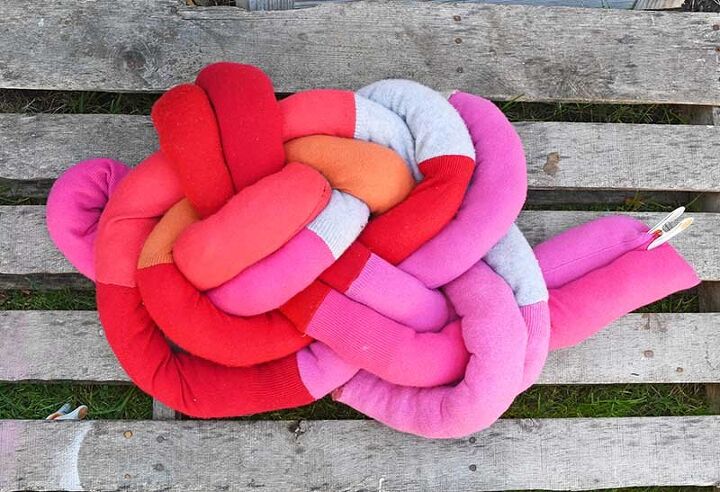
To finish off the DIY knot pillow, take the two ends and tuck them around the back of the pillow and stitch them in place.
If you like to upcycle sweaters you may want to check out some of my other old wool sweater pillow DIYs like my very popular upcycled Sweater Mountain Pillow.


Comments
Join the conversation
-
Very nicely done!
-
I do not have wool sweaters but have plenty of old flannel pajama pants. Will try with the legs. Thanks for sharing.


Frequently asked questions
Have a question about this project?
Do you have to use sweaters. .