


How to Make a Journal With Eco Dyed Papers (What to Do With Your Eco P

What to do with all of your beautiful Eco Printed Papers? How about making a unique handmade Journal or Notebook?
Not only are homemade journals super fun to make and use yourself but they also make a wonderful personalized gift for someone who loves to write and create.
Please note, this article is basically a how to make a journal for beginners tutorial and therefore can be used to make a notebook using any type of paper.
See the full tutorial at FiberArtsy.com (link below)
It is not necessary to eco print papers first. This is simply one project idea for using your handmade papers.
If you have not made any paper yet, by all means feel free to use scrapbook paper, old wallpaper books, wrapping paper or any other kind of materials you have on hand.
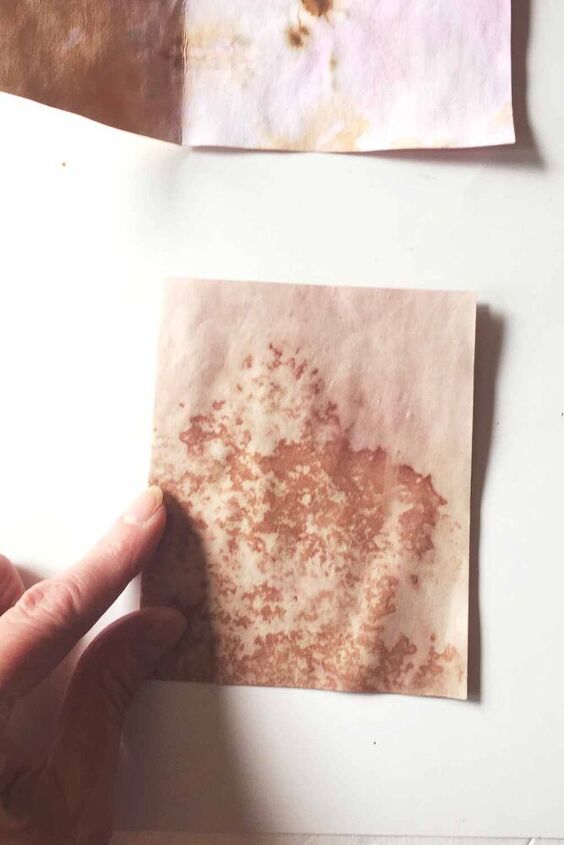
What is Eco Dyed or Eco Printed Paper?
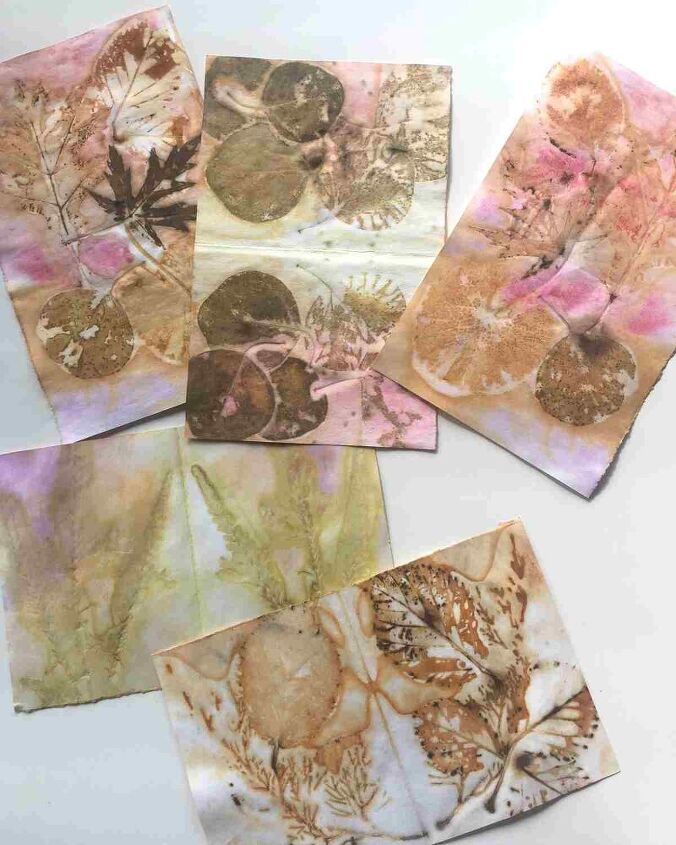
Eco Printing is a natural dyeing process discovered by Fiber Artist, India Flint where you transfer the dye found in flowers, leaves and other plant material to another material by a compression and steaming or boiling process.
The prints can be transferred to paper, fabrics such as silk, wool, cotton and linen as well as other materials such as leather and even ceramics.
MAKING YOUR JOURNAL:
1. Choose your cover and signature (inside) papers
Pick a cover paper that is sturdy. If the print you want to use for the cover is too thin or flimsy, you can simply mount or glue it to a piece of thin cardboard or mat board.
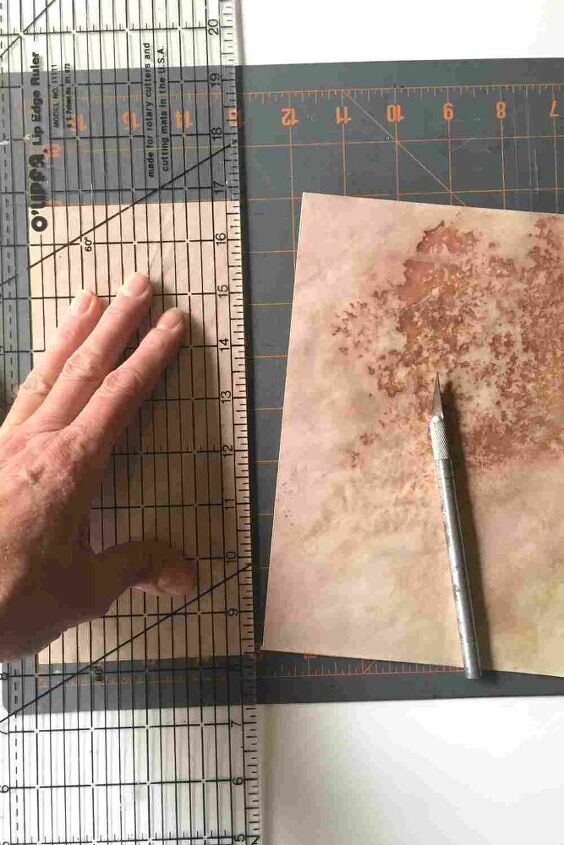
2. Cut your papers
Decide how big you want your final notebook to be and cut the cover paper to that size.
Next, take the papers for the inside (signature) and cut those as well. In general, you want the inside pages to be smaller than the cover. This way, they don’t peek out over the edge when the book is closed.
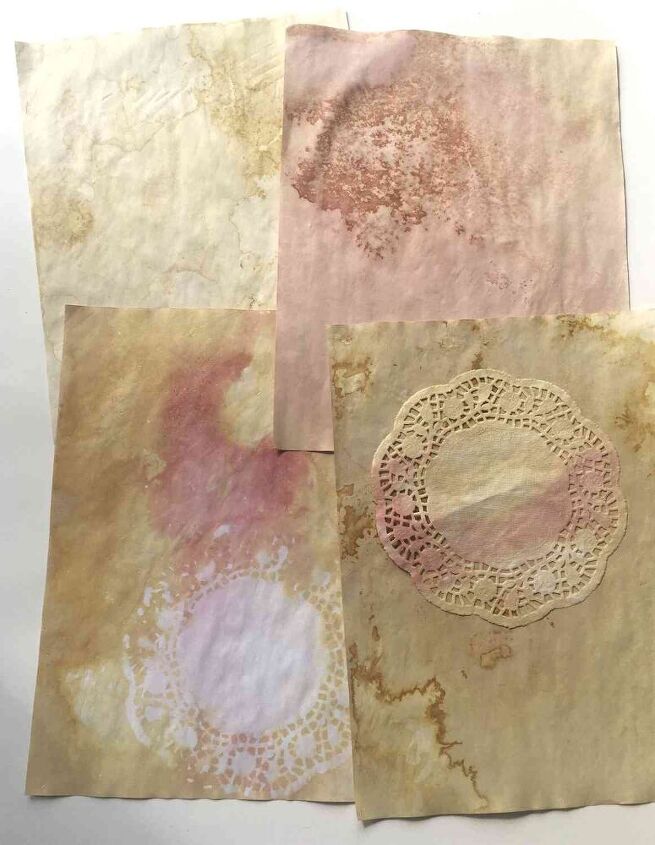
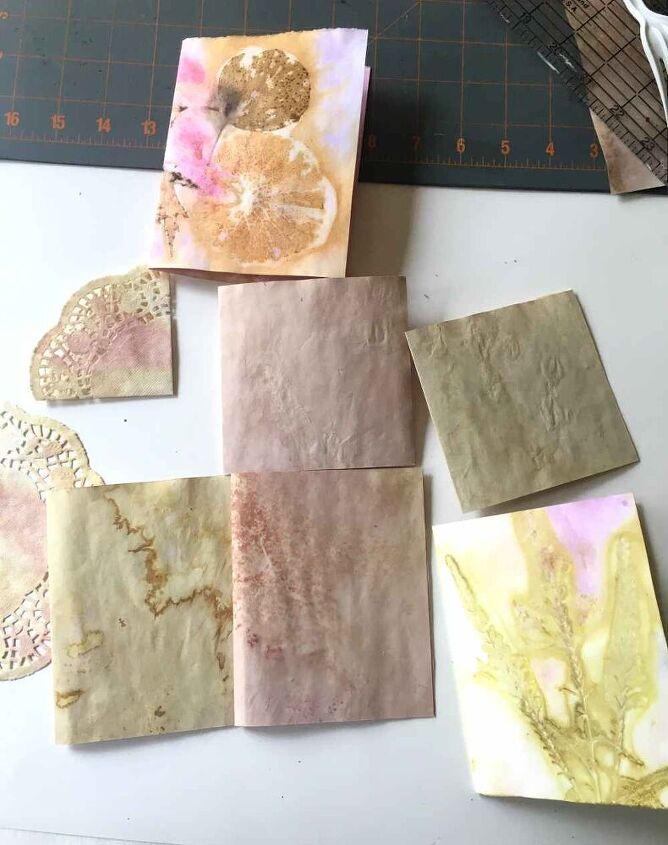
As you can see, I have a variety of different sizes of paper for my notebook. I also dyed and cut some paper doilies (check Dollar Tree) to use for embellishments and pockets.
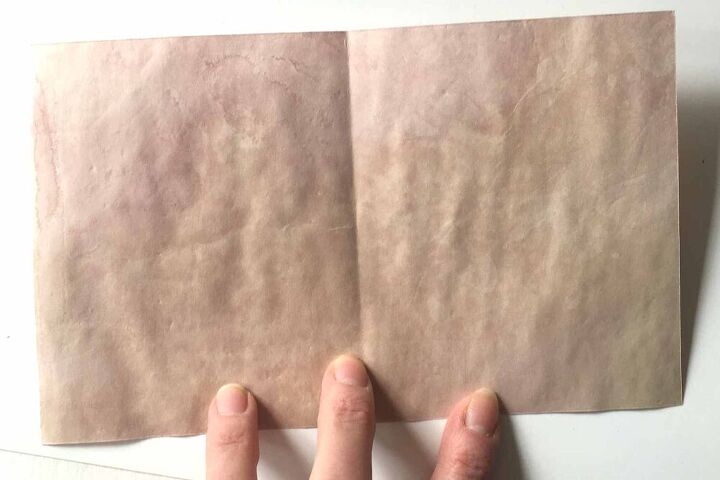
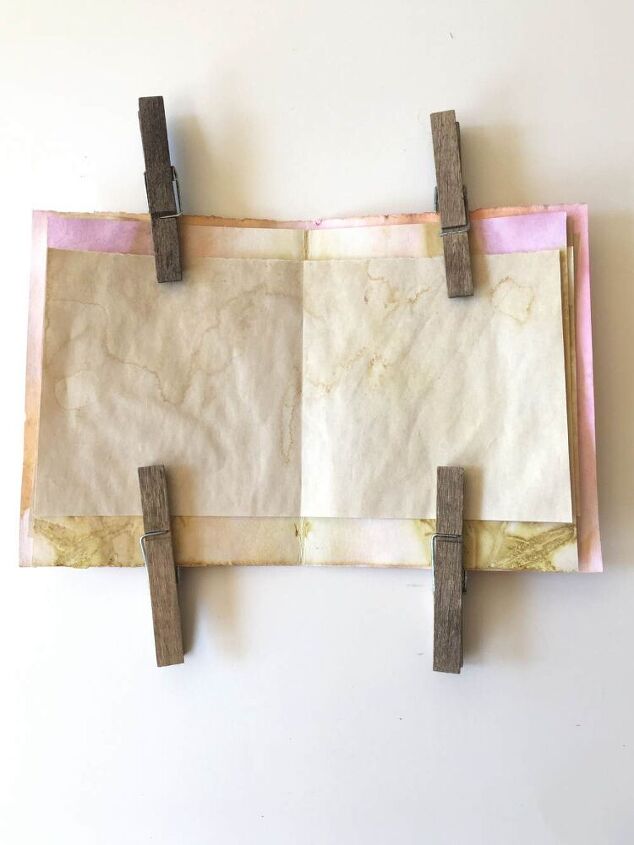
3. Arrange the Signature (inside) papers
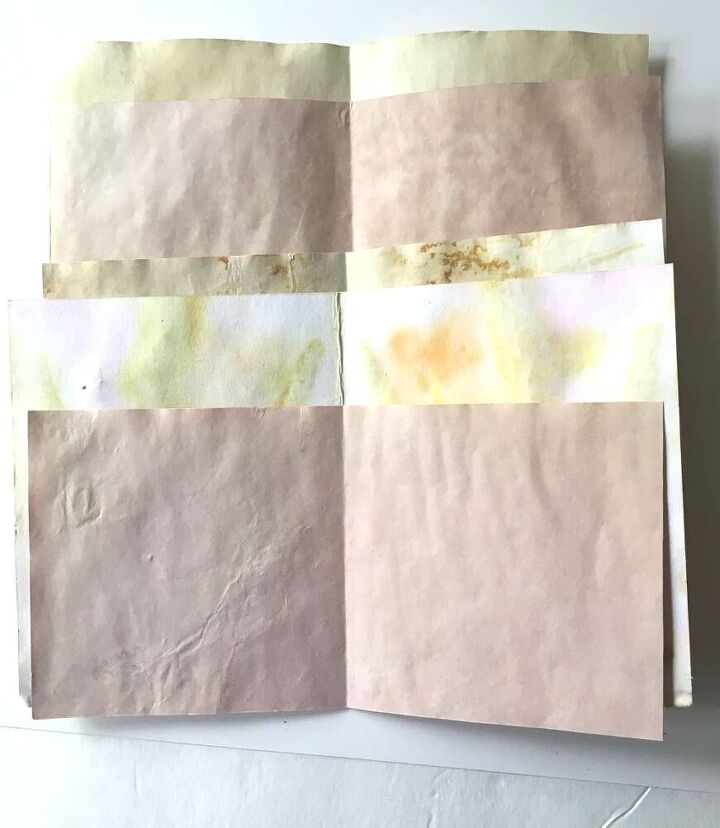
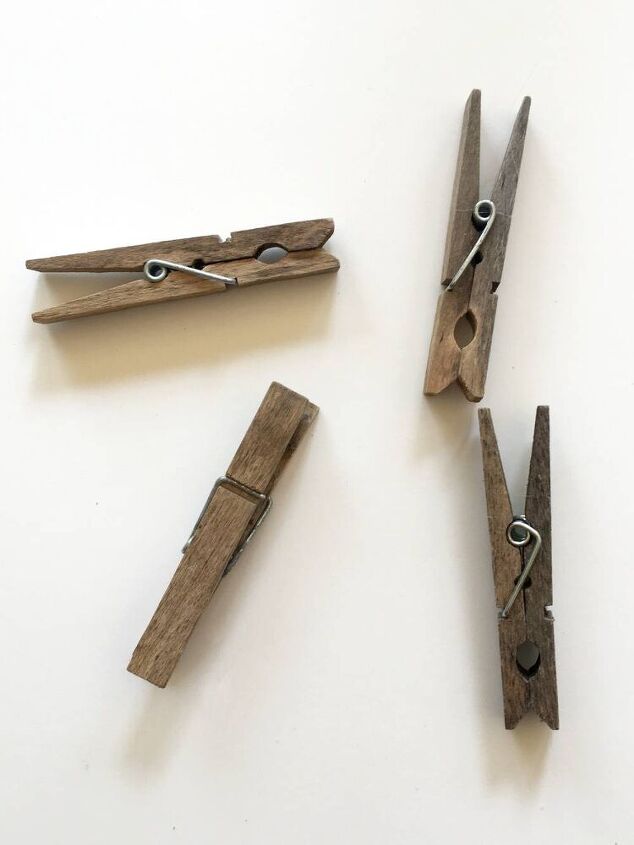
Once you have the pages in their right order, line them up the way you want with the center folds all snug together and then clip each side with a clothes pin to hold them all in place.
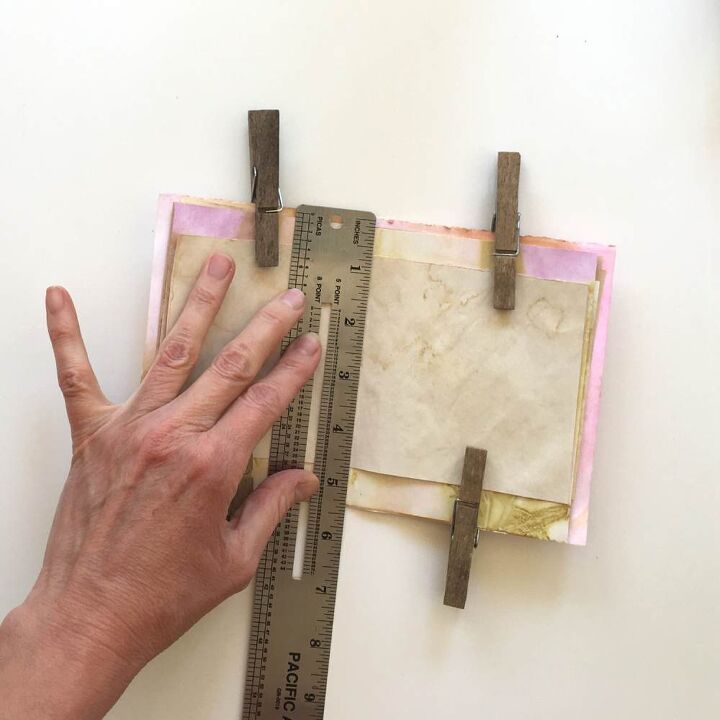
4. Stitch the Binding
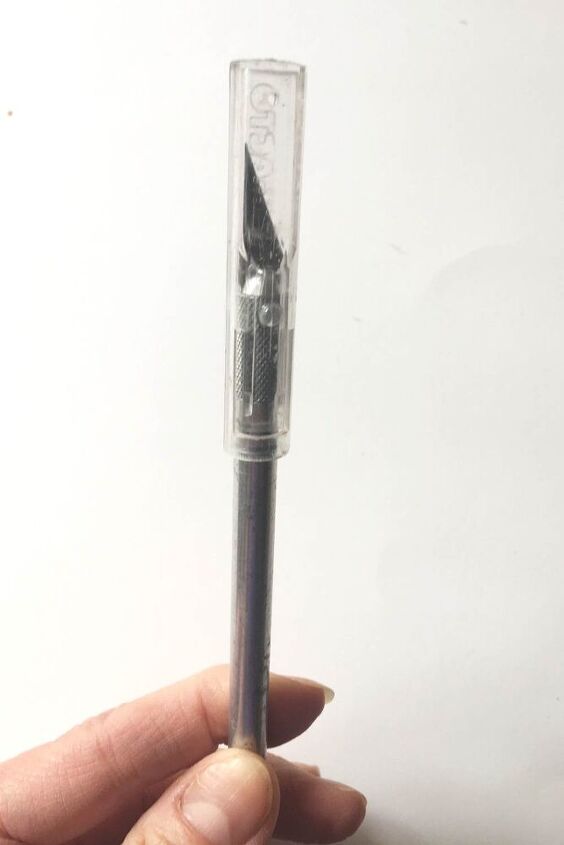
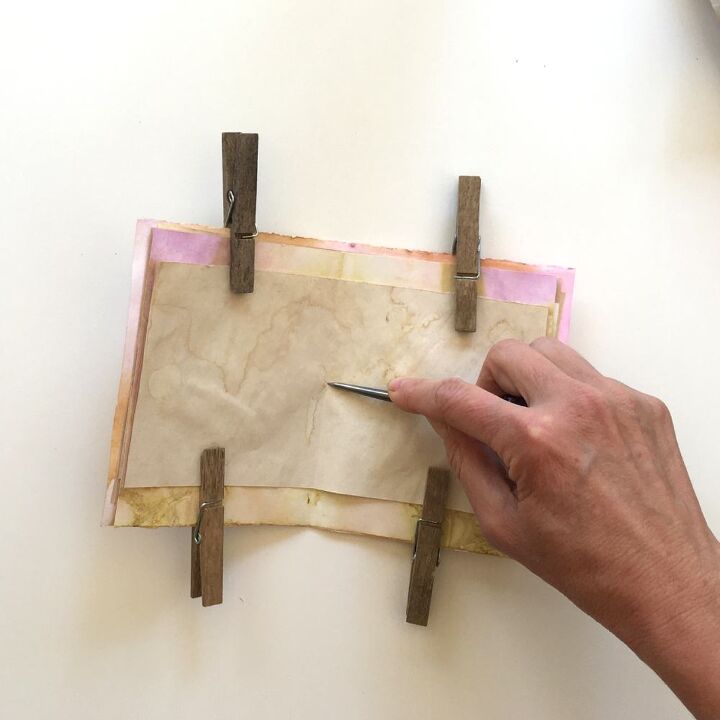
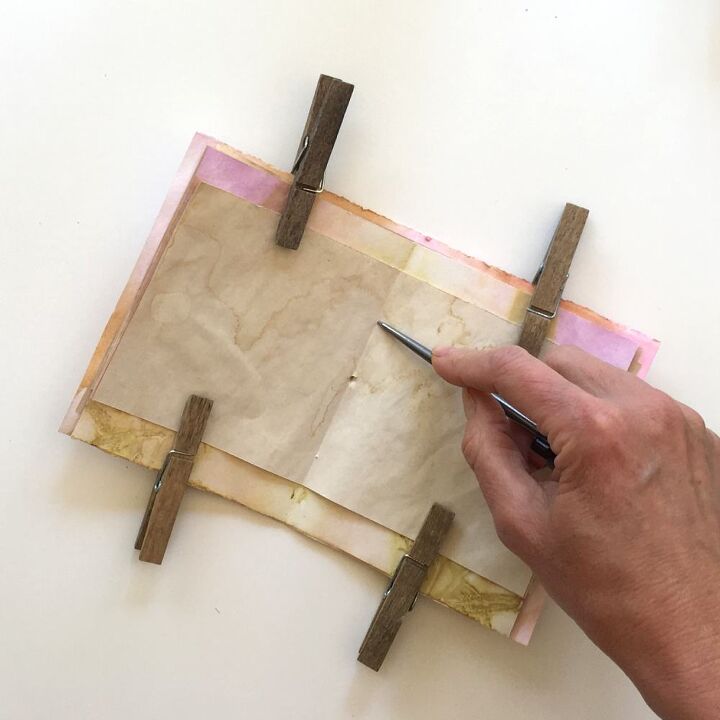
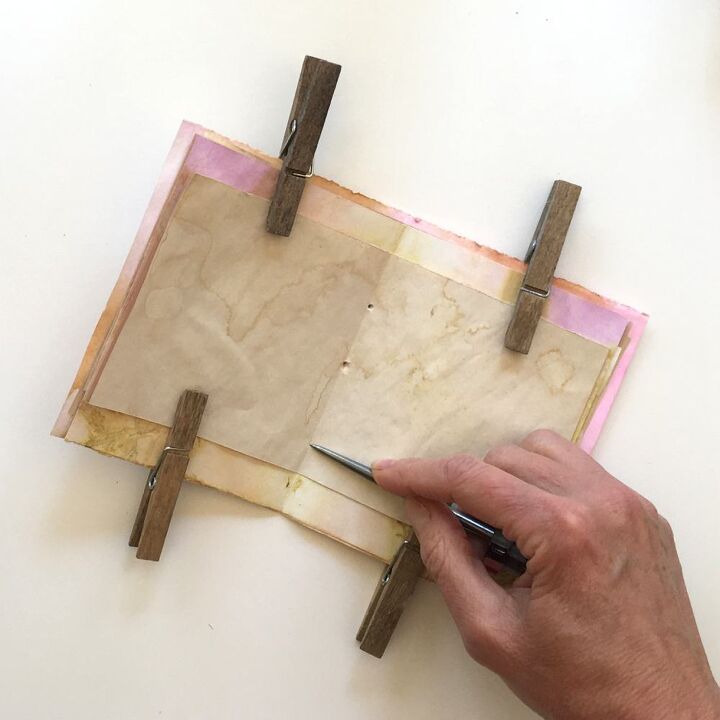
First, you need to measure the width of the journal and figure out the center point. Using the awl, poke a hole through all of the pages and the cover. Then poke two more holes ... halfway between the center and the top as well as the center and the bottom
(Note, be careful not to damage the surface underneath. You can use the cutting mat or a thick pad for protection.)
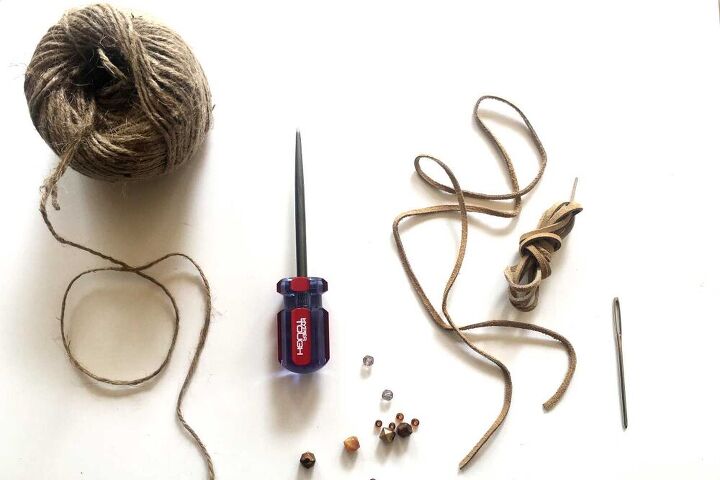
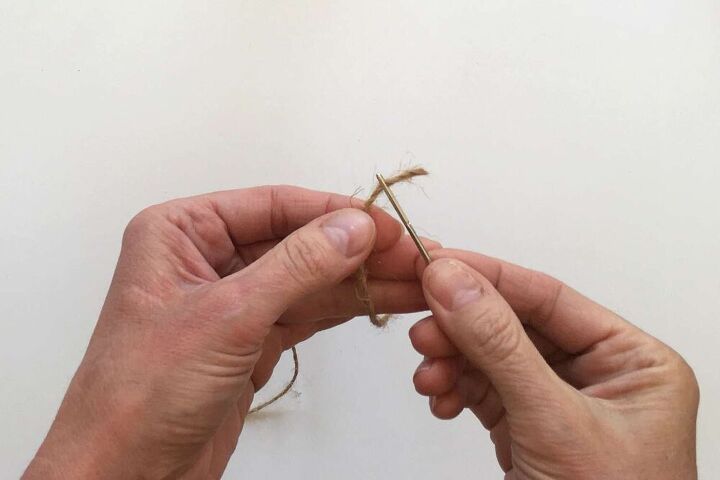
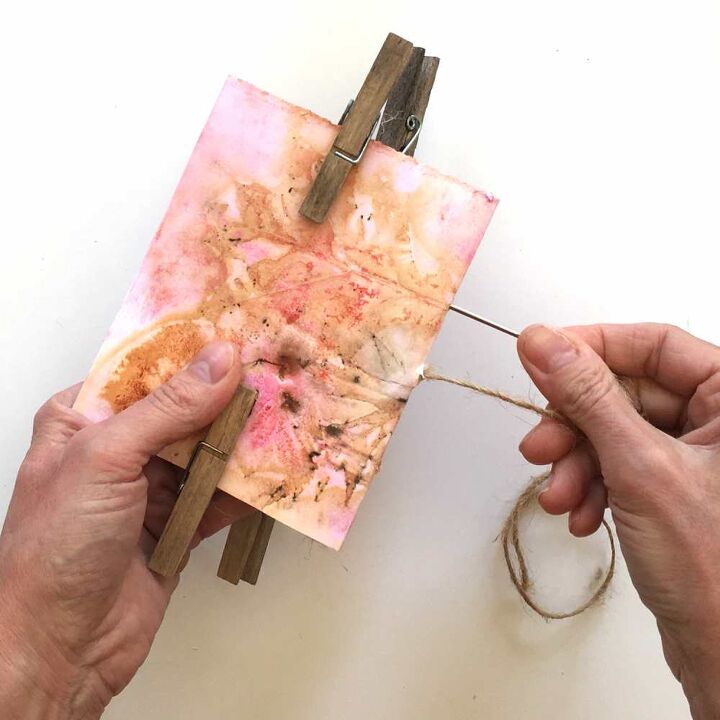
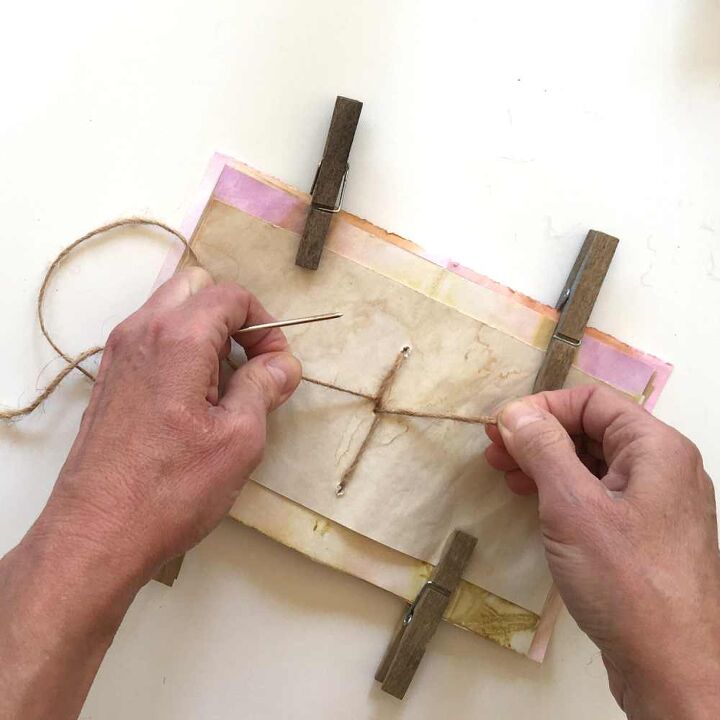
Thread the tapestry needle with twine.
To stitch the binding, from the inside of the journal, put the needle through the center hole. Pull the thread through, leaving about an 8″ tail.
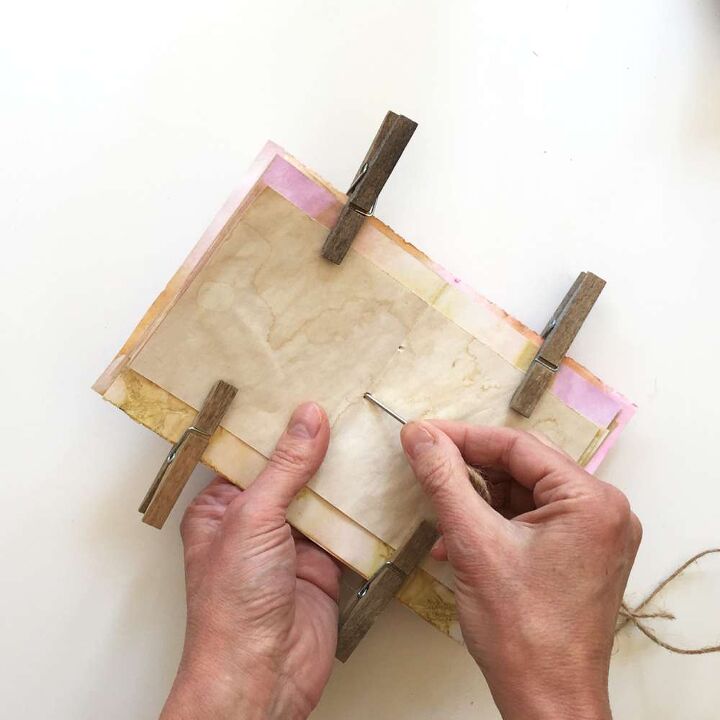
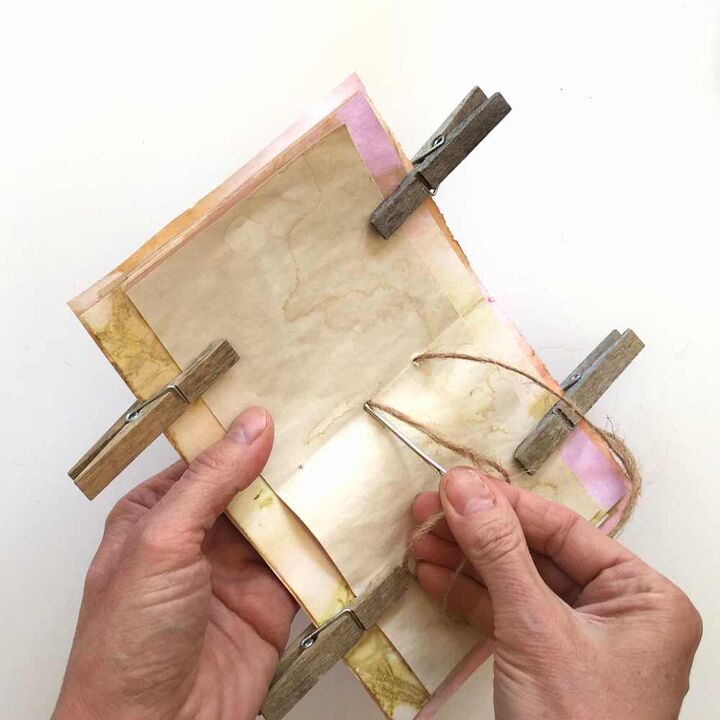
... pull the needle through the top hole from the outside of the notebook.
Pull the thread back through the center hole, being careful not to split the thread that is already there.
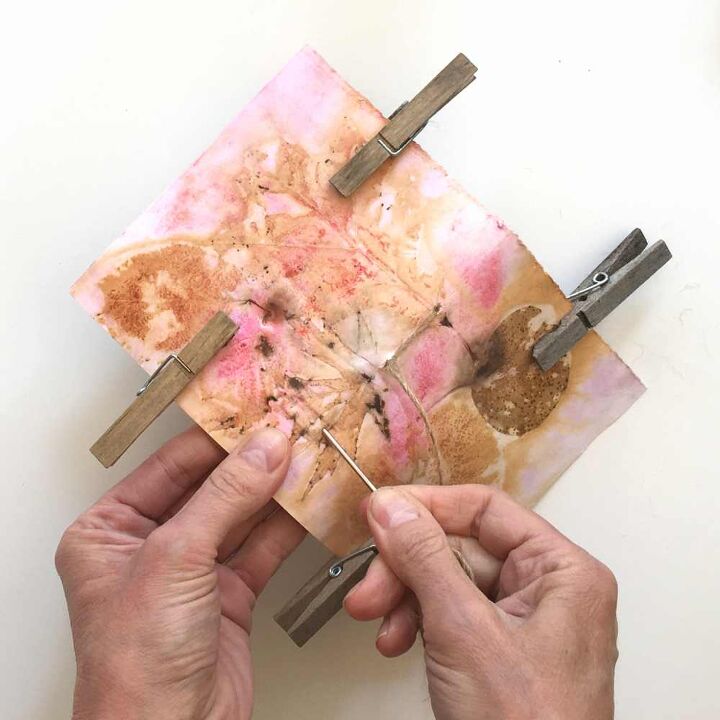
Put the needle through the third hole near the bottom of the book.
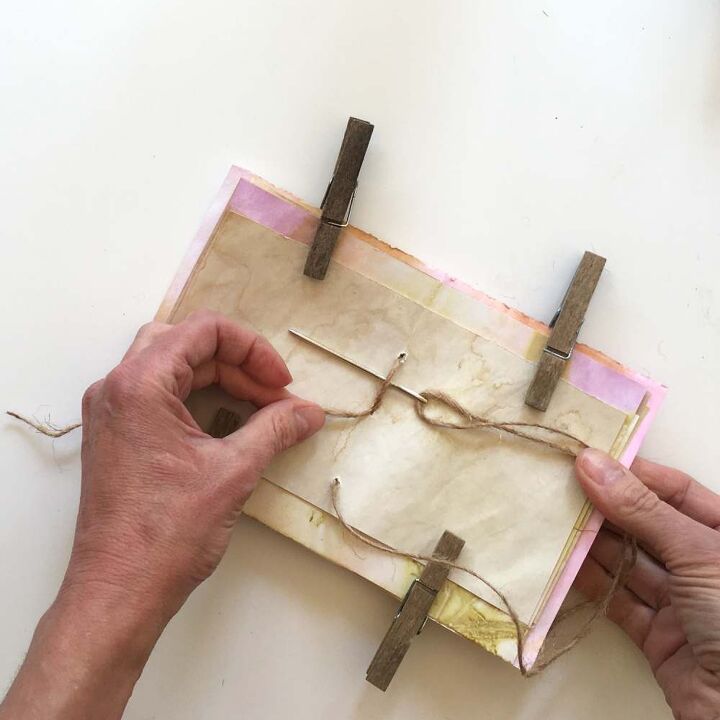
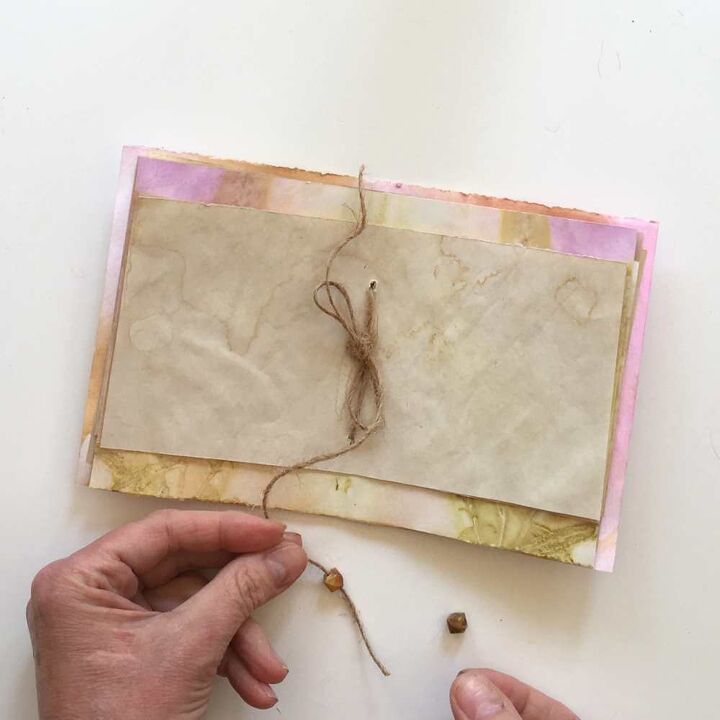
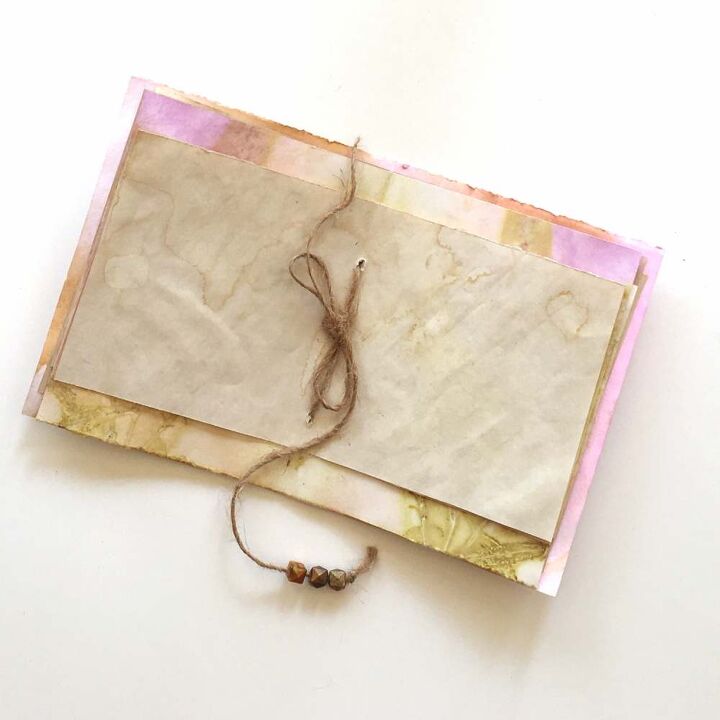
Finally, pull the thread under the first loop (between the center and top holes) and tie both ends into a knot and then a bow.

5. Embellish your Journal
Your basic journal is now complete! If you wish, you can now personalize it with a variety of embellishments.
This can be adding beads, pockets, little notes, quotes, drawings or you can enhance the actual leaf prints on the papers with gel pens or watercolor paints. There is no wrong here.
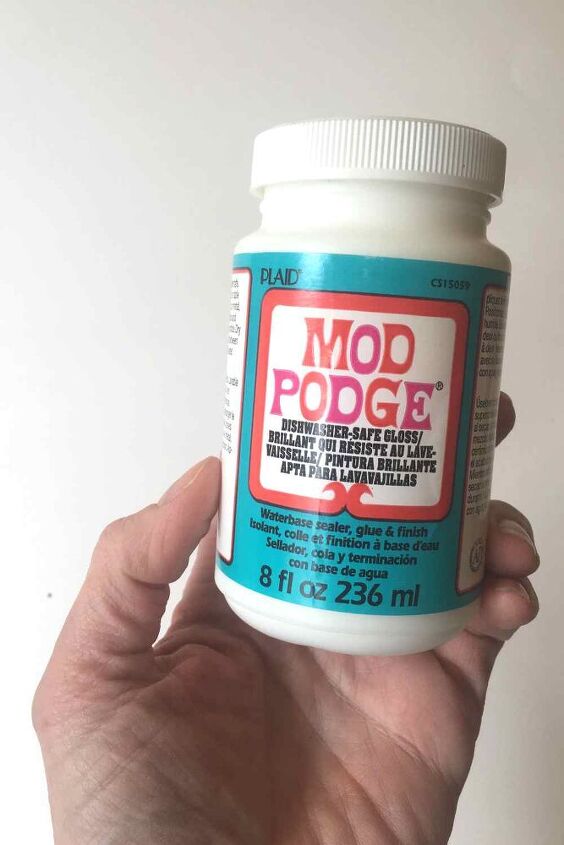
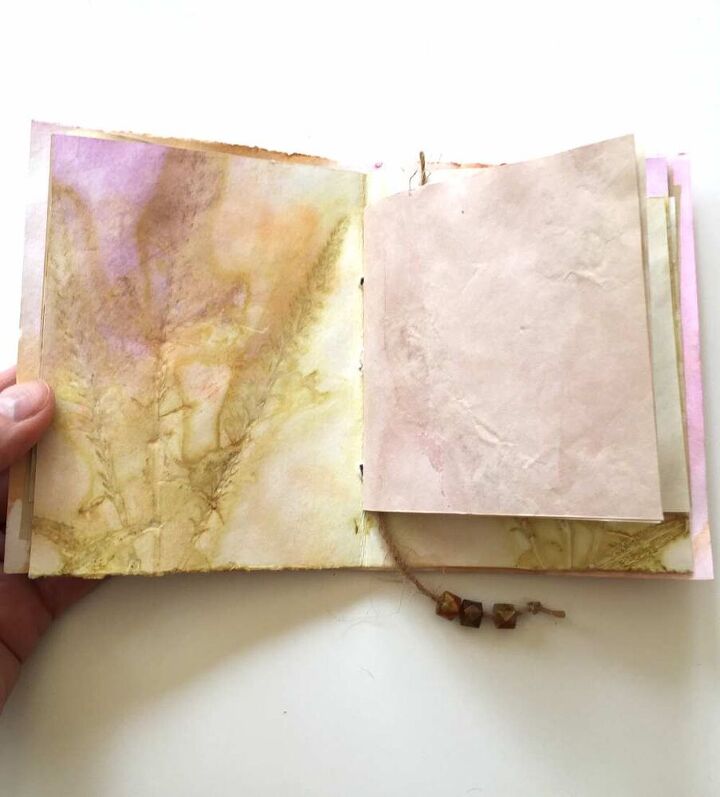
For this page, I cut out one of my eco printed maple leaves and glued it into the journal with Mod Podge.
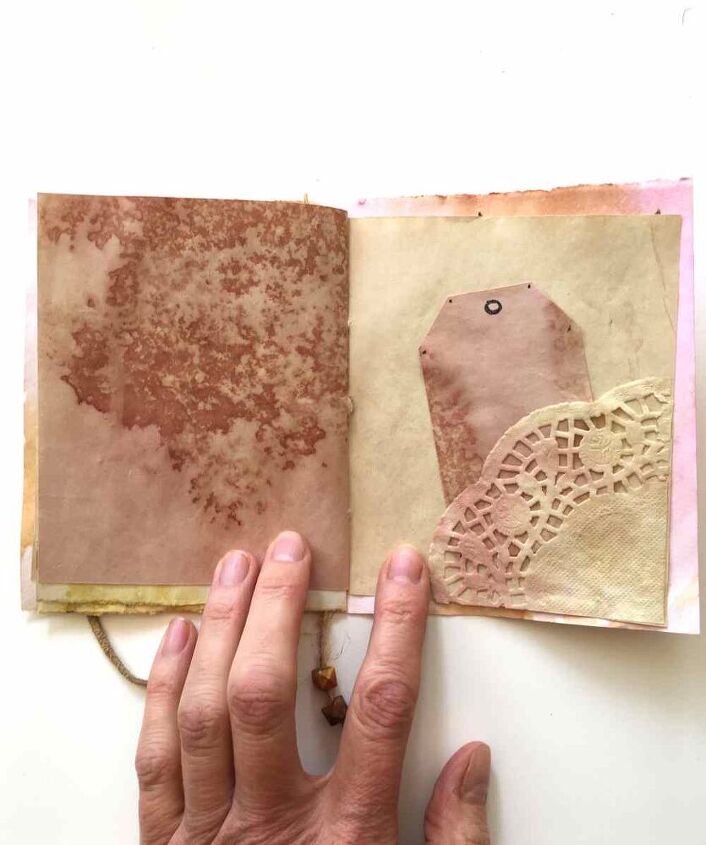
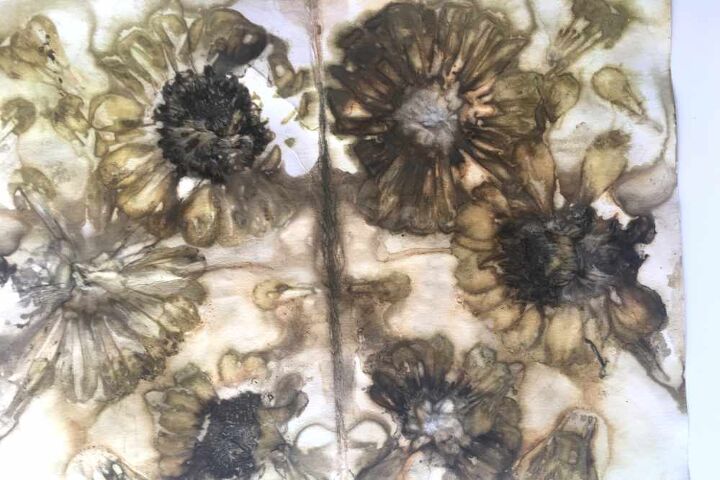
One of the eco printed pages: this one was dyed with Veronica flowers and a watercolor “blanket” or cover. You can learn more about Eco Printing in this article.
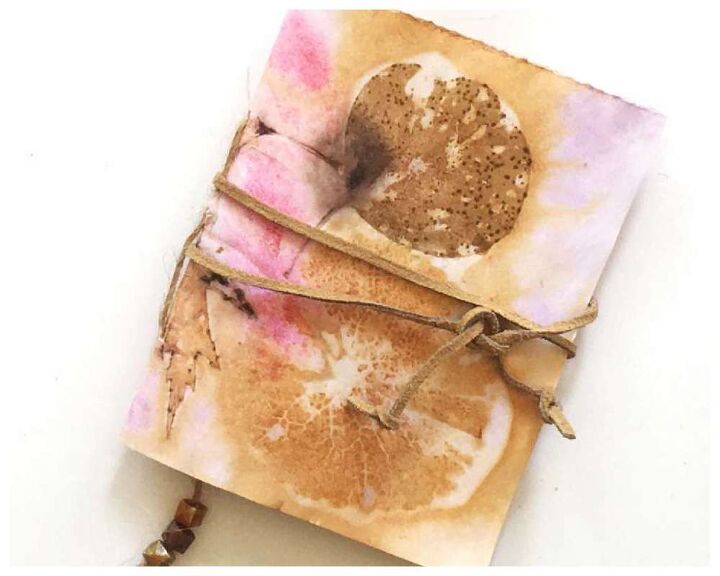
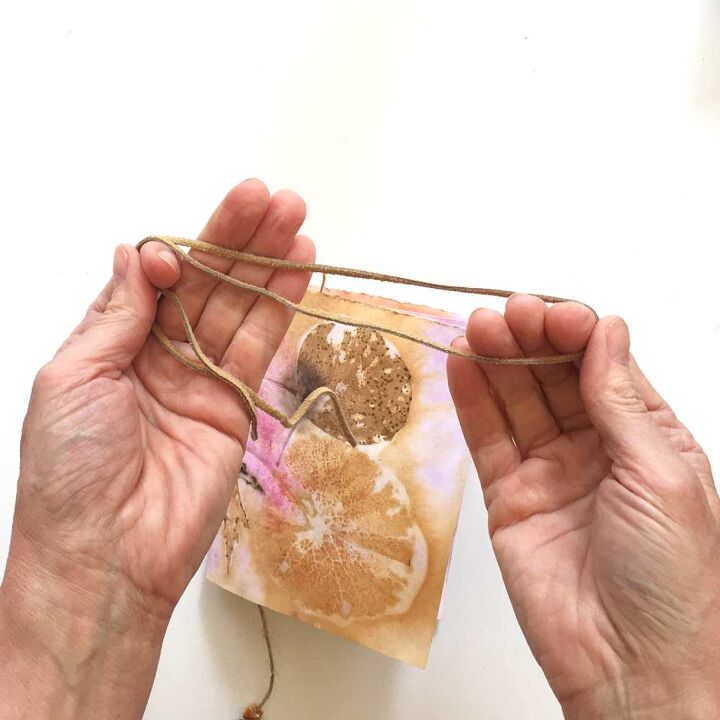
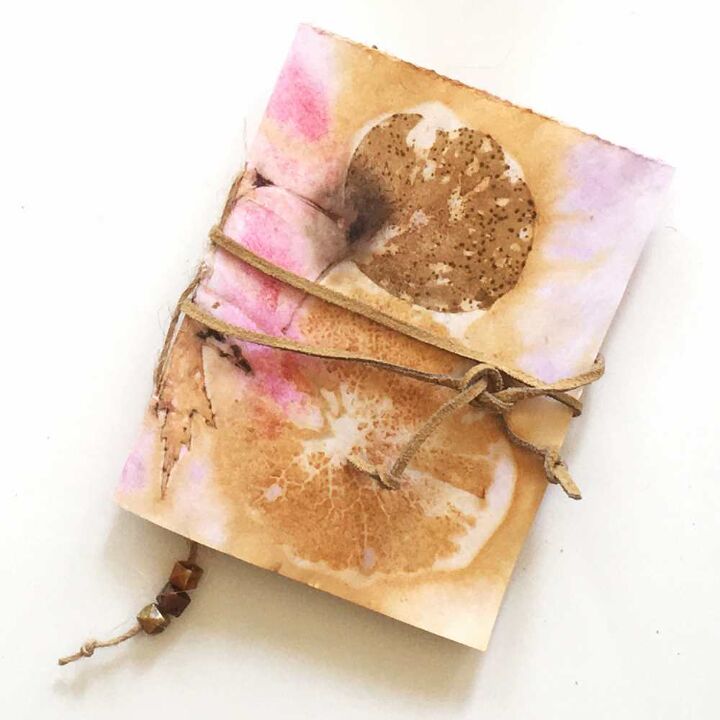
Finally, I used a length of recycled leather cording to make a wrap closure for my notebook.
I secured it by tucking it under the twine binding and then wrapped it around the journal two times. You can add more beads to this cording, if desired.
This is a fairly simple beginner friendly way for how to make a journal. I hope you use it as a jumping off point to create your own amazing notebooks or diaries.
Also, make sure to check back for more creative ideas to use your unique eco dyed papers. Lots more paper projects to come!
Enjoy!
Annette
FiberArtsy.com
Comments
Join the conversation
-
I've never seen this technique before -- thank you for sharing!
-
Love your journal, several years ago I learned to ecodye fabric then I started playing with paper and have made several art journals from ecodyed watercolor paper. and I'm now playing with eco dyed book pages, but daily I use digital journal as well.


Frequently asked questions
Have a question about this project?
I really like your journal. I want to know that how can i make front page using leather?