


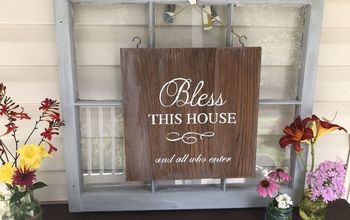
Easy Porch Sign

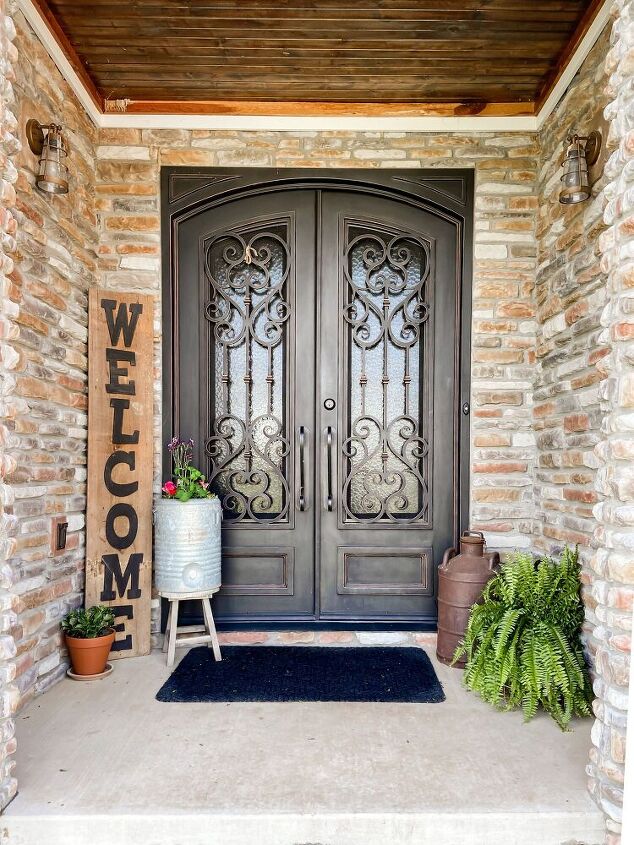
One of my favorite things about spring is planting different pretty flowers and refreshing our porches! I decided this year to make a WELCOME sign for our front porch.
Hometalk Recommends!
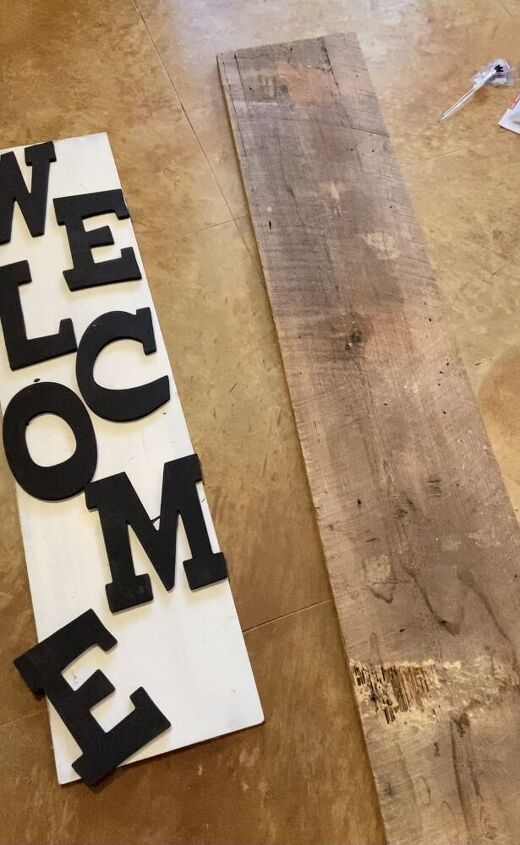
I was initially going to use some left over plywood for my sign, but in typical Danya fashion I didn’t measure first so it was WAY too small!
Then I remembered I had purchased an awesome piece of wood at Vintage Market Days that would be perfect for the sign.
Shop with me HERE
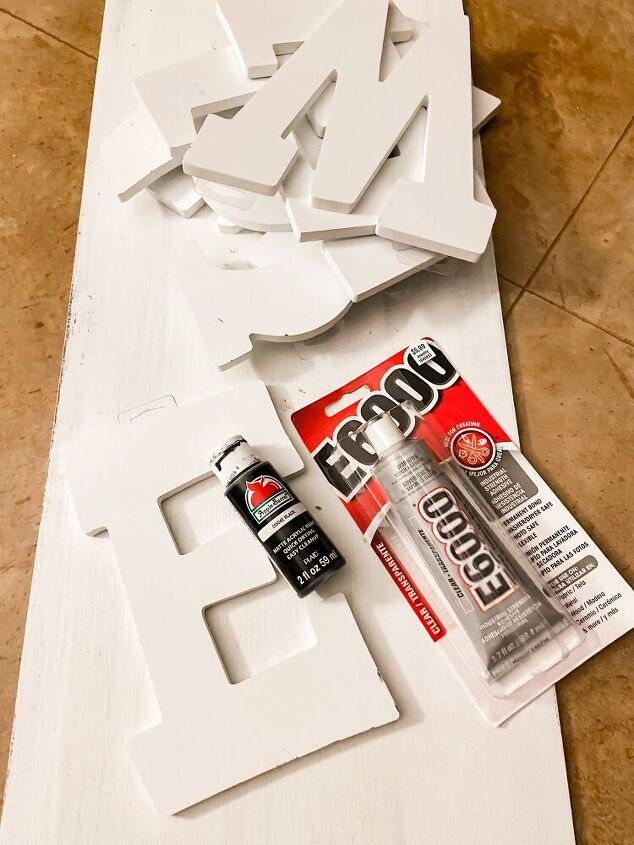
Items needed:
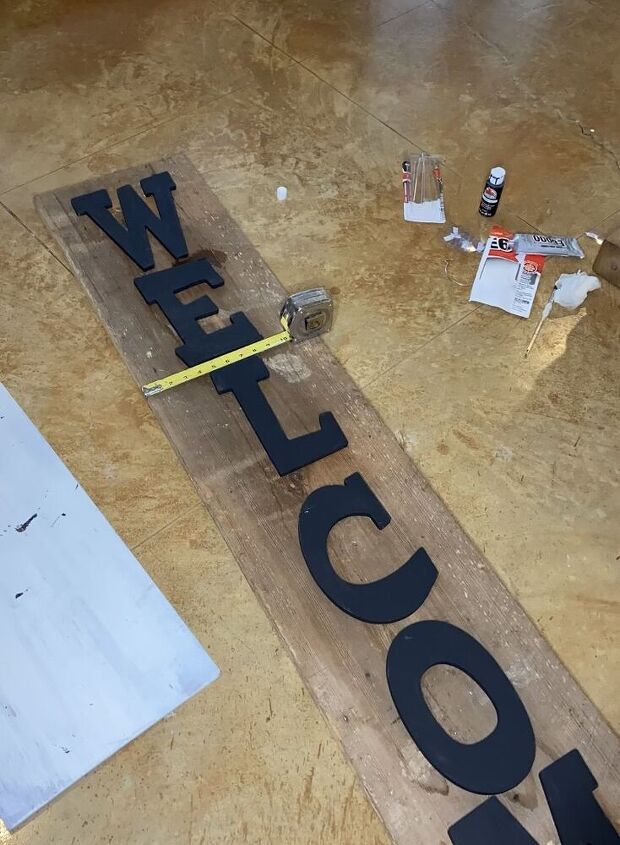
- 6’ x 12” board
- 9” letters from hobby lobby
- E6000
- Paint
- Tape measure
This is seriously such an easy project!!
I started by painting my letters black and then let them dry.
I then measured the center of the sign and the center of the letters and used the E6000 to glue the letters down. Just apply the glue to the back of the letter and then press the letter firmly to the sign.
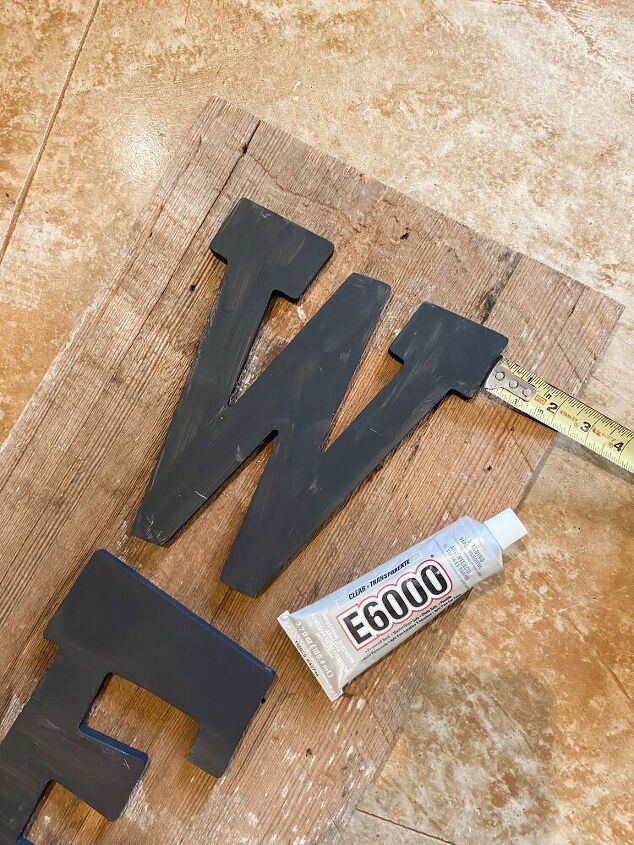
Be sure to let them sit for 6+ hours. I tried to stand it up too soon and my letters started shifting. Oops!
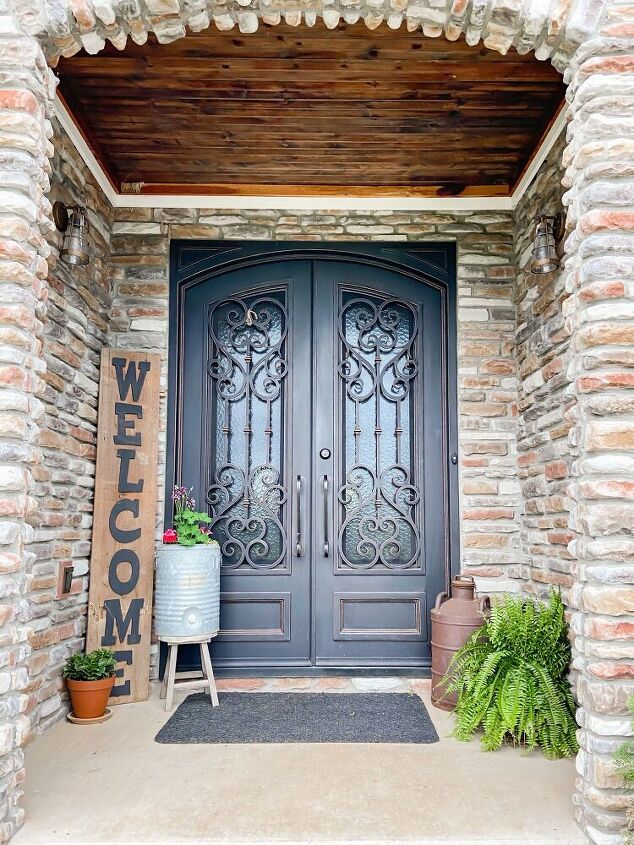
That’s it! Once dry just stand your sign up and enjoy. Told you it was super easy!
As always thank you so much for stopping by!!
If you try this be sure to tag me so I can share!
❤️Danya
Check out my other sites ⬇️⬇️
Resources for this project:
See all materials


Comments
Join the conversation
-
Love this!
-
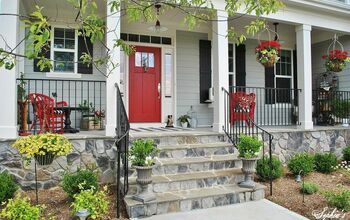
I love the ceiling of your porch!!


Frequently asked questions
Have a question about this project?