


DIY Ceramic Tile Cover Up With Concrete
Looking to learn, experiment, and erase a tile floor quick, self-leveling concrete and brass inlays were the weapons of choice.
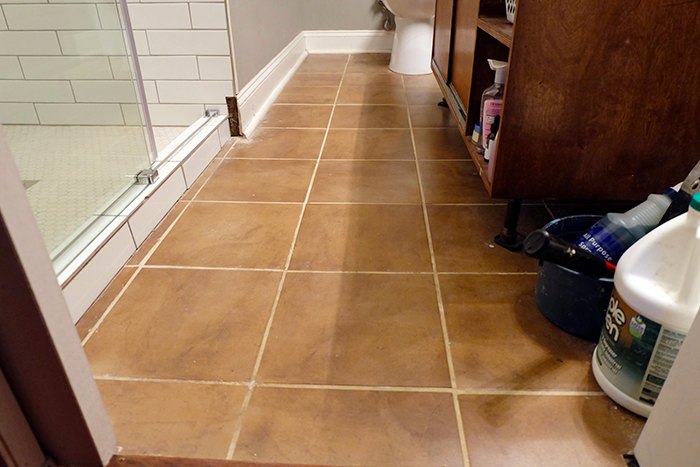
So I finally finished redoing the master shower, right, so ugh, the floor was that much more noticeably awkward and unattractive. It had to go! And go now! But I was so tired of tiling....hm. What to do?
I'll try some self-leveling concrete underlayment!
Before I get too far into this, I should say that yes, I am aware this product is underlayment and not intended to be an over-layment, but it still works.
And before I get too far in too, experimenting is fun. You get to learn, you may hit it big time with a win, or, you may strike out. In this case, striking out wasn't going to be a big deal -- I could tear it all out if need be.
Pick your battles appropriately and who knows, you might strike gold.
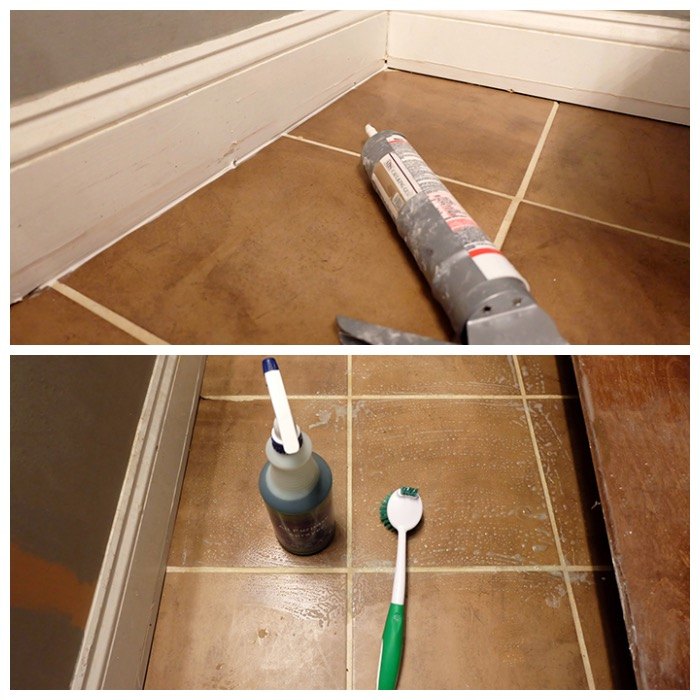
So I cleaned the floor and caulked gaps where concrete could seep.
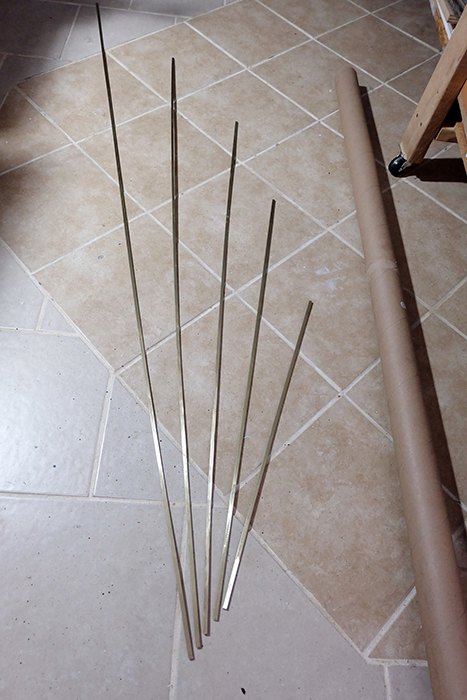
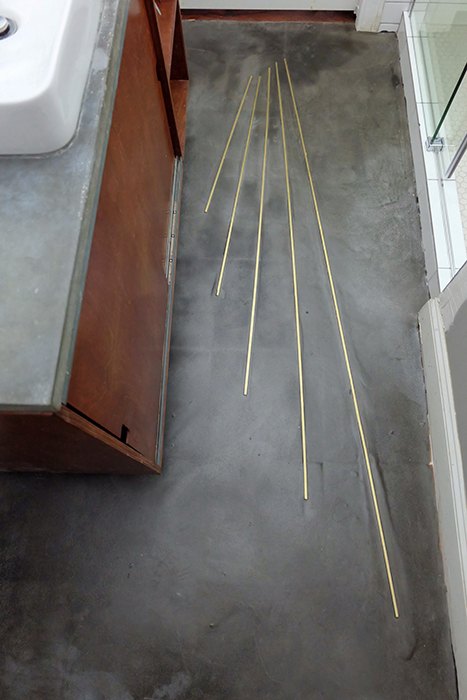
In the meantime, I ordered up some thin brass bars, cleaned those up to a nice shine, gave them a coat of lacquer, trimmed them to my desired sizes, and did a test layout.
Time for the big day! My husband had no idea this was happening by the way. You can read his reaction in the blog post.
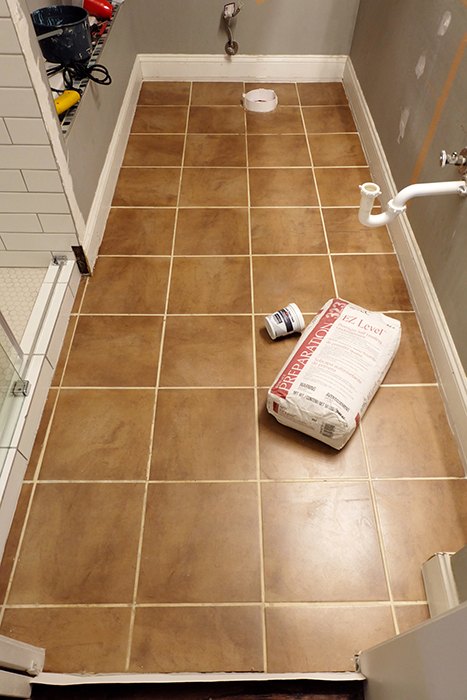
Out popped the vanity and toilet, I did some masking around the floor hole and by the door and it was go time.
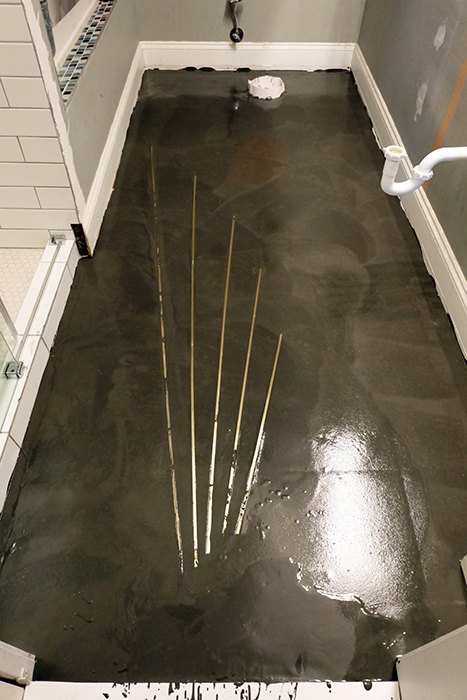
The bag said I only had about ten minutes to get this all down so yeah, that was scary. Mixed it up, added a pint of black colorant, and I didn't get photos of pouring....sorry, I was in a rush.
I learned an awful lot about self-leveling concrete underlayment here! If you swing by the blog post over on Flipping the Flip, you'll get all the tips, lessons, wishes, and a couple regrets!
After pouring the floor, I set the brass bars in which was tricky since they were floppy, wouldn't lay flat nor straight. But I got it close enough.
Two hours later? The floor was set and I moved the vanity and toilet back in. So, floor in a day!
One thing I would not do again? Use car wax to seal the floor that does not dry crystal clear. I fixed that mistake later but you can see here how it left behind some undesired cloudiness.
But overall, I'm pretty happy with my insta-floor! Be sure to swing by the post for all the details by clicking the link below!
Resources for this project:
See all materials


Comments
Join the conversation
-
Wow! You are one brave lady for tackling this. Love it!
-
Unique look. Unsure I could live with but I like idea. Anything is better than builders grade tile. Me? I’d probably buy a rug and curse it daily when I trip over it lol


Frequently asked questions
Have a question about this project?
I not use self leveling epoxy instead?
May be hard to sell this to a prospective homebuyer just because it’s so different. If they don’t like it how do they remove it?
Did you consider filling in around the grout lines before pouring the concrete?
I can see the lines of the tile in a couple of places.
I would consider placing a thin ply board over the tile and then use the concrete. That way no lines of the tile and if you want to remove it, then the ply board will lift right up.
I agree, remove baseboards before applying concrete.
Very industrial looking.