


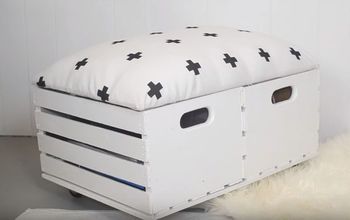
Popcorn Tin Storage Ottoman
This popcorn tin storage ottoman is so easy to make! Plus, it is great for camping, RVing, or using at home.
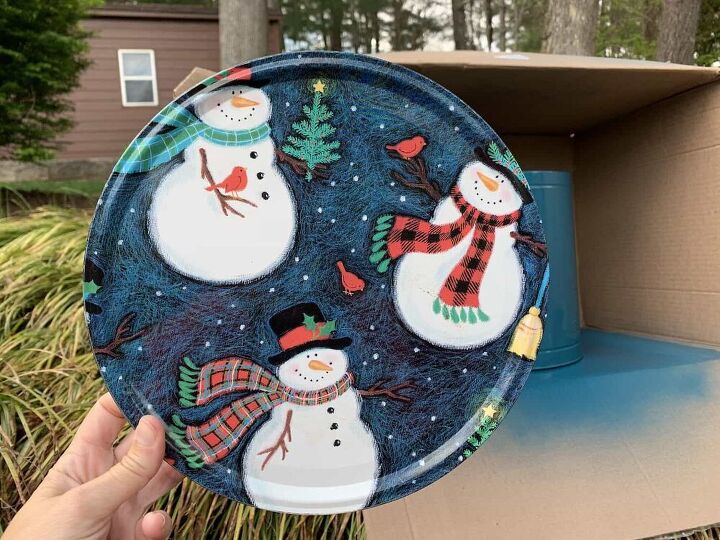
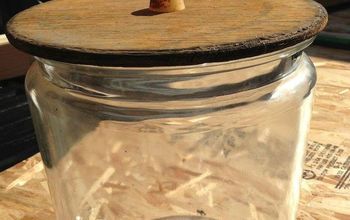
When I found a large empty popcorn tin container at the thrift store for just 25 cents, I knew I had to buy it. But I didn’t know what to do with it. Until I realized it would be great as an ottoman around the campfire and in my RV!
How to Make a Popcorn Tin Storage Ottoman
Supplies
- Empty popcorn tin (cleaned and dry)
- Spray paint (I used Krylon Fusion All-in-One, Satin Peacock Blue)
- Let’s Go Camping Stencil, optional
- Acrylic paint, optional
- Foam stencil brush, optional
- Painter’s tape, optional
- Fabric (I used this National Parks map fabric)
- Needle and Thread
- Stuffing (Poly-fil) or Batting
- Hot Glue
Step 1
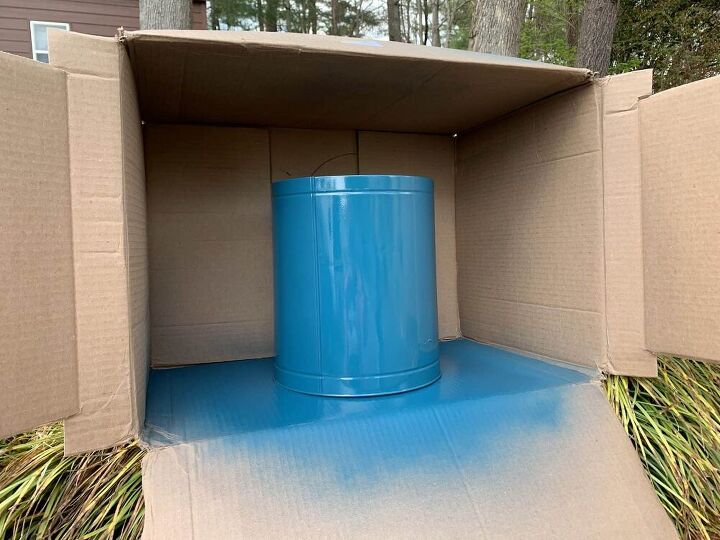
Spray paint the popcorn tin in a color that you like. I recommend using an all-in-one primer and paint that works on metal.
Be sure to paint the lid and the tin separately so that they don't get stuck together!
I only had to use one coat of paint.
Step 2
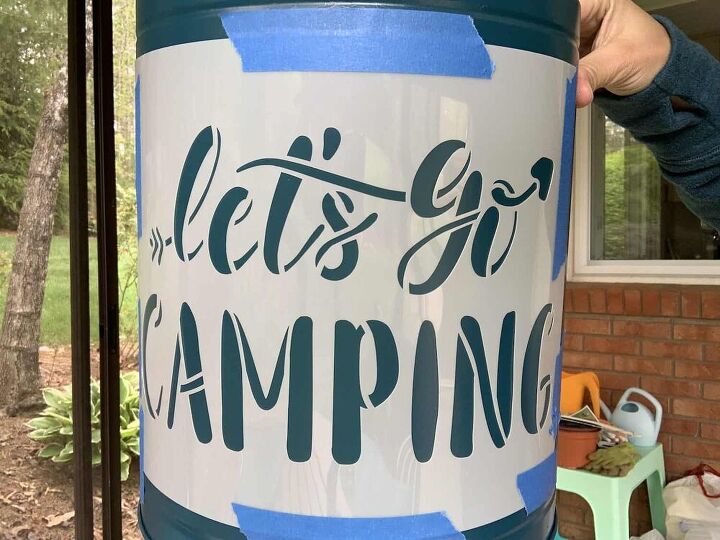
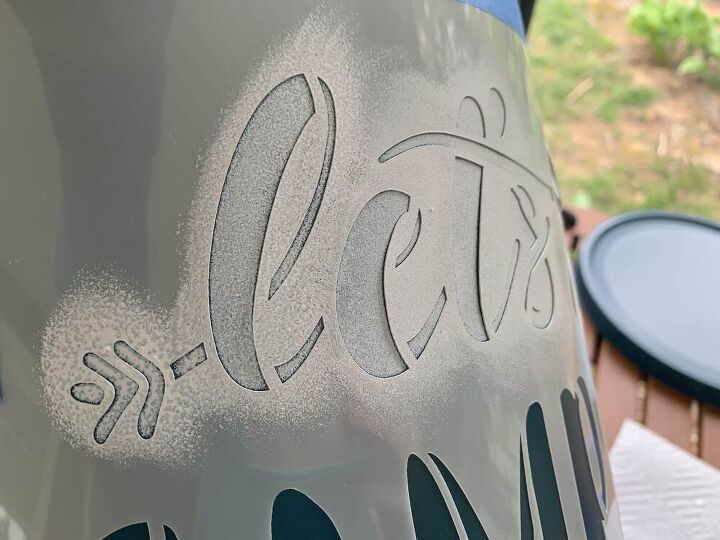
I added a camping stencil to my ottoman seat and I love it. It’s the perfect touch.
I taped the stencil down with painter’s tape. Then, using an angled foam brush, I applied acrylic paint to the stencil.
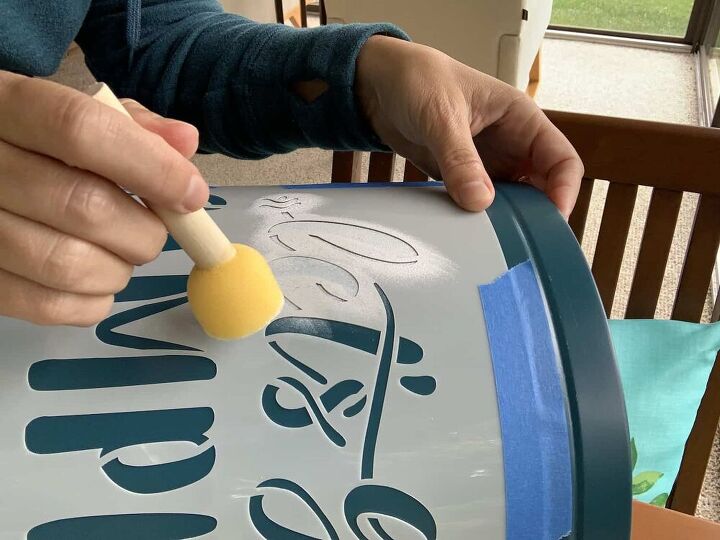
When stenciling, you want to use as little paint as possible. Using too much will cause the paint to bleed under the stencil.
Add just a little paint to the brush and dab off almost all of it.
You might think that the foam brush is too dry. But it’s better to dab on paint in a few coats rather than one thick coat.
Remove the stencil carefully while the paint is still wet.
You don’t want the paint to dry before taking it off, because the paint could peel off with the stencil.
Step 3
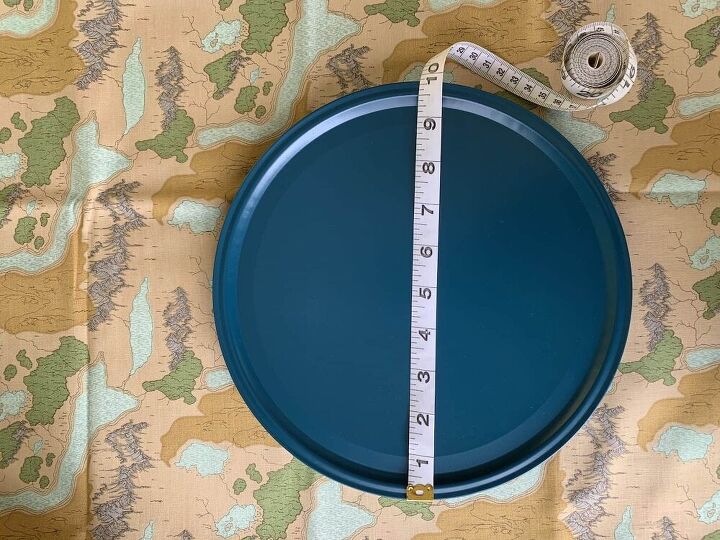
For the ottoman seat, measure the diameter of the popcorn tin lid. My lid was 10 inches in diameter.
Although the actual part where I wanted the seat to be (inside the lipped edge) was actually about 9 inches.
Step 4
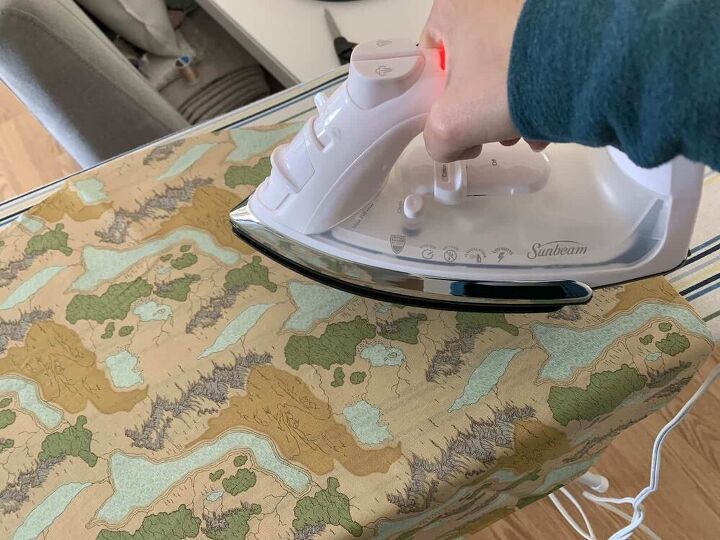
Before measuring your fabric, be sure to iron out any wrinkles if there are any.
I wanted the fabric to wrap around the stuffing/batting that I used and cover underneath, too. So I doubled the size and cut a 20-inch diameter circle.
However, I soon found out that I should have measured less. 18 inches would have been good.
Step 5
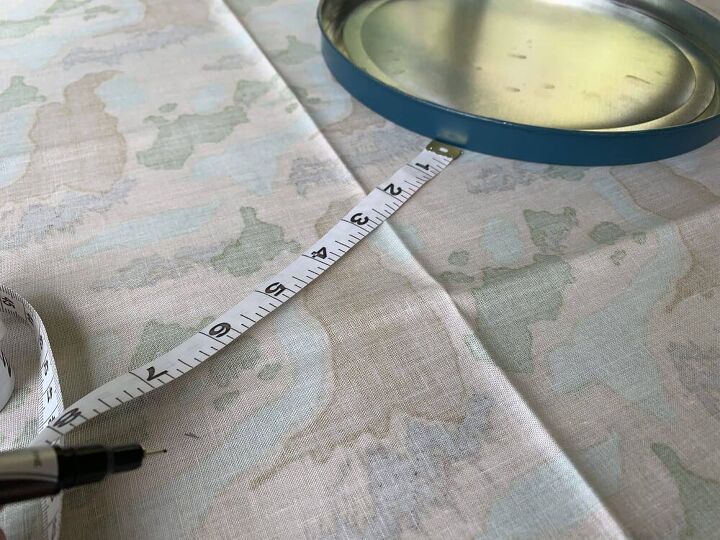
You can easily cut a fabric circle by laying the lid on the fabric. Then, take the measurement of how much extra fabric you need (in this case, I needed an extra 10 inches to double the size) and divide that number in half.
Take the number that you get and measure the amount around the entire lid with a ruler, making marks with a pen or pencil.
For example, I took the extra 10 inches I needed and divided in half, which is 5 inches.
So, I measured an extra 5 inches from the outer edge of the lid all the way around the lid to create a circle pattern.
You can then draw a line connecting the dots and cut the circle out.
Step 4
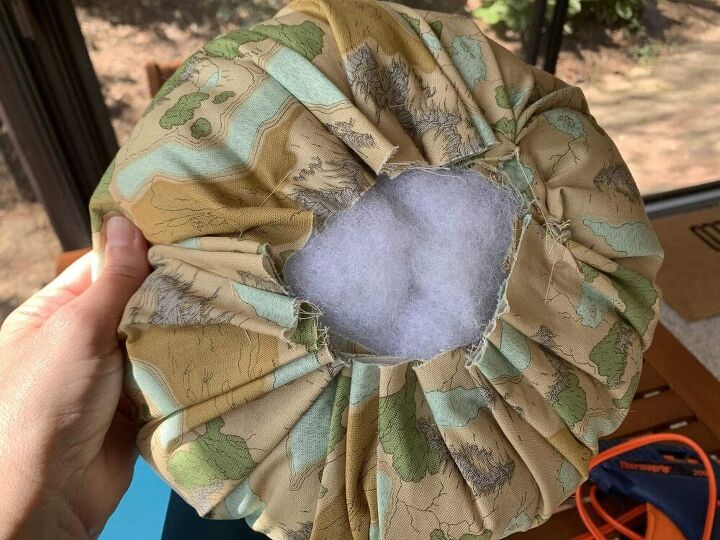
Using a large basting stitch, I hand-sewed a running stitch around the perimeter.
I did not finish off the end after I sewed around the edge. Instead, I pulled on the thread to gather the fabric into a circular pouch. I kept pulling the fabric and arranging the layers until it fit correctly on my popcorn tin lid.
Step 5
Add stuffing into the fabric circular “pouch” until it is as thick as you’d like. You could also add batting or foam cut in a large circle to fit the shape of your lid.
Tie a knot in the end of the thread to secure.
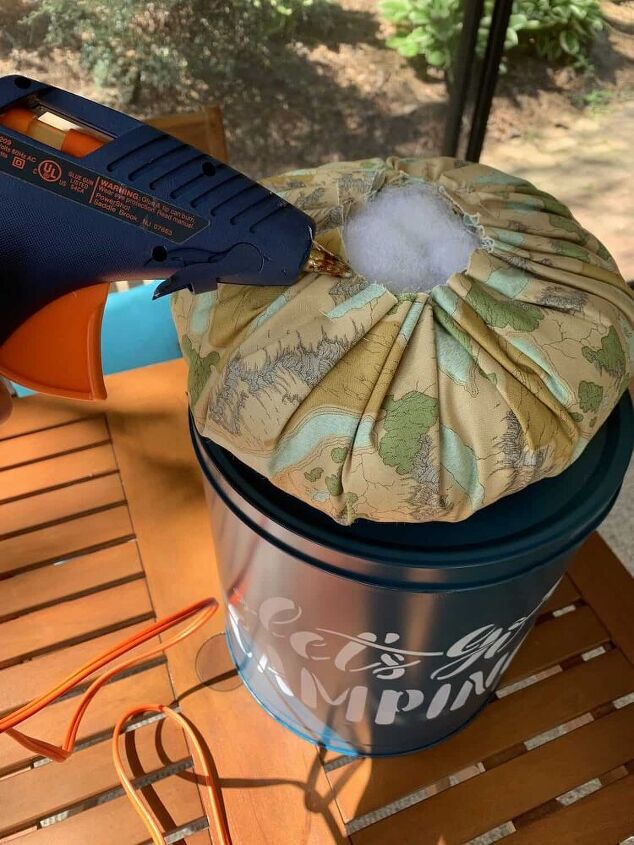
Step 6
Hot glue the cushion to the top of the lid.
Want to see exactly how I made this storage ottoman? I share even more details for how to make this popcorn tin seat in my video below:
I’d love if you subscribed to my Youtube channel! I'm just getting started and don't have a lot of subscribers yet!
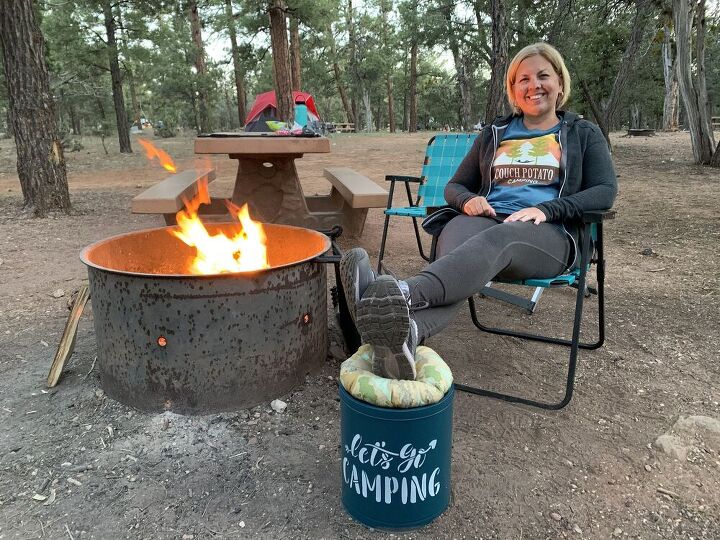
This ottoman works great by the camp fire outside. Plus, it works as a small stool or seat.
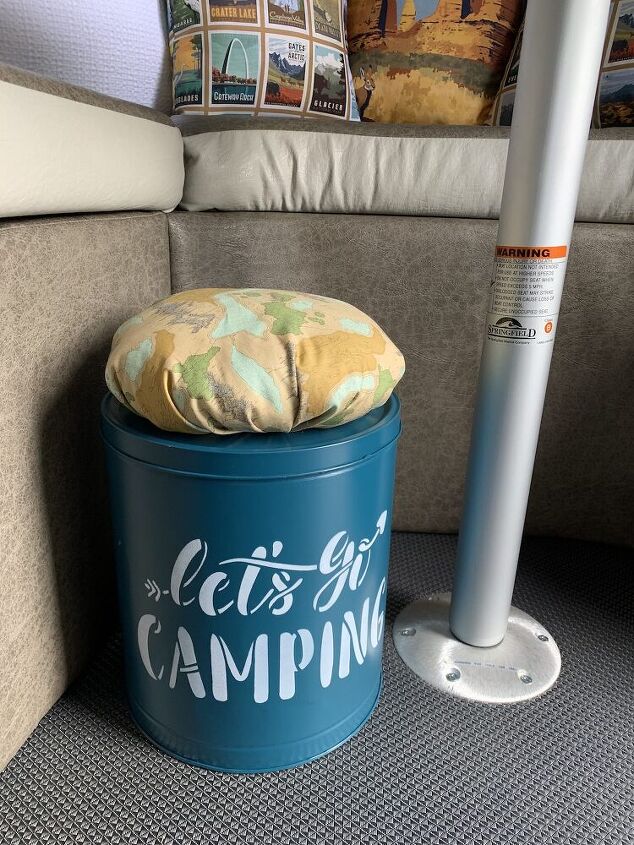
I tuck this ottoman under our RV dinette. It adds even more storage to our RV all kinds of things, including:
- Smores-making ingredients
- Non-perishable foods
- Shoes
- Clothing
- Dirty laundry
- Toilet paper
- Toys
- Tools
- Outdoor equipment
Resources for this project:
See all materials


Comments
Join the conversation
-
much better use than camp toilet. I’ve seen folks line with bag, tie up when done, fresh bag in and lid back on. Works but unpleasant. Will never camp/hike again where I have to remove my waste again. No fun
-
Haha, now that’s clever!


Frequently asked questions
Have a question about this project?