


Oval Mirror Beachified

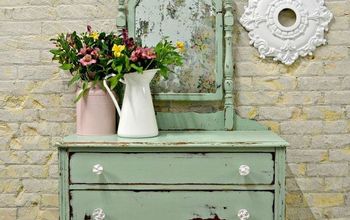
What a grand old mirror. I found this at a yard sale and paid next to nothing for it. It was quite large and a bit heavy. Can you imagine the stories this old mirror can tell? Let’s get to work.
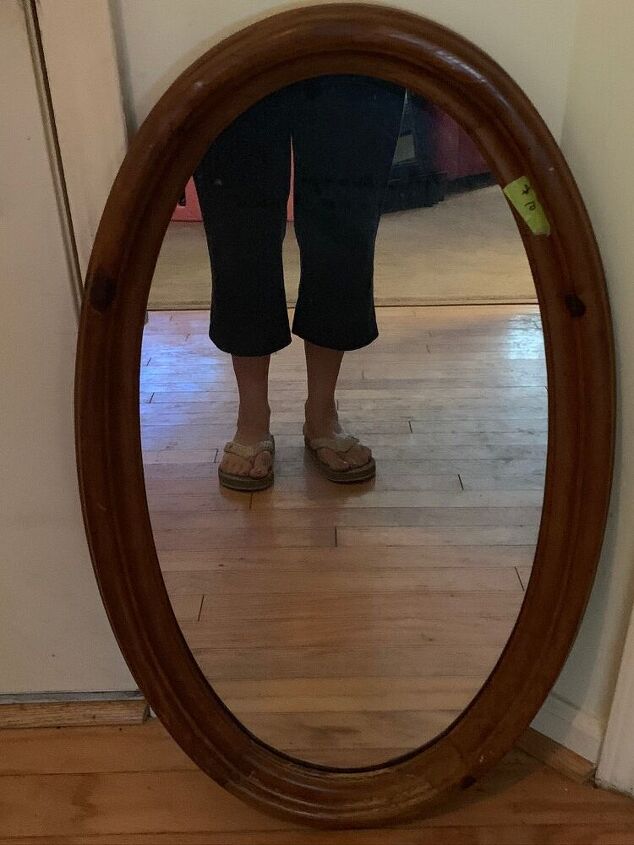
What a beauty! But this ol’ gal needs a facelift.
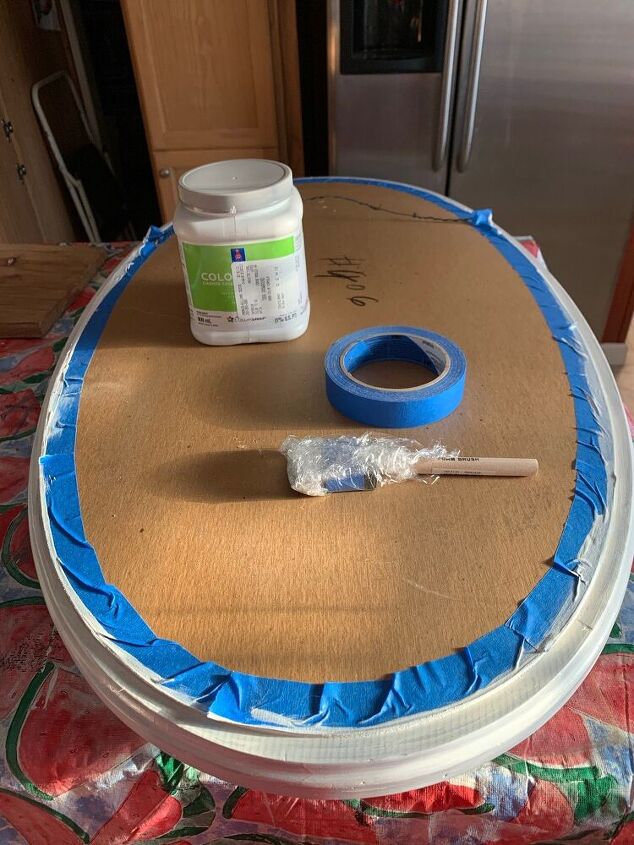
-With colors that I use often I buy this large sample size from Sherwin Williams.
-Painters tape ( it took a lot of time to tape up this piece)
-Foam brush
-Proper prep work. (This short cut came back to bite me)
-I use little plastic bags or plastic wrap or tinfoil to keep the foam brush from drying out in between coats.
-I use empty plastic bowls to elevate the piece while I’m painting.
-Don’t take silly shortcuts cuz they will cost you time in the end!
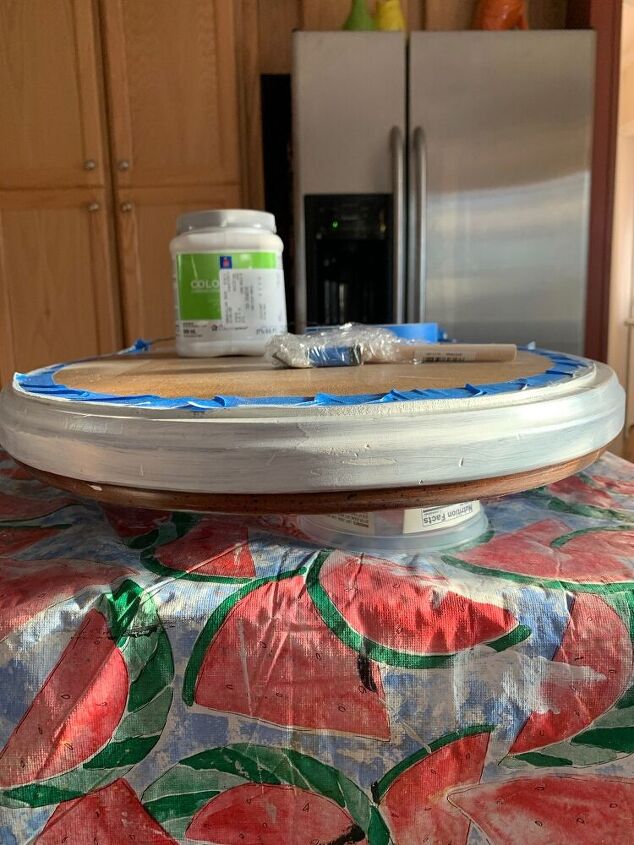
I first washed the mirror and then sanded it a bit before painting. The wood needed several coats of paint.
Hint: maybe I should have taken off the mirror first. Without the mirror I could have easily spray painted it first with a primer.
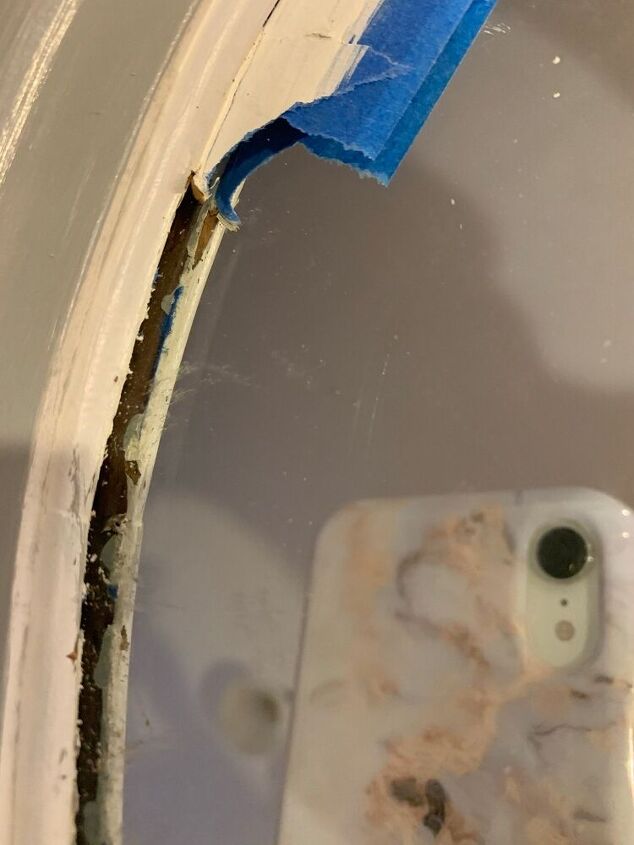
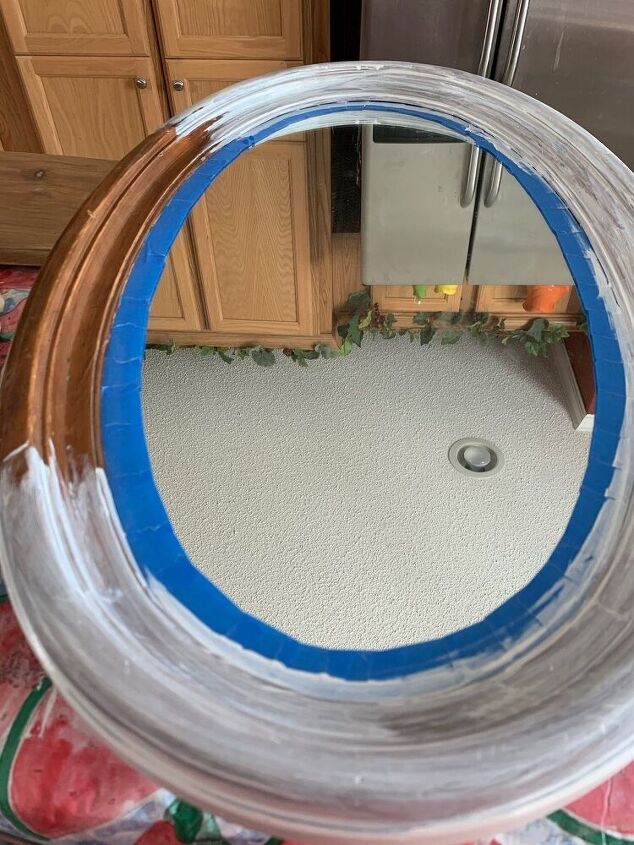
Taking off the painters tape was a nightmare. The tape was painted down pretty good after several coats which made it hard to get off. And see how bad it looks. The mirror reflects the unpainted underside. A real disaster!
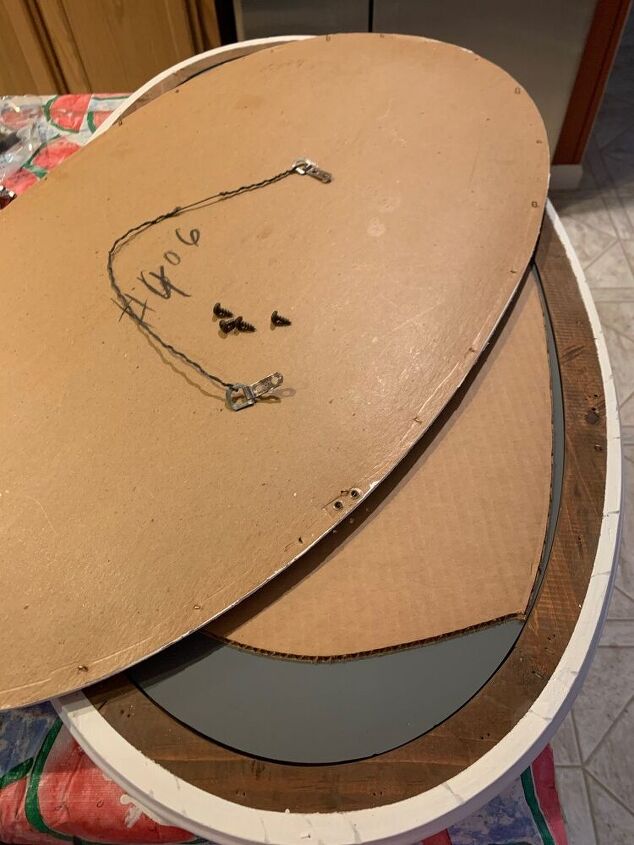
I actually knew better because a very talented decor artist that I follow (Christy at Confessions of a Serial DIYER) says that you always need to take the glass mirror off before painting. Silly me thought I was saving time by using painters tape. It took much longer than needed by not listening to her good advice. So I took off the mirror, got all that nasty painters tape off that really wasn’t needed in the first place and then very easily painted the entire frame. After everything dried I reattached the mirror and backing.
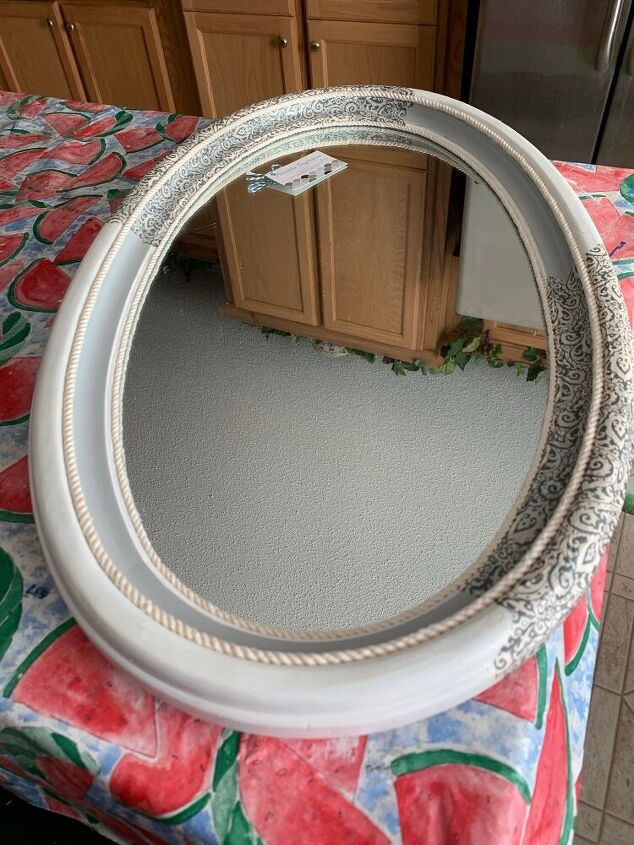
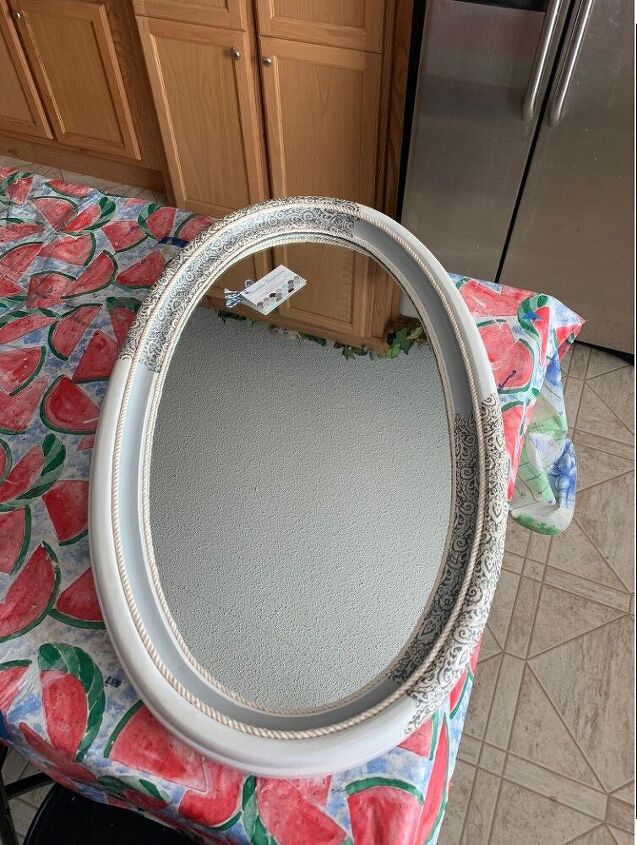
Since the mirror had an interesting shape I painted it white with grey along one of the edges. I added tissue paper on the top left and bottom right with Mod Podge. Then I sealed the entire piece with polycrylic.
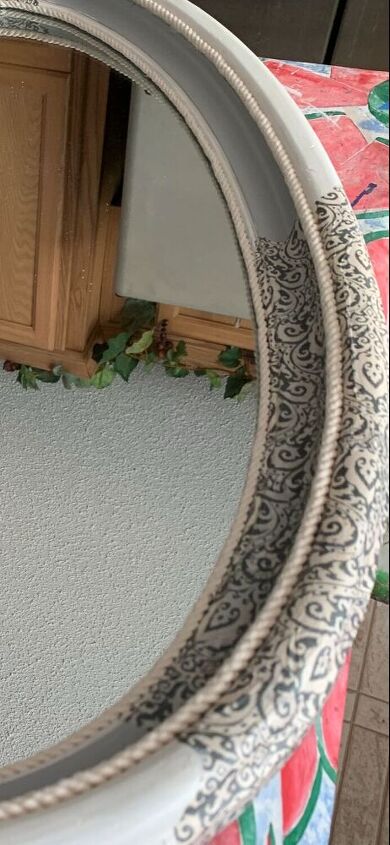
It needed two or three coats of the Mod Podge on top of the tissue paper but that was easy enough. I applied the Mod Podge with a typical soft bristle artist brush. And let it completely dry between coats.
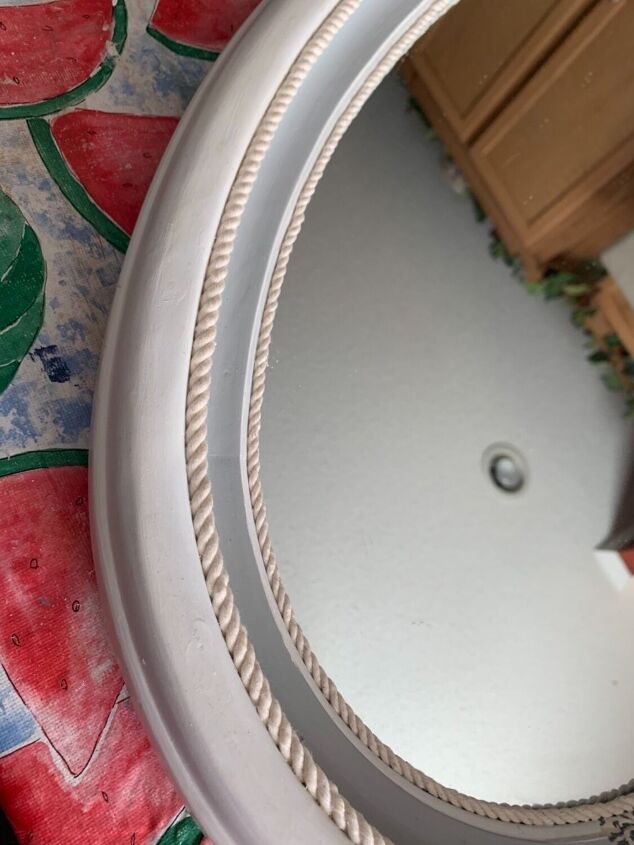
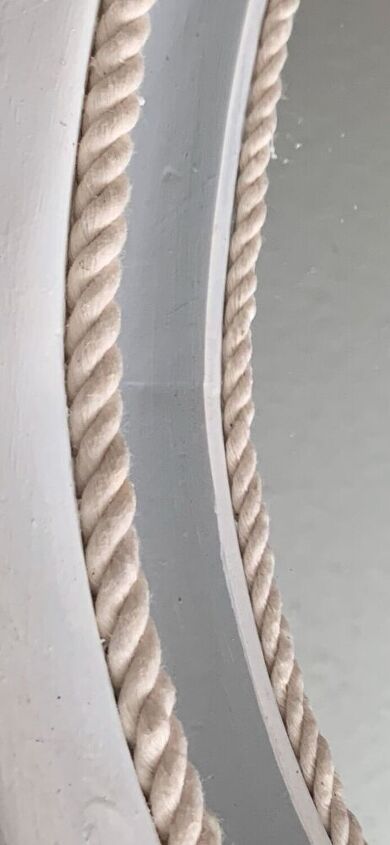
As much as I tried, the grey painted edge just wasn’t straight enough for me. So my solution was to add white rope that looks very beachy anyway. I have two sizes of the same kind of rope that worked perfect. I used E6000 glue to attach it.
I sent this off to one of my local consignment shops. It sold within the first week. But most importantly I learned that not all shortcuts work. Doing it right from the beginning would have taken much less time. Hope my mistakes help you to not make the same mistakes.
I’m happy to answer any questions you may have. Or would love to hear suggestions too.
Enjoy!
Resources for this project:
See all materials


Comments
Join the conversation
-
I love this idea! I have collected a ton of antique mirrors, which have been collecting alot of dust. Now I know what to do with them!
Thank you!!!!
-
This is beautiful. I can't believe you can part with it


Frequently asked questions
Have a question about this project?
What did you you for the designs on the sides , stencil?
Great revamp on this mirror! I have several I would like to change up. Just out of curiosity, what did it sell for in the resale store?