


DIY Wood Burned Plant Markers
A project that has been on my mind to make since early spring is DIY Wood Burned Plant Markers. I finally completed this project and I love the end result!
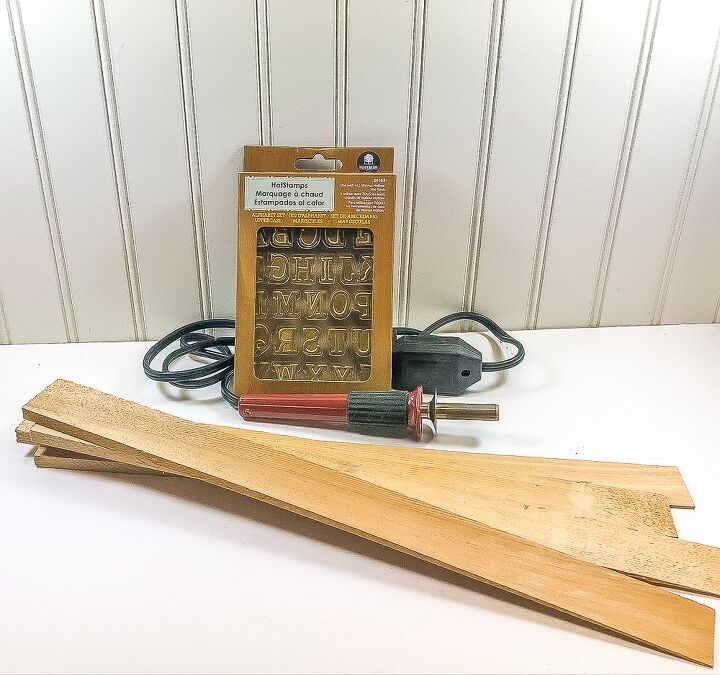
To make the plant markers, you'll need wood shims and a wood burner.
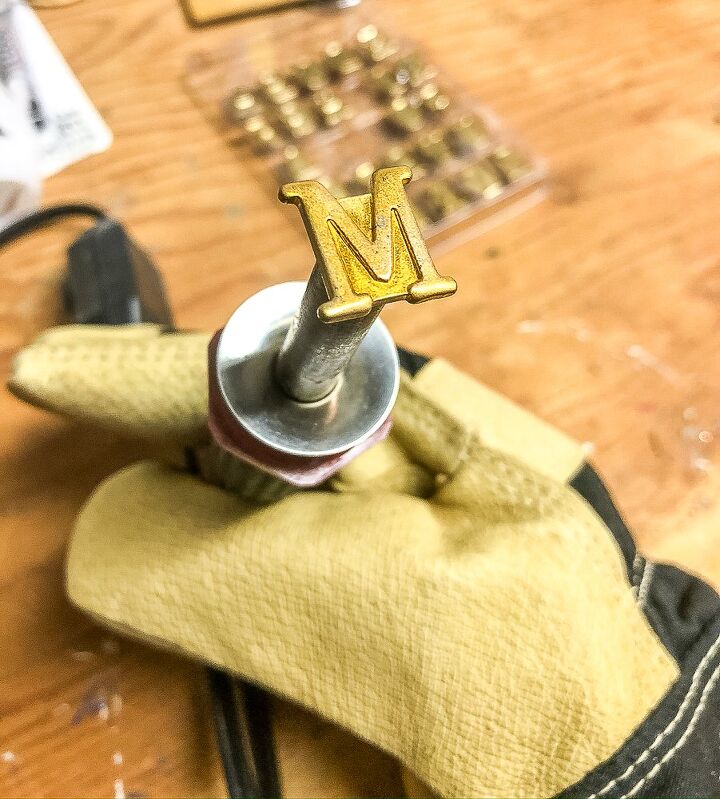
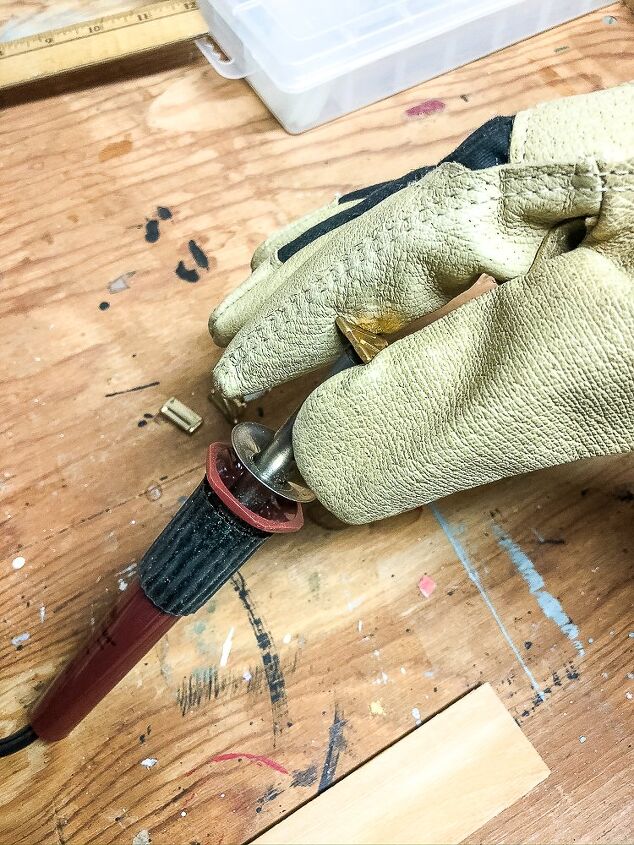
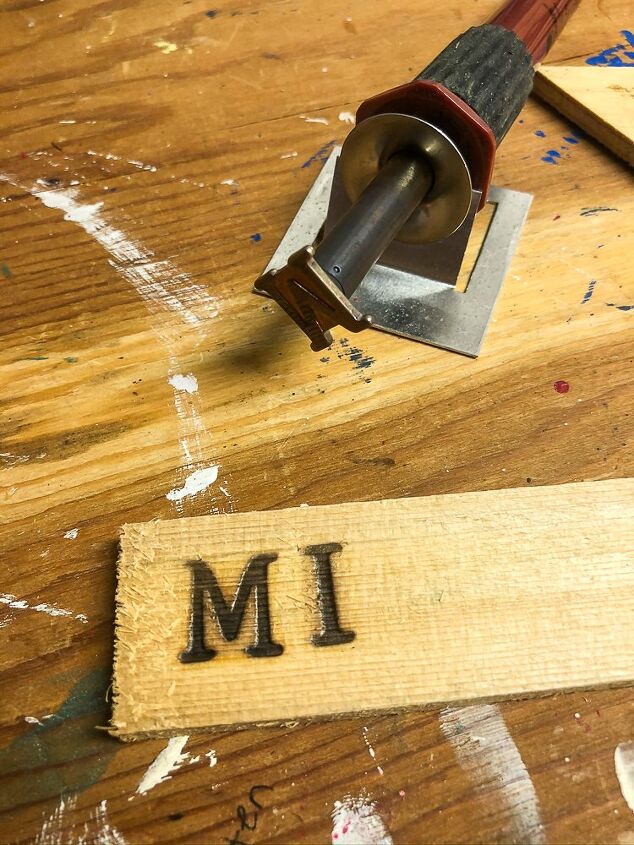
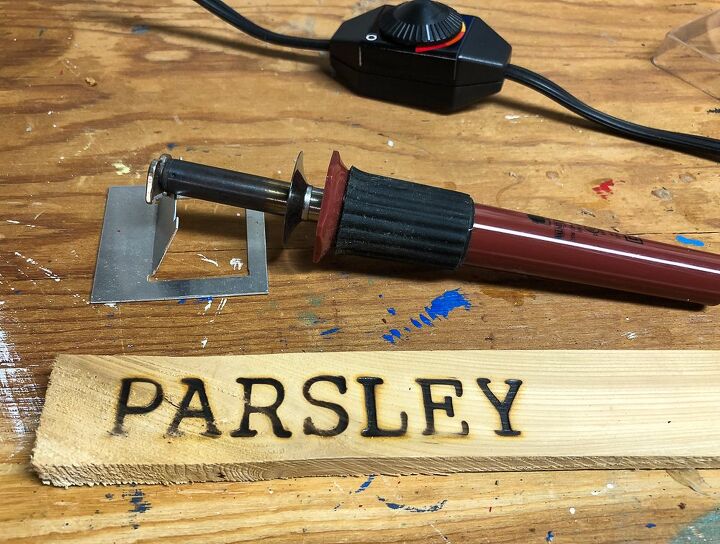
Before turning on the heat to the wood burner, screw a letter into place.
Then turn the wood burner to the highest setting and let it heat up. This will take a few minutes. When you’ve finished with a letter, turn off the heat and let the wood burner cool down before removing the letter.
Even though my wood burner had cooled after I had used each letter, I still wore a heavy-duty glove when I changed one letter to the next. Better safe than sorry!
Start by Practicing!
Even if you have done wood burning projects in the past, I recommend practicing on scrap wood before starting your project.
My first wood burning project was in 8th grade when I burned a horse head on top of a footstool that I made in shop class. I still have the stool and use it in my closet.
Even though I’ve done a few wood burning projects over the years, I’m definitely a novice at the skill.
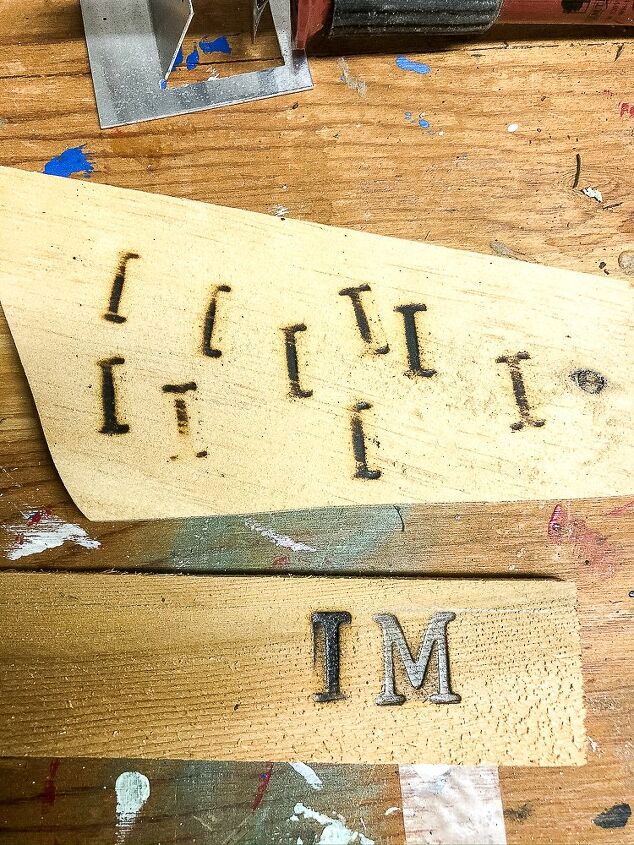
I started with this shim and realized I was spelling mint backwards. I’m not sure what I was thinking!
Once you’ve practiced, you are ready to start to make your plant marker.
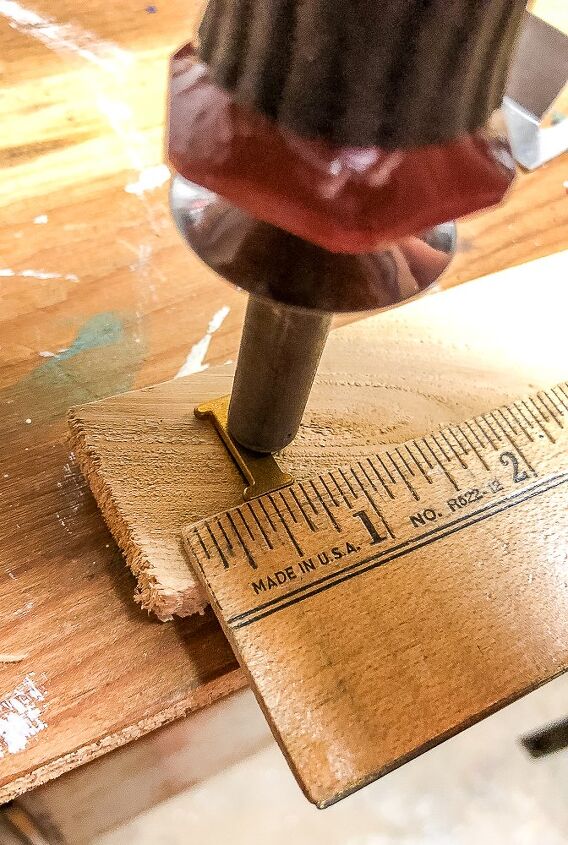
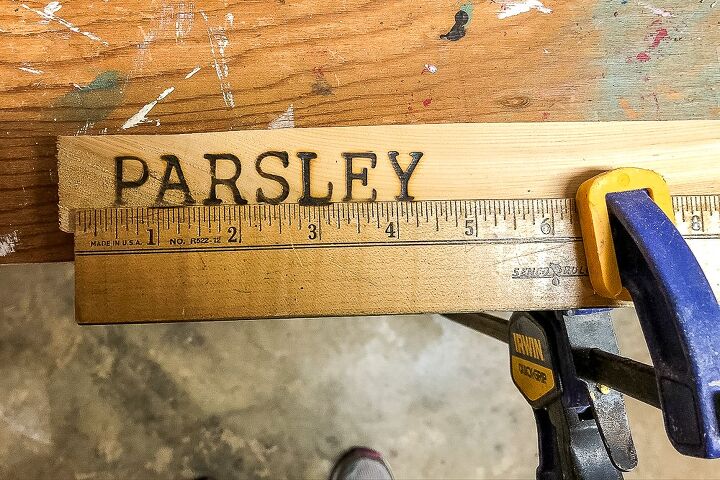
To keep the letters forming the word in a straight line, I drew a light line on the wood to use as a guide. I am by nature a very shaky person and I couldn’t control my hand to place the letter even with the line. When I realized that a line wouldn’t work with my shaky hand, I came up with a new plan.
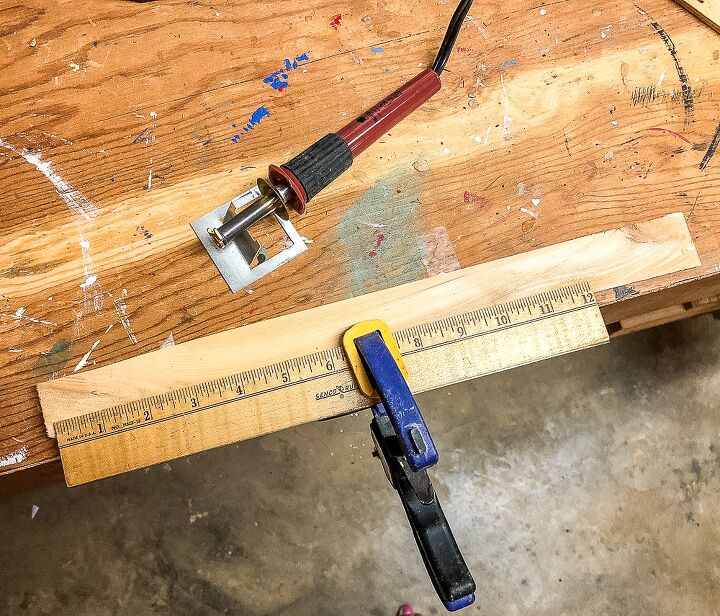
Plan B was to use a ruler clamped to the shim and my workbench to guide the placement of the letters. Using this method, I was able to press the bottom of the letter against the ruler to keep the placement straight.
I did pretty well with my letter placement but I’m not skilled enough to evenly burn each letter. Good enough, though!
This process takes time as you have to heat up and cool down the wood burner between letters.
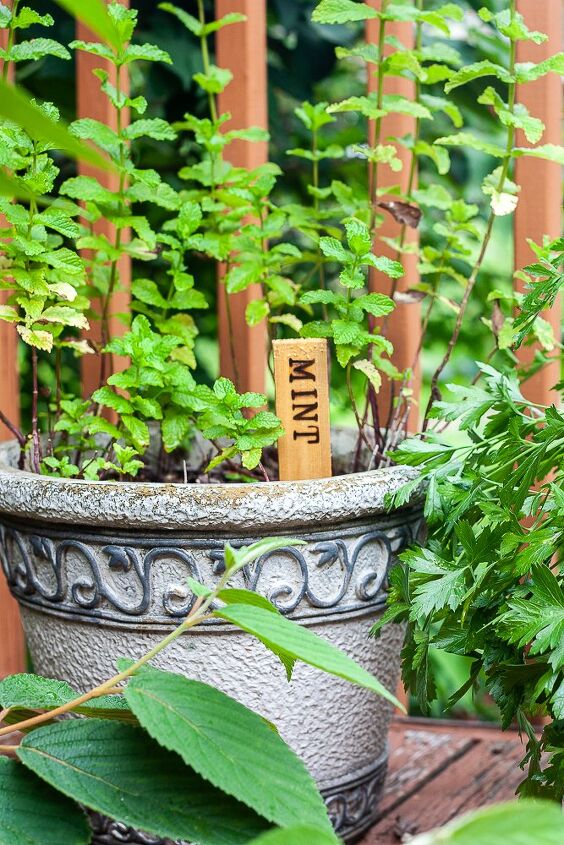
Since I have Parsley, Basil, and Mint on my deck for easy access for cooking, I made plant markers for those herbs.
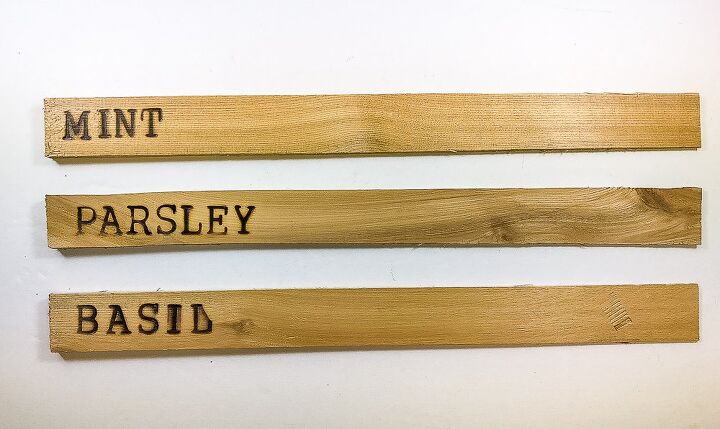
Basil isn’t perfect, but good enough.
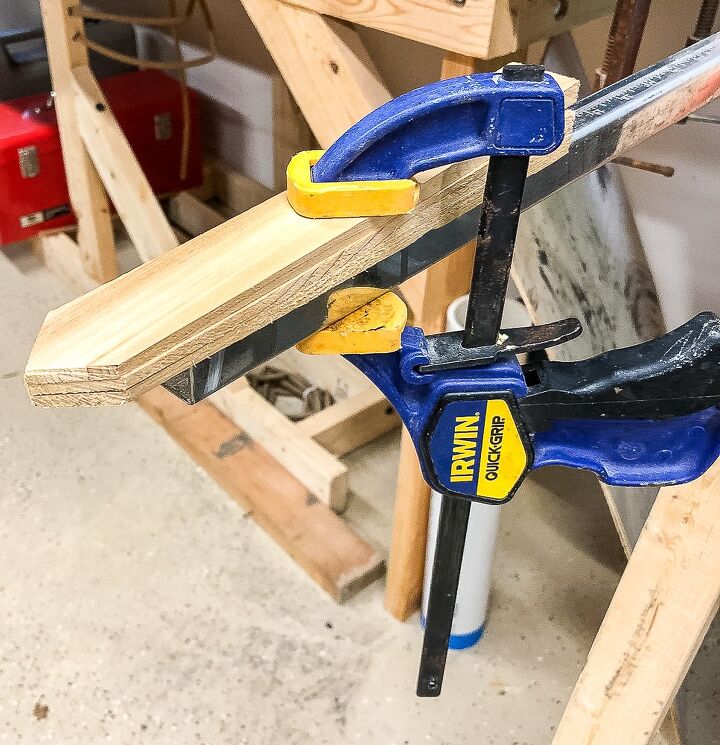
After the wood burning was complete, a hacksaw was used to cut a point on each plant marker.
Tip: Clamp the markers together so you only have to make two cuts.
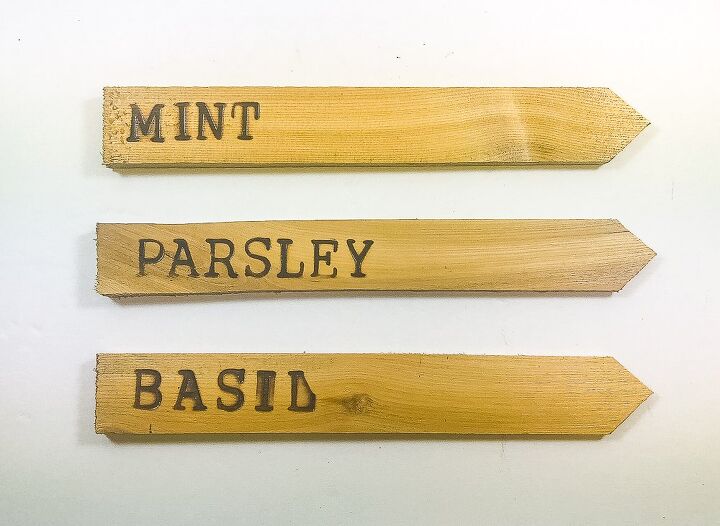
The next step was to seal the markers to prevent the wood from rotting. I used polyurethane.
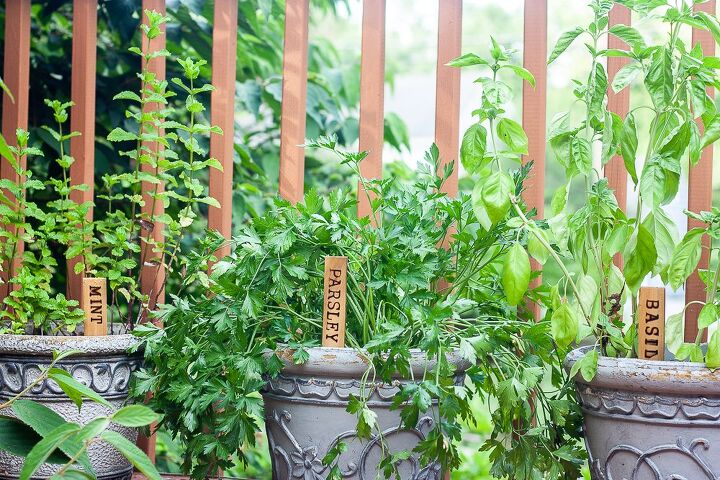
It's so handy having my herbs on our deck handy for cooking.


Comments
Join the conversation
-
👩🏼🌾👍
-
Will definitely try this. Suggestion about the 'blur' in Basil. Try sanding lightly the marker. This will remove the darkened areas that are on top of the wood leaving the darker portion intact.


Frequently asked questions
Have a question about this project?
Can I do this without the letter stamps and burn it into the wood?