


How to Create an Aged Look on Canvas Laundry Cart Using Paint and Wax

For some time, I have wanted a vintage laundry cart! I'm talking about the older the better! Some may think I'm nuts; but the vintage look has so much appeal and it's great storage too!
The problem for me was the price tag! Oh my goodness! Those things are not cheap! Even the replicas can cost well over $150! Crazy! I happened to find this laundry cart for $20 on the Marketplace; and figured I could create my own vintage laundry cart!
I'm going to show you a super easy way to create an aged vintage look on canvas. This could probably easily work on any canvas covering.
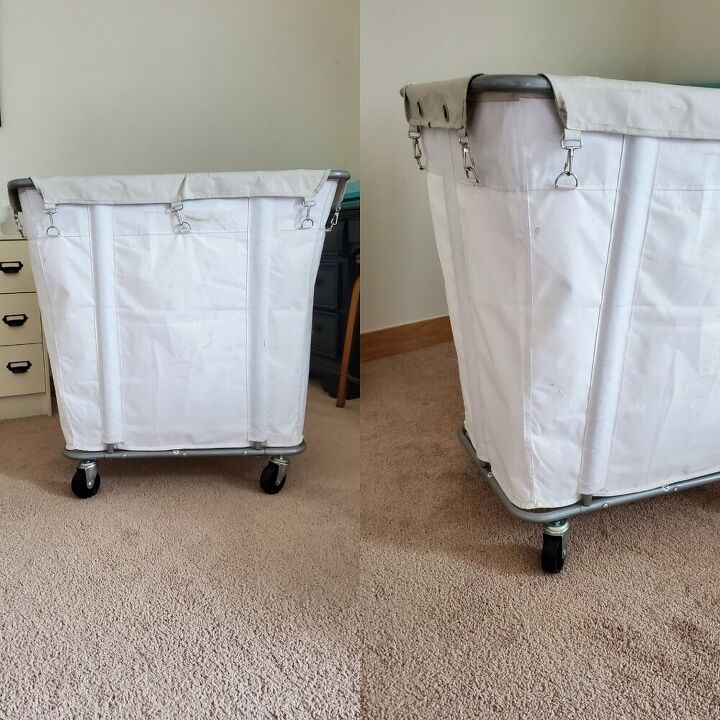
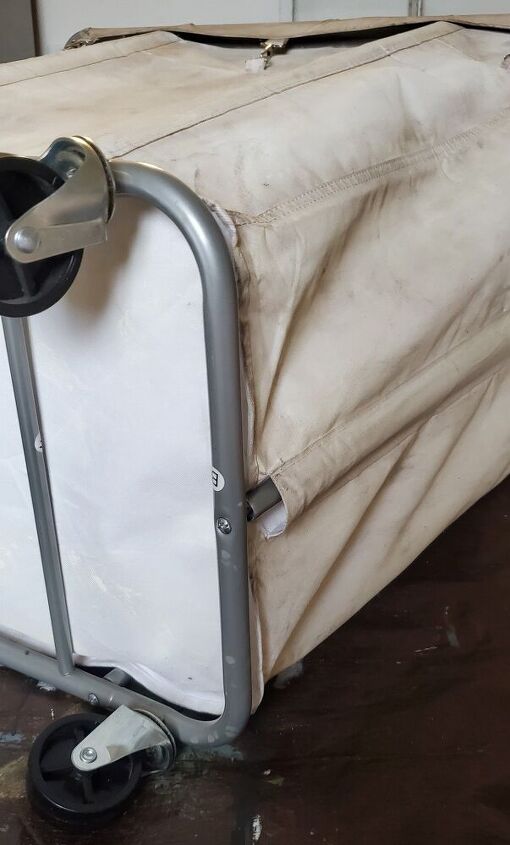
This is the laundry cart I found for $20. The shape and size were just what I was looking for! The only thing missing was that aged, worn look!
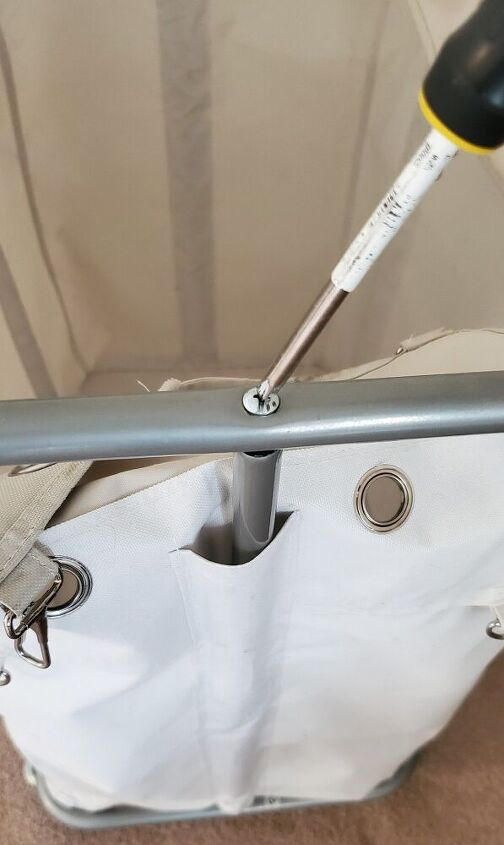
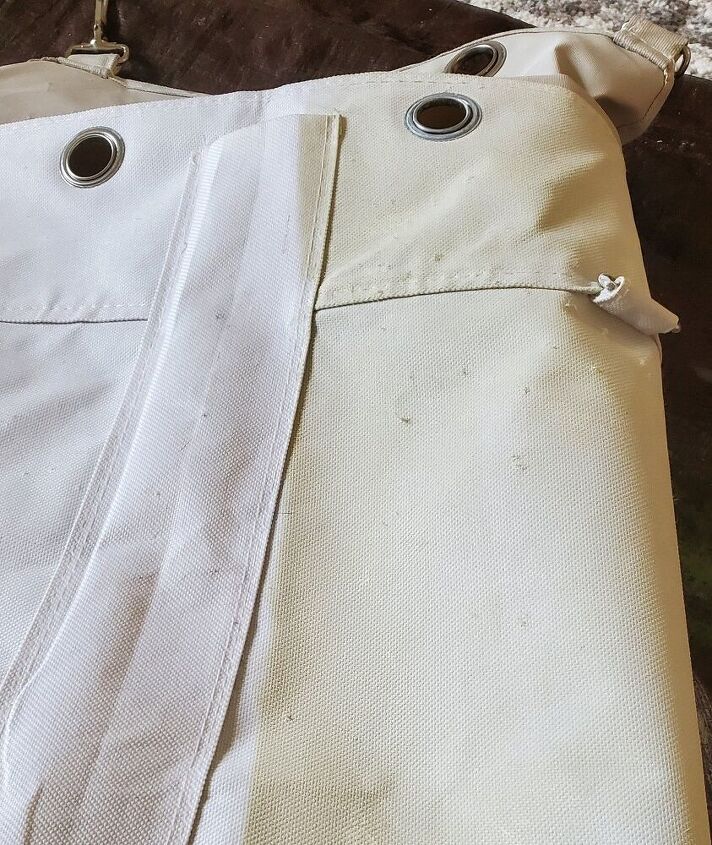
I started by removing the canvas cover from the frame.
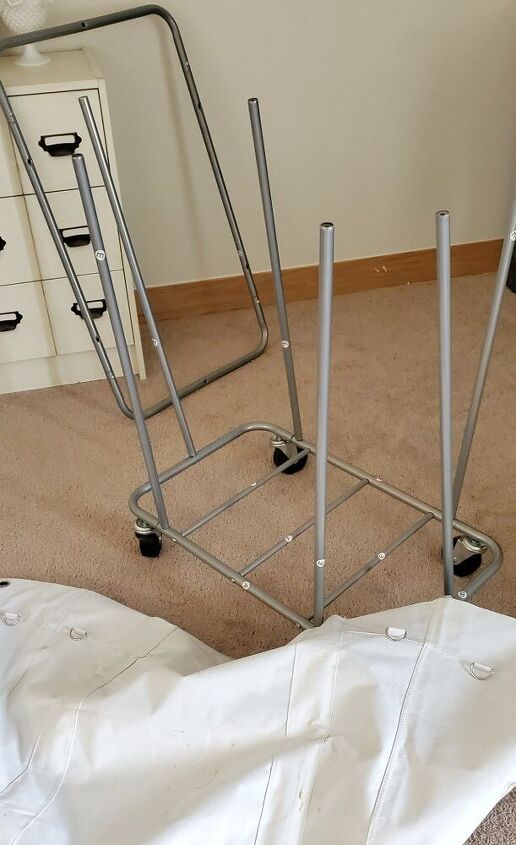
Super simple! I just removed the screws and took the canvas off! You could always keep the canvas on and work from there; but I found removing it made it so much easier.
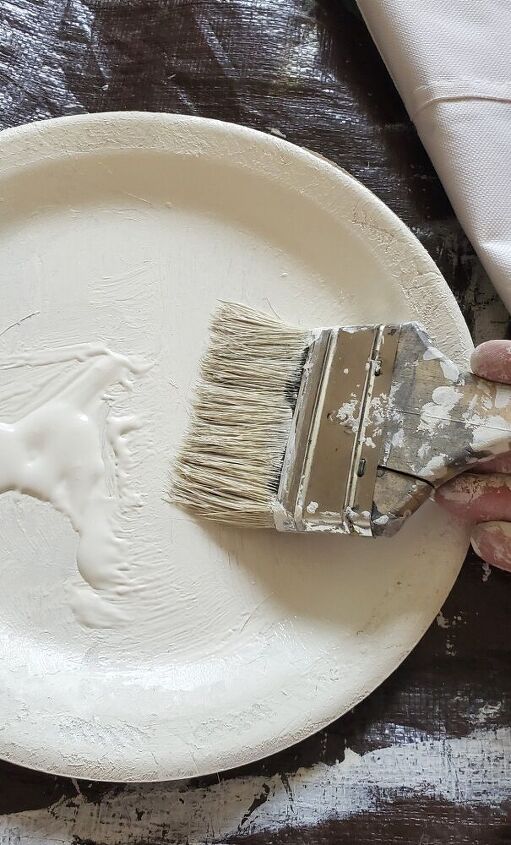
I started by applying an off white chalk paint. I used House&Canvas chalk paint, in the color champagne.
I found it easiest to work from a paper plate. This allowed me to wipe the brush bristles on the plate before applying.
I found less paint on the brush applied better to the canvas. Due to the material of the canvas, the paint did not spread well; which left spots when too much paint was applied.
You can easily see the difference once paint was applied. The paint gives the canvas that dingy creamy/yellowish color.
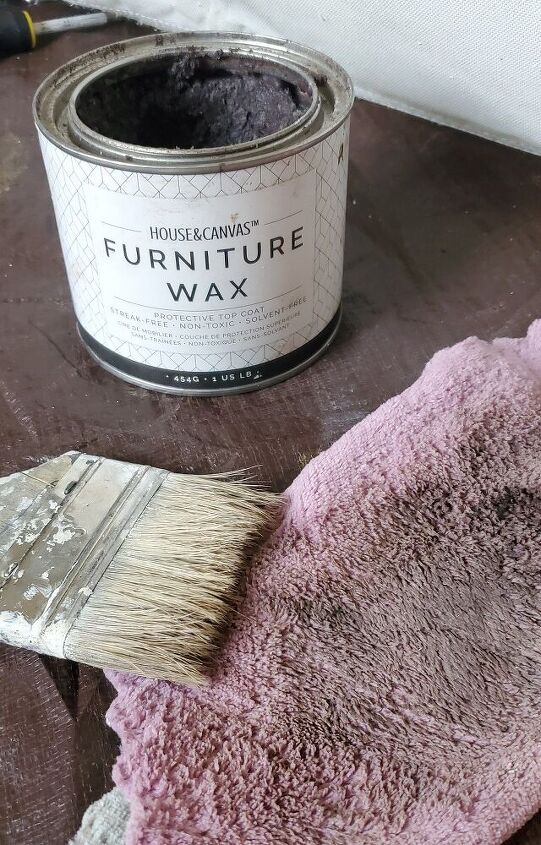
After I added paint to all sides of the canvas, I added dark colored furniture wax. This particular wax is typically used to seal and add an aged look to chalk painted furniture.
I used the House&Canvas wax in the color Walnut.
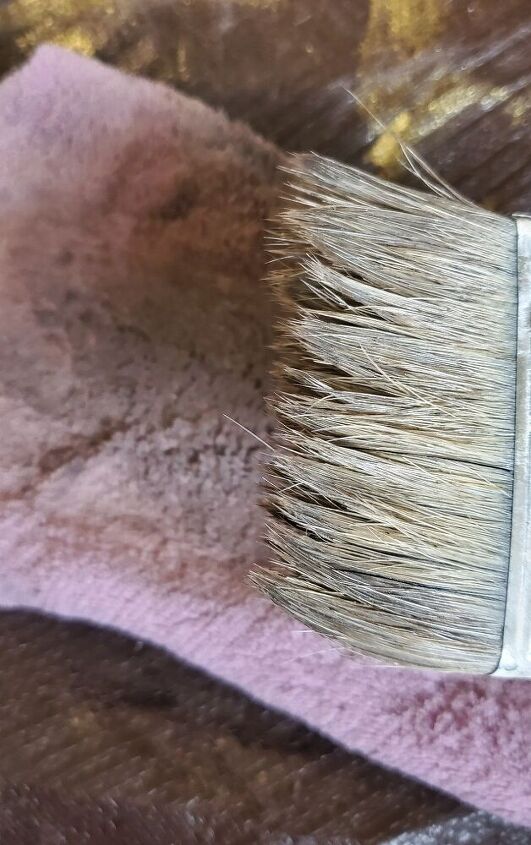
I found it easier to apply a small amount of wax to a rag, and work from there. As with the paint, the smaller amount applied, the better.
I wiped my brush bristles directly on the rag to catch the wax on my brush. This allowed me more control over how much wax I applied each time. I suggest using a very light amount of wax on the bristles when applying to the canvas.
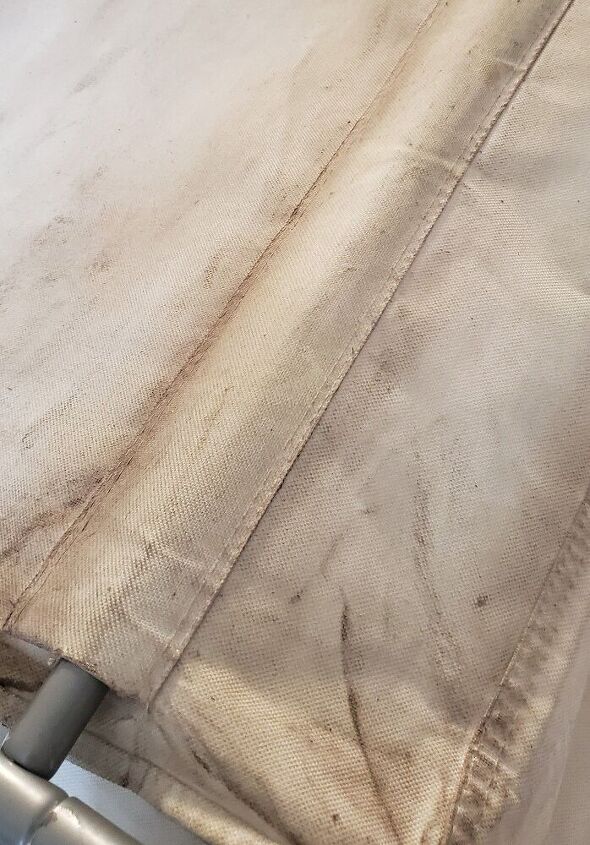
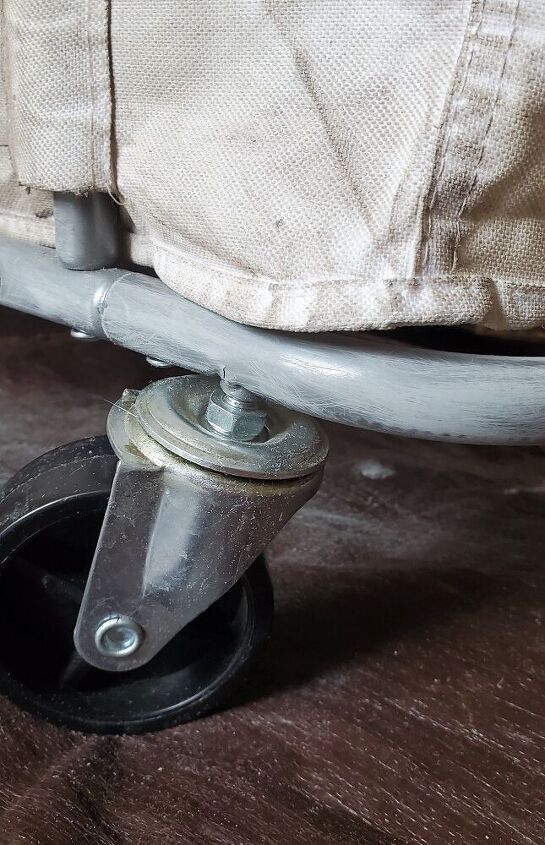
I applied the wax a little heavier in spots where it would naturally wear more. For instance, where the canvas covers the metal bars, bottom seam (along the wheels,) and the top of the cart.
I also applied it to all other areas of the canvas, just lighter.
I didn't bother adding wax or paint to the bottom of the canvas. This picture gives you a great image of how much different the canvas looks with paint and wax applied.
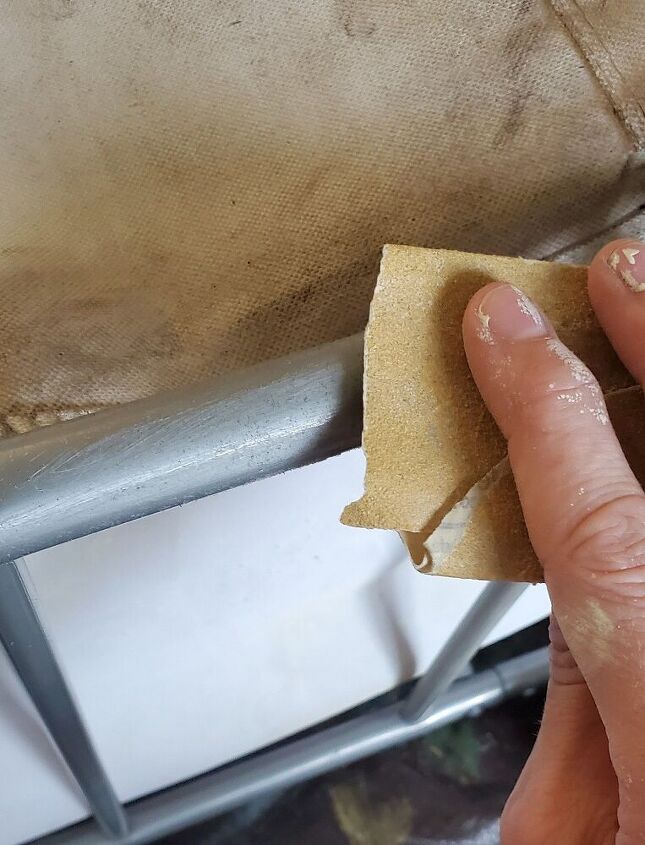
I decided to scuff up the metal too. This helped create a little more vintage look to the cart.
I used a 150 grit sand paper; and sanded the metal.
You can see how the sand paper added a nice scuffed look.
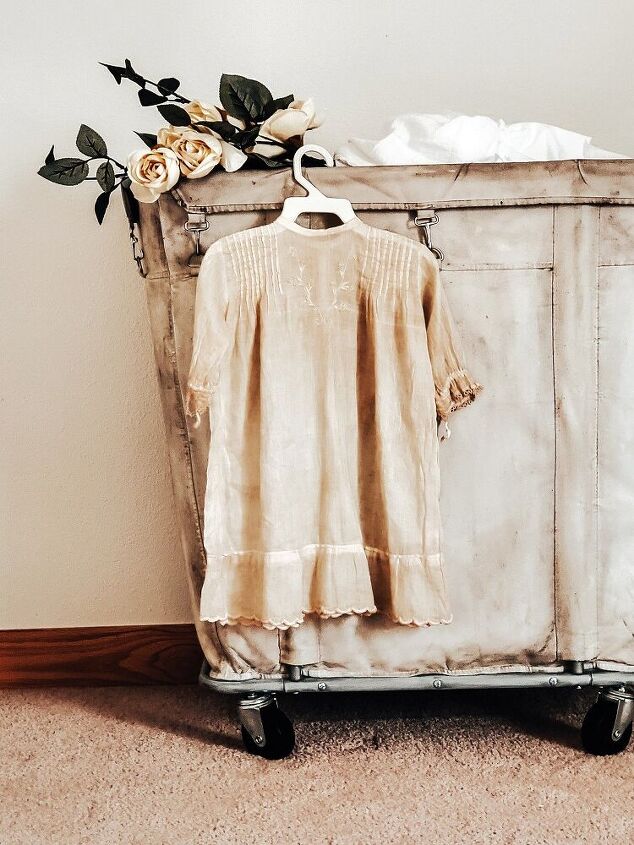
I decided to use my cart to store my linens and extra throw pillows.
Over all, I think the vintage, worn look was achieved!
Resources for this project:
See all materials


Comments
Join the conversation
-
Love this idea. Transforming something into something that your mind said, I can make it to what I want and the look I want. You have great imagination.
-
Super beautiful!


Frequently asked questions
Have a question about this project?
Nice job! Could you have gotten a similar look with coffee in a spray bottle?