


DIY Pottery Barn Inspired Hudson Queen Sized Bed
$100
1 Day
Medium
I wanted to make myself a new bed. I looked at several different plans, but I couldn't find one that I really liked everything about. So, I drew up my own plan. This is what I came up with and the cost of the wood to build this bed was under $100! If you already have a bed frame, you could build this for under $80. Here are the instructions on how to build your own.
There are quite a few steps to this, so please visit my blog for more pictures and details at http://jaimeofalltrades.blogspot.com/2014/09/diy-pottery-barn-inspired-hudson-queen.html
There are quite a few steps to this, so please visit my blog for more pictures and details at http://jaimeofalltrades.blogspot.com/2014/09/diy-pottery-barn-inspired-hudson-queen.html

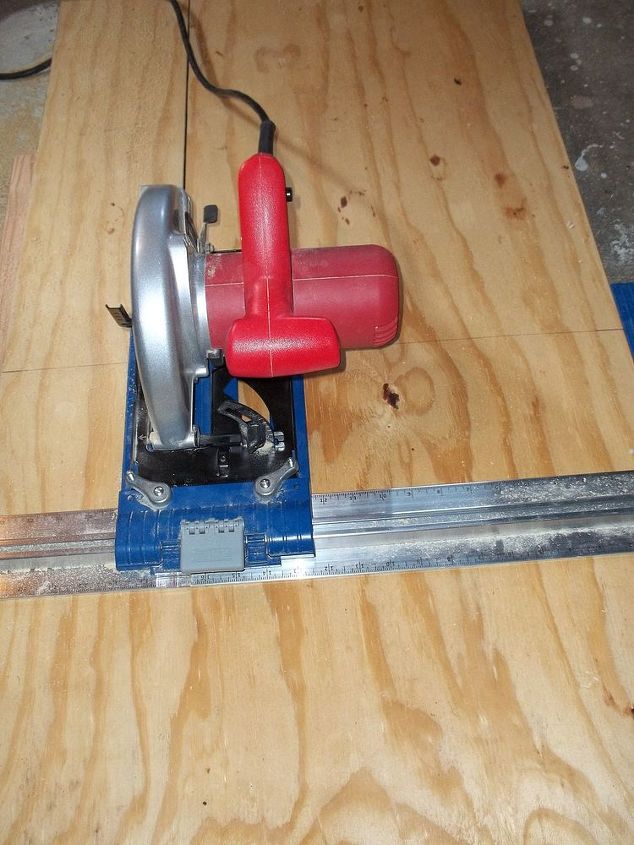
Step 1: Make your wood cuts. I used my Kreg Rip-Cut and circular saw to make my plywood cuts. Then I used my miter saw for the rest of the cuts.
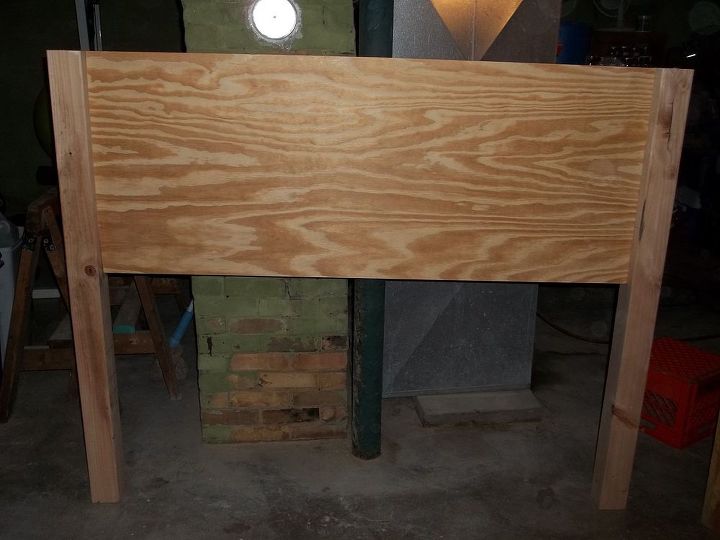
Step 2: Using a Kreg Jig drill pocket holes on the two end sides and the top of your head board.
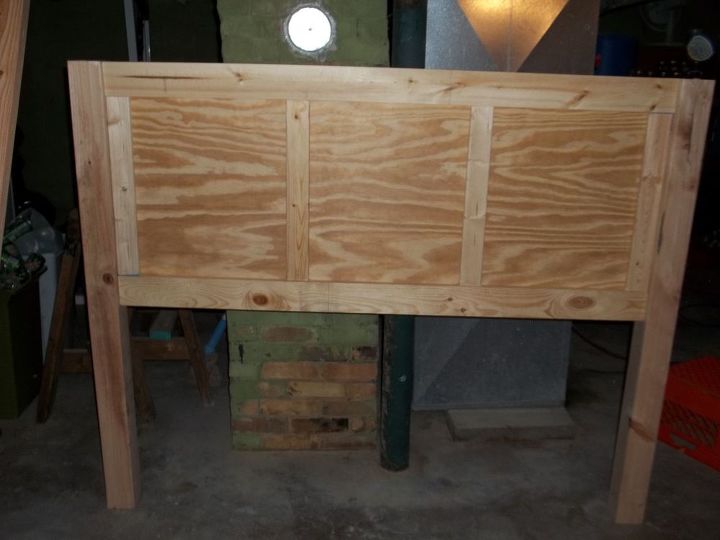
Step 4: Using wood glue and 1" finishing nails, attach the trim.
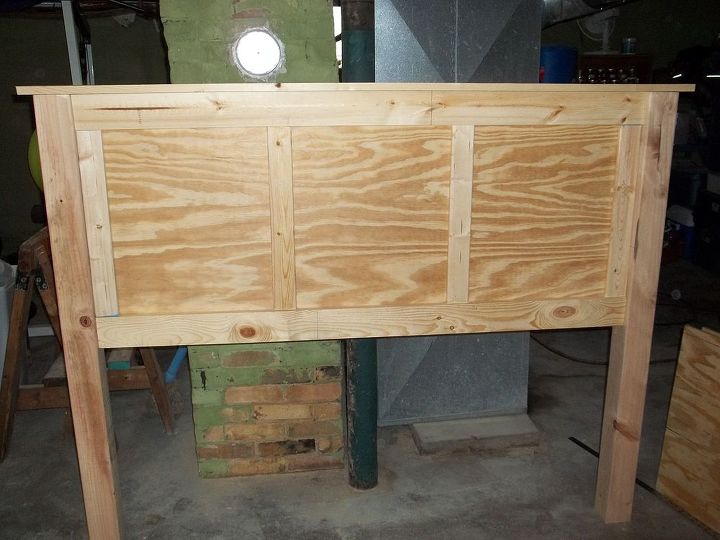
Step 5: Using the pre-drilled pocket holes, attach the topper to the plywood. Using countersunk screws, attach the topper to the posts.
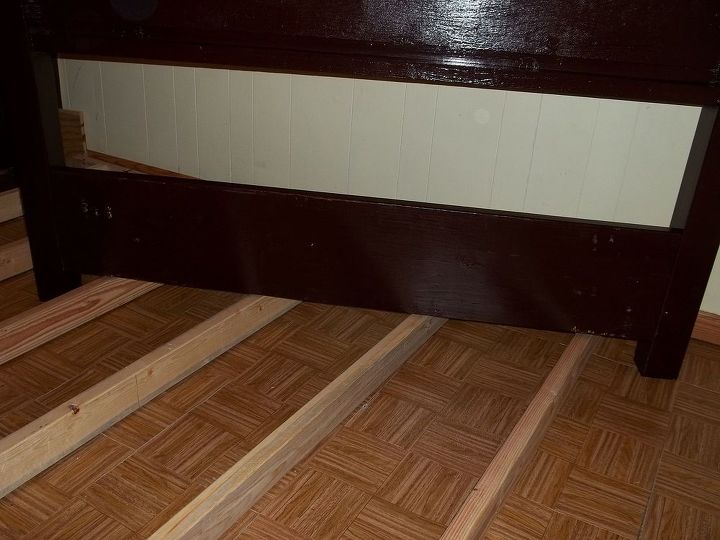
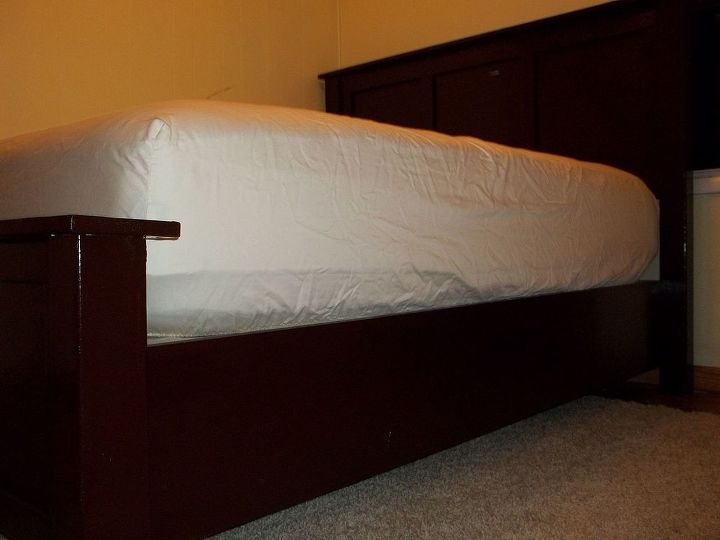
I thought I was happy with the head board at this point, but I later decided that I wanted to add a support to better hold the frame. So, I am skipping forward in my pictures for this step. You can skip this next step if you already have a bed frame.
Repeat steps 2 - 5 for the foot board.
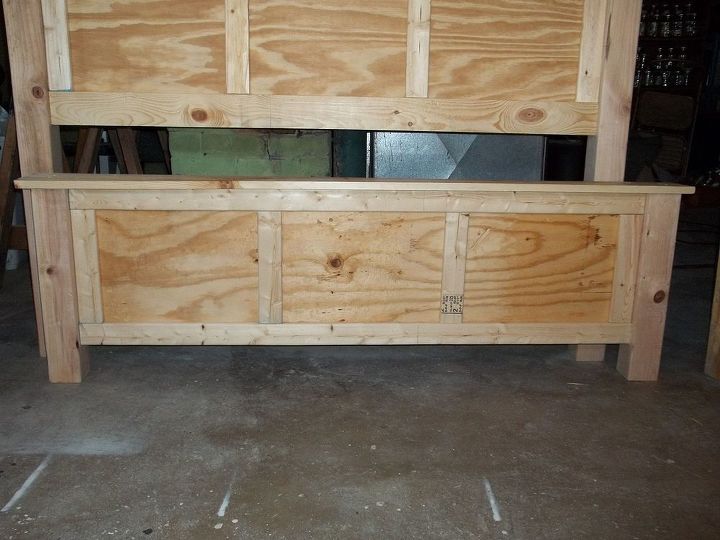
Step 7: Fill any holes with wood filler and sand it.
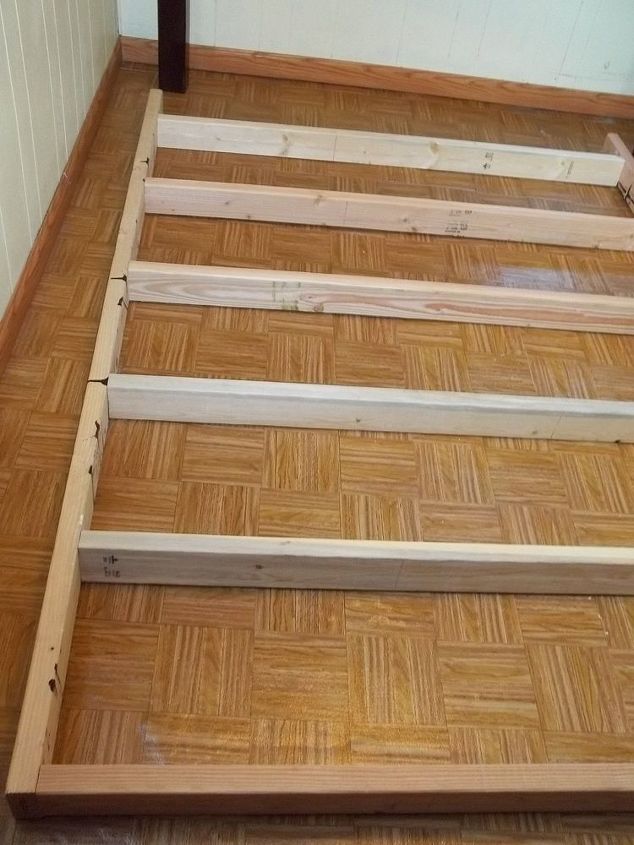
Step 10: Attach the frame to the headboard support and posts using pocket holes and countersunk screws.
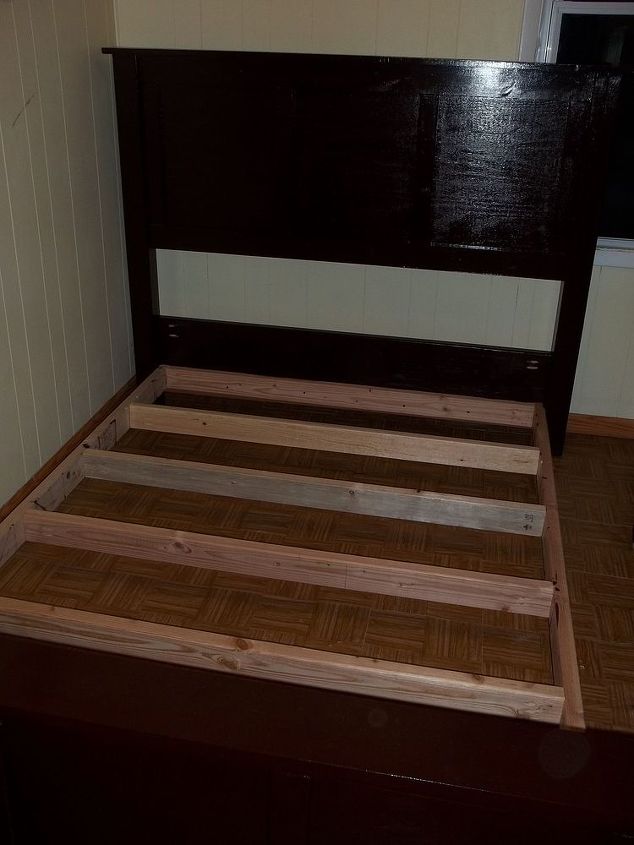
Step 12: Using countersunk screws, attach the side rails to the frame.
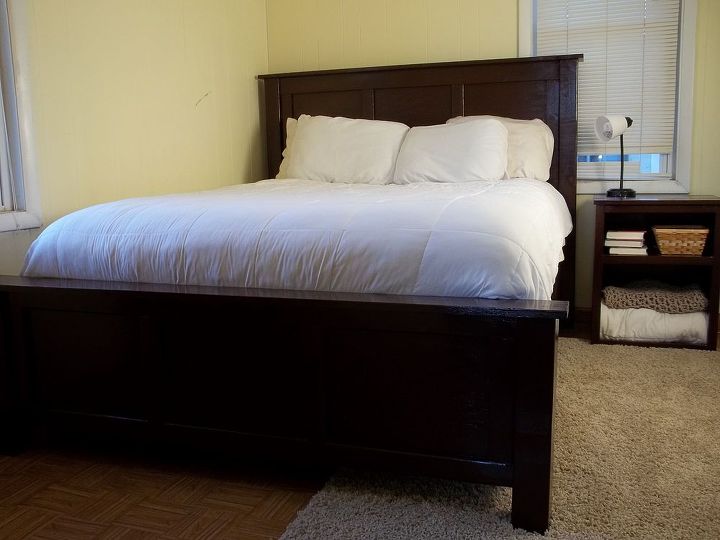
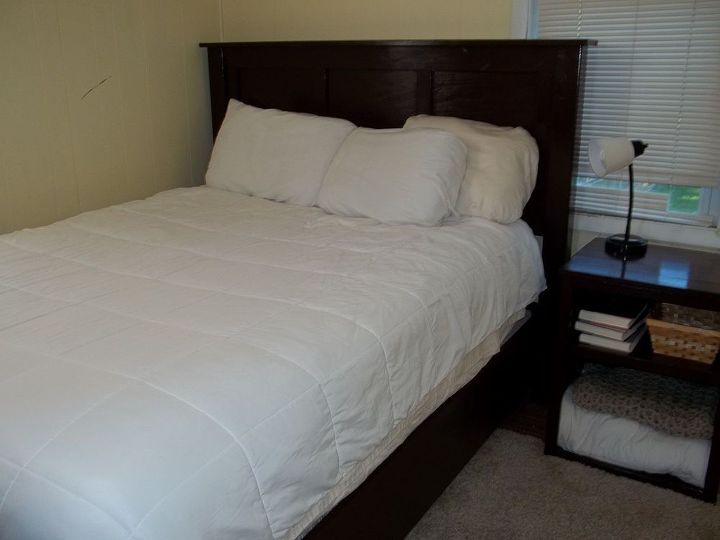
Step 13: Sleep well on your new bed!
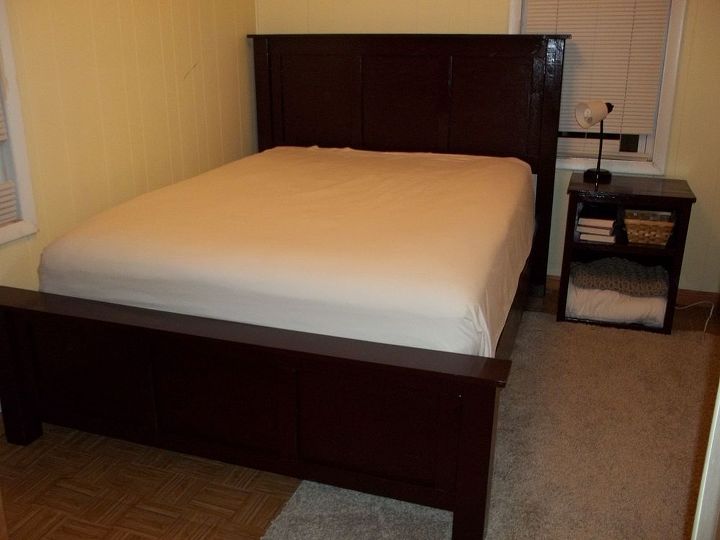
Now, I just need to figure out the colors I want for my walls, bedding, and window treatments. Any suggestions?

Want more details about this and other DIY projects? Check out my blog post!
Comments
Join the conversation
2 of 21 comments
-
I like that you used real wood. So many stores use mdf or fiberboard.
-
Your bed is beautiful. You really know how to make something that looks like BIG money.


Frequently asked questions
Have a question about this project?
Hi Jamie! It appears the only 4x4 post I can find are 'Douglas fir' and are knotty and very uneven. Where did you find your post?
On the back of your footboard did you fill in the kreg jig holes or cover it with plywood?
Hi Jamie! It appears the only 4x4 post I can find are 'Douglas fir' and are knotty and very uneven. Where did you find your post?
On the back of your footboard did you fill in the kreg jig holes or cover it with plywood?