


Child's Table and Chair Makeover With Chalkboard and Milk Paint
There's nothing I like better than taking an "okay" garage sale find and giving it new life for the next owner...like this sweet table and chair set!
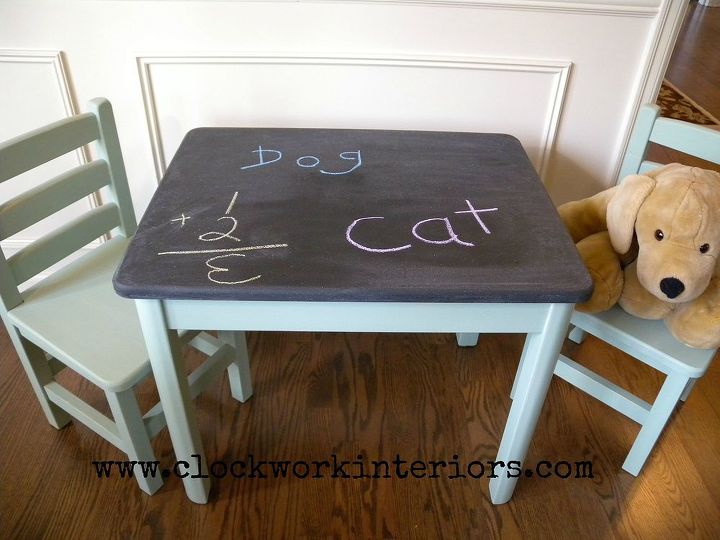
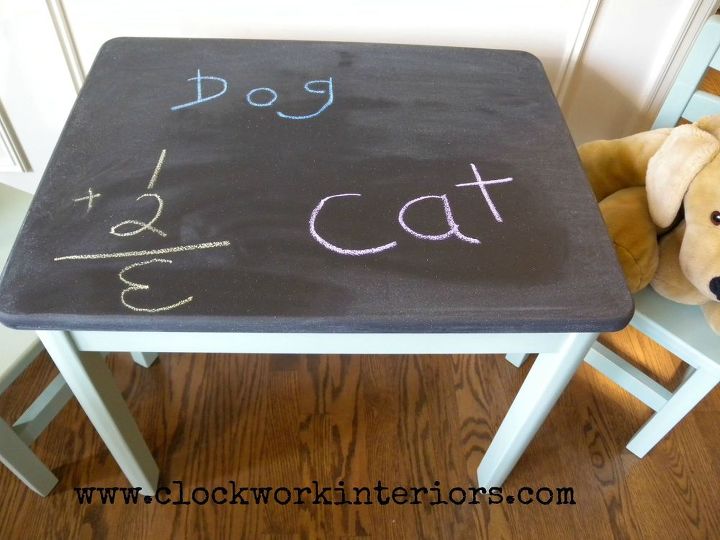
After it's makeover!
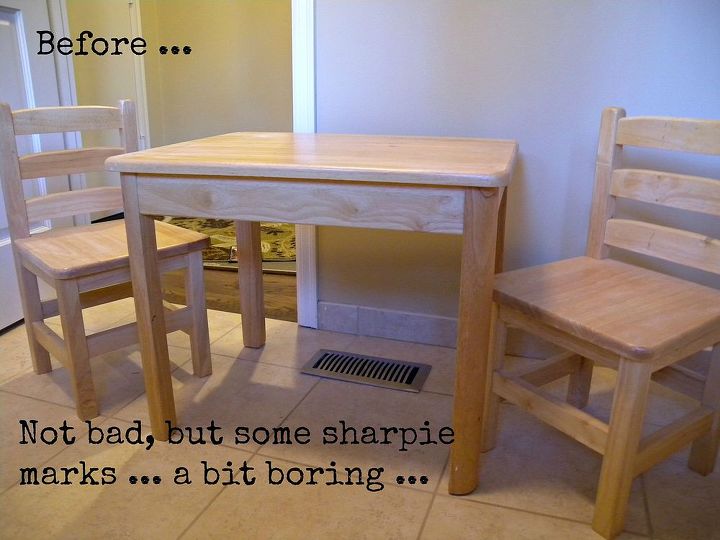
Here is what it looked like after a good cleaning. A bit "blah", but a real solid, sturdy little set. Definitely worthy of a makeover.
As mentioned, after a good cleaning, I simply rolled three coats of black chalkboard paint to the top. DON'T FORGET TO "SEASON" IT..ESSENTIALLY RUBBING OVER THE CHALKBOARD WITH THE SIDE OF A PIECE OF CHALK..I DID TWO COATS.
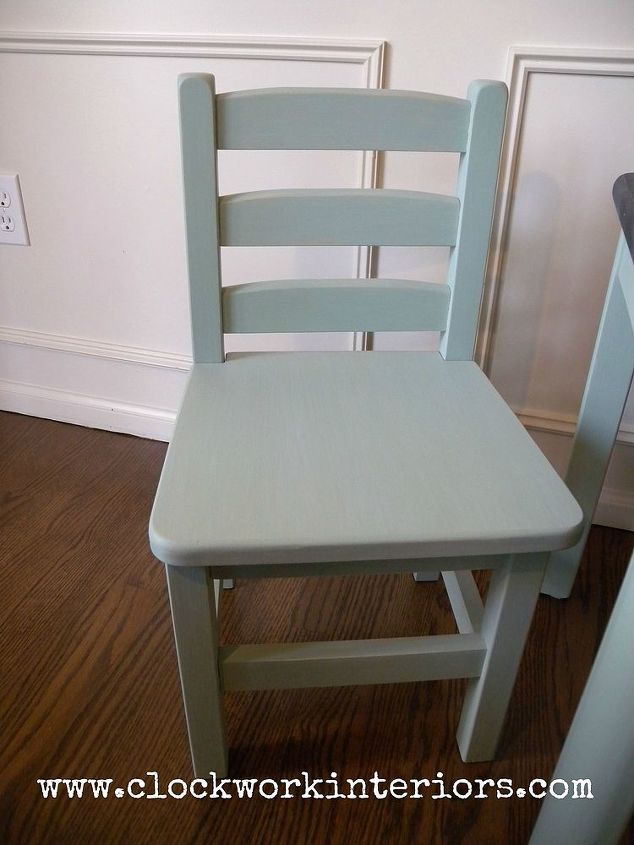
The table legs and chairs got two coats of Sweetie Jane milk paint, with the bonding agent added. (It's possible I used too much bonding agent---there was no chipping at all.) I was hoping for a little chipping, so I actually distressed the edges a bit with 220 grit sandpaper.
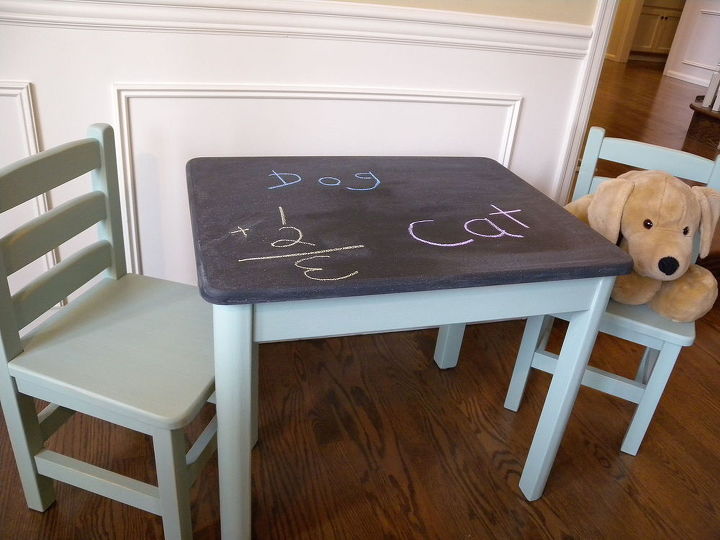
Once everything was dry, I used a high performance top coat over the milk paint--two coats--Remember, it's for children to play with! FYI, the "seasoning" will keep images from becoming embedded in the chalkboard top.
Super easy, super sweet makeover. Check out http://www.clockworkinteriors.com/?p=1075 if you'd like to read the full post!

Want more details about this and other DIY projects? Check out my blog post!
Comments
Join the conversation
2 of 4 comments
-
Thanks so much Cynthia. I sold mine to a guy in the next suburb and he bought it for his little girl Ruby. She took a packet of chalk away with her too to get her started. Cute kid!
-
Nice wooden chairs and table..........either or, I like them both ways.


Frequently asked questions
Have a question about this project?
What did you use to clean it up?
Do you rub chalk after each coat?