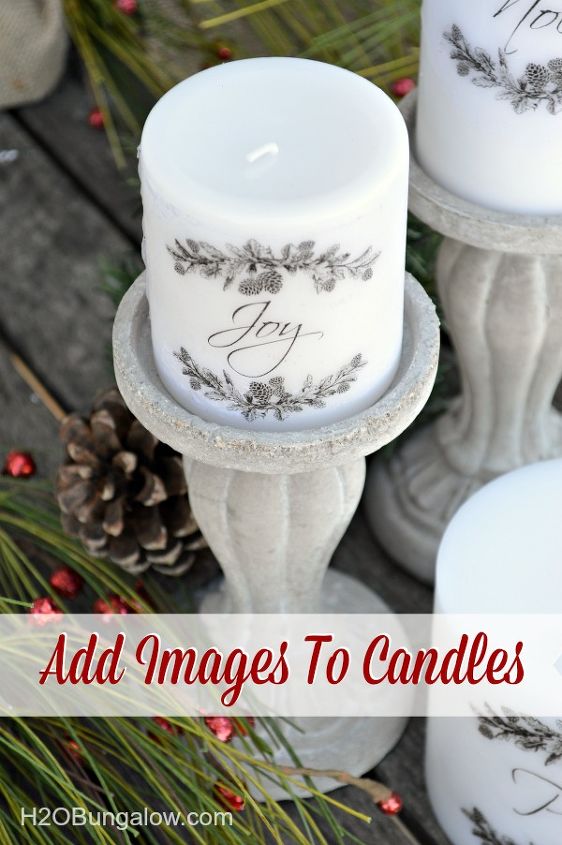
How To Add Images To Candles With A Heat Gun

HomeRight
by HomeRight
15 Minutes
Easy
Easily add an image to plain wax candles using a heat gun by Wendi at H2O Bungalow
First pick out an image that you would like to have on your candle. Here are the tools & supplies you will need for this project.


Plain tissue paper , the type used for gift wrapping


Tape, I used painters tape


Piece of cardstock or heavy paper 8 1/2 x 11 inches


Wax paper


Image, your own or my free downloadable ones below :)


HomeRight Digital Temperature Heat Gun


Scissors


Printer
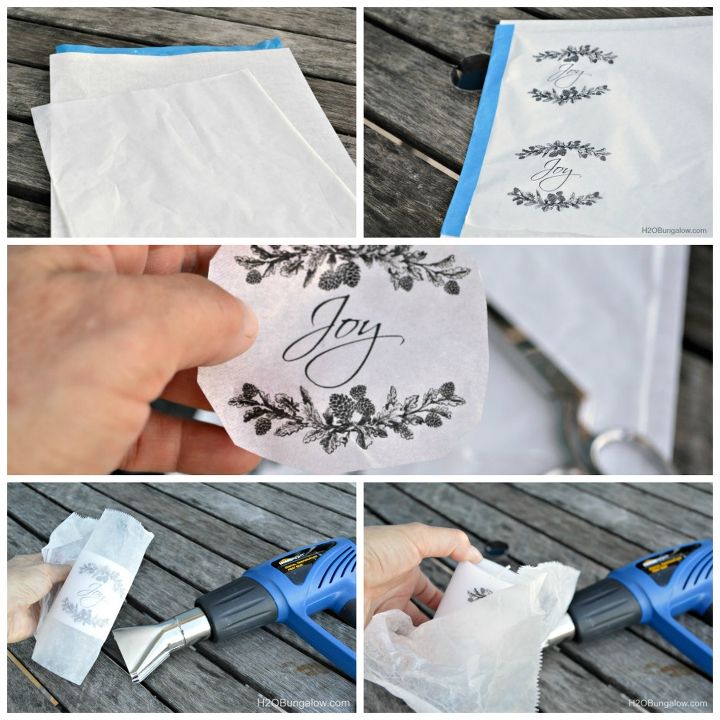
Start by cutting your tissue paper the size of your paper. Notice that the tissue paper has a shiny and a matte side. You’ll want to print on the matte side. Tape the top of your tissue paper to your cardstock shiny side down. The cardstock gives your tissue paper enough structure to be printed on, otherwise you’d have a wadded up mess in your printer


Print your image onto your paper and trim around the image edges. If you’re not sure which side of the paper your printer will print on (top or bottom), print a test sheet first.


Cut a piece of waxed paper large enough to go around your candle with enough extra to hold onto. Place your image with the matte side facing out onto your candle and wrap your wax paper around it. Next, with the waxy side of the wax paper facing the candle, heat the image at about 190° using the wide directional attachment on the heat gun. I kept mine at about 1 1/2 – 2 inches away from the candle.


As soon as you see your image brighten, it’s been fused to the candle. Continue to quickly move on to the next area of the image. On a small candle, this process takes less than a minute. As soon as you’ve fused all of your image, carefully pull back your waxed paper.
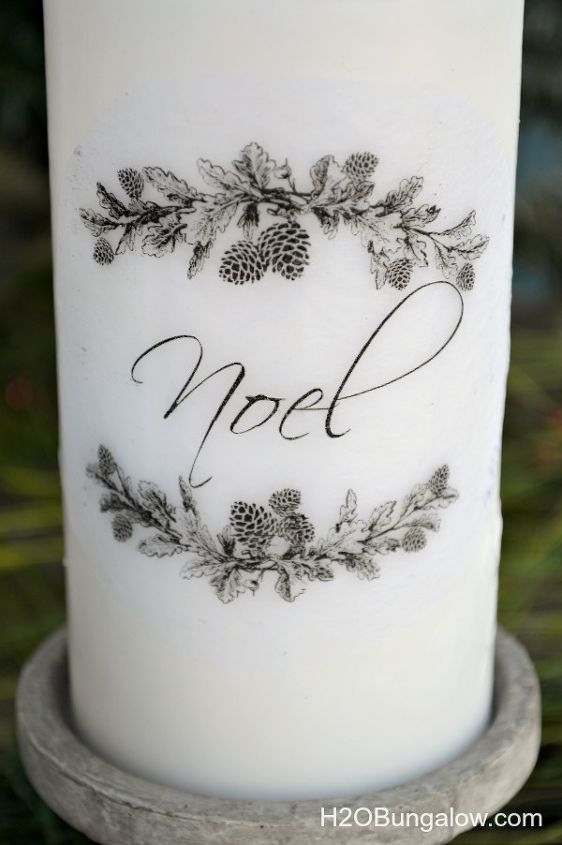
That’s it! You’ve just learned how to add images to candles:) Interested in using the graphics in this tutorial, visit H2O Bungalow to download the free printable. http://h2obungalow.com/2014/12/how-to-add-images-to-candles.html
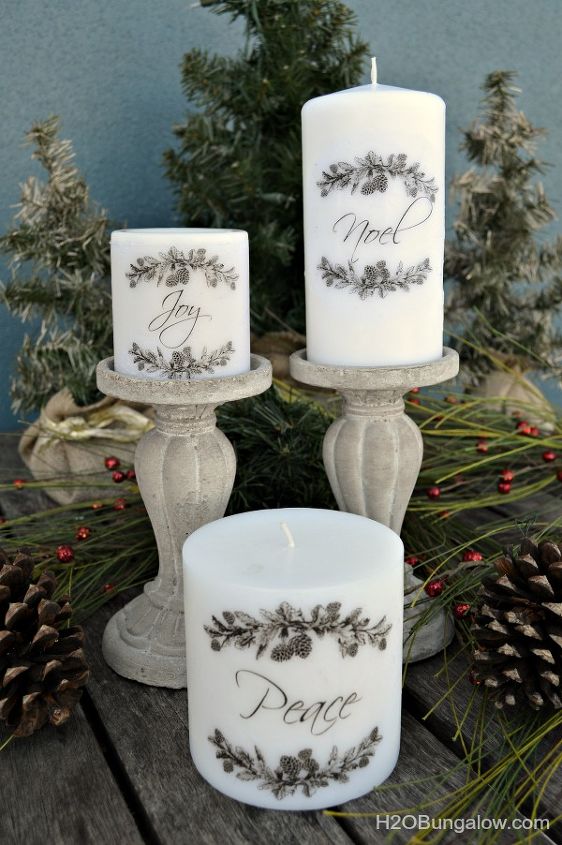
Image transfer onto candles by H2O Bungalow, written for HomeRight.
Frequently asked questions
Have a question about this project?
Comments
Join the conversation
Next