


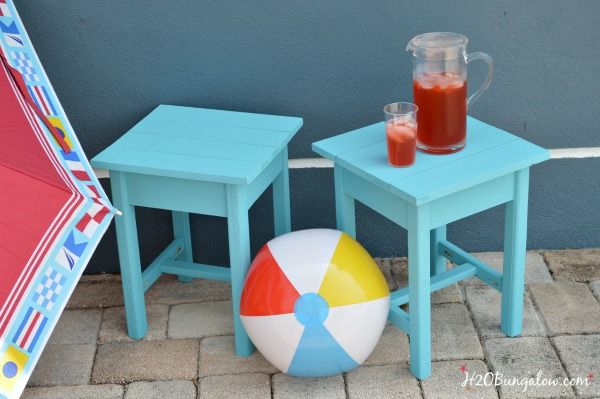
Build an Adirondack Patio Table
My husband snickered for months when I said I was planning on building a set of cute patio tables for our dock. The old ones we had were way past their usefulness and falling apart. I used free plans from Ana White, took an afternoon and spent about $20 and built these two sturdy and cute tables. Cick the link to my blog to get the the free plans.
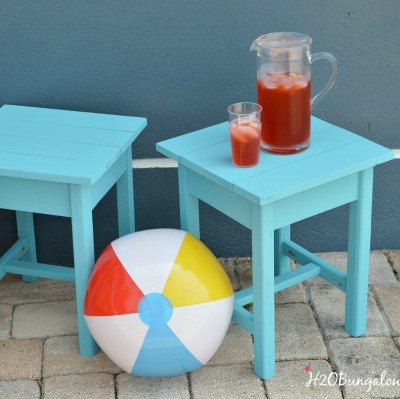
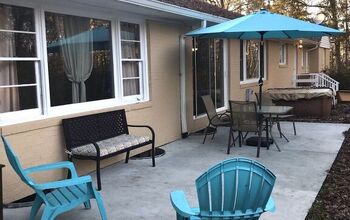
I’m loving the colorful outdoor furniture in the stores right now. Our neighbors just had some delivered for their back yard and dock. I know it cost them a pretty penny. I’m saving my pennies and choose to build DIY patio tables instead.

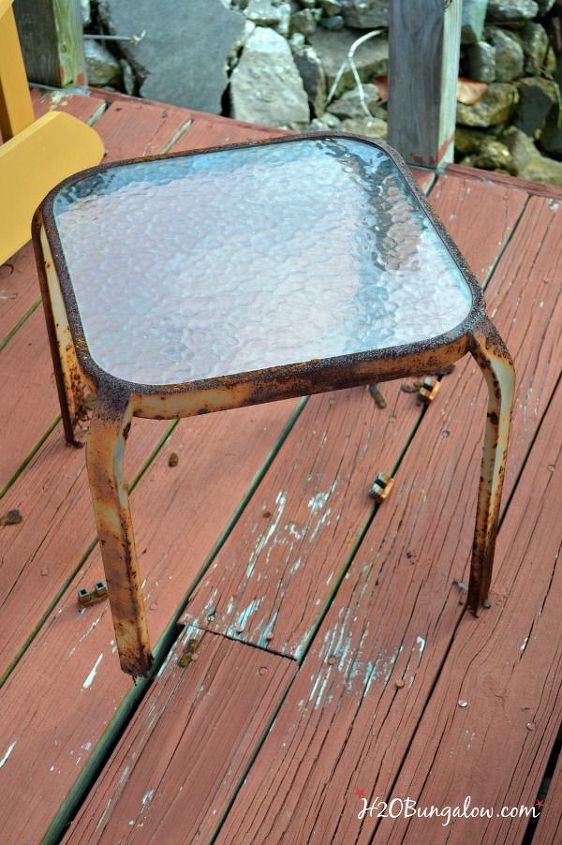
Old rusty things are really cool, as long as they are in the right environment. Like a trendy farmhouse style or on a vintage metal sign. Rust is not so cool on a couple of little tables in my backyard.
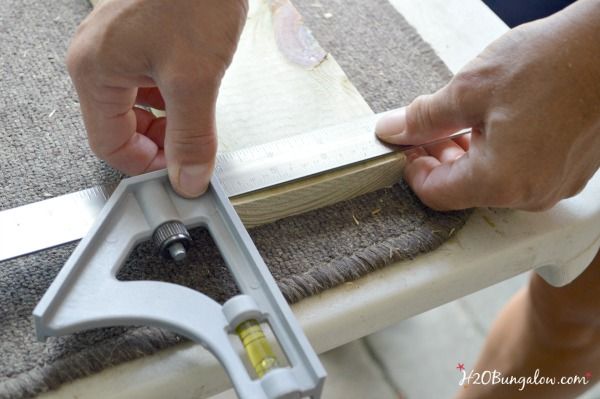
Start by choosing good quality wood. I used treated wood for exterior projects. When selecting wood, hold it on one end and look down the board to be sure you’ve selected straight boards. Stay away from knots in boards too. The 8 foot boards the plans called for wouldn’t fit in my mini-SUV, so I had my favorite guys at Home Depot cut them in half. I made two tables and doubled the wood I needed.
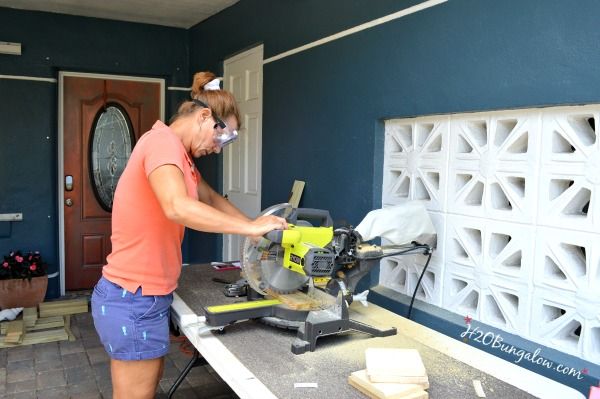
Following the plans, I cut the pieces I needed. I tend to be scattered. My solution is numbered pieces in like piles :) I mark 1 of 4, 2 of 4 and so on and keep each like part together. See the pile behind me by the door?
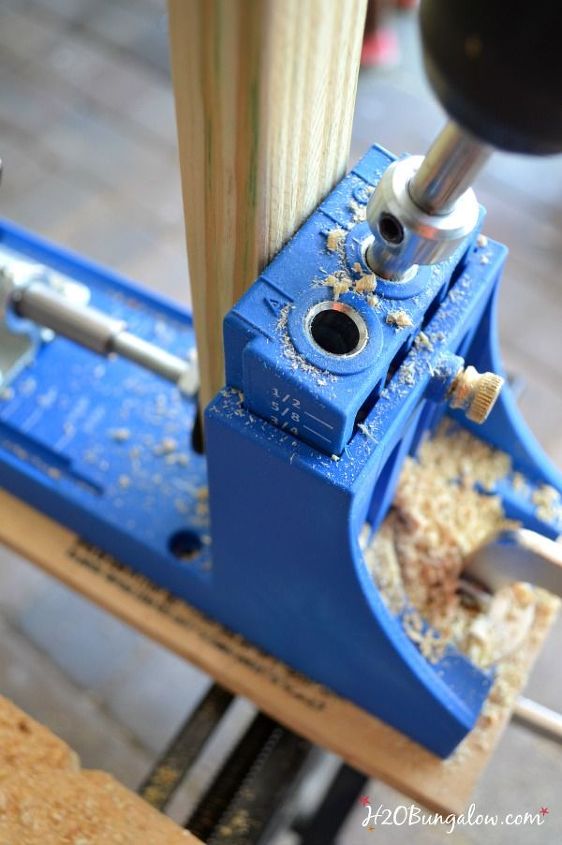
Use a Kreg Jig to make pocket holes per the plans. The Kreg Jig makes connecting two pieces of wood so easy!
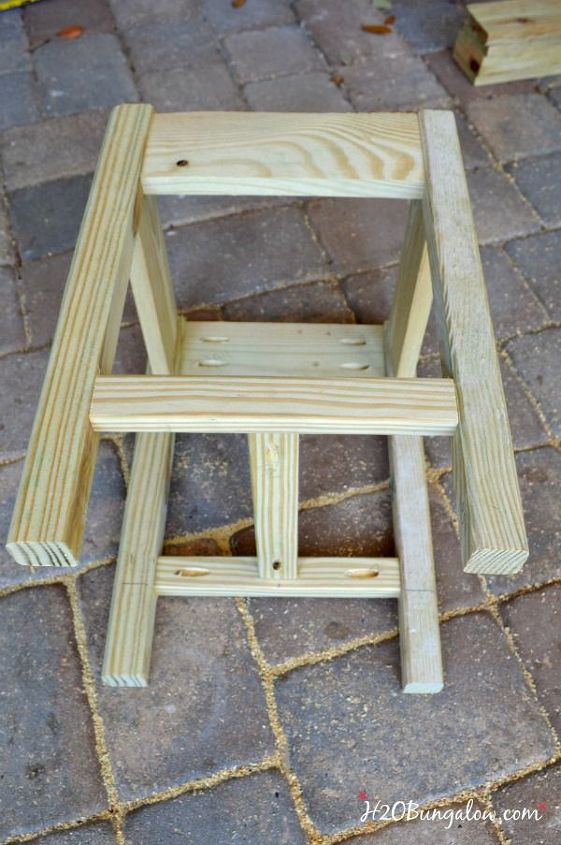
Following the plan steps assemble the skirts onto the legs.
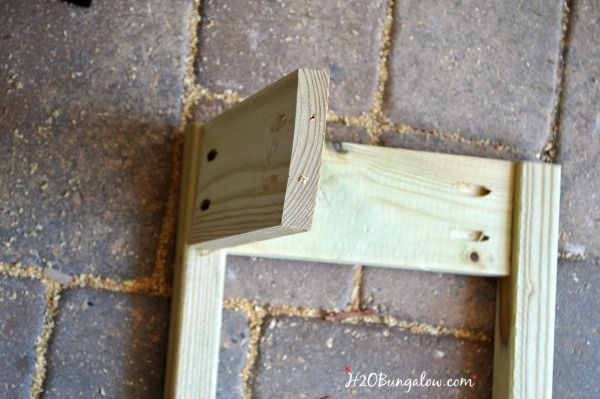
After all four legs and the skirts are attached, add the two supports on the bottom of the legs. Measure from the bottom of each leg and mark where the supports will attach to the leg. The spreader is the last piece that is screwed onto the two supports. The plans don’t say anything about this step so I’ll share a tip here. The pocket holes go underneath like the picture below.
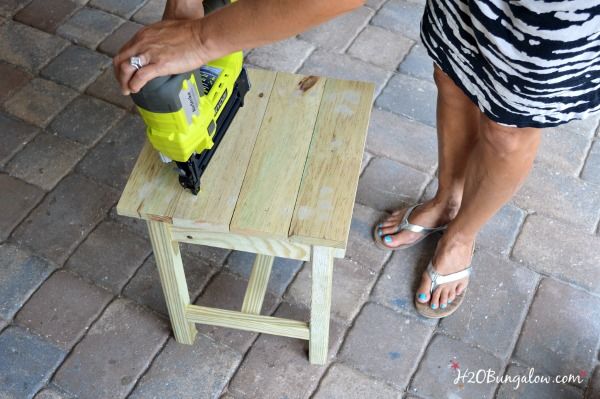
I used 1 1/4 inch brad nails. I ran out of brad nails and needed to run out to pick up another box to finish attaching my top. Note to self… check supplies before starting the project :) Use wood putty to fill in the holes and let it dry. Sand any rough edges and the wood filled areas before painting.
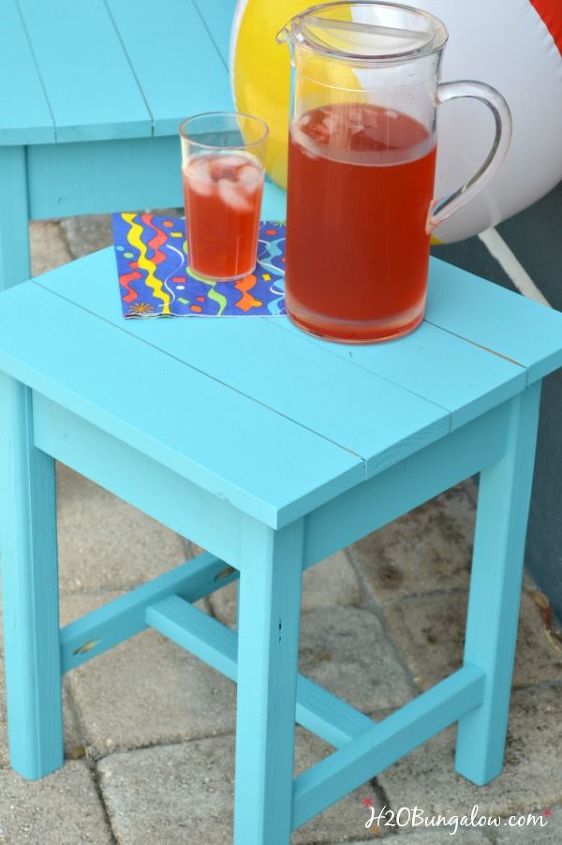
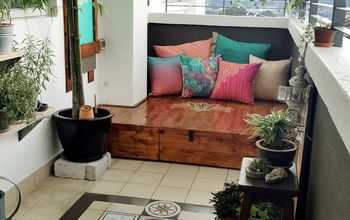
This beautiful blue is Baltimore Sky from Benjamin Moore.
I always look at things and think what else. Another really awesome feature about these plans is how versatile they are. Make the legs longer for a bar stool, make the seat wider and its a bench, make two of the legs extend up and add slats for a chair.
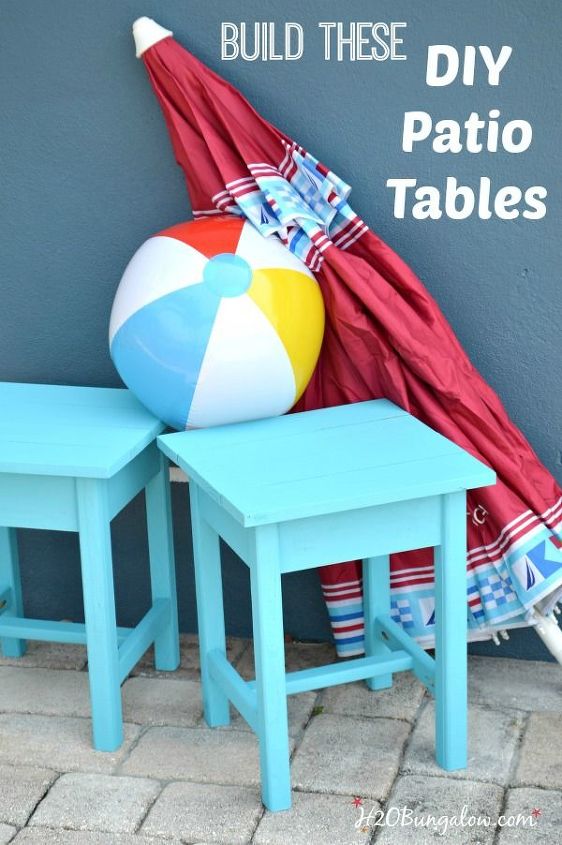
Again, if you'd like the free plans to build these table, click over to my blog post for the link. These little tables are a great beginner project or a simple one for the advanced woodworker. I love that I made good quality tables in a day that cost a fraction of what a comparable table in a furniture store would cost!

Want more details about this and other DIY projects? Check out my blog post!
Comments
Join the conversation
2 of 93 comments
-
So cute, can't wait to make some! Also love the color you chose! Thanks so much for sharing the plans as well! Hope hubby is eating crow now! Men are not the only ones who can build things out of wood!

-
The man who says it can't be done should not interrupt the woman doing it!


Frequently asked questions
Have a question about this project?