


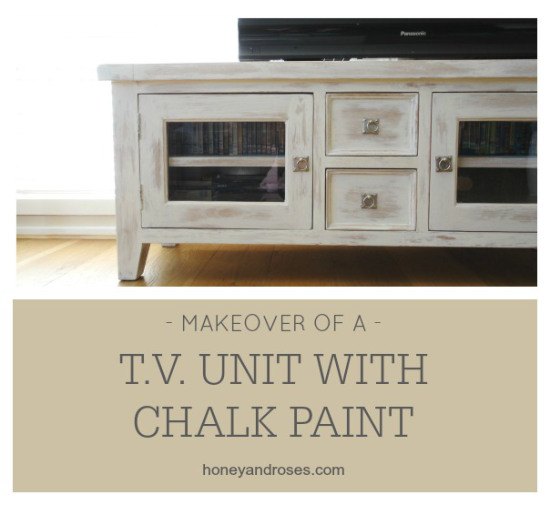
Makeover of a TV Unit With Chalk Paint

by
Jane Mangion
It's been quite some time since I finished this makeover. I felt as if I needed to make peace with this little TV unit before I could share it. All I wanted was a quick and simple makeover of my entertainment unit with a chalk paint wash. Sound easy, right? Well ... this was one of those times when nothing seemed to go right ... but boy did I learn a lot!
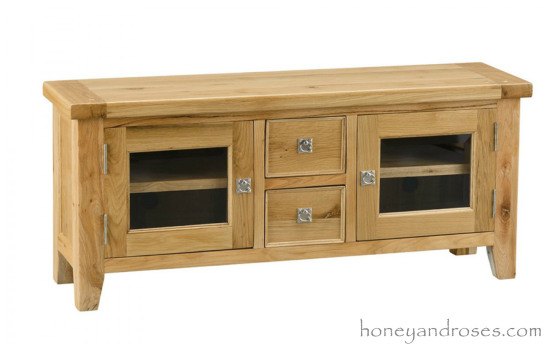
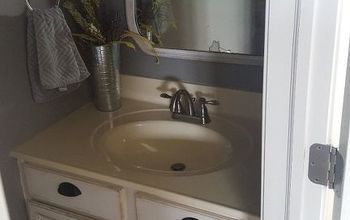
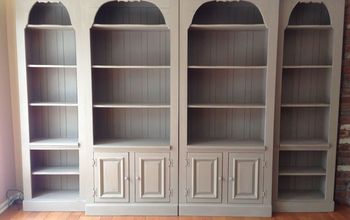
Here is the before photo. I wanted a unit that sat low, would hide the DVD player (and DVDs), and wasn't too "heavy-looking". This piece had a good coat of polyethylene which I needed to remove as I wanted to finish the unit with a light chalk paint wash.
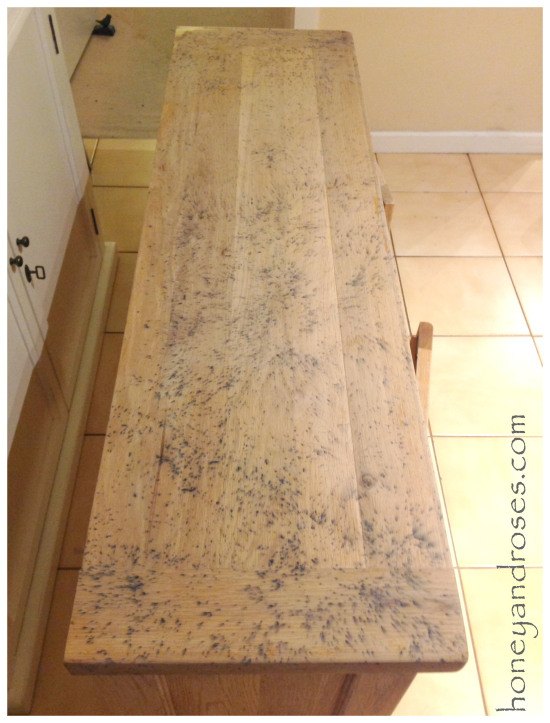
After applying the paint stripper to the unit and allowing it to cure, I scraped off the varnish. I then use steelwool and water to wash the piece down ... Big Mistake!
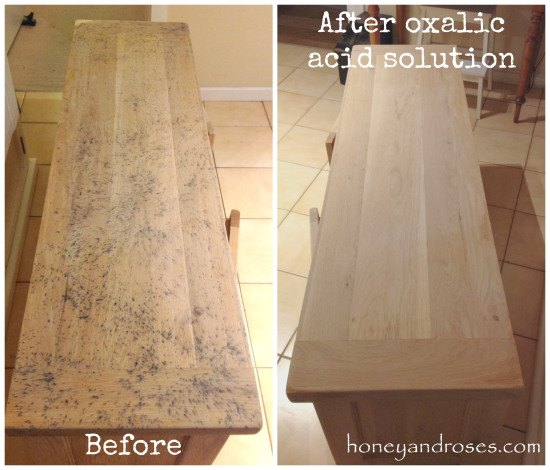
After a bit of research it seemed an oxalic acid solution, which is often used as a wood bleach, would remove the black stains caused by water penetration.
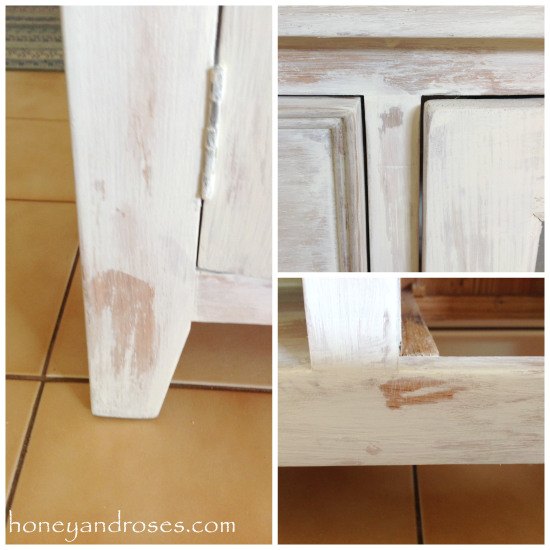
I allowed the unit to dry for several days and finished with a light sand using fine sandpaper (about 210 grade). I then started on the chalk paint wash, using Annie Sloan Old White and a damp rag. I applied the chalk paint with a paint brush and then wiped off the excess with a damp cloth.

I left the paint to dry and then sanded the bald patches with medium 120 grit sandpaper. Using sandpaper to remove the polyeuthene was probably what I should have done in the first place ... live and learn.
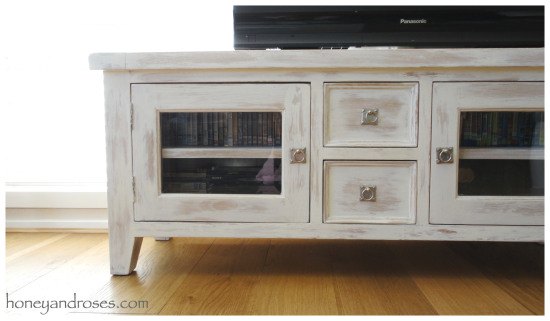
On the upside, I loved what was happening when I left the paint to dry for a minute or two and then wiped it off. Thicker in some places ... ohhh, not at all what I had in mind but I love it! So I ran with it, swapping between a damp and dry rag, and experimenting with how long to leave the paint to dry before wiping off.
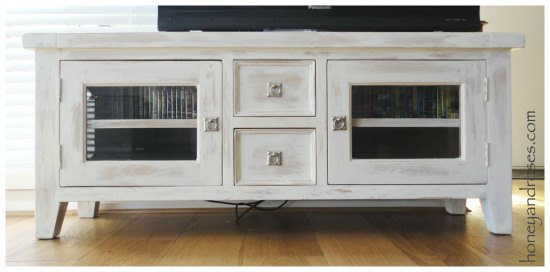
Once I was happy with the look, I left the unit to dry for a day or so. I followed with a clear wax, buffing to a nice shine after a couple of days.
I'm letting my subconscious work on what type of knobs would look best while I have a nice cup of tea and watch my favourite show ... phew!
Want more details about this and other DIY projects? Check out my blog post!


Frequently asked questions
Have a question about this project?