


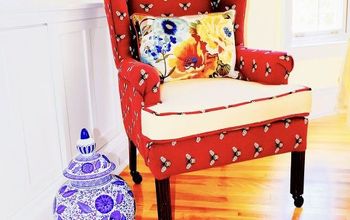
DIY Tub Chair, Upholstered and With Slipcover
I have often looked at tub chairs and thought how easy it would be to make one, and since I need a comfortable chair for my home office I thought this would be the perfect opportunity. This is a prototype design to see how well the technique for construction works, because I wasn't sure how stable it would be. But having now made the tub chair - it is absolutely perfect. It's sturdy and strong. The only fault I have is that it is smaller than I thought it would be, but the dimensions and measurements below have been amended to accommodate for this.
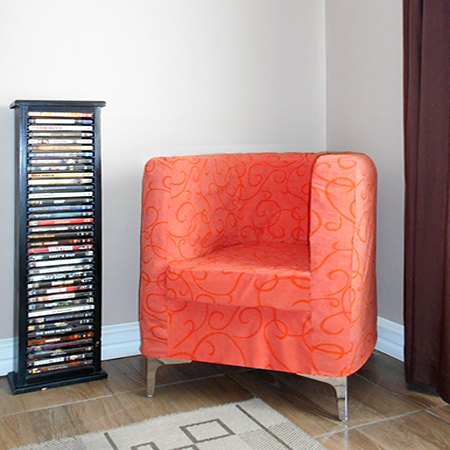
The tub chair shown above is fitted with a slipcover that can be removed and dry cleaned or washed, depending on the type of fabric. The chair is covered with a smooth lining fabric to allow easy removal and fitting of the slipcover. I will be making two versions of the tub chair... this one with a slipcover and a second that is upholstered.
YOU WILL NEED:
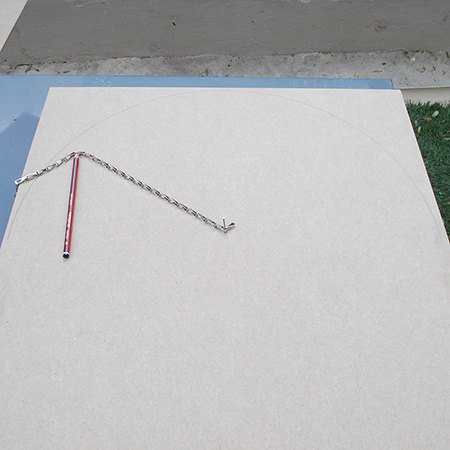
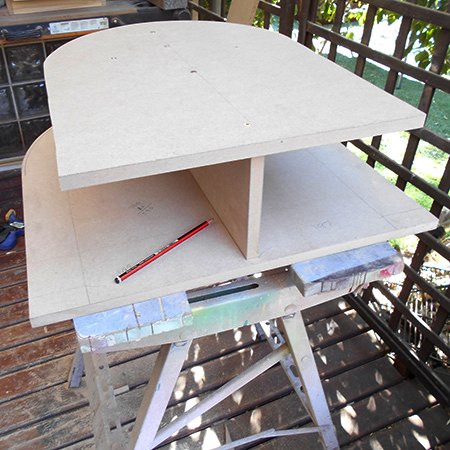
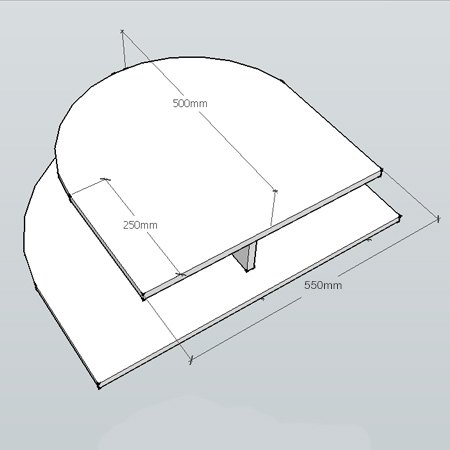
1. To make the curved back for the seat and base mark a line 250mm from the front edge and 350mm from the sides. At the centre hammer in a panel pin and use a length of chain and pencil to draw a half circle.

2. Cut out the base by following the drawn line and for the seat draw a second line 69mm in to cut out the top frame and the seat from one section.
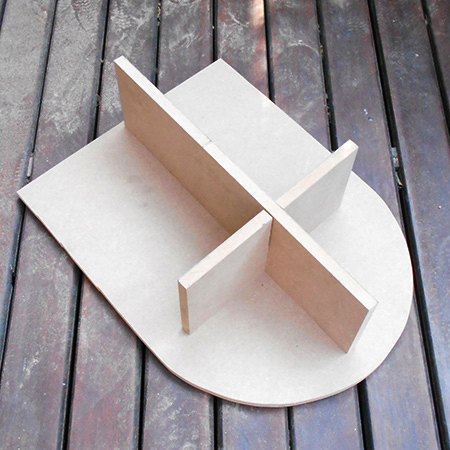
3. Cut half joints in the two base support sections to join these together.
5. Centre this on top of the base and draw the outline onto the underside of the base, so that you know where to drill pilot holes to attach the seat section to the base with 50mm screws.
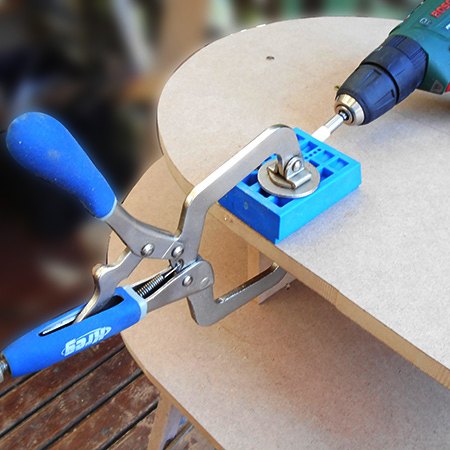
6. To ensure a sturdy design I used my pockethole jig to drill holes along the edge of the seat in order to secure the pine struts to the top seat. If you don't own a pockethole jig (shame on you!) you can use steel angle brackets instead. You won't see these once the chair is finished as the seat cushion will cover them.
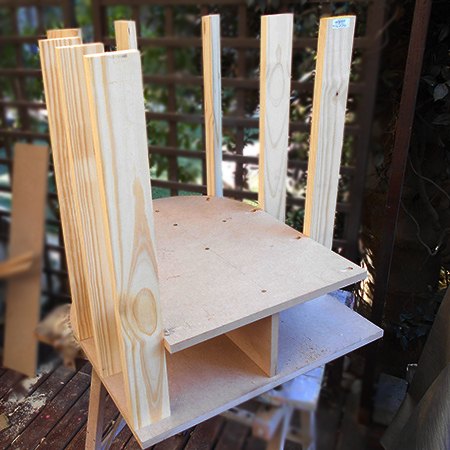
7. The pine struts are 600mm long, so you can cut 3 out of a 180mm length of PAR pine. Each strut is attached to the seat (via the pocketholes) and also secured through the base with 2 screws.

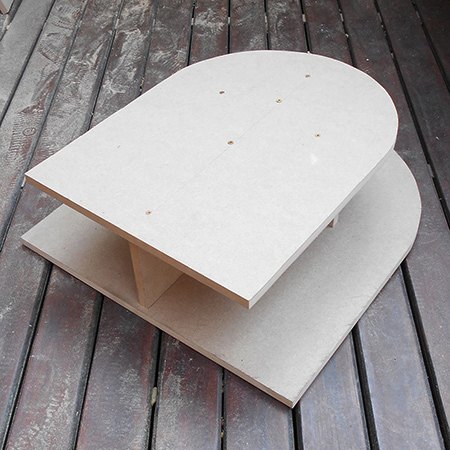
The assembly before adding the top frame.
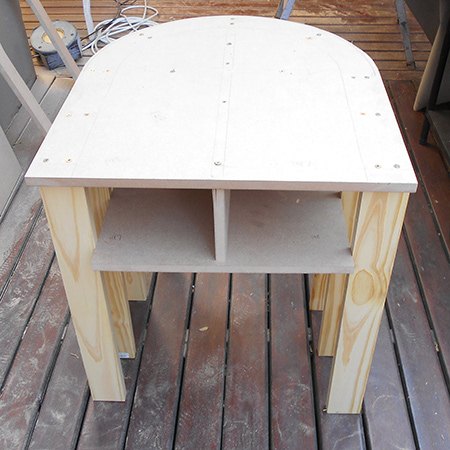
8. Although I took this photo one step later, this step is to add the top frame onto the struts using two screws on each strut.
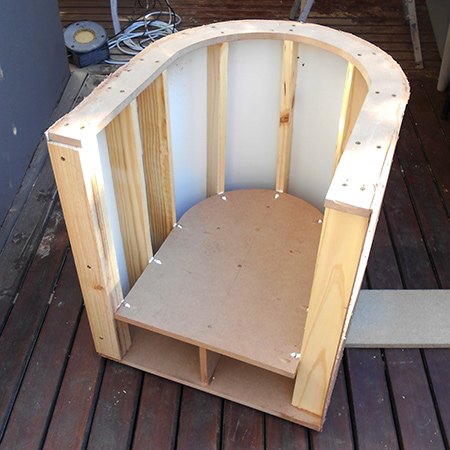
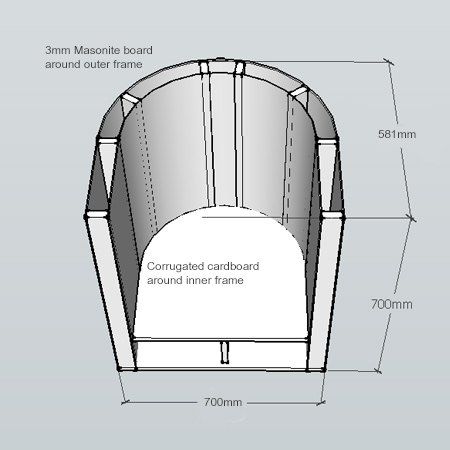
9. No you can bend and secure the Masonite / hardboard to the outside. I used wood glue and screws to hold the starting point in place and then clamped and screwed as I worked the board around the frame. Be gentle... you don't want the Masonite to break.
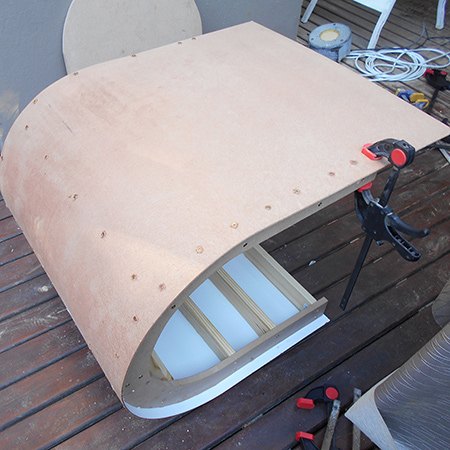
Even though you use wood glue, screws alone will not hold the board for very long. Add panel pins along the top and bottom edge, and also where the struts are located. Hammer the pins in and leave a 10mm strips that can be bent over. This, and the screws, will hold the board securely onto the frame. I also added staples.
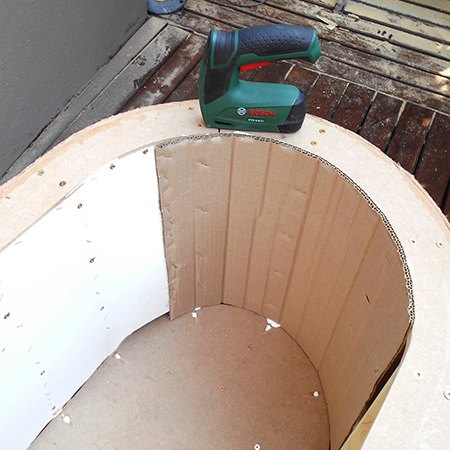
ABOVE: You can see how I started with Masonite but finished with cardboard.

Want more details about this and other DIY projects? Check out my blog post!
Comments
Join the conversation
2 of 5 comments
-
Such a cool chair! I love the shape of it. Awesome post!
-
Great looking chair, Thankd


Frequently asked questions
Have a question about this project?