


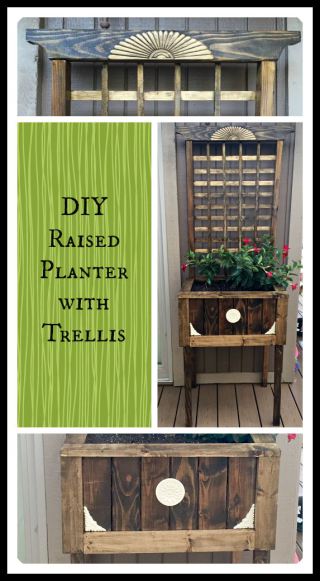
DIY Raised Planter With Trellis
4 Materials
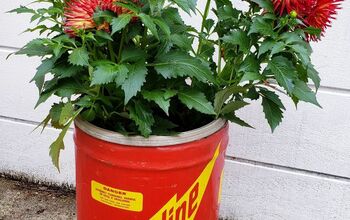
I was at Home Depot a few weeks ago looking around the garden department for some new plants and I came across this gorgeous climbing plant with bright red flowers. I HAD to have it! I’ve been trying to add more color to our back yard and deck area. Because of our location in the foothills of Northern California, in the summer everything is brown and looks dead (except for our Oak trees, but even those aren’t very green), especially with the drought we have been having. I don’t want brown. So, I have been trying to find low water plants with bright colors to plant around our property. When I saw this vine with the pretty red flowers, I bought it (even though I didn’t have anywhere to really have the vine grow….).
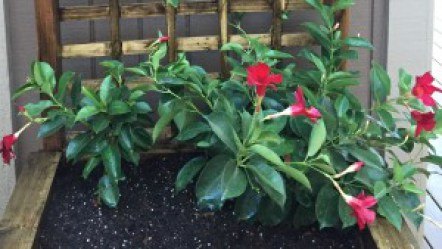
Mandevilla plant
At first I was just going to stick a plastic trellis in the ground and plant the vine at the base of the trellis. But after contemplating that for about two seconds, I decided I wanted to make something that looks a little nicer, so I decided to make a raised planter to put on my deck with a trellis attached for the vine! Brilliant, I know! 😉
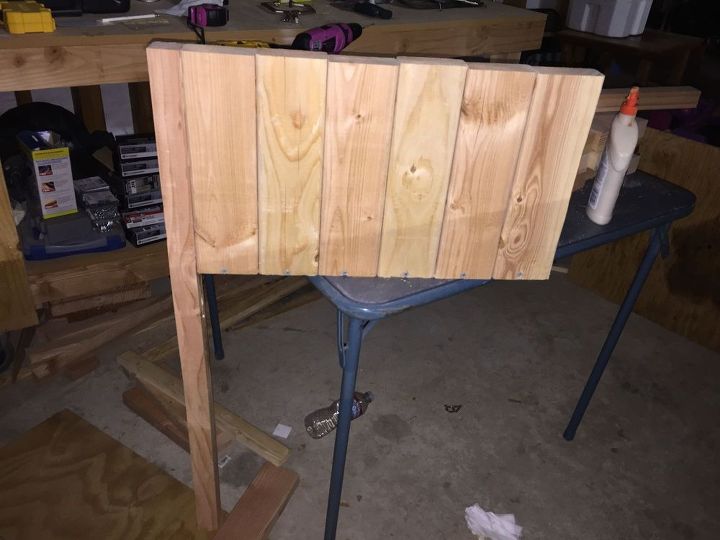
Building front of planter box.
Once the front boards and both front legs were attached, I attached the side 2x4s to the sides of the plywood sheet using wood glue and 2 1/2″ wood screws and then attached the back 2x4s.
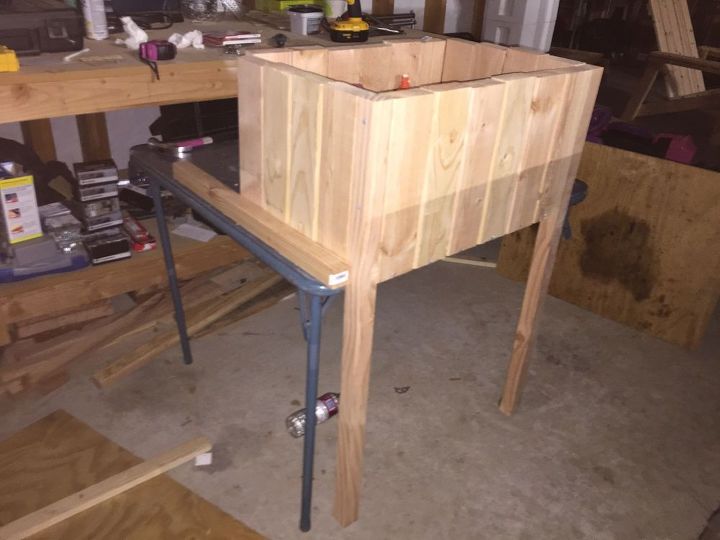
Planter box without back legs
I then attached the 6′ 2×2 back legs using wood glue and 2.5″ wood screws.
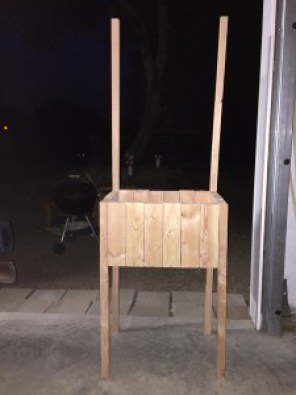
Planter box with back legs attached.
Next, I cut a 2×4 to 30″ using my miter saw, this will be the top board of the trellis. Using an empty can of stain, I drew the pattern to cut out the curves at each end. Once the curves were drawn on each end, I used my jig saw to cut the curves.
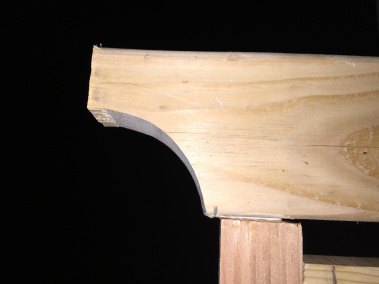
Curve cut into 2x4
Attach the top trellis board to the top of the back legs of the planter using wood glue and 4″ wood screws (predrill first). Once the top trellis board is attached, cut the top trim pieces for the planter box.
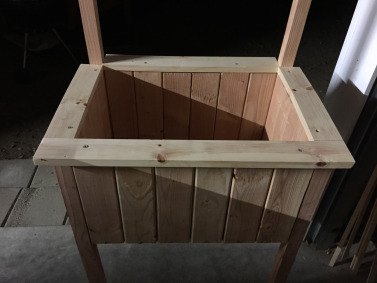
Add top trim pieces for planter box.
I then cut the trim pieces to make the trellis. I cut 10 of the 1 1/8″ trim boards to 24″ in length each, and I cut 4 of the 3/4″ trim pieces to 35 1/2″ in length each.
Horizontal trellis trim pieces added
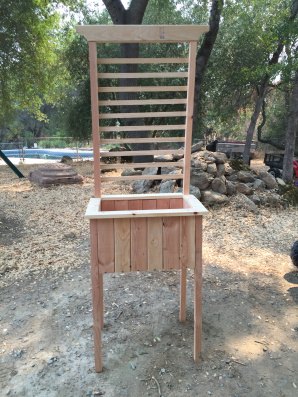
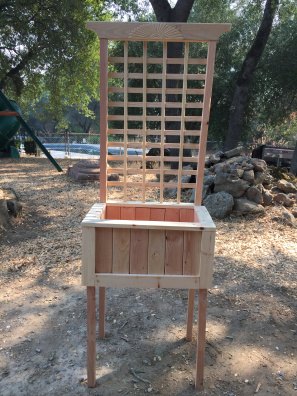
Next, I added the 3/4″ trim pieces vertically, evenly spacing them across the back. Because these boards or so thin and lightweight, I only used wood glue to attach these (glued them to the horizontal trim pieces making up the trellis).
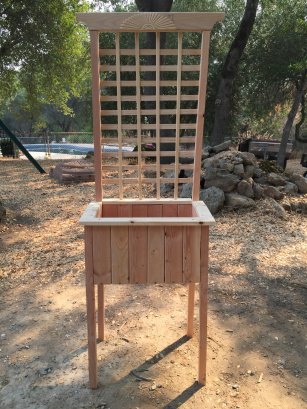
Trellis complete
Next, I cut and added the 1×3 trim pieces to the front and sides of the planter box. I then attached the 1×3 trim pieces using wood glue and 1 1/2″ wood screws.
Front trim pieces added.
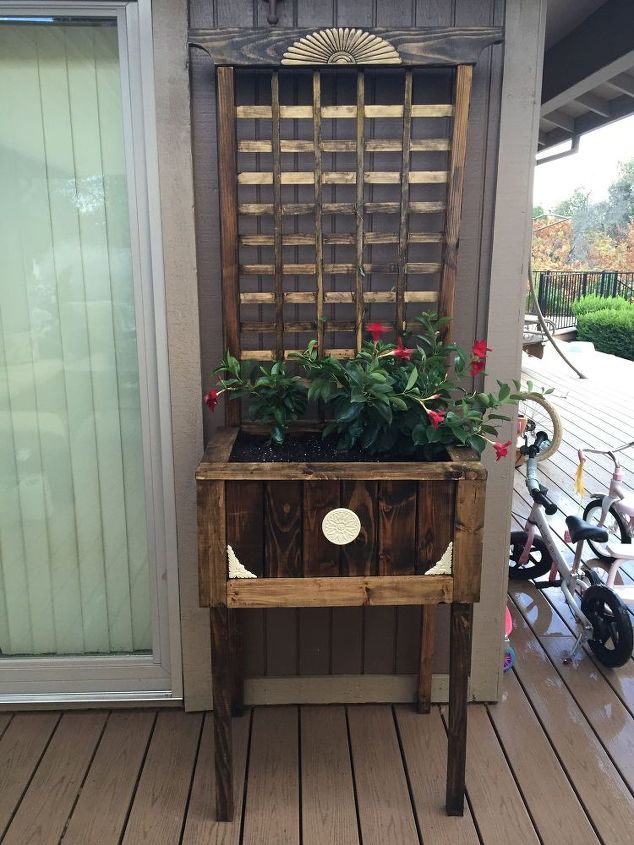
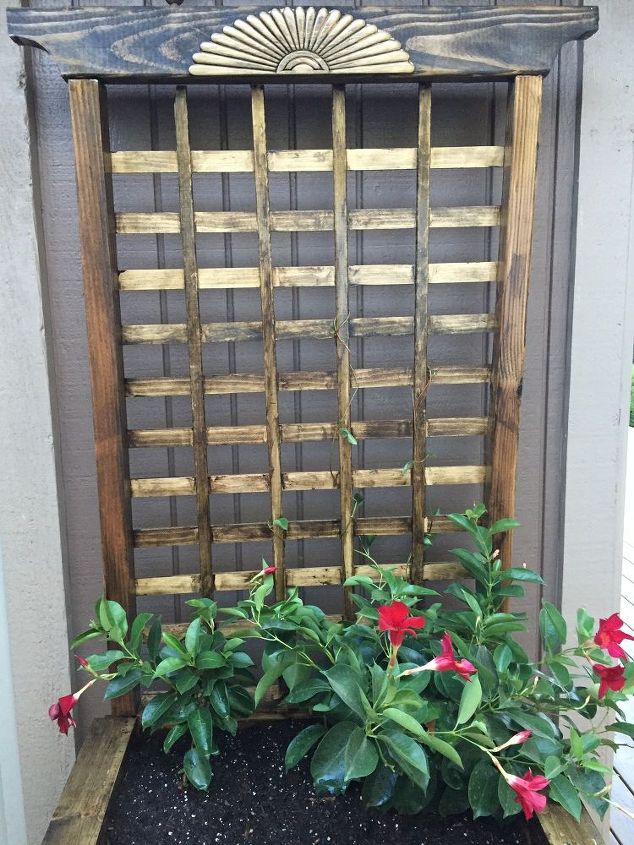
I then added a wood applique that I purchased at Hobby Lobby (called Artistic Appliques) to the front of the 2×4 at the top of the trellis. I used wood glue to attach the applique. I then used Minwax Ash stain to stain the entire planter (except for the inside of the planter box since that will be filled with dirt and plants).

Want more details about this and other DIY projects? Check out my blog post!
Comments
Join the conversation
2 of 55 comments
-
Very Nice idea!!! I can use something like this...Thanks!
-
!!!! Love it. Can't wait for the rain to stop in Michigan so I can make this. Thank you.


Frequently asked questions
Have a question about this project?
Super cute. Did you cut holes for drainage?
You stated that the planter box is made of 2x4 lumber. Yet in the photos the boards appear to be 1x4. Is this an optical illusion? Please clarify. Thank you.
I really like your planter trellis!
What ideas are there for left over aquarium gravel?