


Guest Bathroom Refresh – How to Paint Cabinets & Frame Mirror

I AM SO EXCITED ABOUT THIS BLOG POST! I FINALLY updated our guest bathroom! While I may switch out some shower hardware, boob lights, and tiling (eventually), I am just thrilled to get the fun stuff DONE. I wanted to update this room since we first toured the house but had ZERO motivation to paint the entire bathroom. Thank goodness for Frame My Mirror. They sent me a gorgeous frame for my builder grade mirror, which lit a fire under my booty to transform this room.
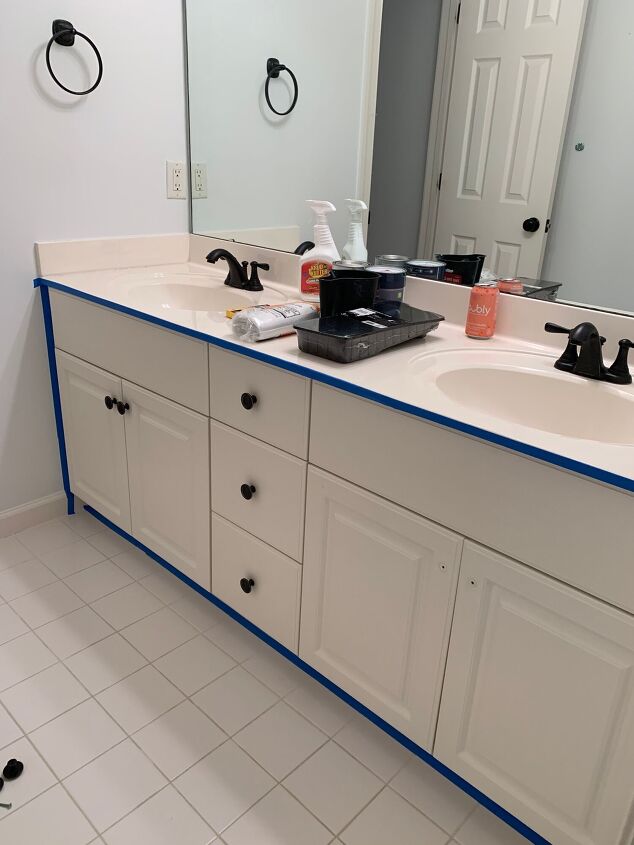
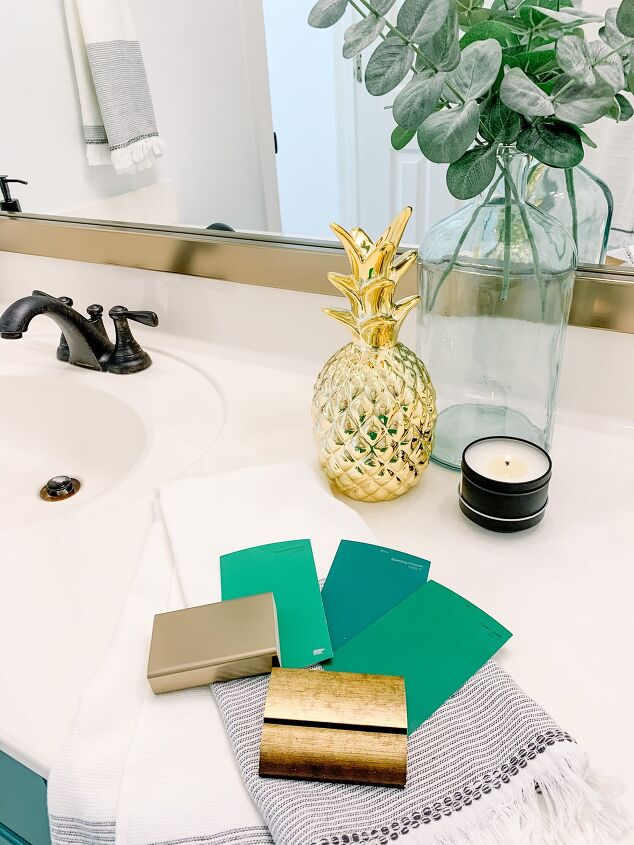
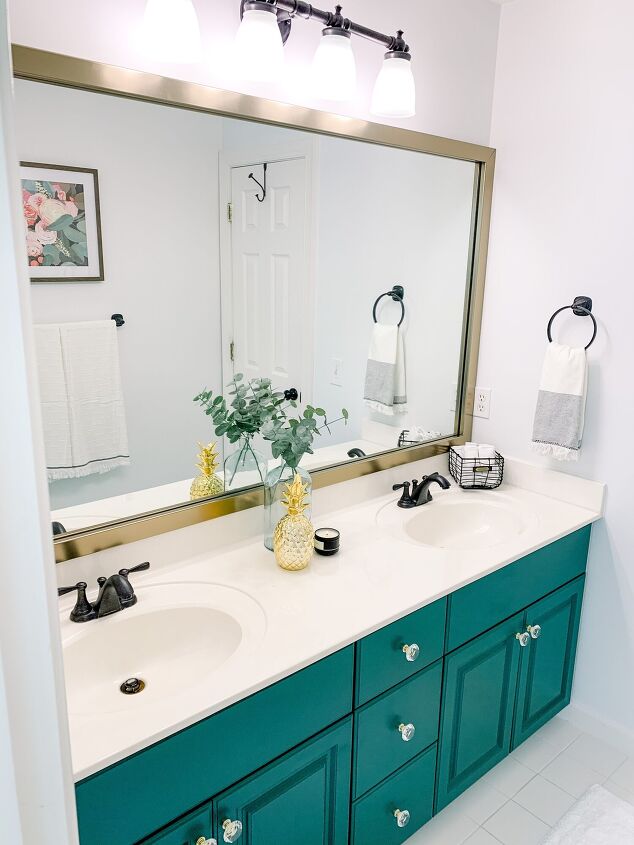
First, let’s talk about cabinets. I do not know where this idea came from, but I had aspirations to paint our vanity emerald green, which is BOLD for our home. Everything is white or gray, but I’ve seen photos of it on Pinterest and knew I had to try it. I looked at paint colors for MONTHS. Really. I am not kidding. With the help of a friend, I finally found the perfect color, which solidified my choice. I also never painted cabinets before, so I was quite scared to take on this project. However, trust me, if I can tackle this task…YOU CAN DO! I am here to walk you through my process in transformation our vanity from white to Behr Rainforest
How To Paint Cabinets
- Prep the cabinets: Take off all the hardware, drawers out of the vanity, and cabinet doors off.
- Prime the cabinets. I did not sand the cabinets. I am sure a lot of blogs out there would recommend you sand using 220 grit paper. I am lazy. A good primer is a GAMECHANGER if you are like me. I used Zinsser Bulls Eye 1-2-3. I primed the cabinet doors, the vanity itself, and the toe board at the bottom. I ended up priming and letting it dry overnight based on the project’s timing, but you could probably prime and wait 1-2 hours before you start to paint.
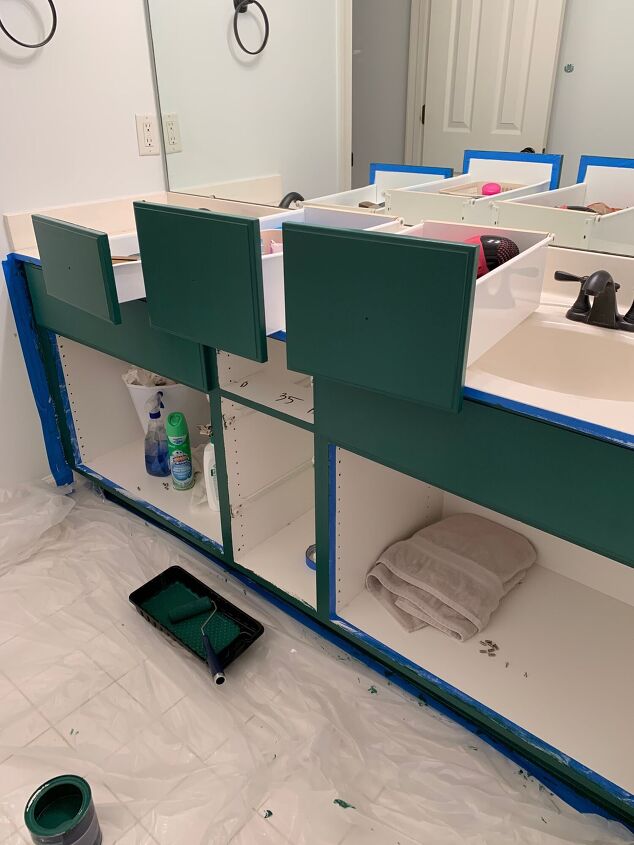
- Paint the cabinets! I bought a quart of Behr Ultra Paint in Rainforest. I suggest getting two brushes and paint rollers made for cabinet painting to make the job easy and create smooth lines. I bought these two brushes: Wooster 2 in. Shortcut Angle Sash Brush and Wooster 1-1/2 in. Pro Nylon/Polyester Thin Angle Brush. I also bought this 3-Piece High-Density Foam Mini Paint Trim Kit. I also love my little reusable paint cup that comes in handy for trim work. I rolled the larger flat surfaces and hand-painted the smaller spaces and trim. I put two coats on the cabinets and waited about two hours in-between coats.
- Allow 12-24 hours to dry to be safe, then reattach the drawers and cabinets.
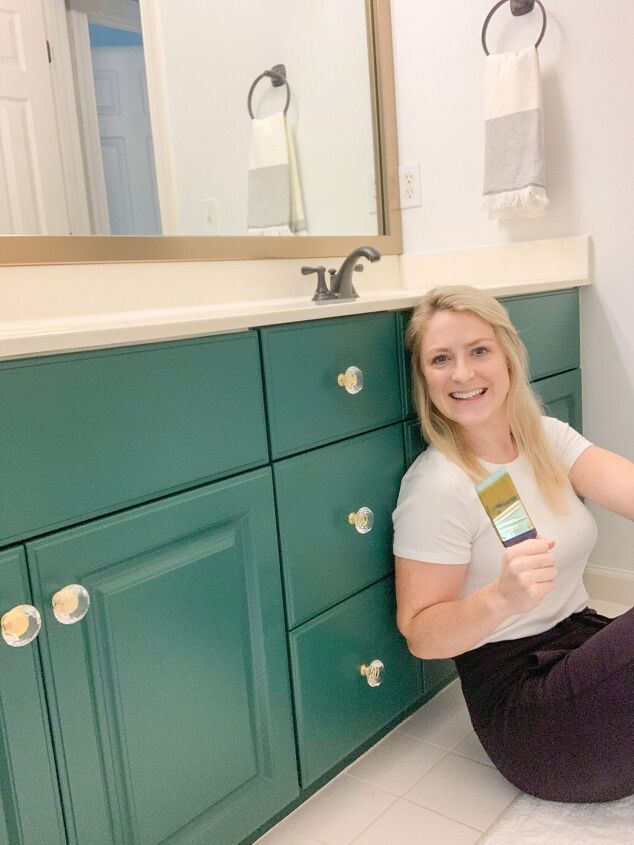
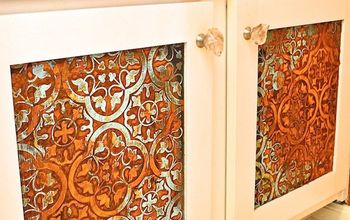
- Get fun hardware! Amazon is awesome for inexpensive hardware options. I ended up going with these super fun ones.
- That’s it! It was not so hard, was it. I will say…if I were painting more than just a vanity, I would invest in a paint sprayer but a smaller project; handwork is just fine.
Elevating Your Builder Grade Mirror with Frame My Mirror
I am a SUPER fan of Frame My Mirror. What a freaking AWESOME idea to upcycle your everyday builder grade mirror. They provide quality, easy-to-assemble frames that attach with a sticky adhesive. No drilling or complicated application process is needed! They have tons of styles to fit your taste on their website and send you samples for $1 with free shipping! I love being actually able to see the product in person before committing to purchase. They also offer collections of Framed Mirrors, LED Mirrors, and Decorative Mirrors.
I had two samples sent to me and ended up choosing the Weston Gold Add-A-Frame for my guest bathroom. The ordering process was straightforward and they walk you through how to get the dimensions needed for a perfect fit frame. I genuinely was shocked at how easy it was! The frame also took less than five minutes to assemble once it arrived at my house. Kyle and I were easily able to place it on our mirror with no problems what so ever. I am already taking inventory of the mirrors in our house to add another frame too!
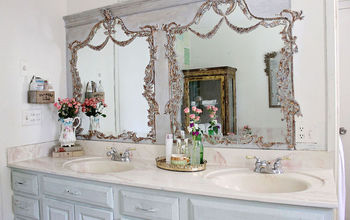
Looking for more gorgeous bathroom inspiration? Check out my friend Jess’ bathroom transformation HERE. It will BLOW you away!
Guess What?!? Frame My Mirror also gave me a 15% coupon code and free shipping to share with you. Enter “Kylie15” for some extra goodness at checkout!
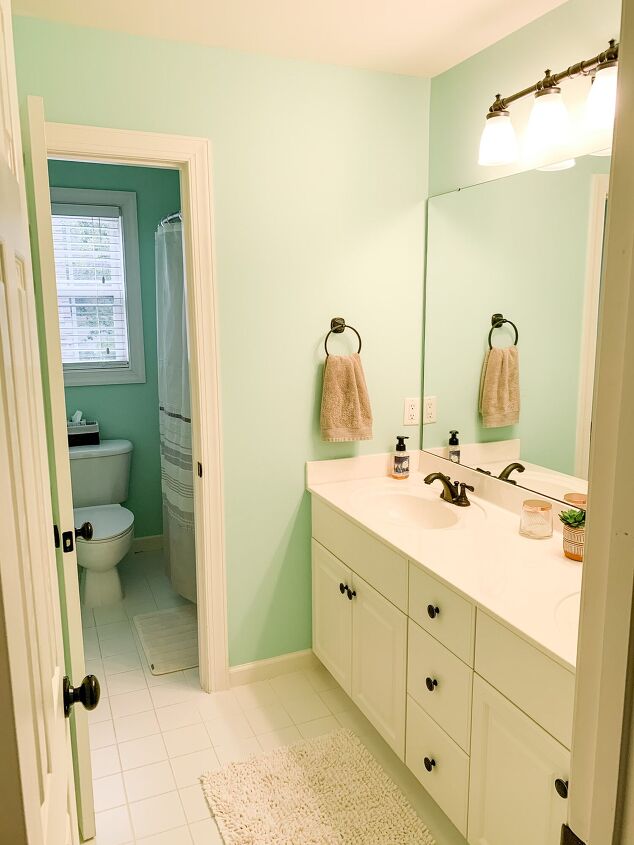
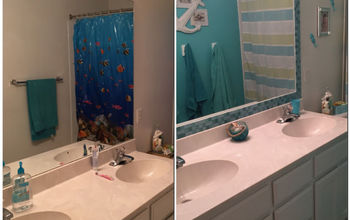
Before & After of the Guest Bathroom


Comments
Join the conversation
-
Nice job- very smart to repaint walls white, and change knobs, etc- makes the new cabinet color pop…. Crisp, clean look!!!
-
Fantastic!!!


Frequently asked questions
Have a question about this project?
How did you put the molding on the mirror around the plastic tabs that hold the mirror in place? Do you remove the tabs or …?
How do you do it but not leave paint brush marks? It looks so smoothe?