Update Your Bathroom With This Medicine Cabinet Hack

When we moved into our current home, I knew we'd have a lot of painting to do.
A LOT!
Builder beige almost everywhere. Slowly but surely we've been working our way through it.
I actually painted our youngest's bathroom last year & have loved every change we made in here EXCEPT...
The medicine cabinet. So I finally came up with a quick solution that makes all the difference in finishing off the space.
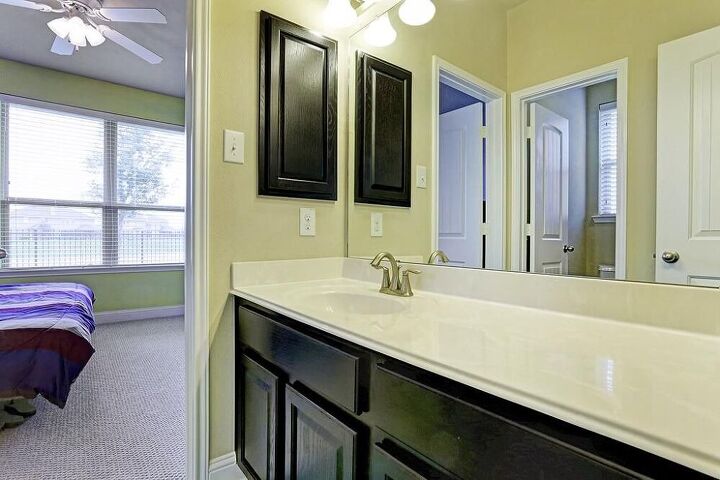
Here is what the bathroom looked like when we moved in.
I think I can honestly say the only thing I really liked was the dark cabinets. Perfect for kids.
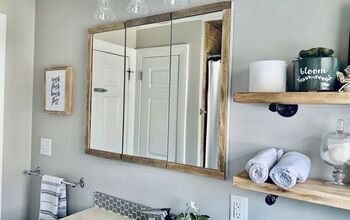
Last year I painted it, added hardware to the cabinets, took out those builder grade towel bars & replaced the builder slab mirror (framing it out just wasn't gonna cut it this time).
Much better & we all actually like it. A lot!
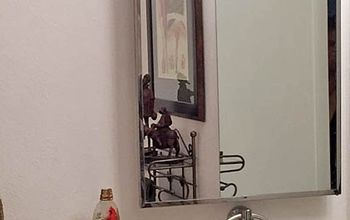
Only 1 thing still bothered me... the medicine cabinet. (Sorry for the lighting here.)
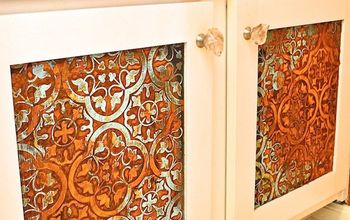
I had these peel & stick tiles leftover from my fireplace project and decided to give them a try here.
These tiles are a great way to try out something semi-permanent when you aren't 100% sure what you want.
Placing them is pretty straight forward at the beginning - start at the bottom furthest away from you with 1 full tile. Then match the next 1 directly above that.
This way the part that's most visible will be super clean & neatly matched up.
When you get to the point where you just have small sections left, line up the tile to get a good match & use a pencil to mark where you need to cut. Trim the pieces to fit & press into to place.
You can either use scissors or a box cutter to make the cuts.
After the back of the cabinet is fully tiled, tape it off around the edges.
Use liquid sander to wipe down the remaining uncovered mdf, including the shelves.
This will prep the surface without all the mess of sanding.
Grab a small painter's brush or the smallest paintbrush you have & paint in the small corners & crevices.
You don't have to do it this way but I always find it easier to get into the nooks & crannies this way. And its much more finished.
After you cut in, go back and paint all the exposed surfaces. Don't forget the shelves.
You could just cover all these surfaces with the same tile but then
- It could get really busy
- It could get really tedious cutting all that tile
- You'd have to punch holes for the shelf supports
Now just wait for the paint to dry AND cure.
The curing process is the reason I didn't do this the other way around.
Tape doesn't affect the tile at all but I would have had to wait at least a day to put up the tile if I'd painted 1st. Otherwise, the tile could scrape up the uncured paint & make extra work for yours truly.
The reason I chose to paint anyway was so that it blends seamlessly with the rest of the bathroom. That beige mdf would have stuck out & driven me bananas!
Now the tile bridges the blues & blacks and the pattern breaks things up nicely I think.
Enjoyed the project?
Resources for this project:
See all materials
Comments
Join the conversation
-
 Donna Wille
on Sep 29, 2020
I love this idea! Working on my new she shed and putting in a small bathroom, every square inch is prime real estate! This might be something to consider? Thanks
-
-
 Dee
on Oct 15, 2020
What a beautiful change. It looks very modern. I think any kid or adult would love that bathroom
-








Frequently asked questions
Have a question about this project?
Did you use masking tape when you painted the inside of the cabinet, or designated painters tape (which is usually blue or green)?