


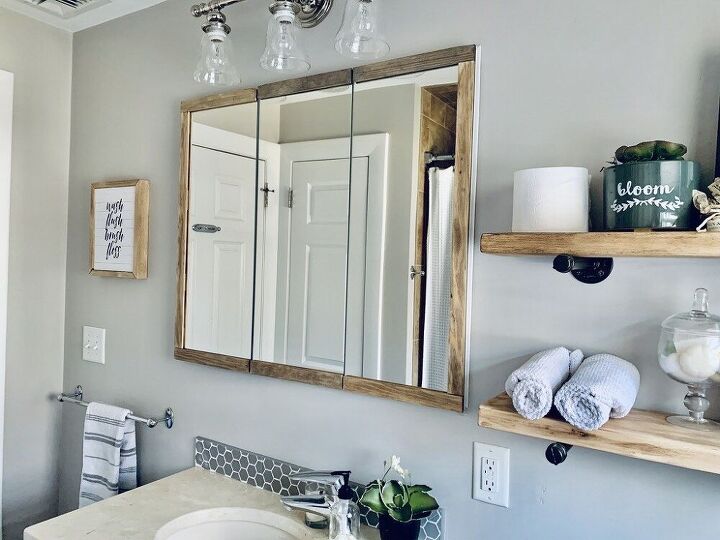
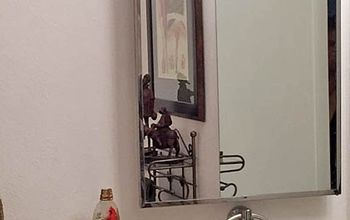
Framed Medicine Cabinet

Wanna see the easiest way ever to update an ugly medicine cabinet?! Just add a frame, baby! A framed medicine cabinet instantly upgrades it from boring and ugly to modern and gorgeous in less than an hour for about $10. Intrigued?! I’ll show you how!
Disclaimer: In the name of full transparency, please be aware that this blog post may contain affiliate links and any purchases made through such links will result in a small commission for me (at no extra cost for you). As an Amazon and Home Depot Associate I earn from qualifying purchases.Length of time for project: 1 hourCost: $10-15What you’ll need: 2 Wooden lattice strips, 8′ in length; double stick tape or construction glue, stain or paint of choice. I used this stain and dark wax.What I learned: You need to leave a tiny gap in between the wood pieces where they meet each other at an opening to leave clearance for the mirror doors to still open.
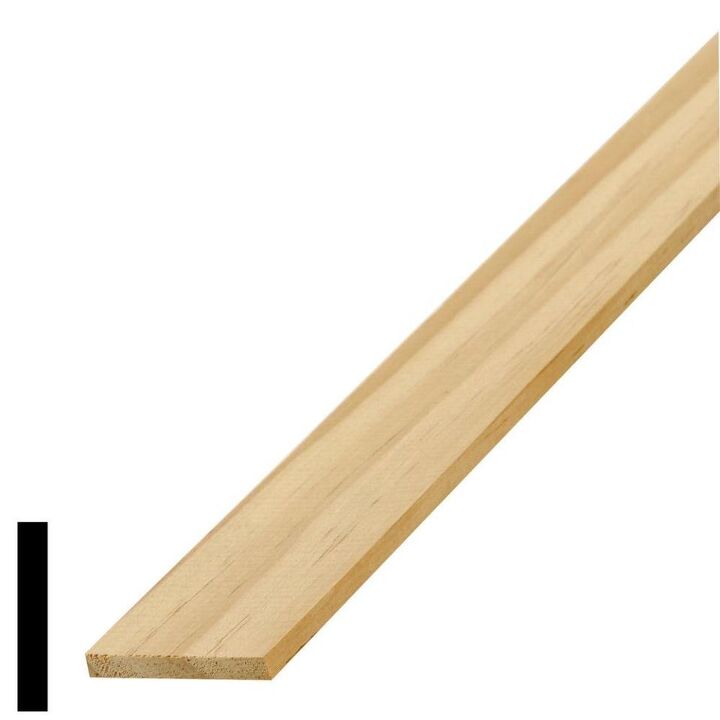
I purchased these wood lattice strips because they are wood (and stainable) but mainly because they are thin. For the frame you want something that is thin so the doors can still have enough clearance to open. Also it needs to be thin so you can easily glue or stick the boards on the mirror.
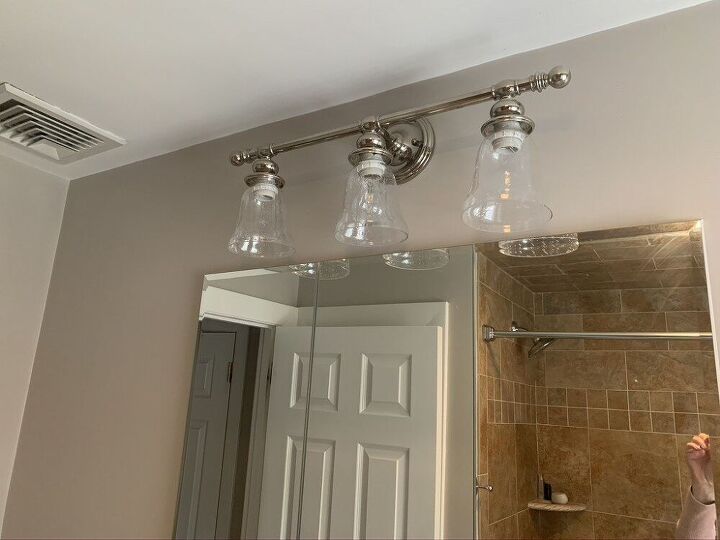
Here is a quick before frame photo to show you how much of a difference adding the frame makes!
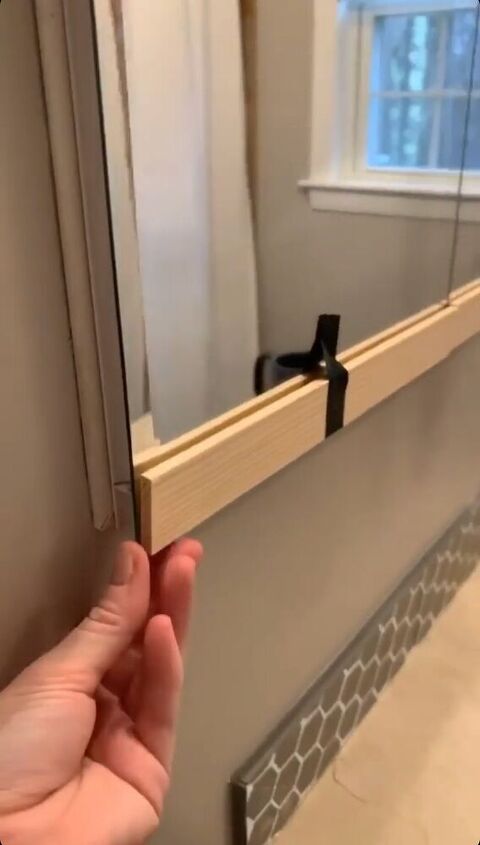
First, I got my measurements of each mirror. The horizontal strips were cut a bit shorter than the measurement to leave a gap so the doors have clearance to open. I taped them in place first to dry fit to be sure the mirror doors opened well.
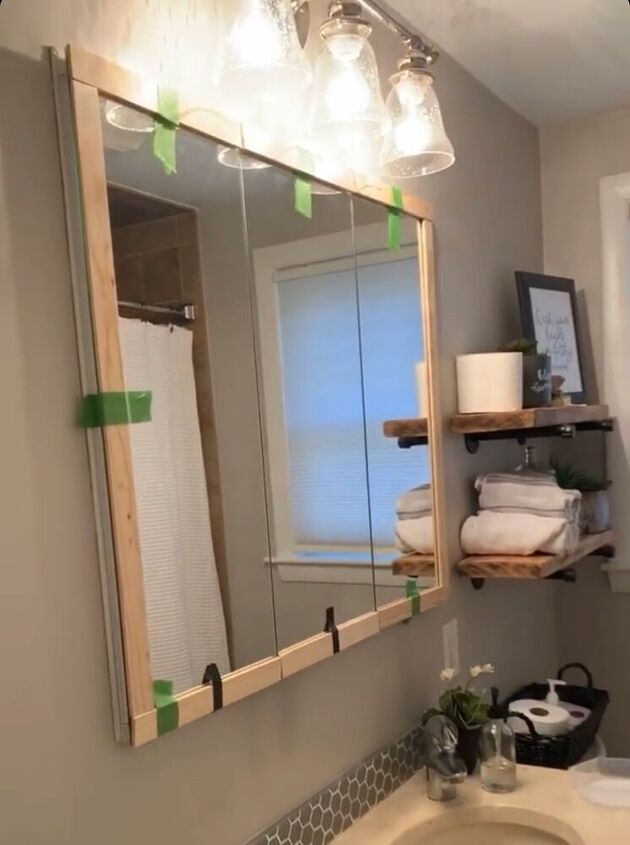
The side strips were cut to the length of the mirror minus the width of the top and bottom pieces. These cuts were all made with a miter saw but you could also have them cut in store if you go to Home Depot.
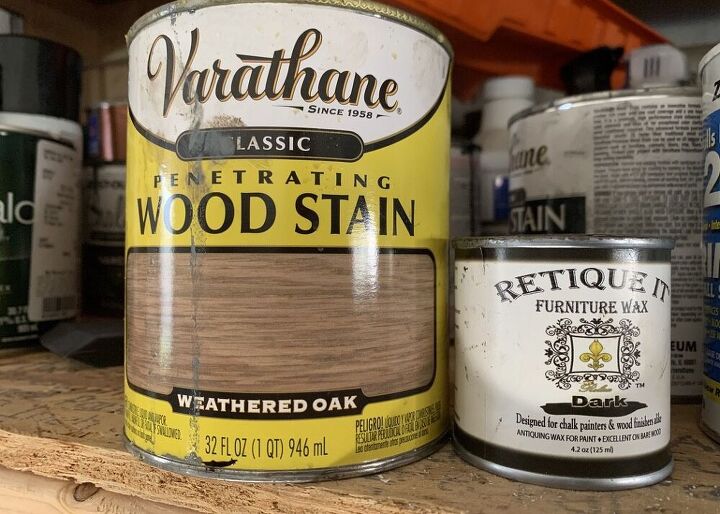
Second, stain or paint the wood whatever color you want before adhering them to the mirror. I did a very light sanding (mostly on any ends that were splintered) and then applied one coat of stain. A dark wax was used over the stain just to give a bit more of a rustic/vintage vibe.
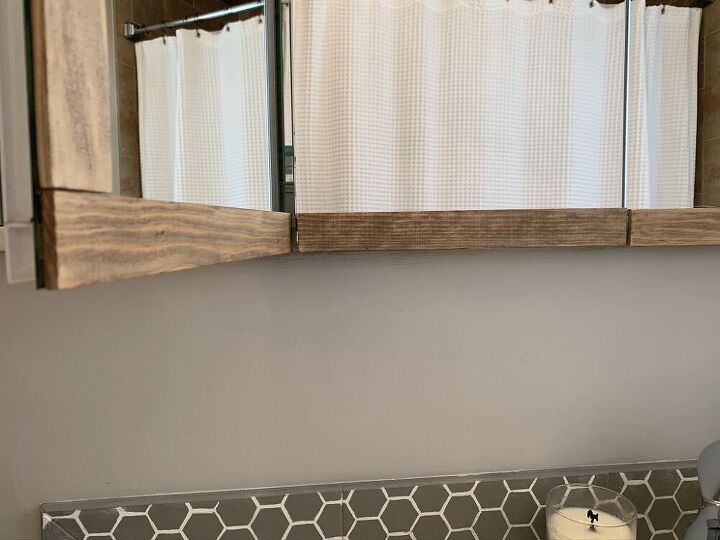
Lastly, adhere the boards to the mirror. I personally used some strong double sided adhesive strips…because I’m noncommittal and I just wanted to make sure it worked before gluing! They worked so well that I didn’t bother to remove them and replace them with glue. It might be helpful to secure the wood pieces with masking tape to allow the glue to dry, if you go that route.
That’s it and now you have a beautiful framed medicine cabinet! Just a few cuts, a little stain, and some double sided adhesive strips! The frame really updated this medicine cabinet and made it look a ton more modern! Check out this post to see how I updated the rest of the bathroom!


Comments
Join the conversation
-
OMG!!! I have been waiting to do this project; just didn’t know how but now thanks to you I can proceed. Thank you.
-
Without a knob on the corner of the glass for your fingers to open and close door, I am wondering how long the double sided tape is going to be able to keep the strips adhered.........
 .
.


Frequently asked questions
Have a question about this project?