


Quick & Easy Budget Savvy Bathroom Makeover
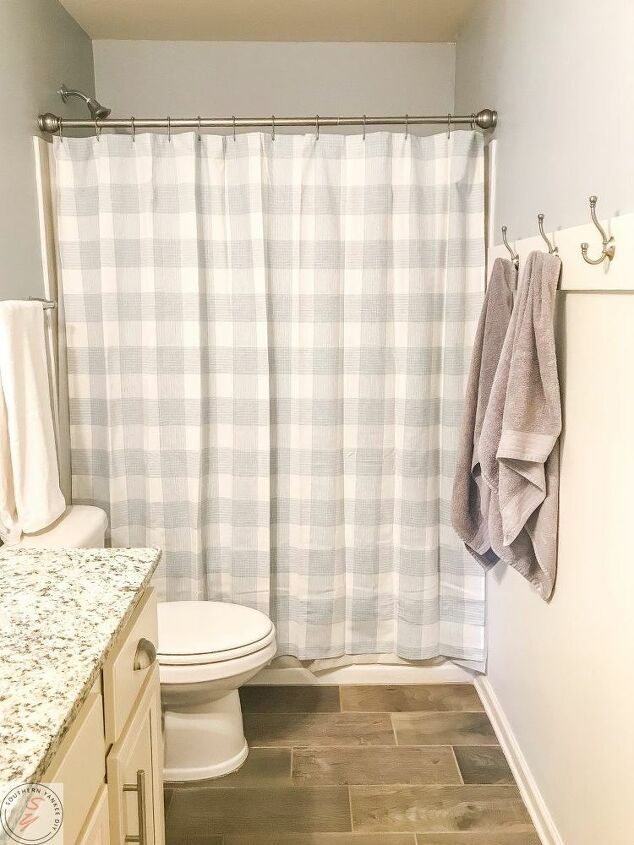
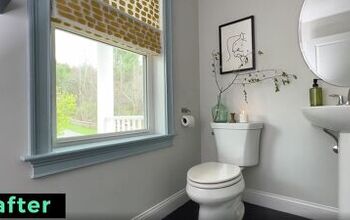
This is a budget savvy way to update any bathroom using paint & a single 1x6 board! You won't believe the transformation for under $100! This bathroom is now bright, functional, & inviting!
See how we crated this look!
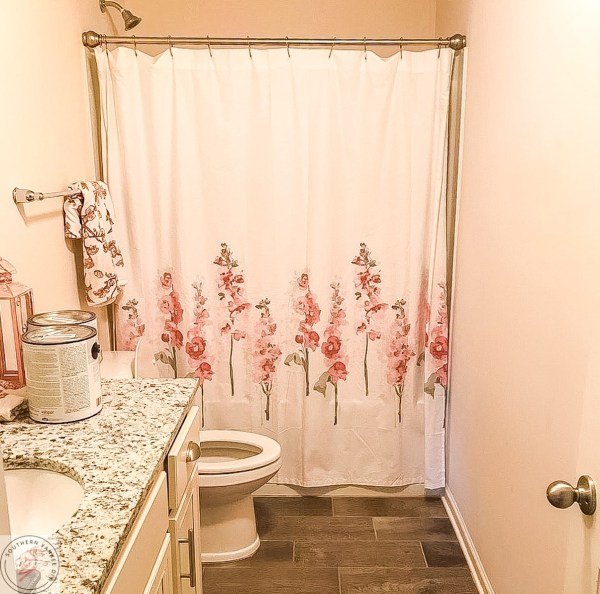
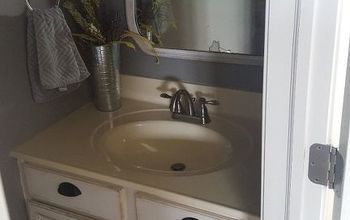
Basically, it was just nothing special. I wanted something a future buyer would love & I know when I walk into a space my first thoughts are if the room is bright, clean & functional. So I started by tackling the bright aspect with some paint!
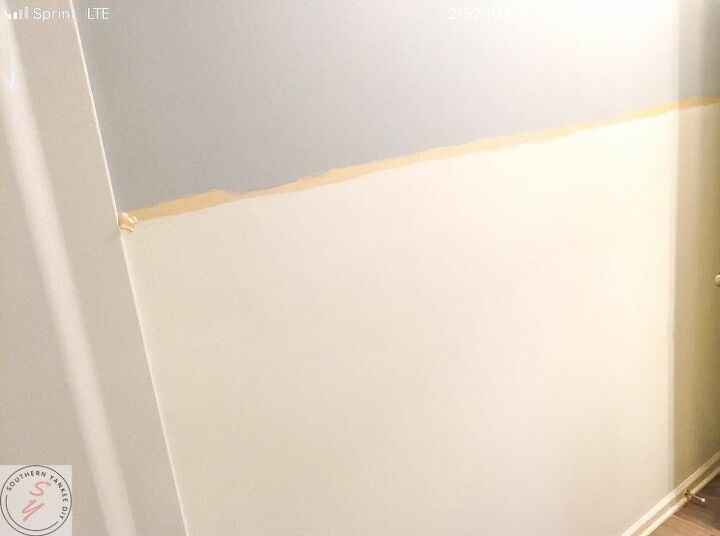
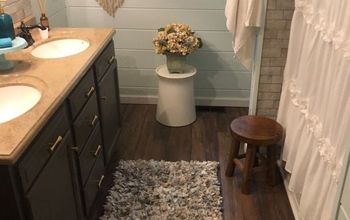
I started by making the back wall in half with tape. The bottom half I wanted to paint Alabaster White by SW & the rest of the room Gray Screen by SW. Paining Alabaster is one of my go to bright whites & the gray screen is light but also provides a little pop of color.
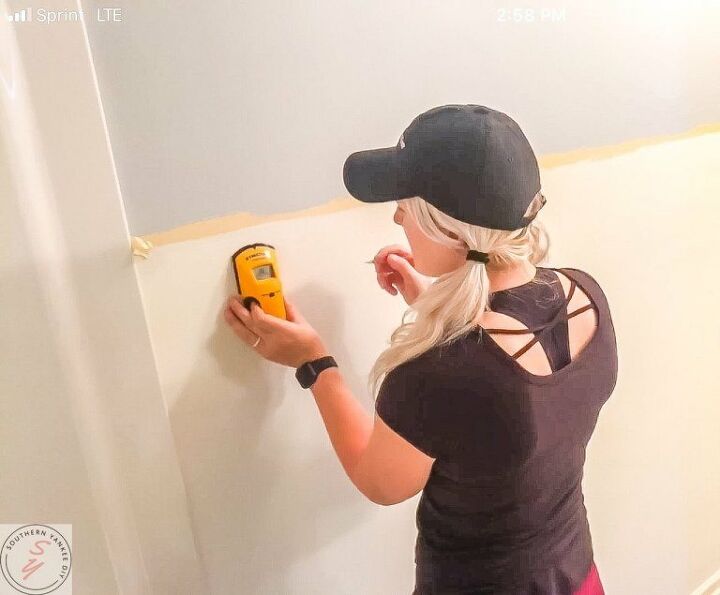
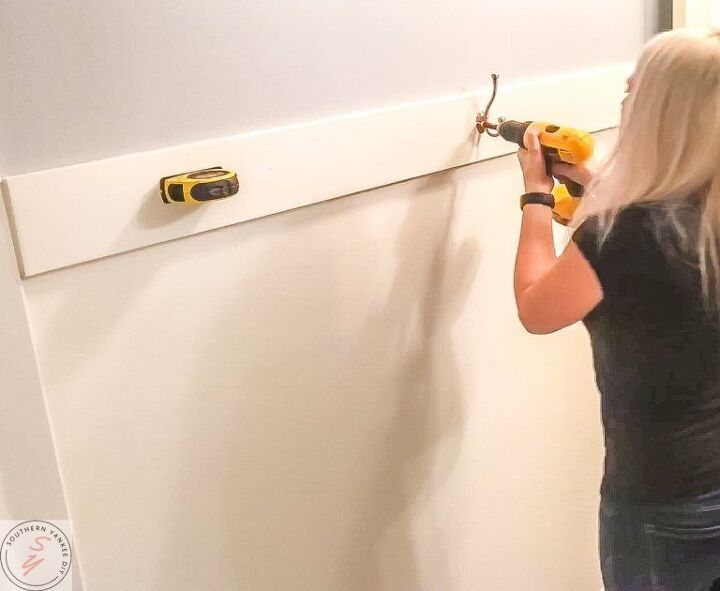
Once my paint was dry I used this awesome stud finder to mark my studs so I would know where I needed to nail in my 1×6. It is important to find studs when hanging heavier pieces of wood because you definitely don’t want to risk it coming down.
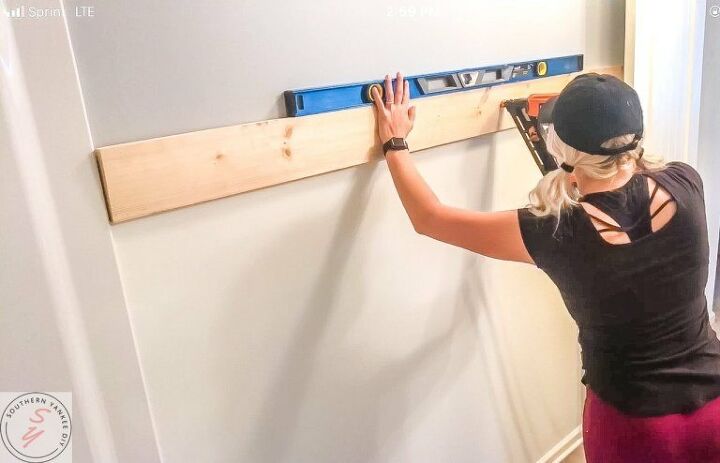
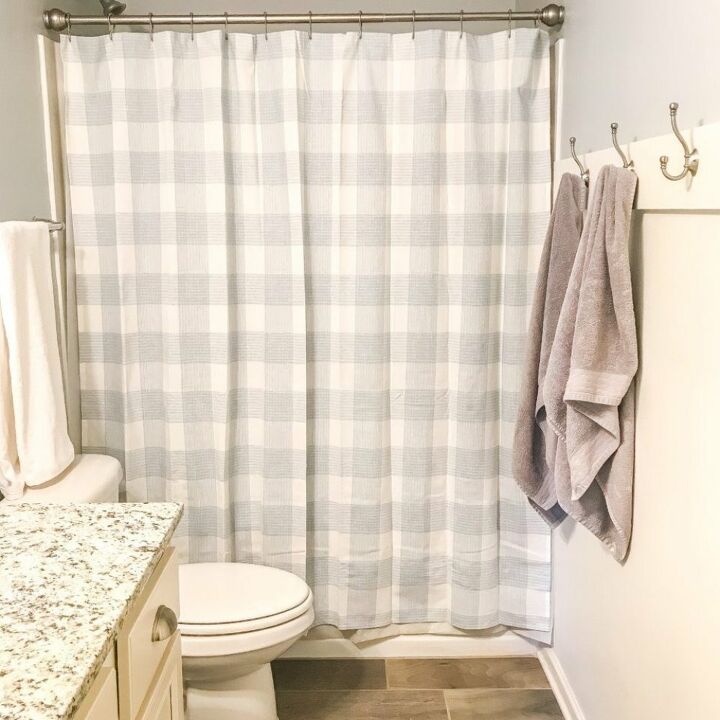
Next I attached a 1×6 to the space I taped off. This will separate the two colors & give it a fancy trimmed look. This board will also be were I hang our hooks later. I just used my nail gun & a level to attach the board.
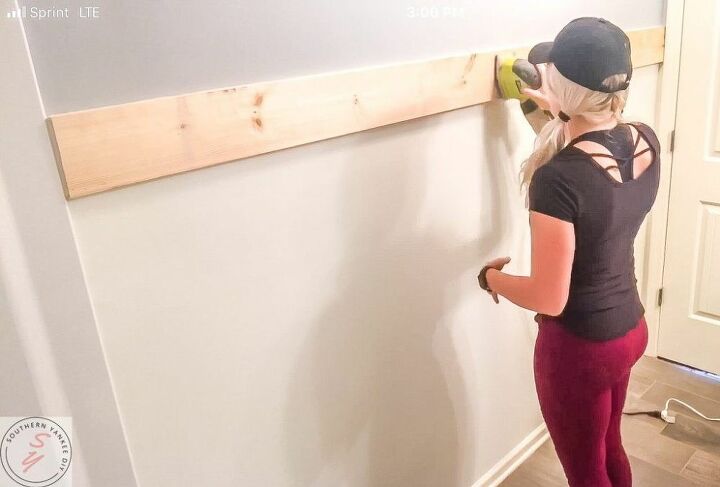

When the caulk drys go ahead & start painting your board. I used the same white paint as I did for the lower half. You can tape off the top but I like to live on the wild side, aka I have to finish before nap time is over & taping takes longer.
Once the wood dried I went ahead & attached my towel hooks. These cute ones are from Lowes & matched the rest of the room’s hardware. I never hang anything with my Straight-Line laser level. It shoots out a laser line so I know exactly where I need to hang each hook so that they are in line with one another. It makes life so much easier because you don’t have to keep remeasuring over & over.
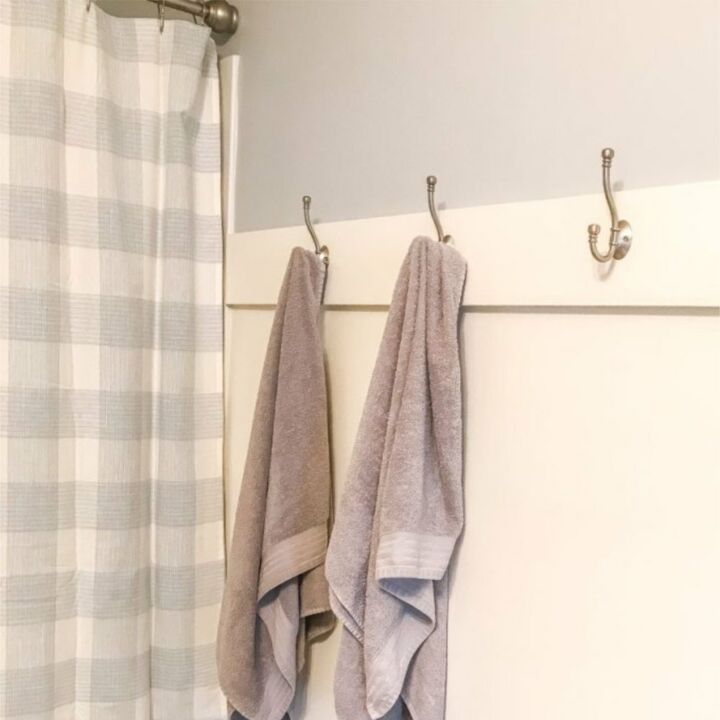
Once the hooks were up the rest was just some online shopping! I bought this super cute gingham shower curtain from Target to add a little pop of color to the room. I also bought some light gray towels to hang from my new hooks!
This little makeover cost me less than $100 & It made a huge difference to the space! Every makeover doesn’t have to cost hundreds of dollars to make a big impact on the room. Sometimes all you need is a piece of wood & some paint! Let me know what y’all think & if you have any questions. Plus don’t forget to follow us on Instagram for inside looks on all our makeovers & renovations!
Resources for this project:
See all materials


Comments
Join the conversation
-
You might want to change your third sentence under Attach Hooks from with to without.
Your updated bath definitely looks brighter and more stylish. Good job.
-
Love It, who know!!!!!! I'm copying the wall hooks!!! Thanks!!👍️😍


Frequently asked questions
Have a question about this project?
Did you paint the sink wall 2 tone also?
How high is the board from the floor?