


Master Closet Makeover
I have a large master closet, but unfortunately a bigger closet can just be a bigger mess. I was in need of some serious organization!
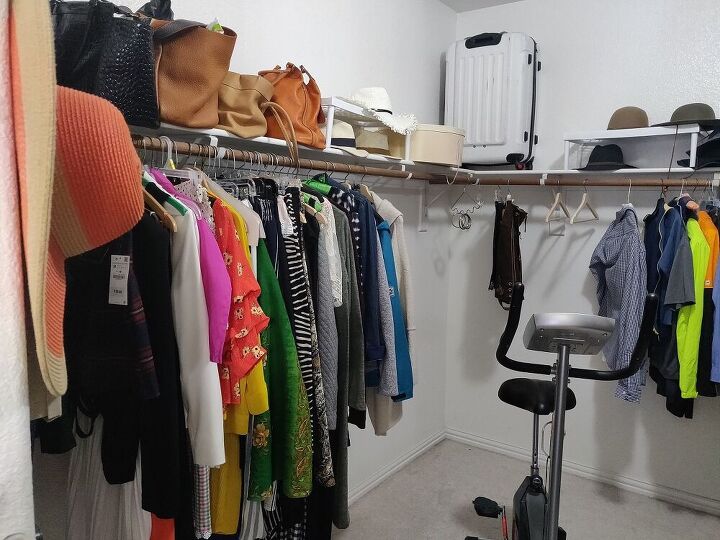
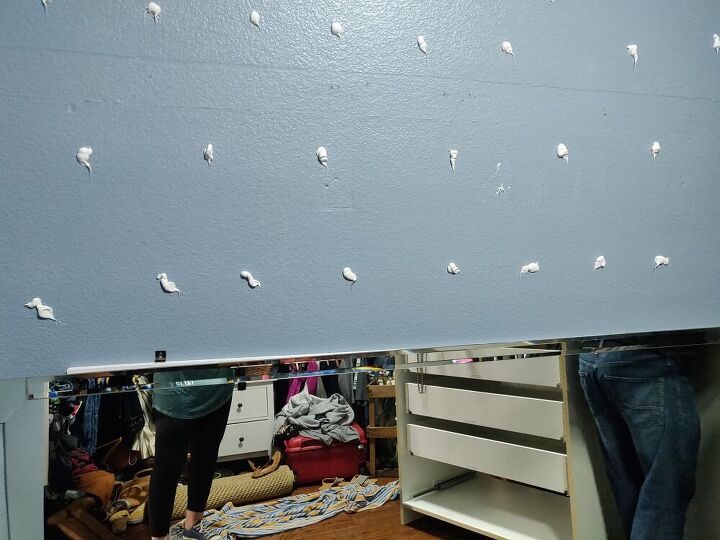
Before Pics:
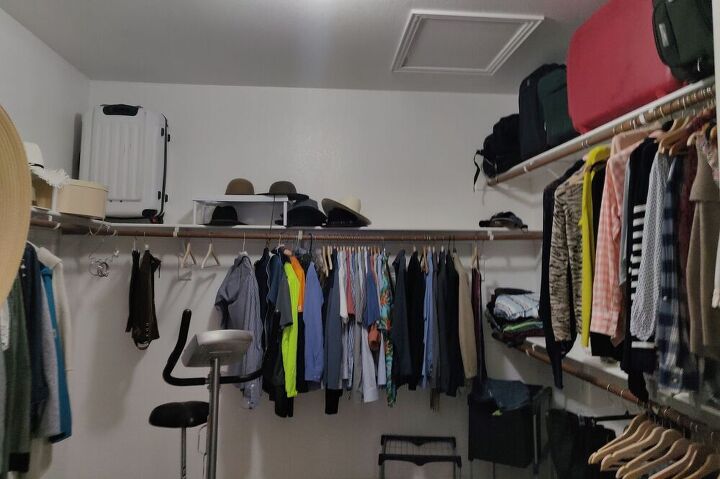
Step 1 – Prepping your space
I started be going through my entire closet and divide into three categories; keep, donate, and sell. Then I removed the items that should not have been in the closet to begin with, like the stationary bike. I had ordered hardwoods a few years back that matched my bedroom flooring. So after the flooring was installed and room painted, we started to work with each side of the room as far as organization.
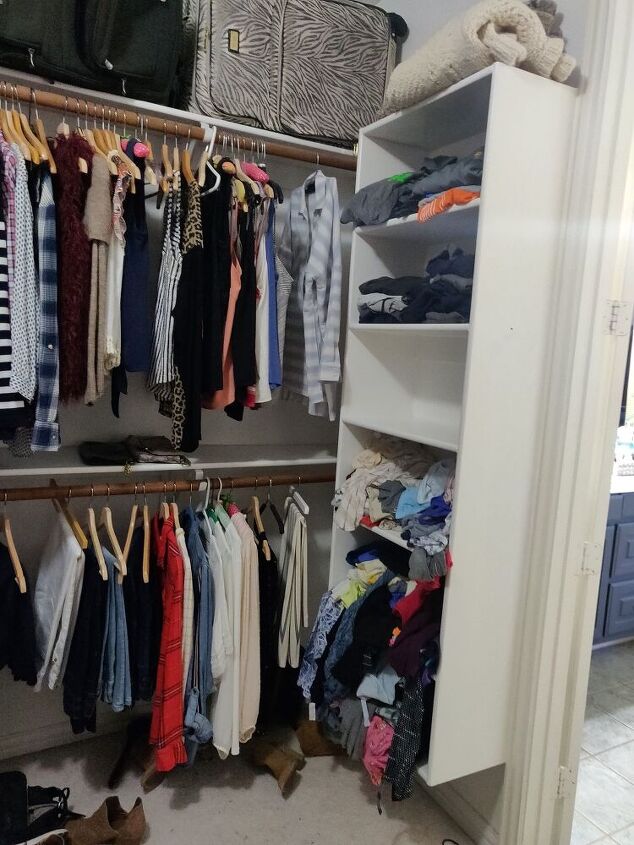
Step 2 – Planning
Probably like most people, our wardrobe needs have changed drastically over the last year working remotely, and spending a lot more time at home. We didn’t have as much need for hanging space. As you can see in the second picture above, there were only a few shelves and absolutely no drawers. We shopped around and purchased drawers from Ikea, which would be part of built ins we did ourselves. We also wanted built in laundry baskets (also Ikea), and a way to hide all of our luggage from view. The attic space above the closet was not very useful because it did not have a pull down stairs, so we added that to the list, too. Lighting was also a problem, with only one center overhead light for the entire room.
Step 3 – Budgeting
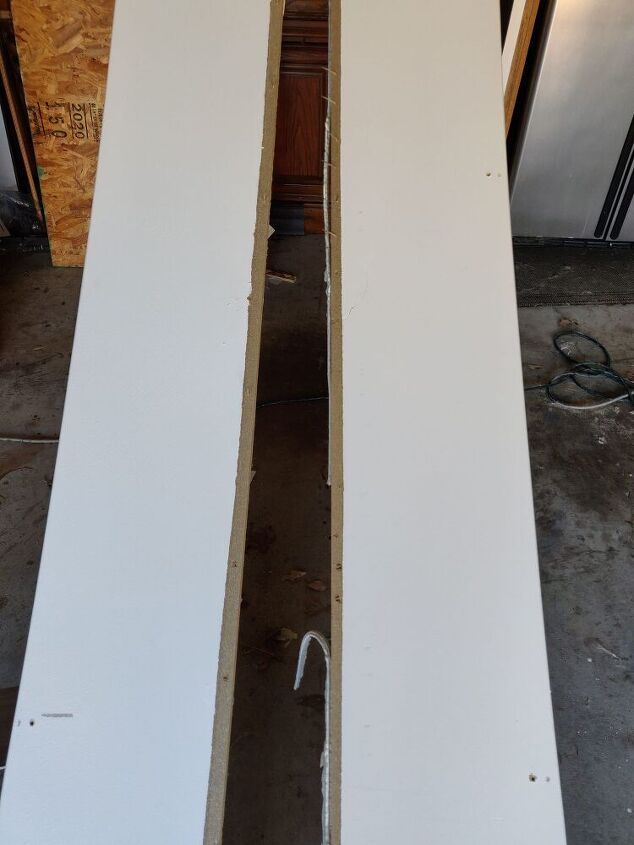
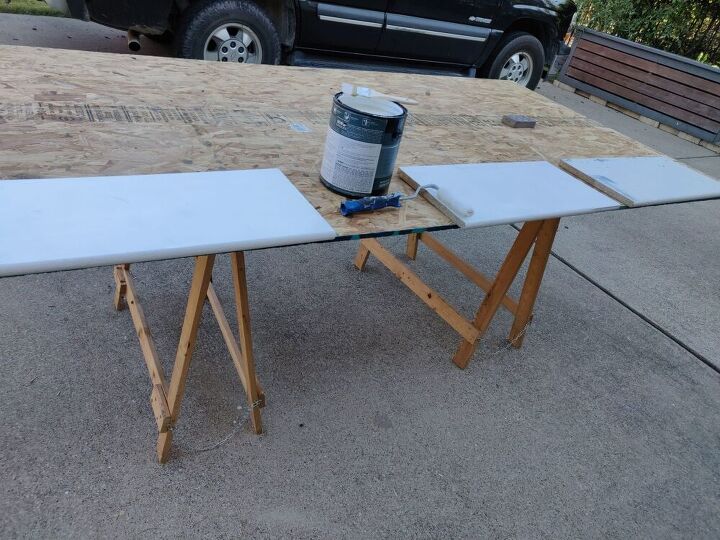
You are probably thinking that budgeting should be first, but we needed a plan based on needs/wants and then figured out the best approach on my budget. We saved money on building the frame of our built in’s with melamine boards, as well as, the shelving. The original shelves were only 1 foot wide, which was a waste of space above the hanging clothes that extend about 16 inches into the room, this looks better and offers more shelving space.
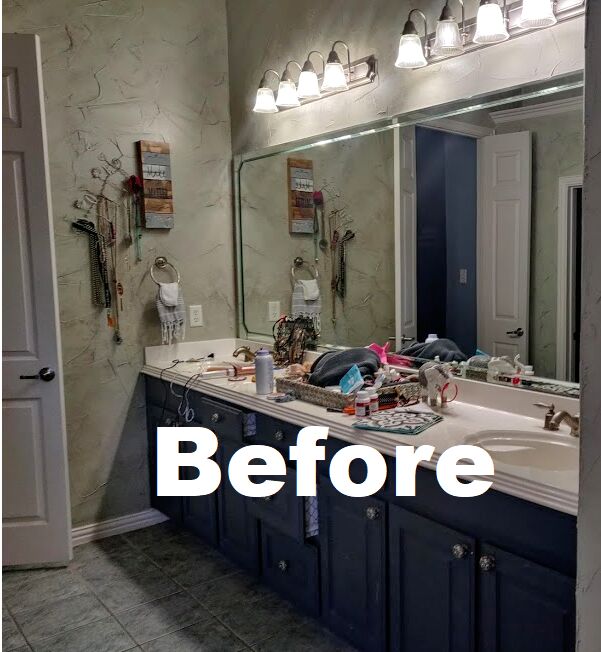
In our master bath make over, we took down a large mirror that spanned the entire wall and replaced with three round mirrors. Instead of trashing that, we saved it for the closet, to be installed behind the built in’s. Installing it was not difficult, using caulking adhesive (gorilla glue brand) and an under bar support to attach the old mirror to the wall.
Another way we used salvage materials was to save the narrower shelving we removed and added to the existing shelves to create the shoe rack. These shelves just needed a bit of sanding and a new coat of paint, after being cut down to fit.
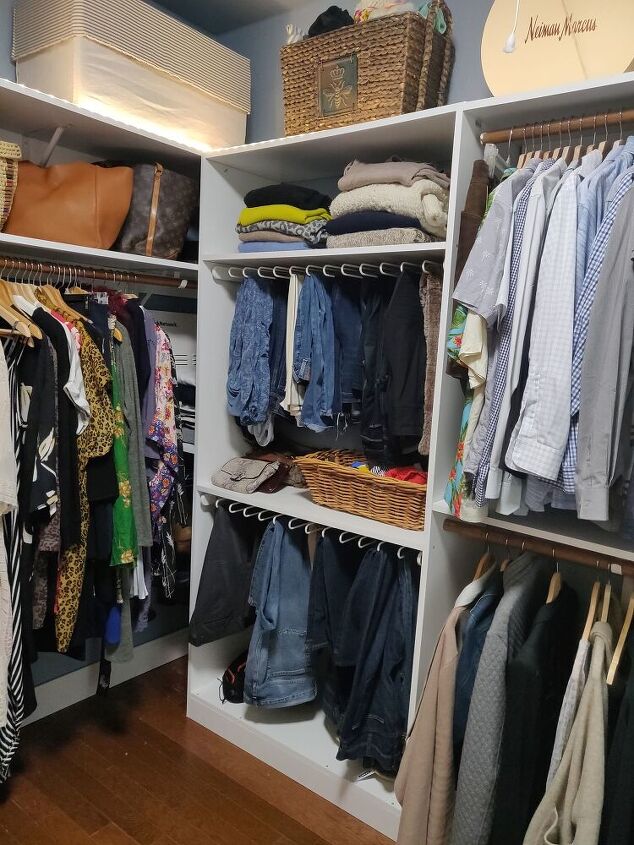
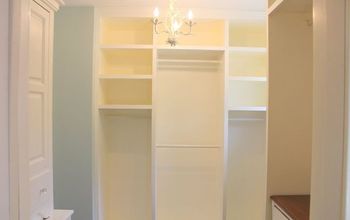
Here are the final closet pics after everything was installed and moved back in:
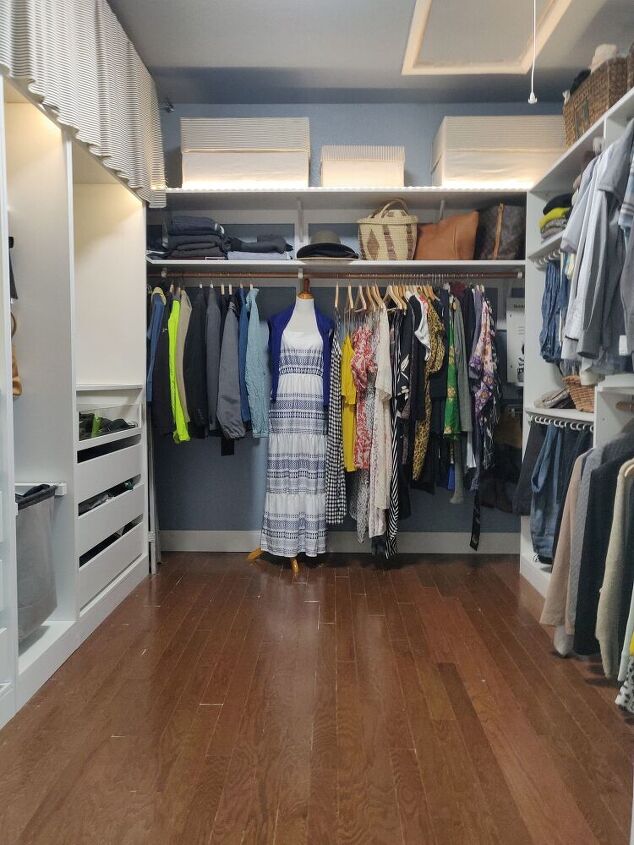
The boxes on the shelves are just large cardboard boxes that have been covered with fabric to match the curtain on the left hand side, which is where the luggage is stored. I’m using these boxes for off season clothing. There is a hidden ladder in the left back corner, kept out of view, but handy for storage and reaching those high shelves.

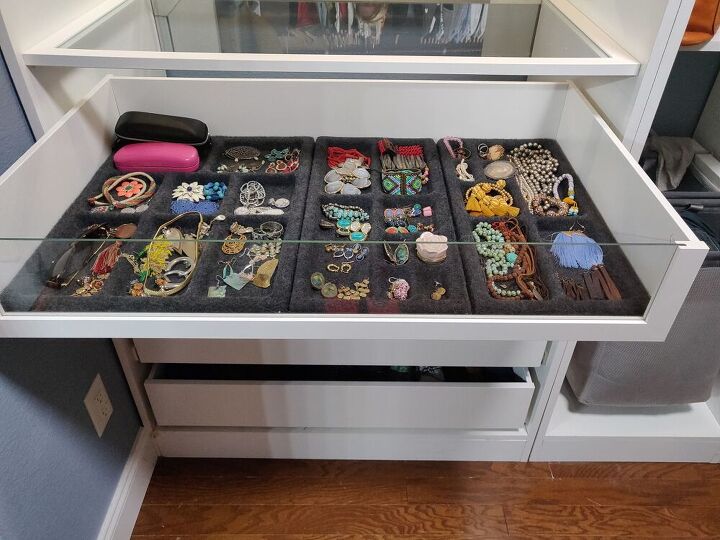
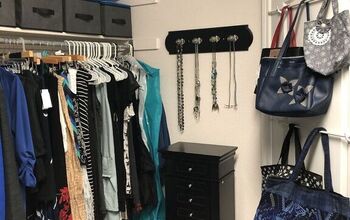
The glass drawer and glass top are a nice way to display jewelry and accessories.
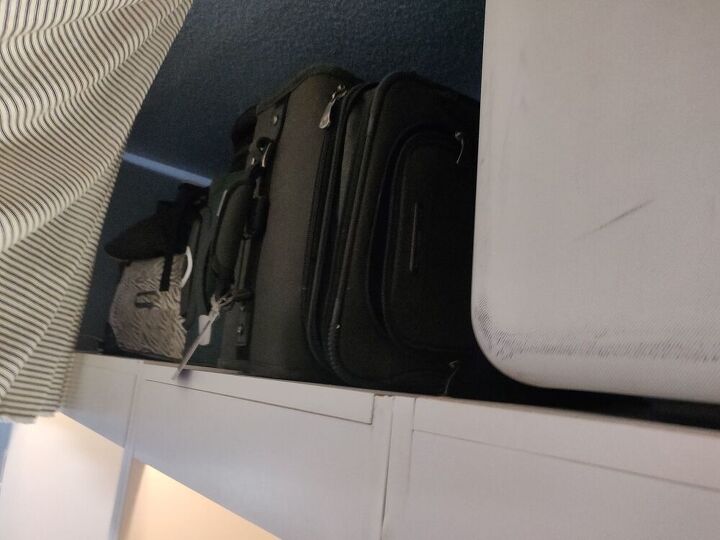
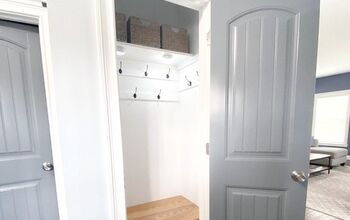
To hide the luggage, I hung a quick no sew curtain above the built in’s, see the luggage below.
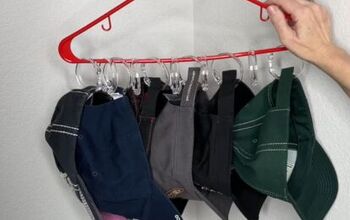
The pull out trouser racks come in really handy and don't take up much space. In the picture above, you can see the LED lights that wrap the upper perimeter of the room.
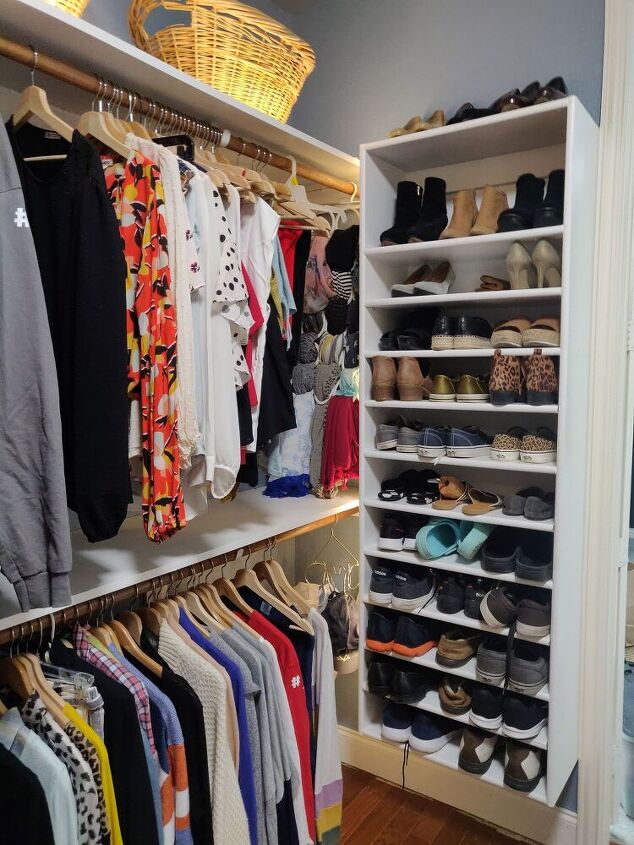
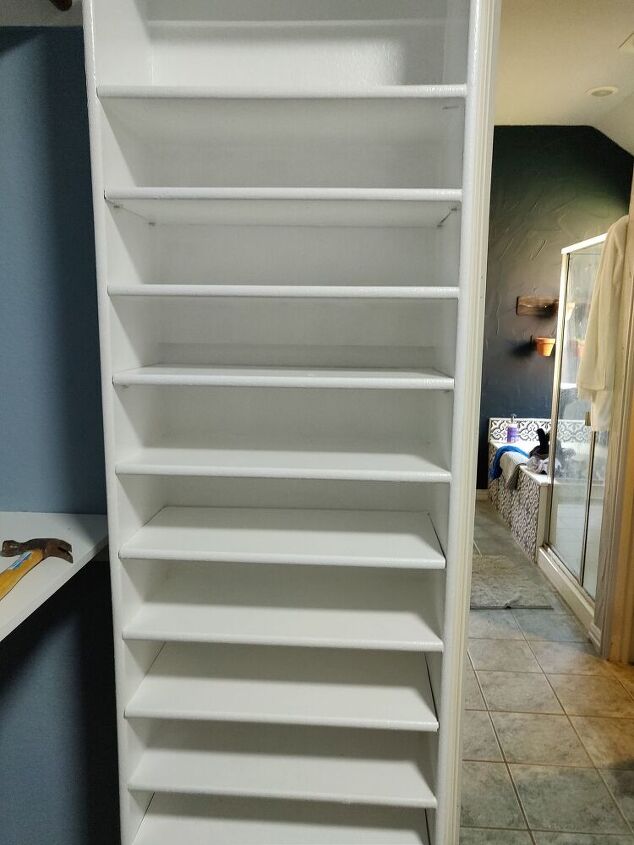
Here's the new shoe rack, I really like that it's visible and accessible.


Frequently asked questions
Have a question about this project?