


Reclaimed Shiplap Headboard
2 Days
Medium
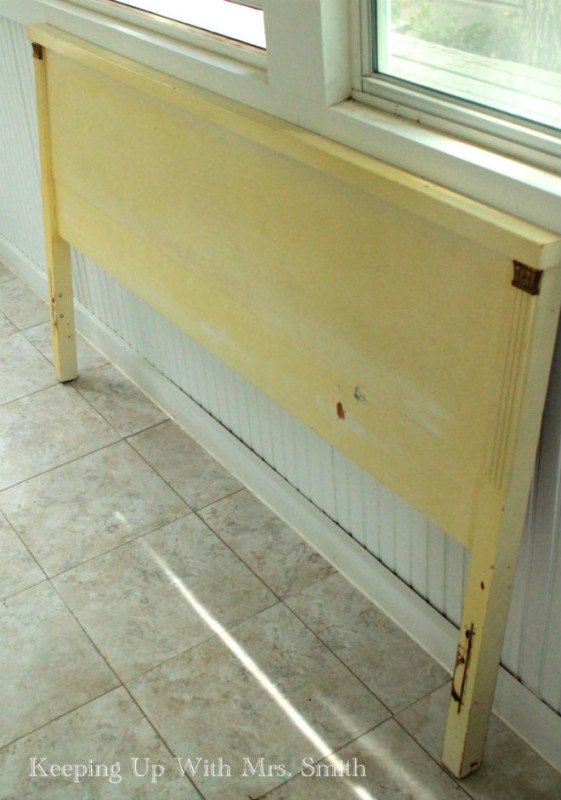
The dilemma: I needed a queen-sized headboard but only had a full-sized one. Rather than spend money on a new one, I decided to expand the one I had using pieces of shiplap and a full-sized headboard
Got an old headboard that is the wrong size and a few scraps of lumber? Keep reading....
Got an old headboard that is the wrong size and a few scraps of lumber? Keep reading....
The first step was to carefully pry the planks off the thin layer of plywood they were nailed to.
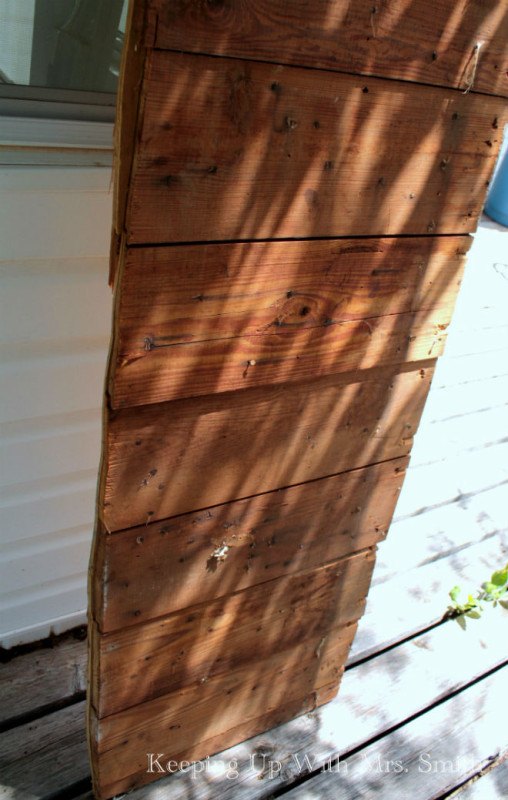
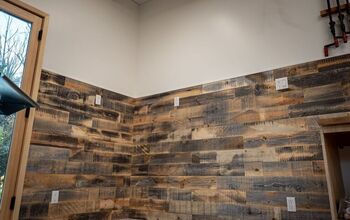
The lumber I used just so happened to be a section of wall we had cut away to widen a doorway back in 2012. The shiplap boards were too beautiful to discard so I saved them for a special project.
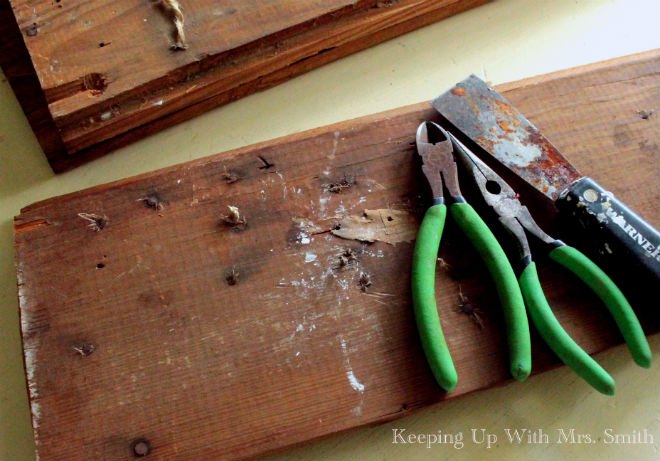
Next, I dug out each and every tack.
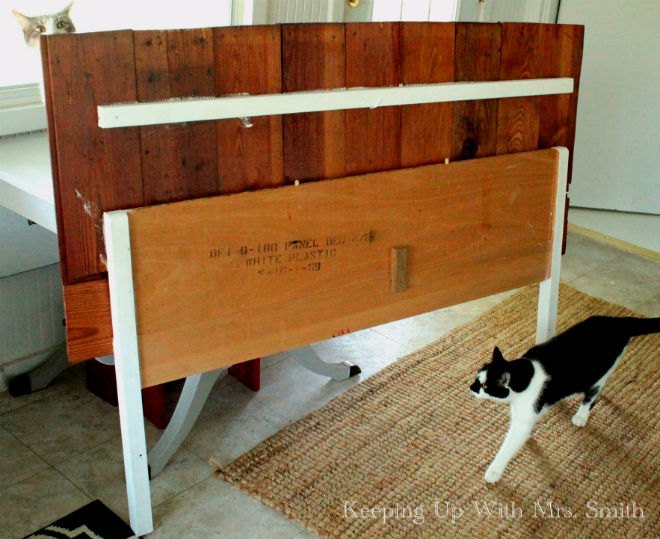
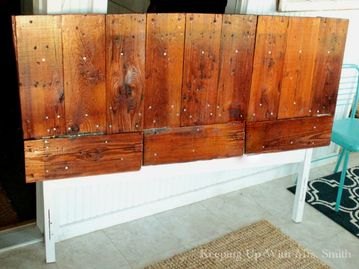
Laying the former headboard face-up, I nailed the shiplap upright all along the top making sure they extended past the edges of the headboard. (I measured our queen-sized mattress to know how wide to make the headboard.) The brace along the top of the boards is a piece I hammered off the top of the old headboard. It is nailed as well as glued in place.
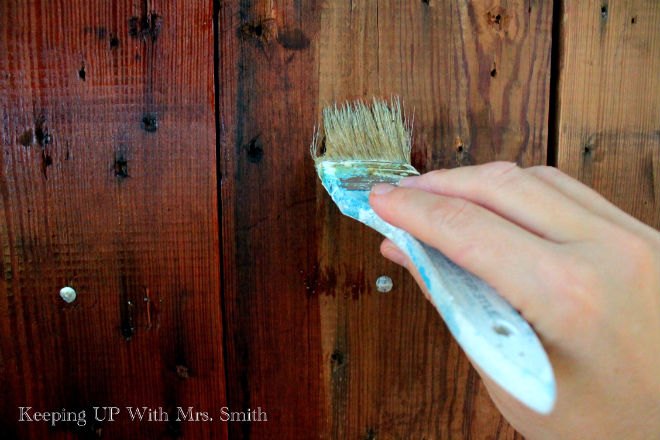
Next, I sanded the wood smooth and sealed it with 3 coats of polyurethane. Apply poly in thin coats allowing each coat to fully dry.
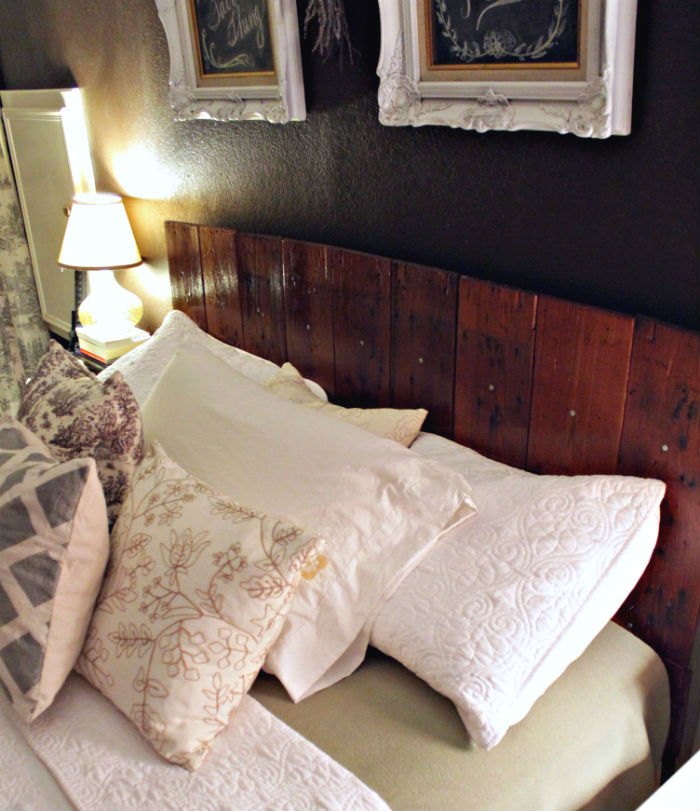
And done! Since the headboard was sturdy enough on its own, it was not necessary to nail it to the frame (which would not have worked since the legs would only fit a full-sized frame).

Simply pushing the bed all the way up against the headboard keeps the piece snug in place with no wobbling. Total cost of headboard: $0. A month later, I still love it! For a more detailed tutorial, visit my blog post in the link below on how to use what you have to achieve

Want more details about this and other DIY projects? Check out my blog post!


Frequently asked questions
Have a question about this project?