


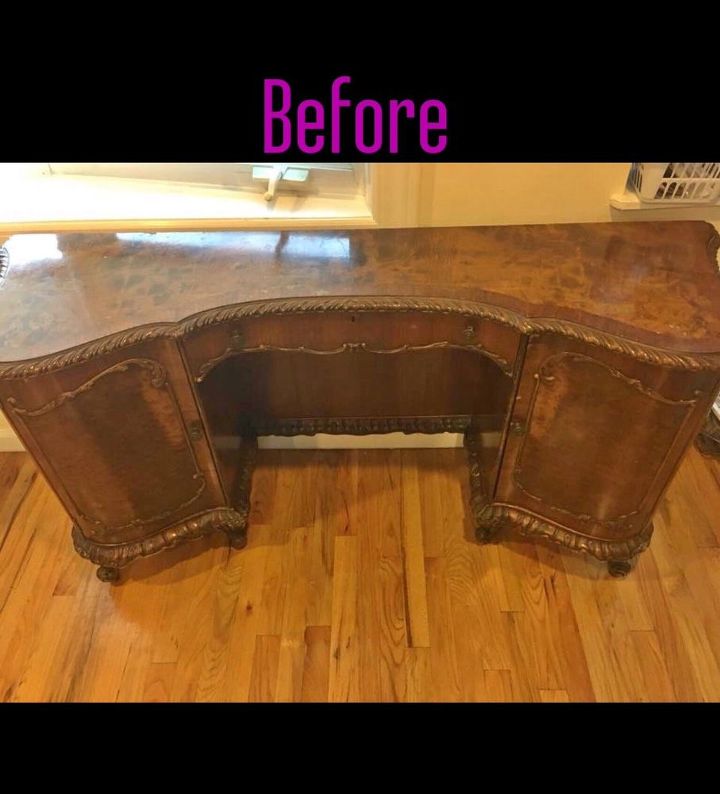
Diva Makeup Vanity Makeover

My Creative side had been craving something a bit more “ glam.” This Vanity seemed perfect for what I had in mind.
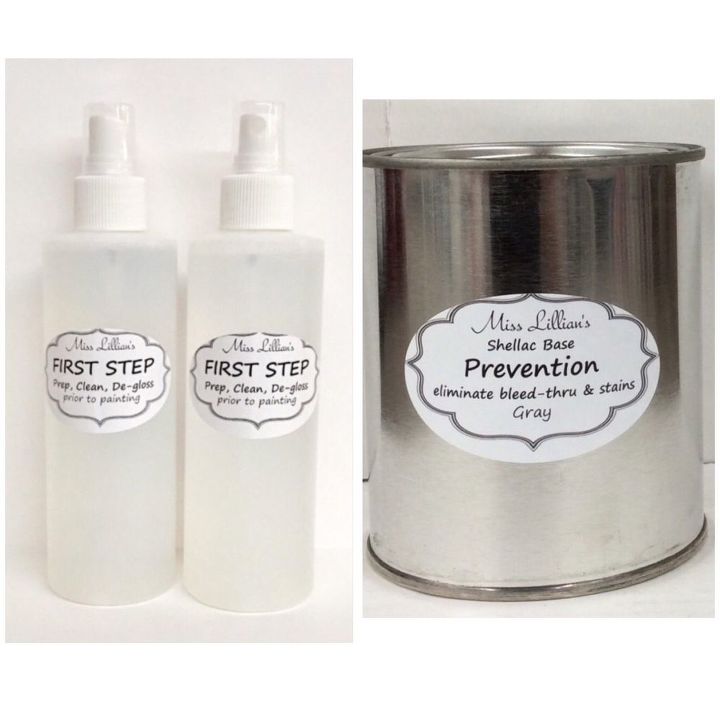
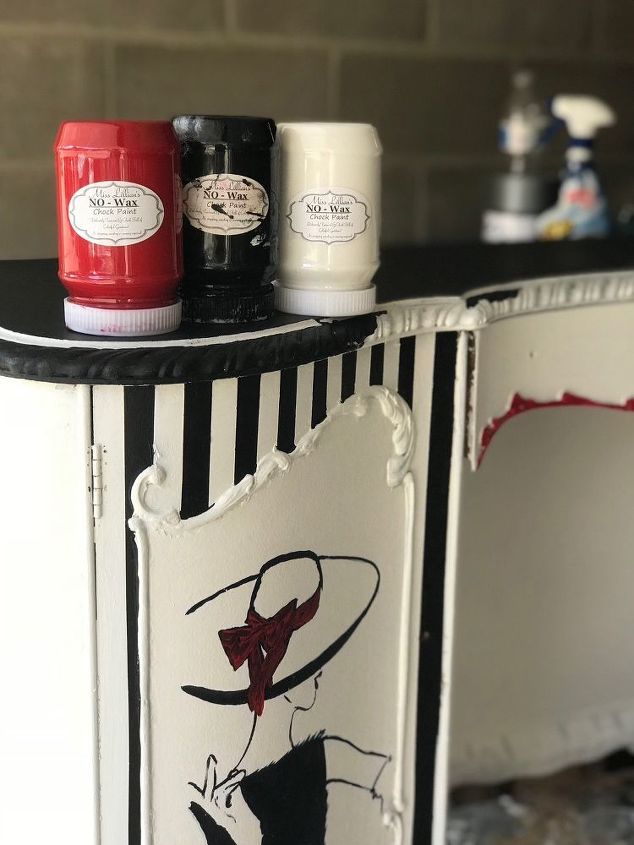
This had a veneer coat and I had a feeling it would be a bleeder.My “go to” products are pictured here. I gave her a good cleaning with First Step and followed that with a coat of prevention. Since I was going to be using white- the extra coat of primer is well worth the time
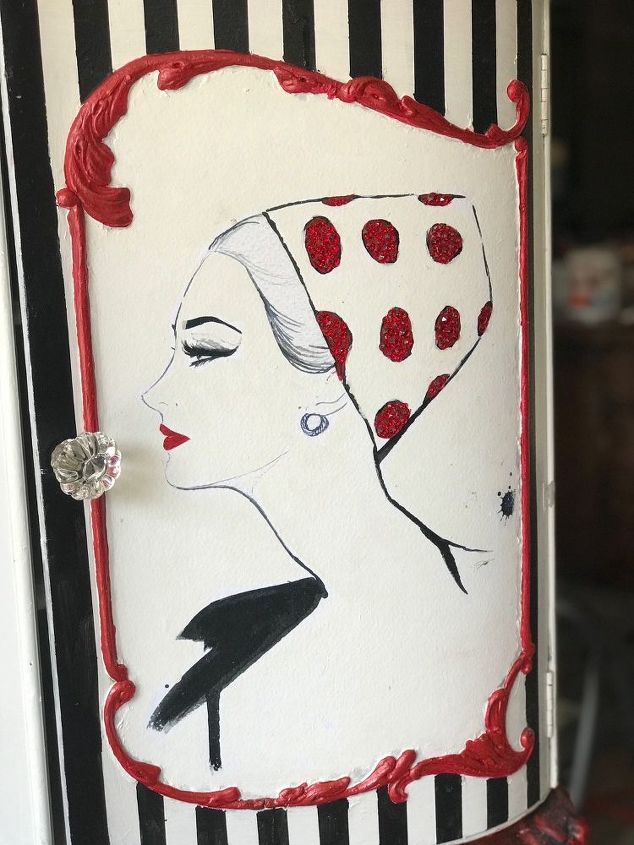
I have a ton of prints to choose from. A bit of an obsession. I Decoupaged these black and white prints onto the doors and used a very sharp exacto knife to trim the edges for the perfect fit. A spray bottle and plenty of water is crucial when your doing this step. I make sure my prints are super soggy and I am bubble free!
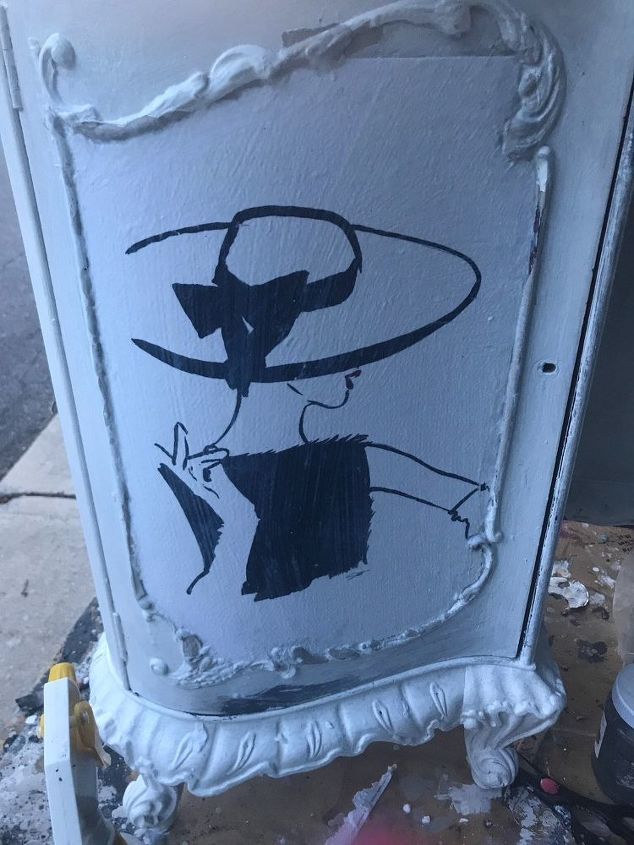
Starting with the Decoupage step....
I wanted a glamorous red, black and white look. Miss Lillian’s no Wax Chock Paint has over 140 colors so I am in color heaven! This is Snowflake, Onyx and Santa Suit. I used Frog Tape for my stripes.
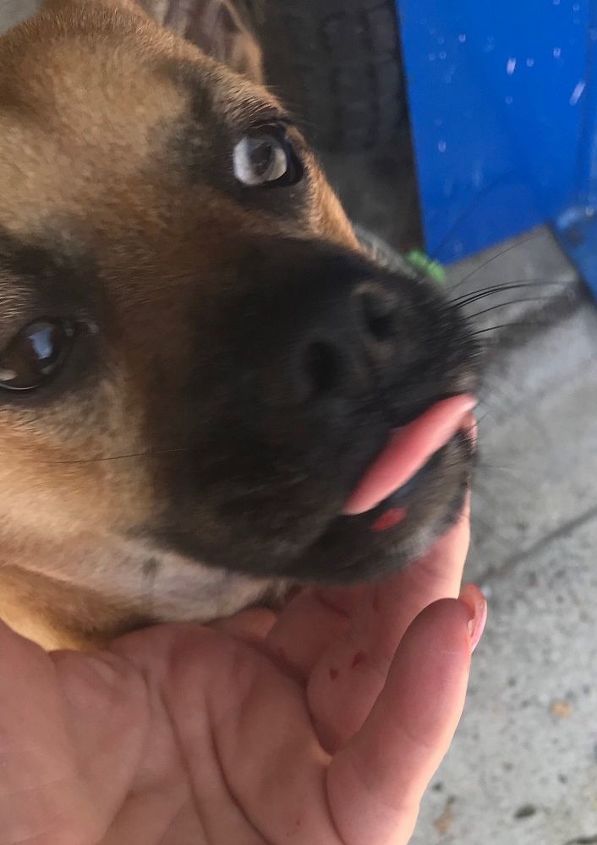
This is my dog Jameson. He’s a peanut at 10 pounds and he loves to help! if you look closely - you can see a dab of Santa Suit on that lip. He’s a total sweetie.
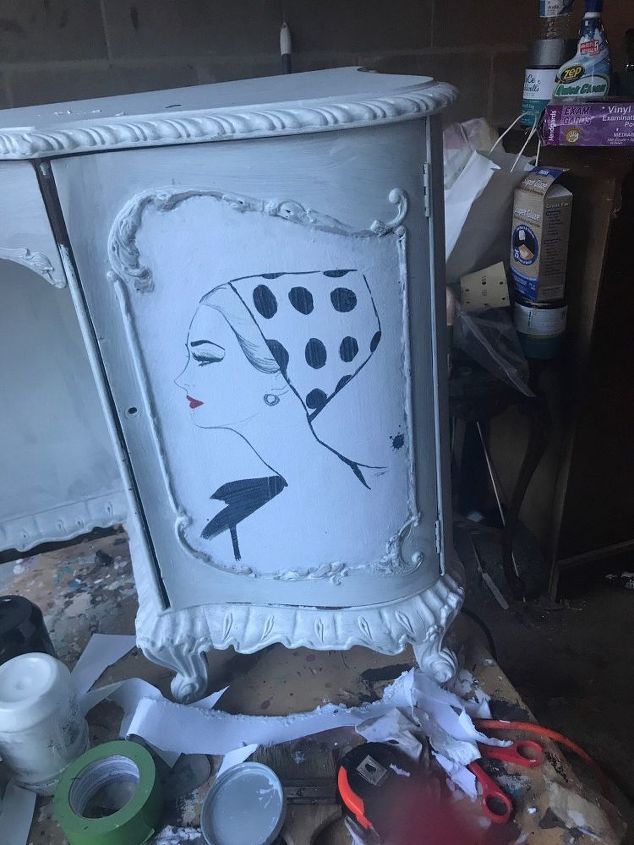
I painted some red directly onto the print to match the trim...

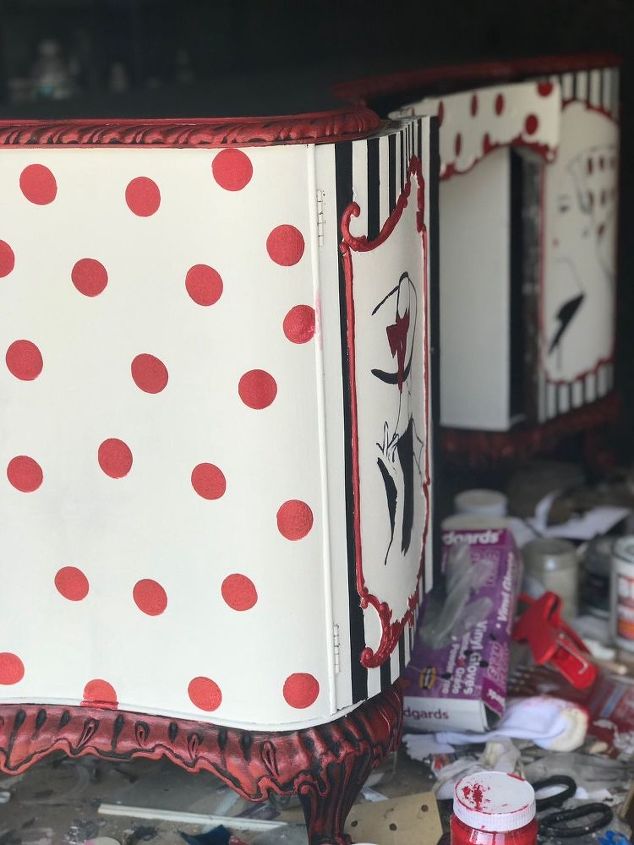
And a spouncer for the dots. The dots are actually a different red. ...its still from Miss Lillian’s, but it’s a red metallic: Ruby Red Slippers
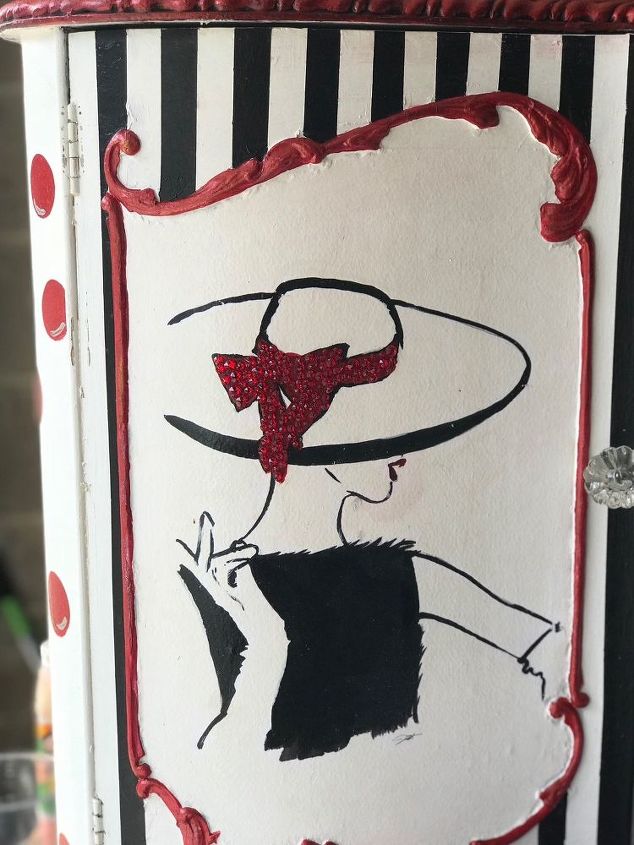
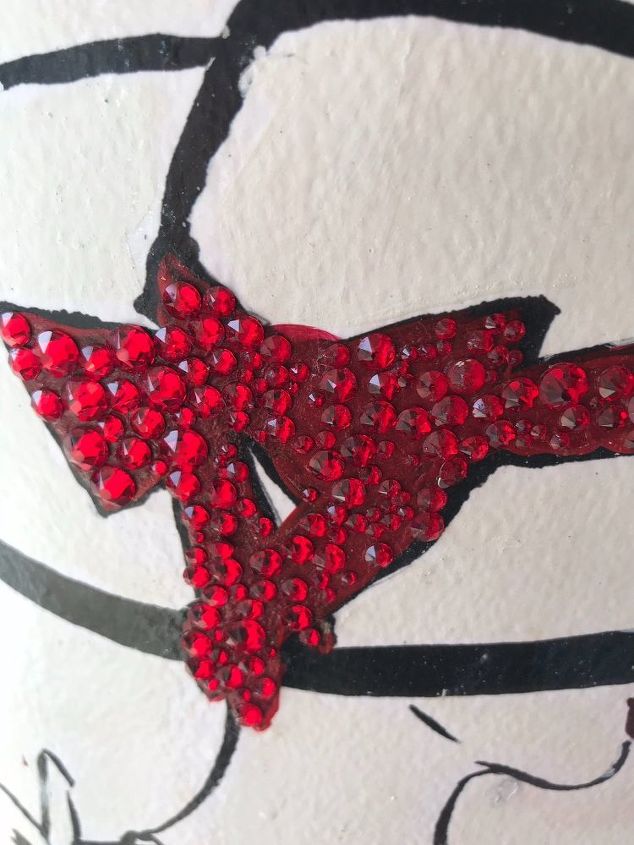
I covered the hat details in red Swarovski Crystals. That’s why I painted red onto the prints. It’s hard to see the crystals in the pic..
Here is a closeup of the bling...
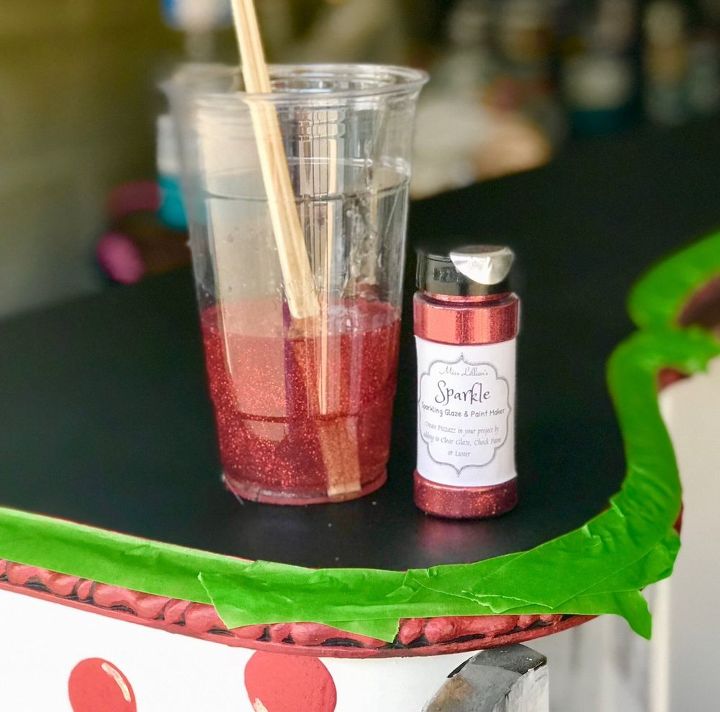
I like a high gloss, durable top for my vanities. I did a resin pour and added Miss Lillian’s Sparkle in Poppy. The flecks of red glitter look amazing! Sparkle is a great paint additive and comes in a ton of colors. It’s a new favorite product for sure!
I used Ruby Guilding Jewels on the Mirror details...and the top of the chair
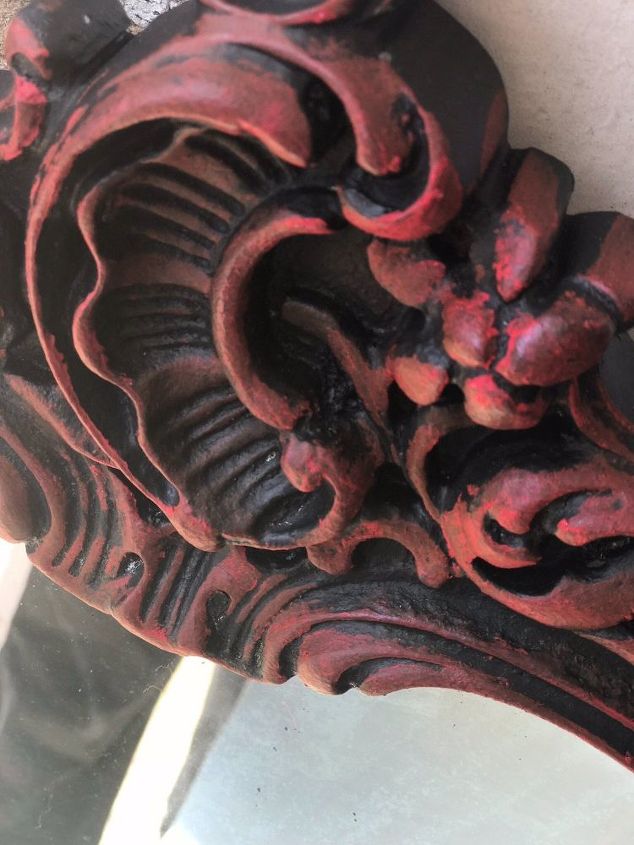
Here’s a “raw” unedited shot.. Ruby Guilding Jewels were also used around the skirt and legs- plus that trim around the top...
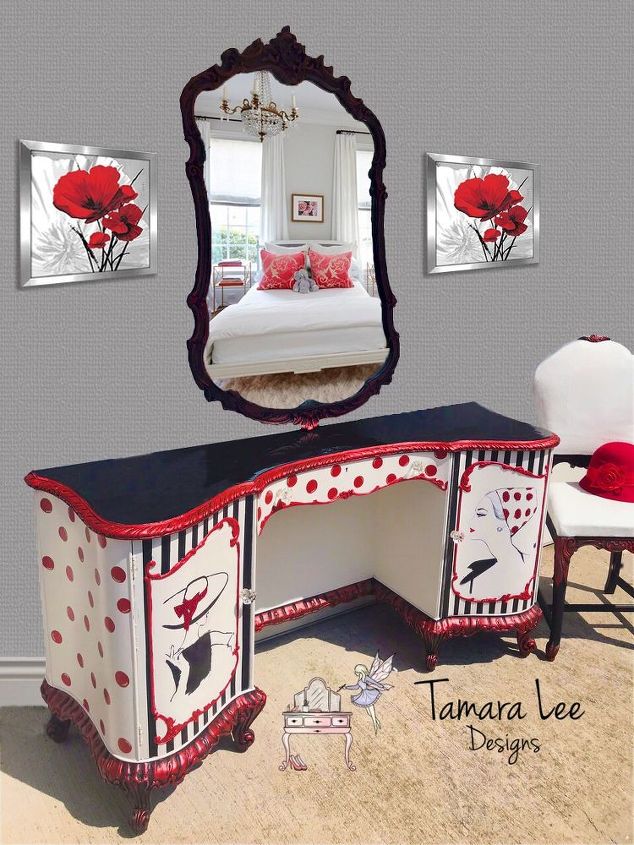
And the final staging... I’m guessing I took about 6 weeks? I work Full Time and just dabble on the weekends- I’m sure it would go much faster if that darned job (which I love) wasn’t in my way. Lol
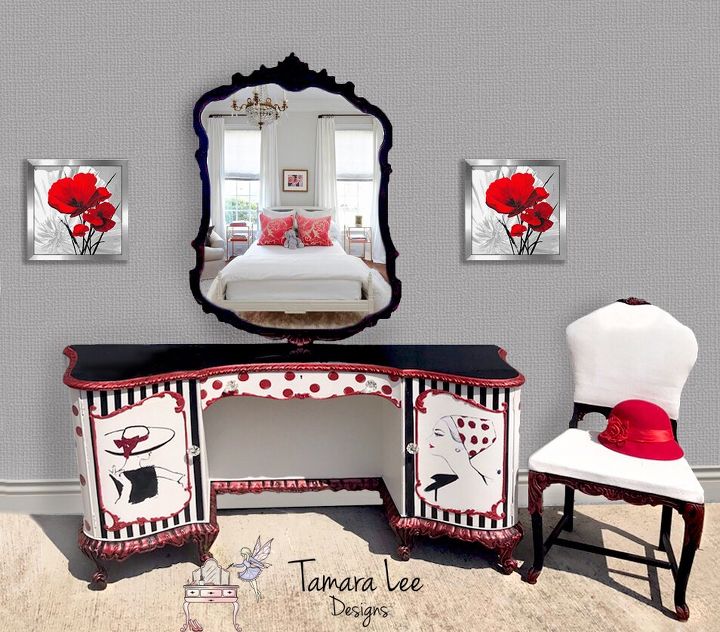
There she is! Thanks for following Tamara Lee Designs. I’m on Instagram, Facebook and Etsy. Cheers!
Xoxo
Tammy


Comments
Join the conversation
-
Such a daring transformation. Bless you for saving that beautiful piece and giving it a new happy life! Just lovely.
-
This is so so beautiful - I love it and it's got loads of character - love the jewels too they make the bow and other bits look 3D, which I think is great :)


Frequently asked questions
Have a question about this project?