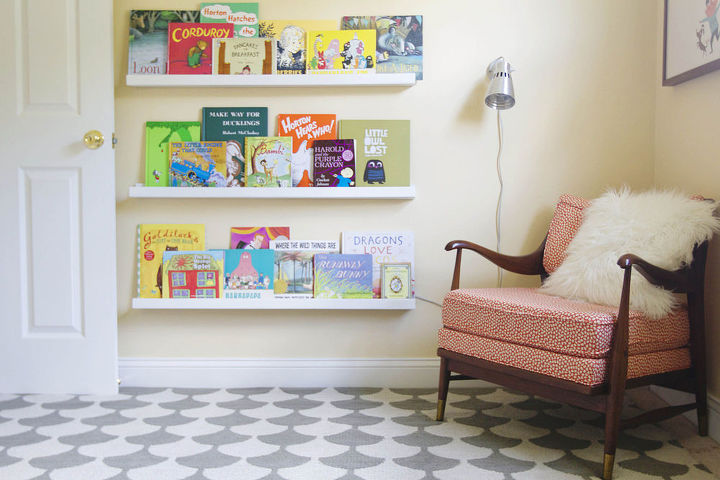
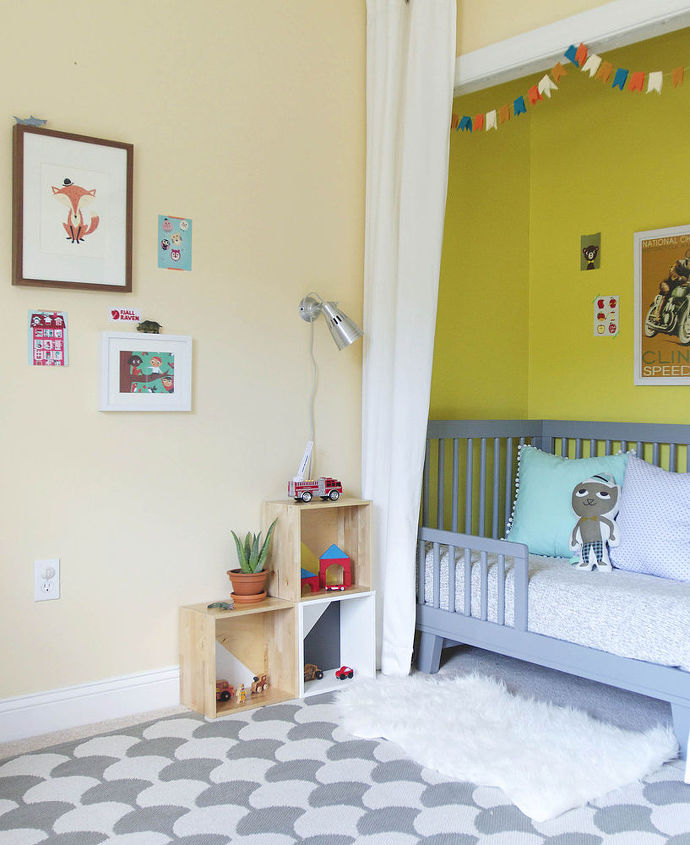
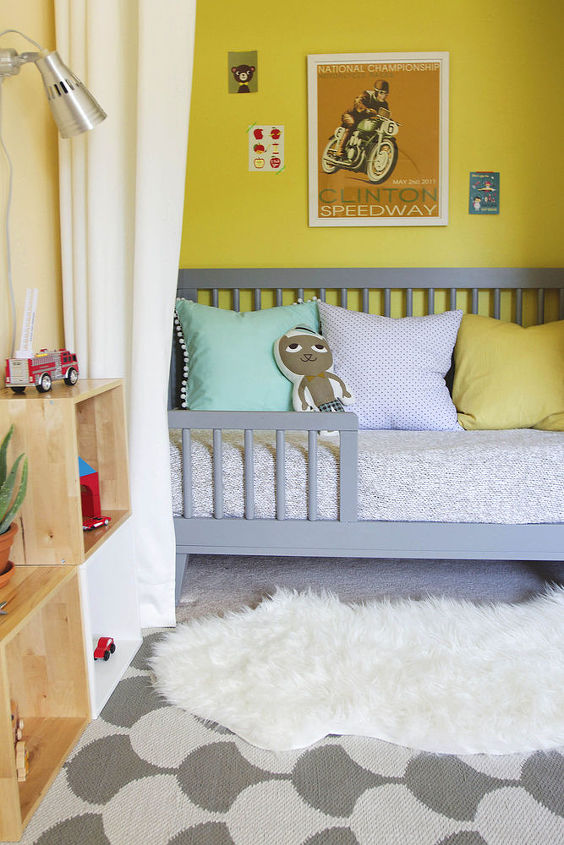
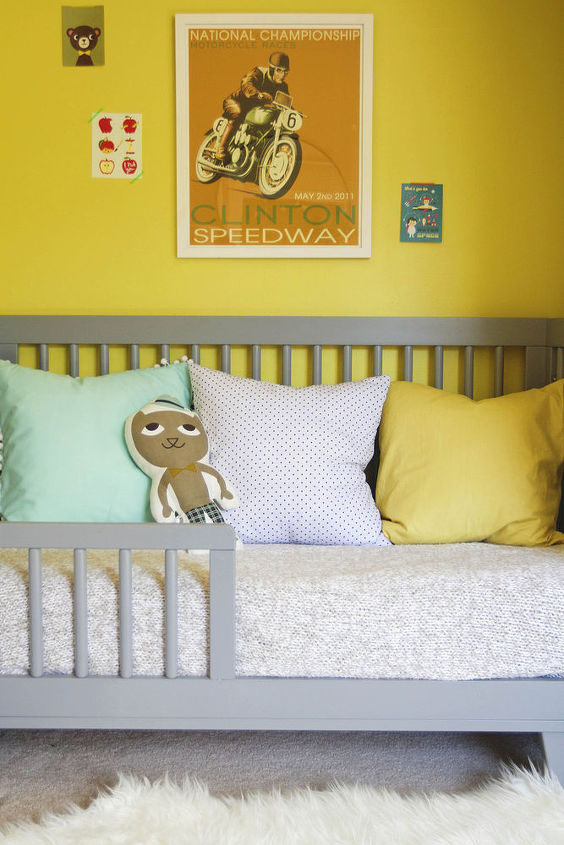
Before & After: Modern Nursery Reveal!

Anna @Annabode
by Anna @Annabode
See how I transformed my son's room from boring to bright!
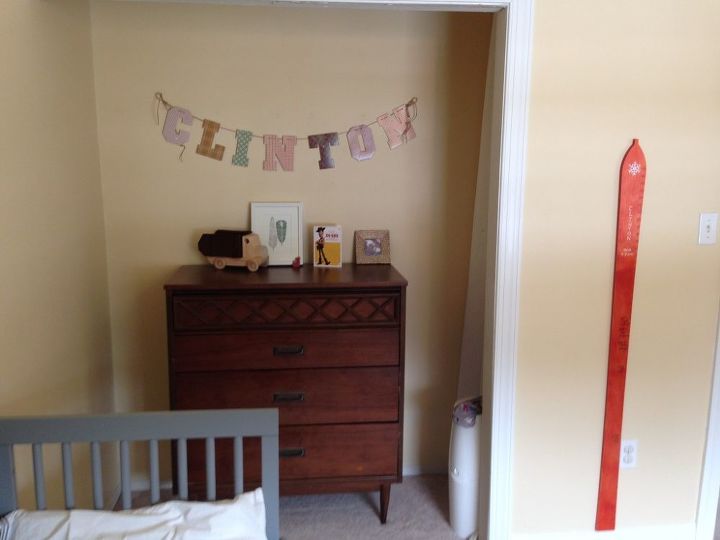
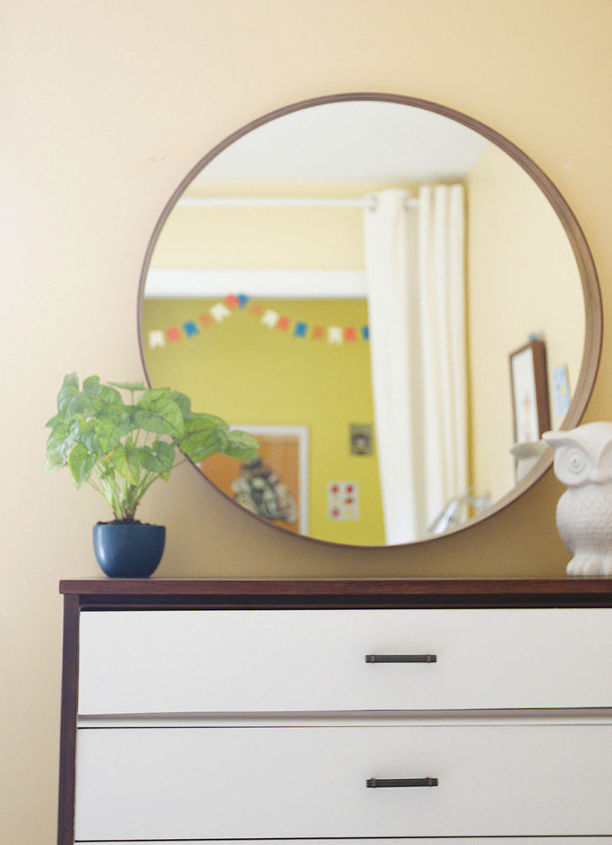
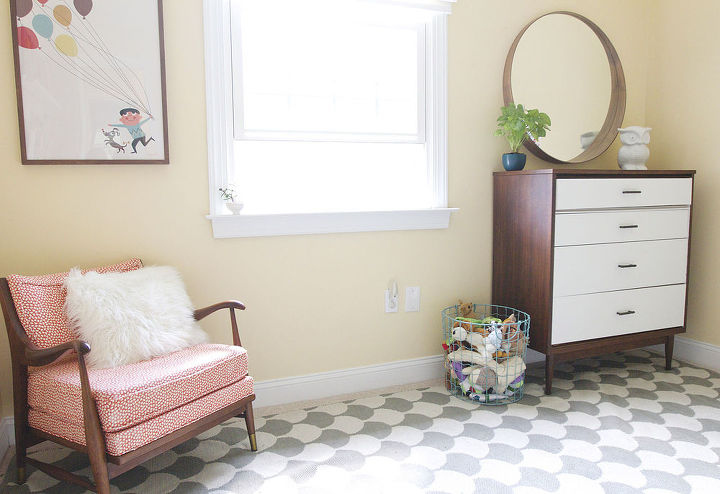
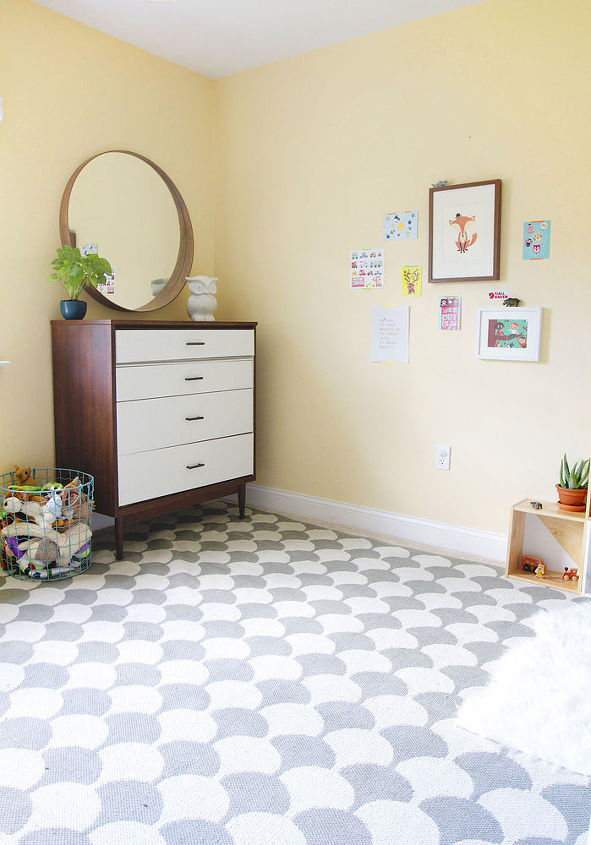
A few weeks ago, I became fed up with the beige-beige-beige combo of my three-year-old’s bedroom. Here is what it looked like originally:
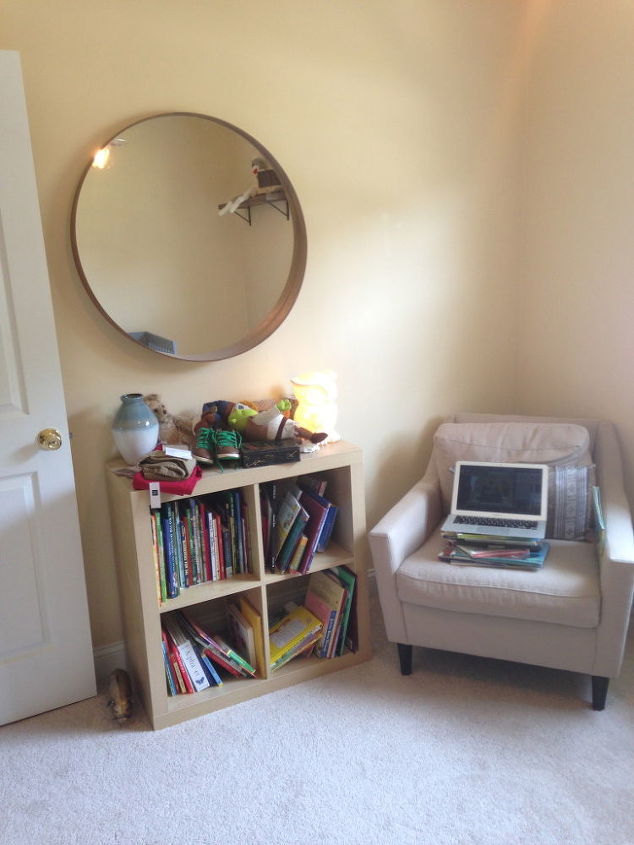
I threw around some ideas for color palettes on my blog. As the project wore on, my design shifted more towards mid-century Scandinavian. I really love eclectic kids’ rooms with white walls, which you can tell from my Pinterest boards (follow me!). BUT I reeeaally didn’t want to paint the walls in this room. I was feeling lazy but I also like to reduce my son’s exposure to harmful chemicals as much as possible, and even zero VOC paint is not exactly an air freshener.


My son’s room is the tiniest bedroom in the house. Even though we had taken his closet doors off and put his dresser inside, the room still seemed so cramped with his bed, bookcase, and big chair. Plus ohmigod was it boring.


So, my goals were to make the room appear larger, add lots of color, and just make it more fun and reflective of C’s personality. Here is the result:
And here was the process:


-Moved the bed into the closet and the dresser to the opposite wall. This made the room seem huge! I also hung curtains around the closet to soften the lines. C calls it his “bed cave,” and closes the curtains every night just like a four-poster.


-Replaced the beige chair with a mid-century Craigslist find that I reupholstered myselfwith some fun, bright fabric.


-Swapped out the bookshelf for some DIY book ledges, which really opened up the space. And they cost only $15 to make!


-Painted the closet nook a yellow-green color (California Dreaming by Behr). I know, I know. I said I didn’t want to paint. But this was such a small area, and I was desperate for color.


-Added some fun art in some Ikea frames I had lying around (see product guide below for sources).


-Purchased a Scandinavian-style rug and pillow.


-Made some pillow covers from fabric at Joann’s.


-Created some DIY Ikea-hacked toy shelves, and added a wire basket for C’s lovies.


-Added some wall-mounted lights to make reading our books easier.


-Created an easy-peasy garland with my sewing machine and some extra felt I had lying around.


I was able to offset the cost of the rug and pillows by selling the original West Elm chair and Ikea bookshelf. So all in all, this wasn’t an expensive project.


In our next house, C’s room will have all white walls, but for now I’m happy with the result. I know the motorcycle poster doesn’t go with the style of the room, but the fiancé has been pressuring me to hang it for its sentimental value. The green wall is also a little glaring, but for now I’m calling this room finished!


For product information and more design inspiration, click the link to my blog below!
Anna @Annabode
Want more details about this and other DIY projects? Check out my blog post!
Go
Frequently asked questions
Have a question about this project?
Comments
Join the conversation
2 of 8 comments
Next