


Make Your Own Dust Collection Cart With Cyclone Separator
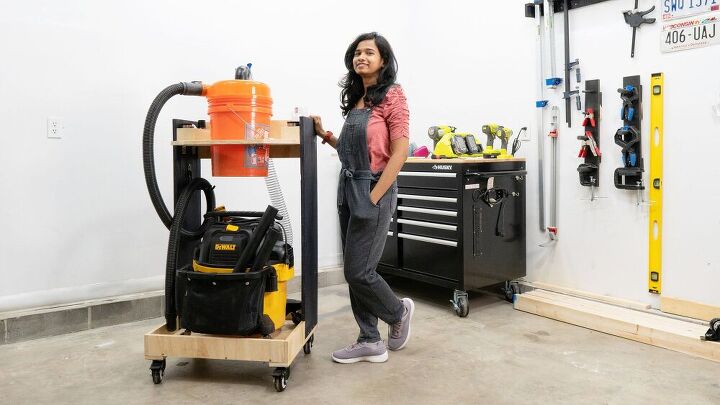
Build your own DIY Dust collection cart with only half sheet of 3/4 inch plywood. Dust collection cart with cyclone separator is something that every woodworker needs. This is a sturdy, cheap to build and a great space saver with vertical stacking capability.
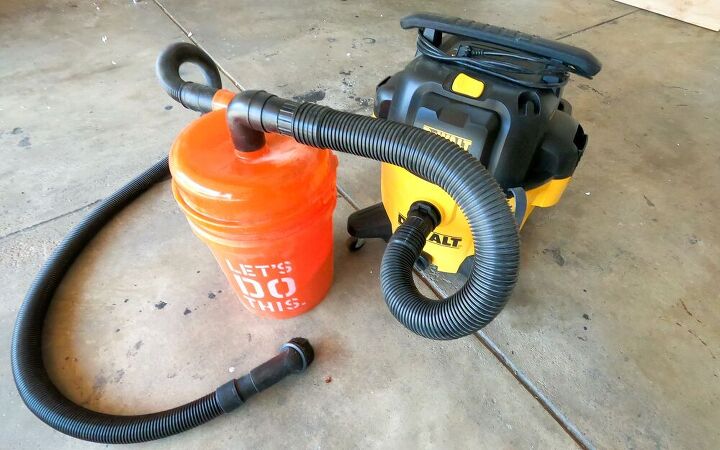
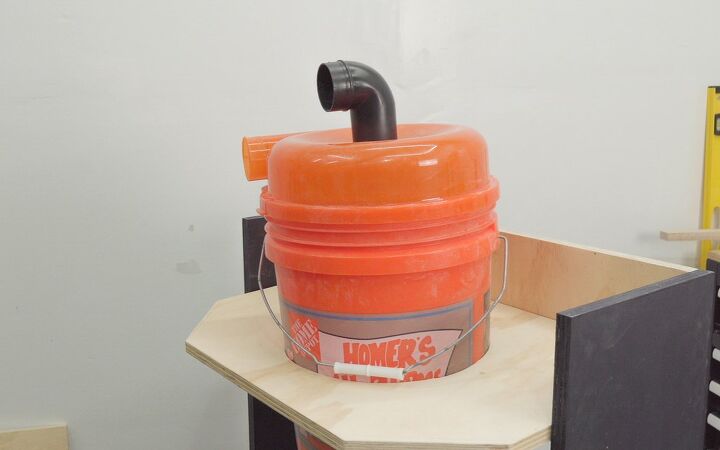
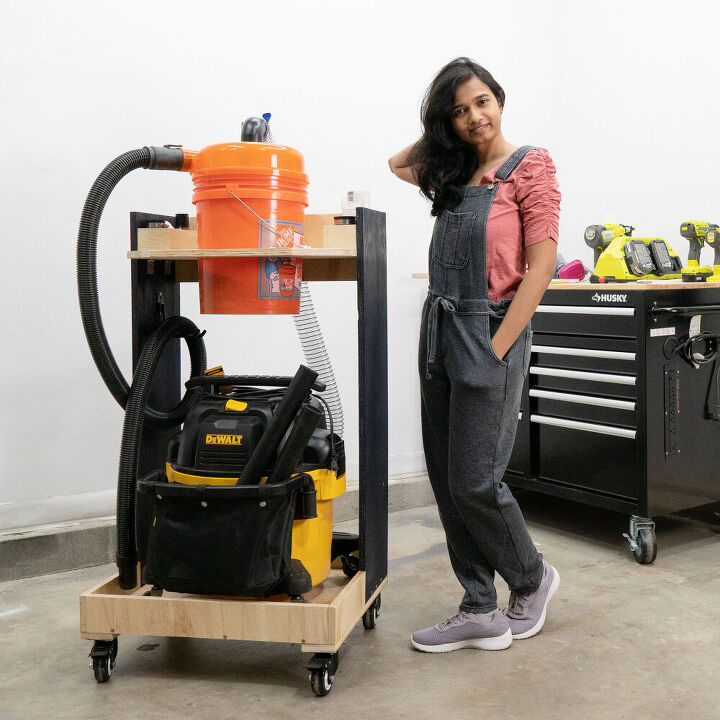
As much as I love to design and enjoy building, seeing saw dust everywhere in the garage, on every tool and every nook & cranny annoys me. Also its unhealthy to breathe in. You can’t avoid having dust in your shop but you can control it by having a good dust collection system and wear masks while working. So, I got this Dewalt vacuum and attached it to the Home Depot Cyclonic Dust Separator on a bucket to improve its efficiency. But it’s a pretty big hassle moving around the vacuum and separator anytime I want to use the dust collection. So, I built this cart to turn these two into one vertically stacked unit and this should make my day easy.
FYI – Vacuum & dust separator that I use – Dewalt 9 gallon Poly Wet/Dry Vac and Dustopper High Efficiency Dust Separator
Design features:
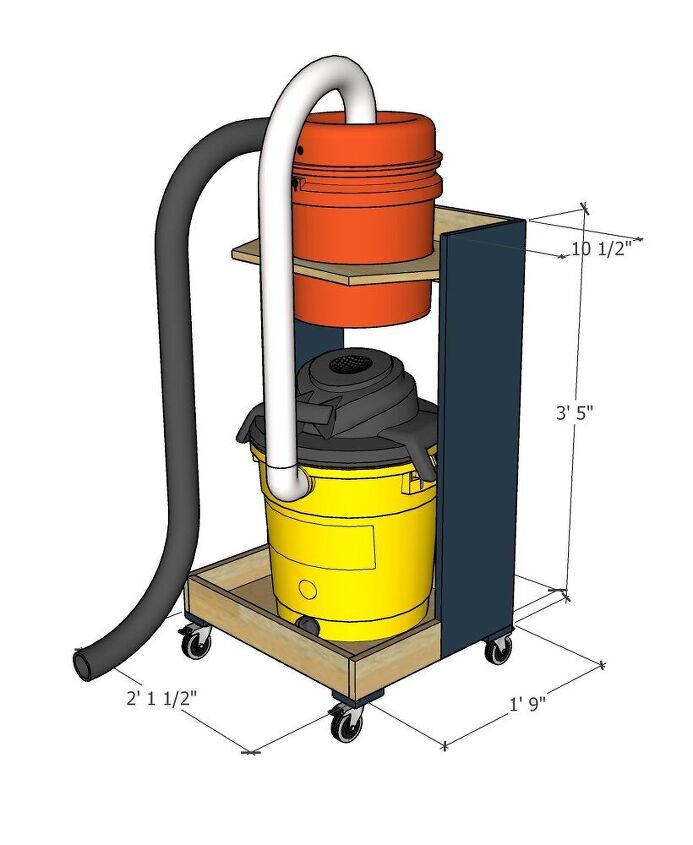
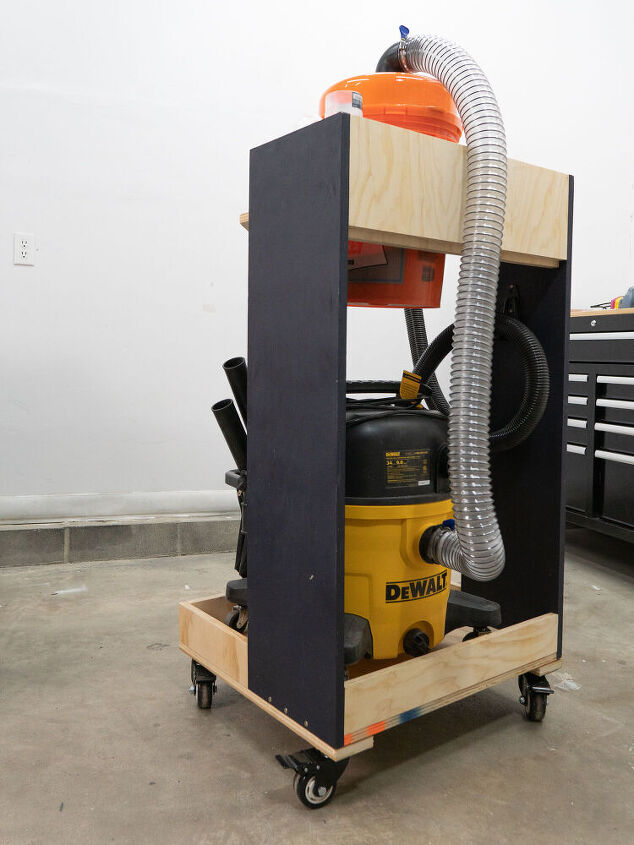
This dust collection cart can be moved anywhere you want, to use with any power tool that you need. The vertically stacked design saves floor space and even has enough space to store dust ports and tubes.
Check out below video tutorial if you prefer that.
STEP- 1 – CUTS
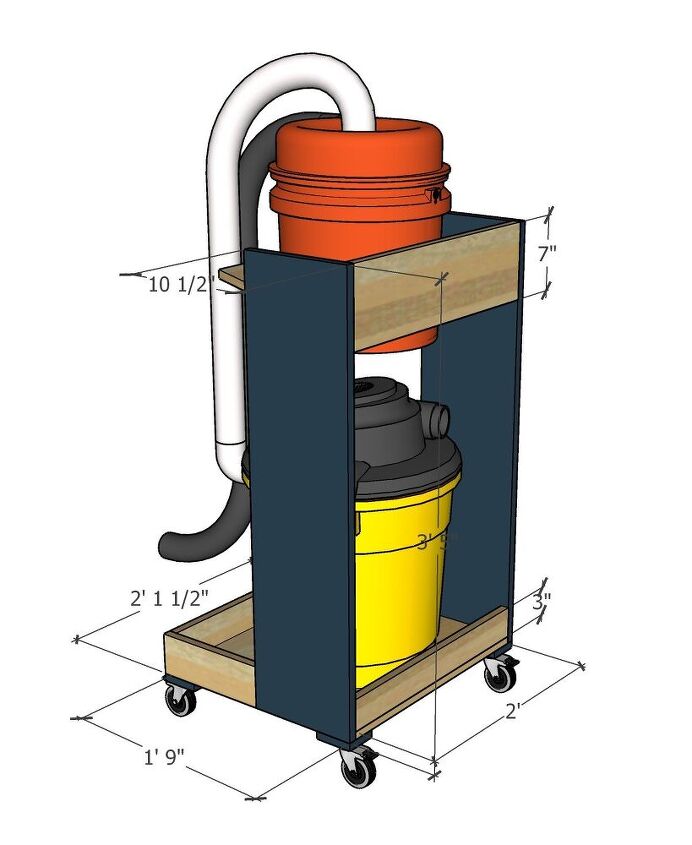
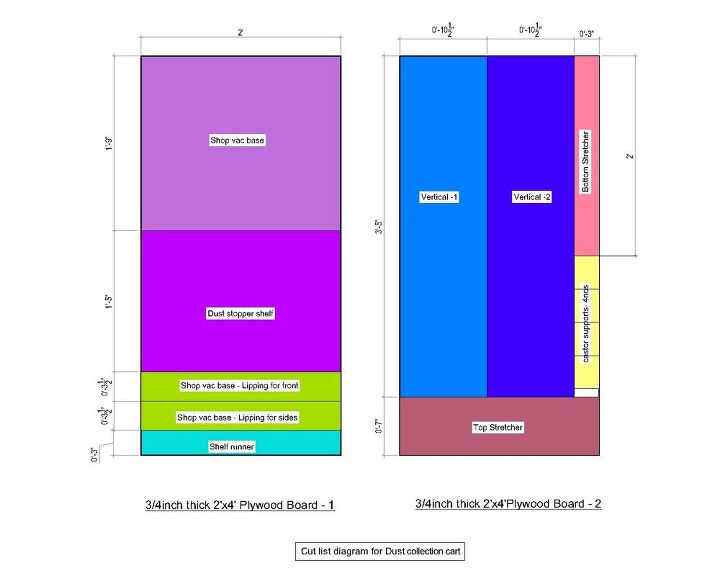
I have got two pieces here that are 2ft by 4ft each. On the first board I am going to cut the vacuum base, dust separator’s shelf, edge lipping pieces and remaining will be used as runner to secure the shelf. On the second board, I will cut the two verticals, then a top stretcher and the bottom stretcher.
Follow the below cut list diagram to make your cuts. You can also modify the dimensions to suit your needs or build it as it is.
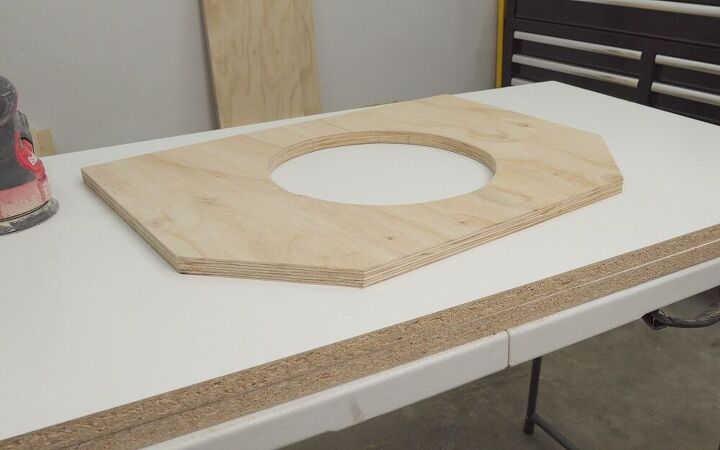
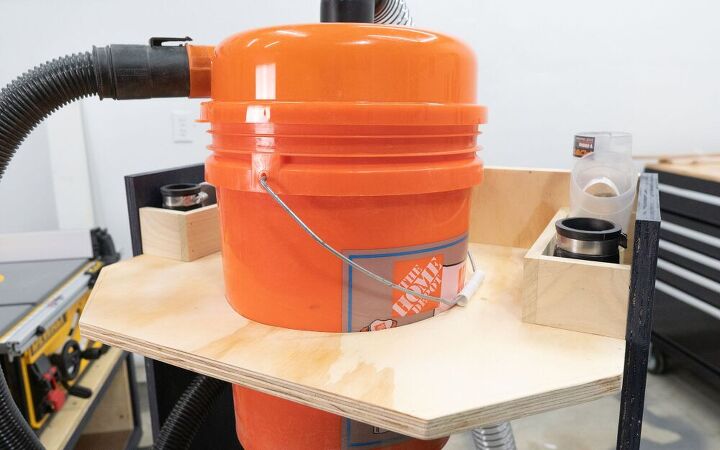
Next, place the bucket on top of the shelf piece and trace the circle. Using this circle as reference we have to cut the circle about half an inch bigger. Start by drilling a hole on one end and cut the circle using jigsaw. I also made chamfer cuts on two edges of the shelf piece. Once this is completed, I sanded the edges.
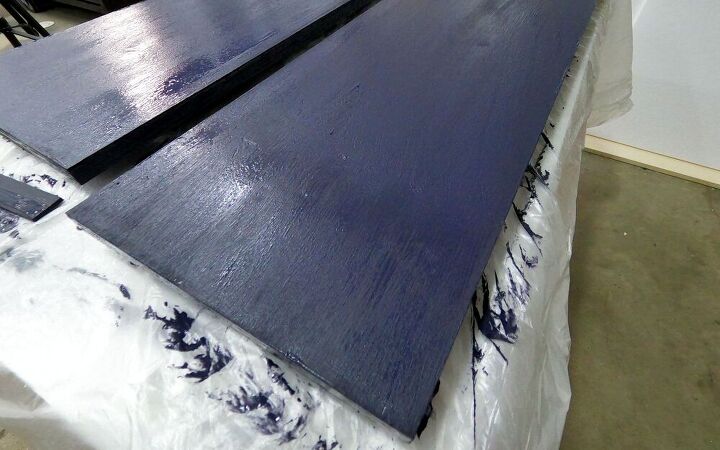
STEP – 2 – PAINT (OPTIONAL)
Before assembling, I painted the verticals for this cart with the same color I used for my DIY mobile Table saw cart.
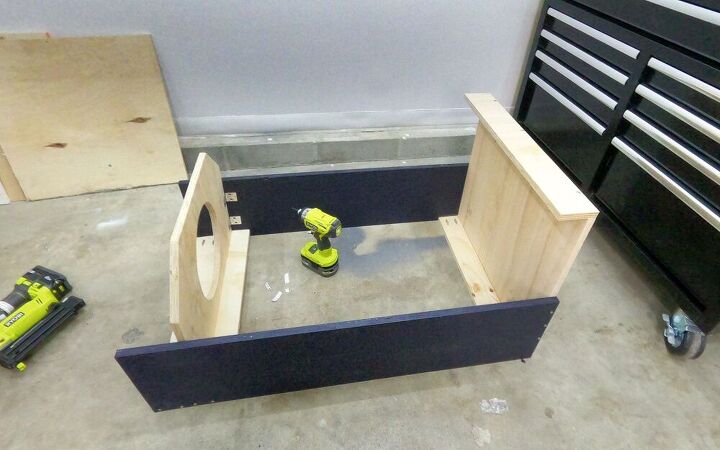
STEP – 3 – ASSEMBLE
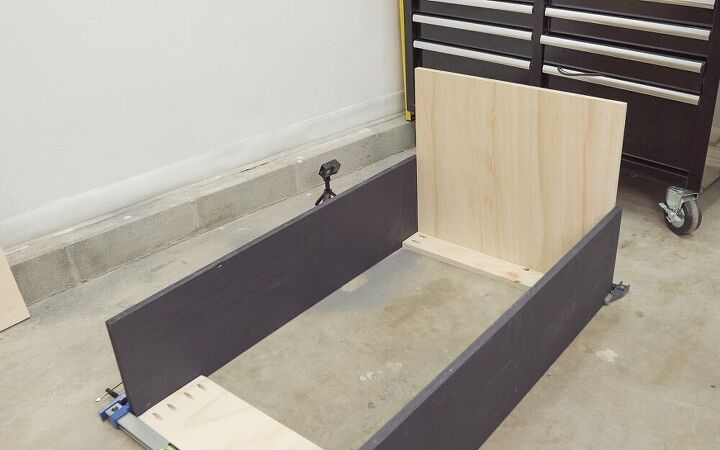
First, join the two verticals with the stretchers on top and bottom. Then clamp the vertical with the base, predrill and connect with screws. I connected the stretchers using pocket holes and attached the base with 2-1/2″ wood screws. While you are at it, attach the front lipping to the base with 1-1/2″ screws or brad nails.
Next, attach the shelf runner on the top stretcher with brad nails. Align the dust stopper shelf over it and secure with screws. Then add L-brackets under the shelf, attaching to the two verticals on either side. At last, measure, cut and attach the sides with brad nails. These lipping on front and side edges will help to avoid vacuum from rolling out of the cart.
Finally, place the cart upside down and add 3/4 inch thick plywood on four corners. Then install castors over it.
STEP – 4 – SAND AND SEAL
Sand the whole unit and the edges and seal with clear sealer. Sealing will ensure the longevity of the furniture.
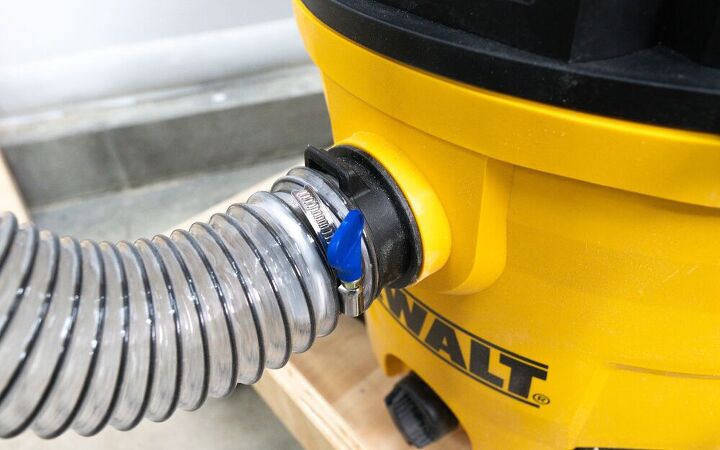
So, the shop vac goes in the bottom and dust separator goes on top. Both are going to be connected with 2 and half inch flexi hose and clamp rings.
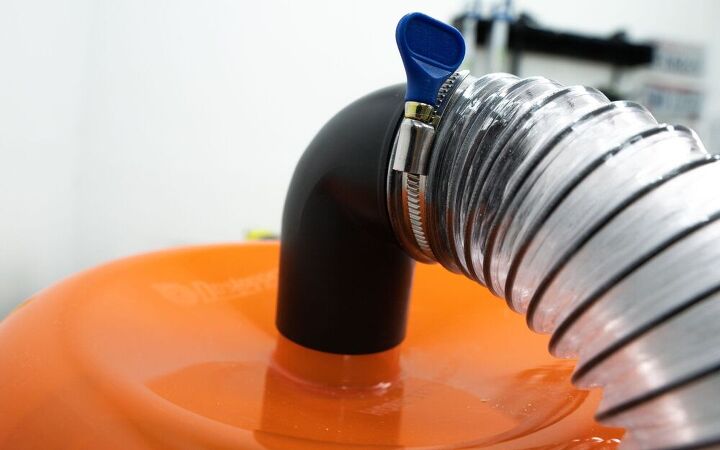
Dewalt vacuum port to 2inch pvc pipe coupling fitting to 2 1/2″ x 20′ CLEAR PVC DUST COLLECTION HOSE secured with 2-1/2 Inch Key Hose Clamp. This flexi hose runs to the top and connects with the right angle adapter that came with the dust stopper.
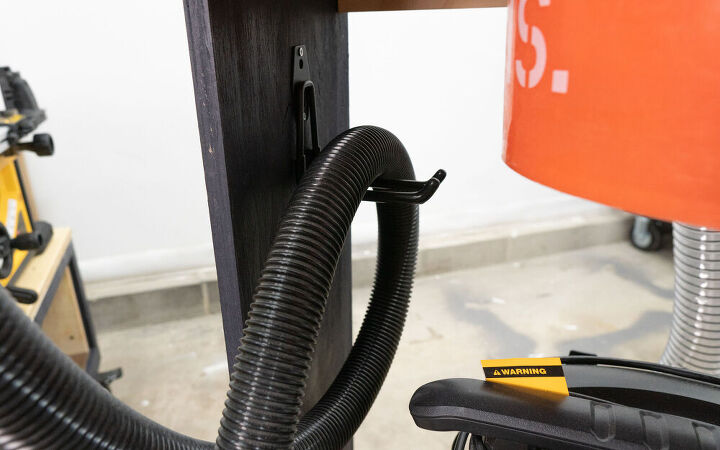
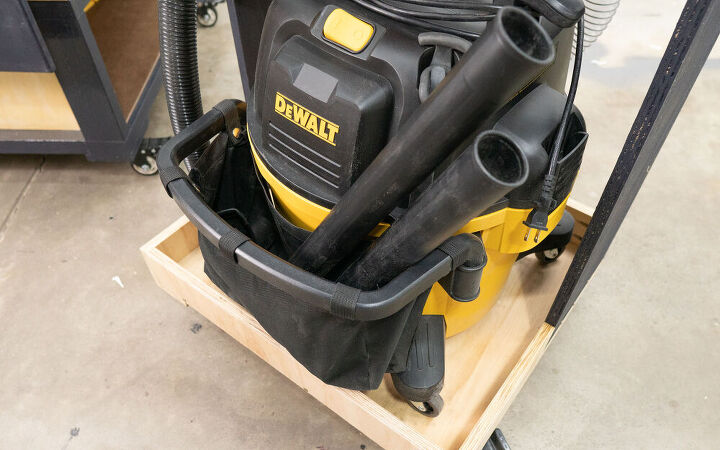
As a later addition, I installed two cubby(made with scrap wood) on either sides of the dust separator shelf to store all the adapters and installed a hook below the shelf to hang the vacuum hose.
The other outlet from the dust stopper connects to the dust collection hose that will attach to the power tools with adapters or other cleaning vacuum attachments.
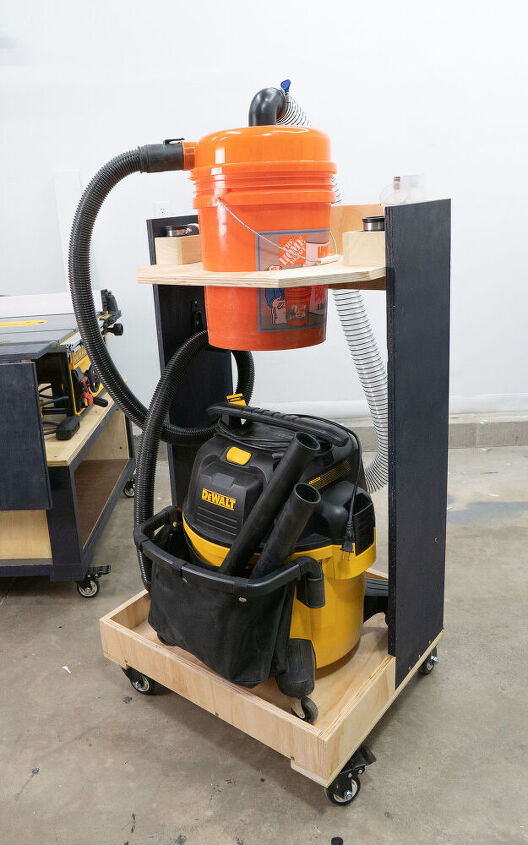
My Dewalt vacuum came with a built in bag to store all the vacuum attachments. So, that turned out to be an useful feature.

Comments
Join the conversation
-
Great looking cart. I have a fixed dust collection system with hoses along the ceiling. But I can use this kind of cart for two shop vacs. One large and one small. Just to be able to move them around. Especially when cleaning our cars. Great share


Frequently asked questions
Have a question about this project?