


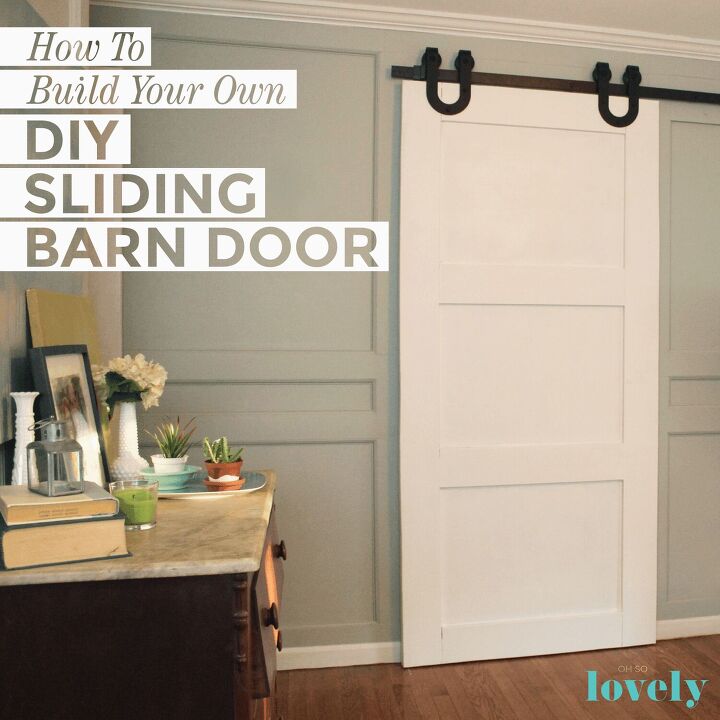
How to Build a DIY Sliding Barn Door
*** Original blog post with links***
Have you ever wanted a sliding barn door? Have you ever thought about making your own door? If so, you’re in luck because I’m sharing a step-by-step tutorial on how we built our DIY sliding barn door and installed the hardware.
We’ve wanted a sliding barn door for our master bedroom bathroom doorway ever since we moved in last year (right now it’s an open door from the bedroom).
We originally wanted to find an old, reclaimed door, but the size we needed was much larger than a standard sized door, so we decided to build our own wood door. In the spring we received an oil rubbed bronze hardware set from National Hardware, but we were busy working on our big kitchen remodel (which is still not done, btw).
Over the last week Ted has been busy on the door project. First he gathered the supplies.
National Hardware provided product for this project. Opinions are totally my own.
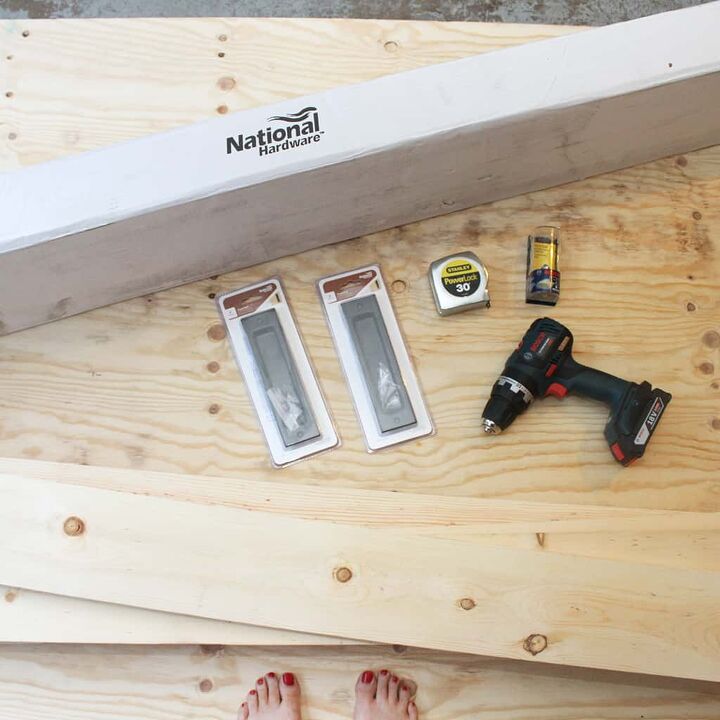
MATERIALS:
National Hardware’s Decorative Interior Sliding Door Hardware (Oil Rubbed Bronze)
Two National Hardware Interior Sliding Door accessory pulls (optional)
Large 4 x 8 plywood sheet (cut to size for us for free at the hardware store)
1 x 6 wood for the framing (4 long, and 8 shorter ones)
Wood glue
Wood filler (for nail hole filling)
Primer
White paint to match our wood trim (Valspar White Gallery in a semigloss finish)
Paint brush and small roller
TOOLS:
Trigger clamps (to hold wood in place for nailing)
Level
Drill
Tape measure
Orbital or belt Sander (or sand paper)
Nail gun (or hammer and nails)
Circular saw (or table saw)
Here we go!
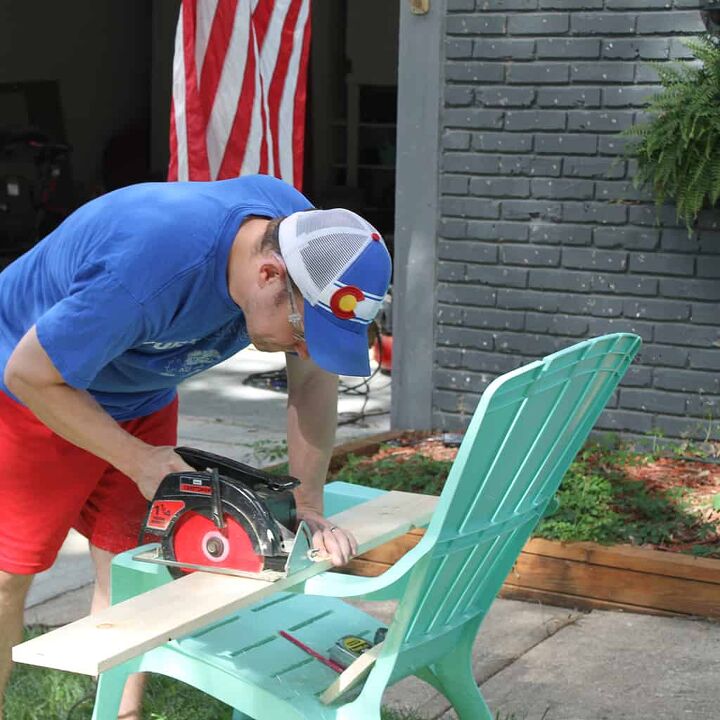
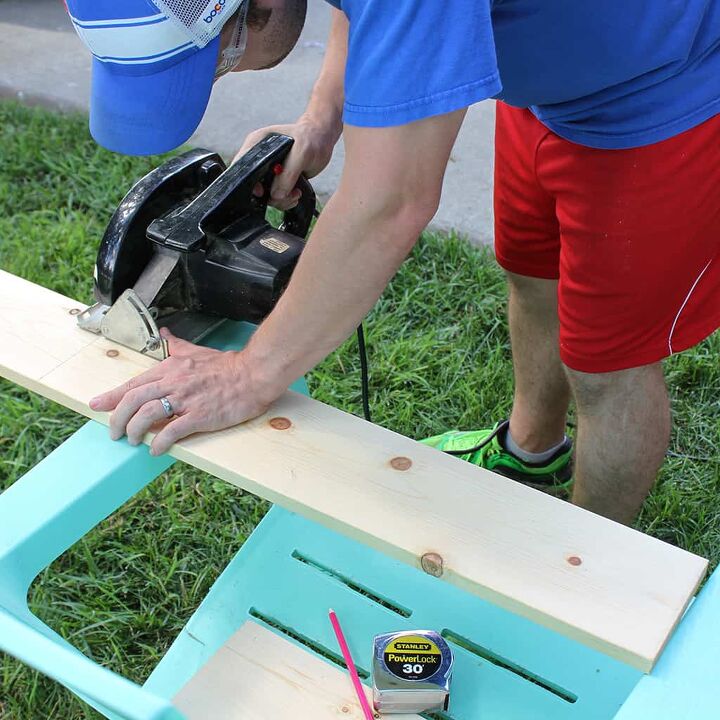
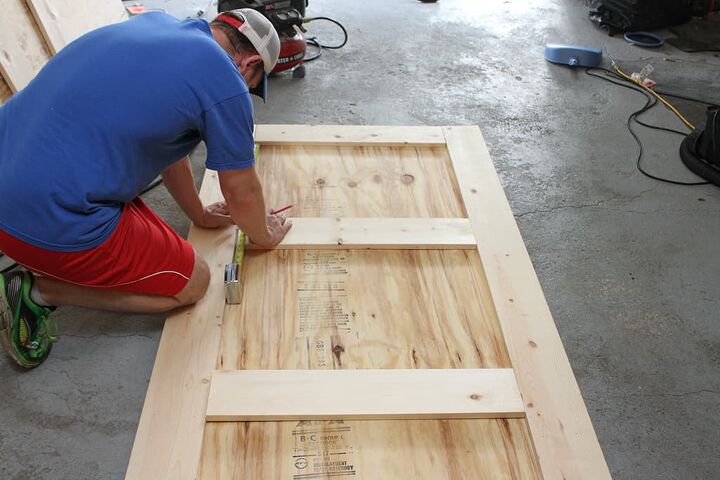
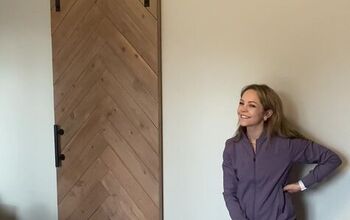
First lay out the wood sheet, and place the wood pieces on top to get a visual and to measure and mark for cutting. We ended up deciding to do 4 horizontal strips of wood from top to bottom for a more modern/craftsman look (not fully pictured here).

Once everything was marked, trim down the wood to size. Do you like our makeshift saw horses? 🙂
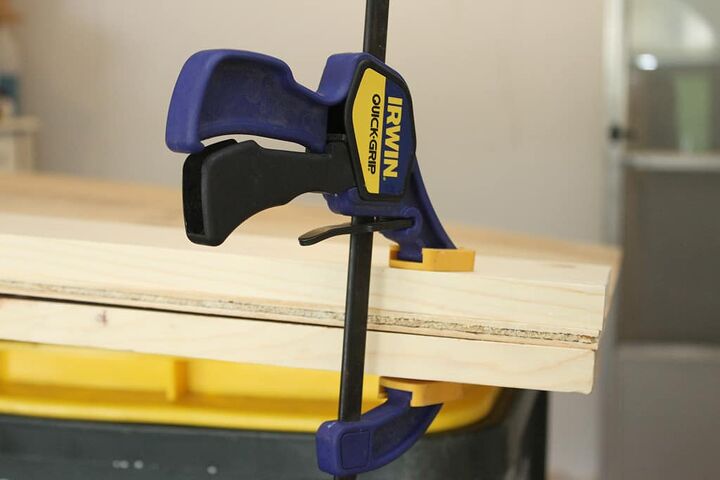
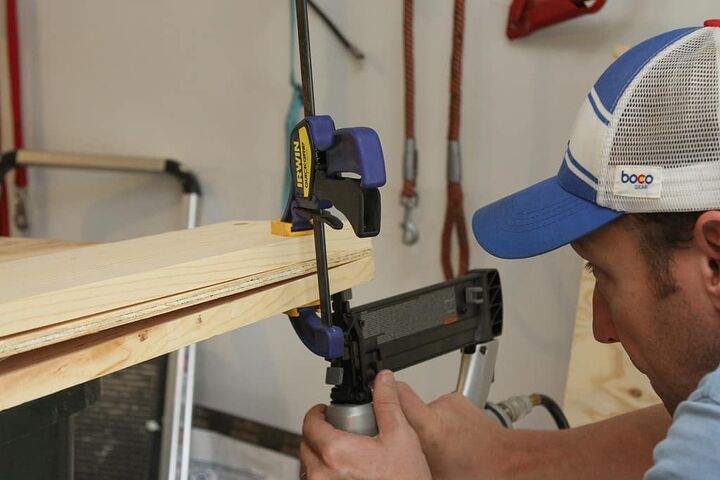
Once the wood is all cut to size, line the backside of the wood with wood glue, and place down on the large sheet of plywood.

Once in place clamp it down to let the glue set and to keep in place while you nail gun the wood to the large sheet on both sides.
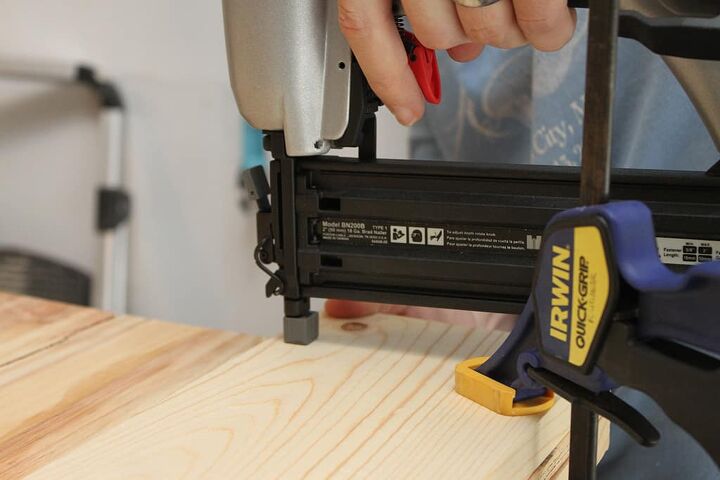
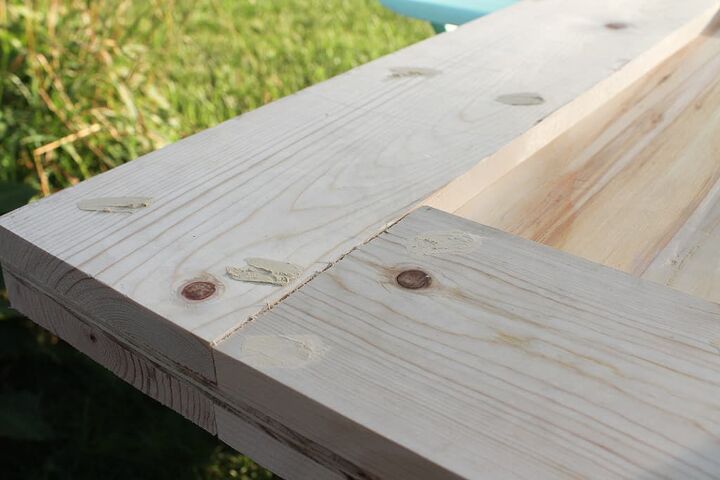
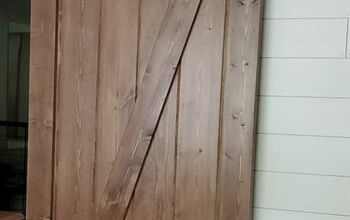
Once the large vertical pieces of wood were nailed in he moved onto the smaller horizontal slats. He repeated the same steps to attach the horizontal slats on both sides of the door.
After all of the pieces are attached fill in the small nail holes with filler.
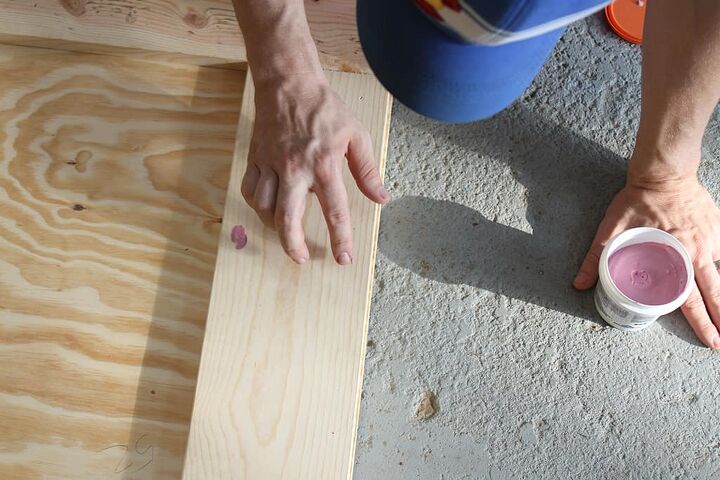
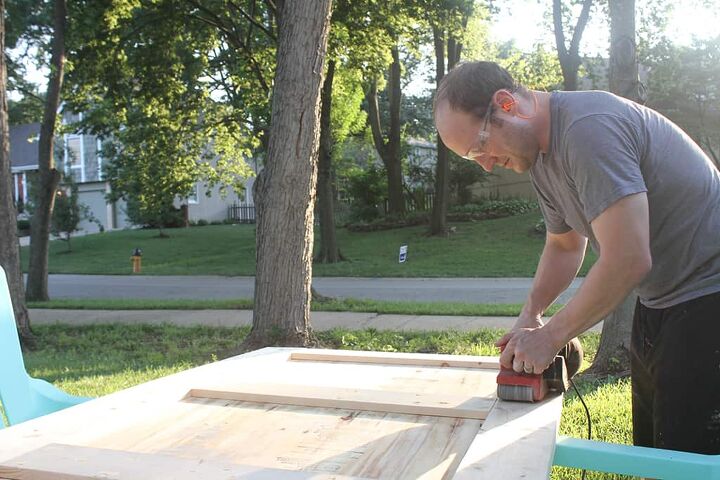
Once dry, sand down the filler and the overall door with your sander (or sand paper if you wish).
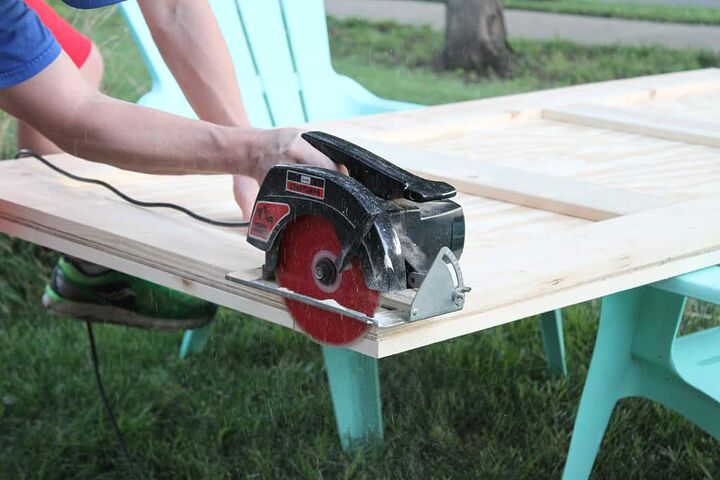
Ted decided to use the circular saw to slightly trim off the edges of the door to make it as smooth as possible all the way around (this step would be much easier with a table saw).
This step is optional, but highly recommended.

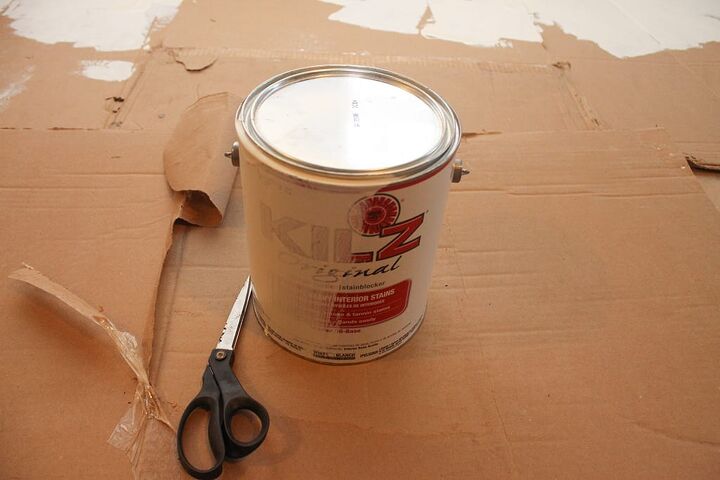
Brush off the excess saw dust from the door to prepare for painting. You’ll want to start with a coat of primer (unless you have paint with primer built-in already).
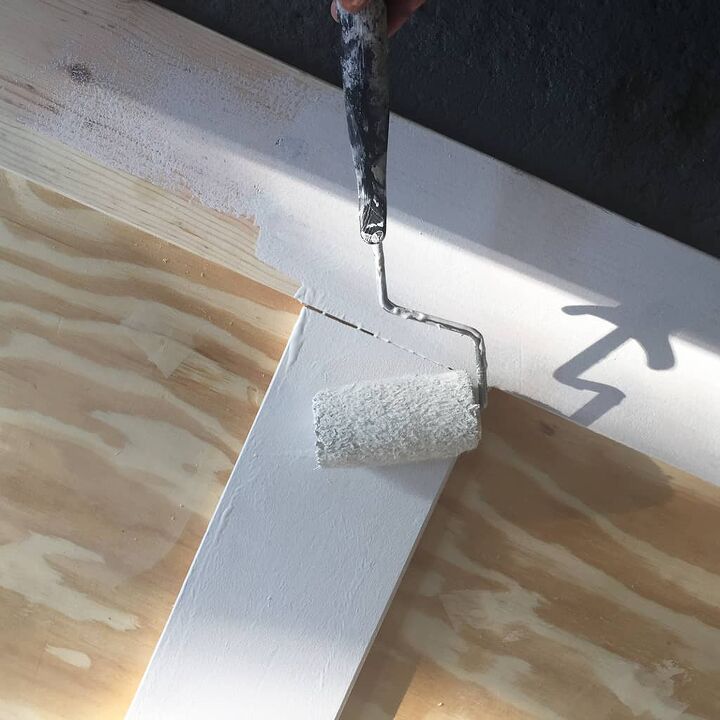
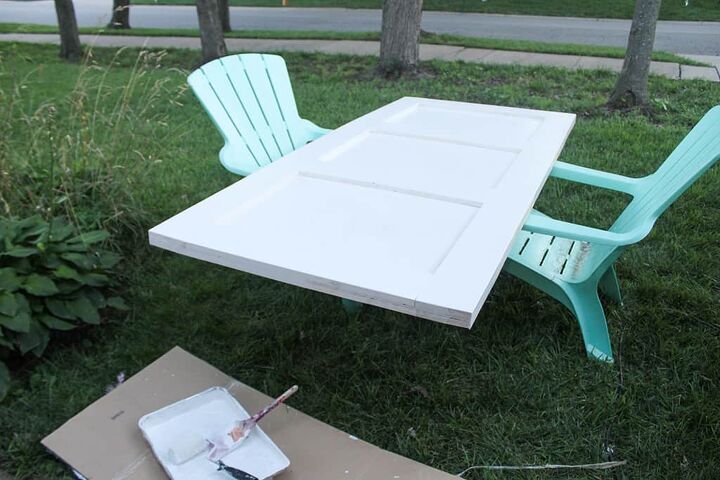
Once the primer coat is dry, you’ll want to add your first coat of door paint (we used Valspar White Gallery in a semigloss finish). After dry, add another coat of paint. I had a helper during this step. 🙂

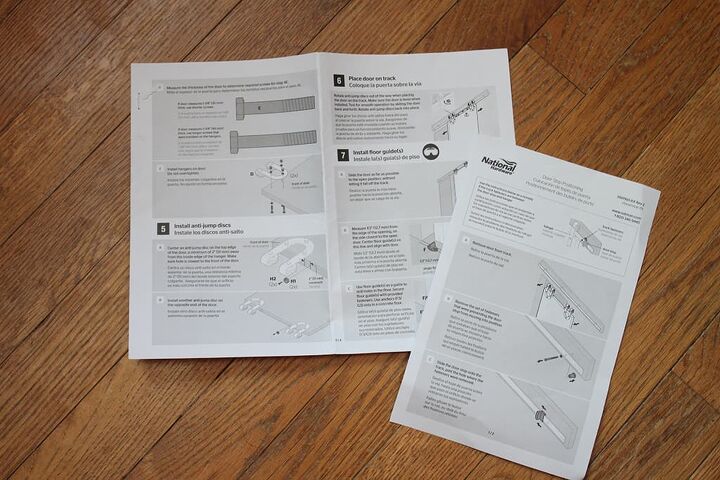
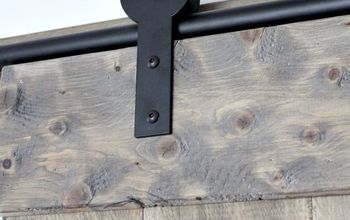
Now it’s time to start installing the hardware. The barn door kit comes with very detailed directions, so I’m not going to get into as much detail on that part.
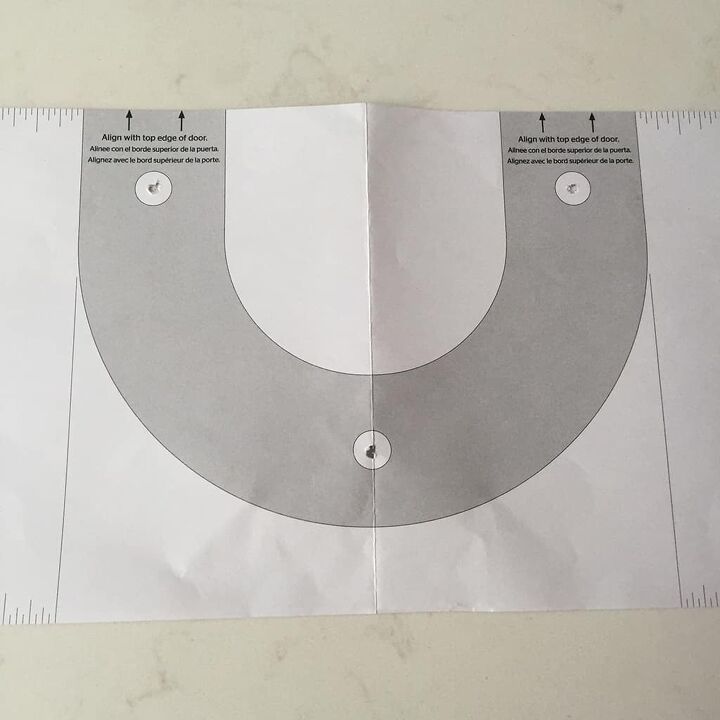
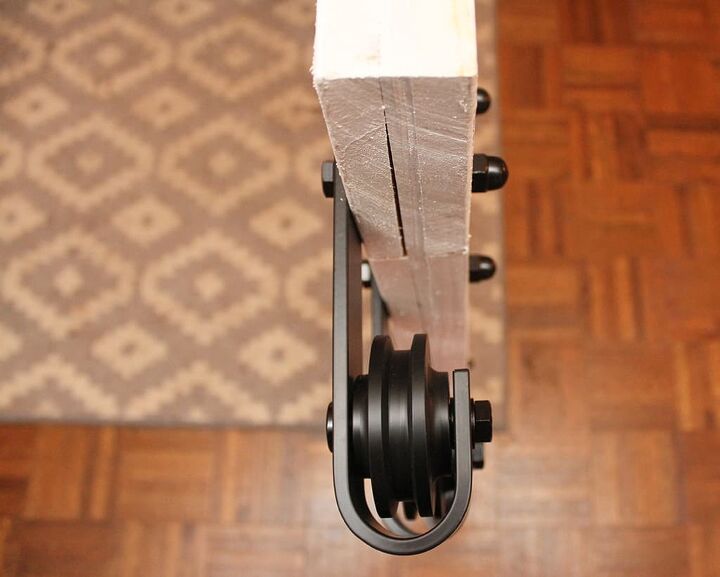
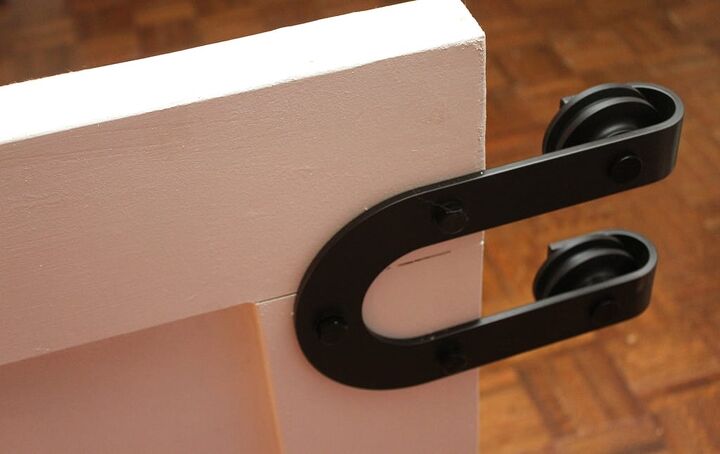
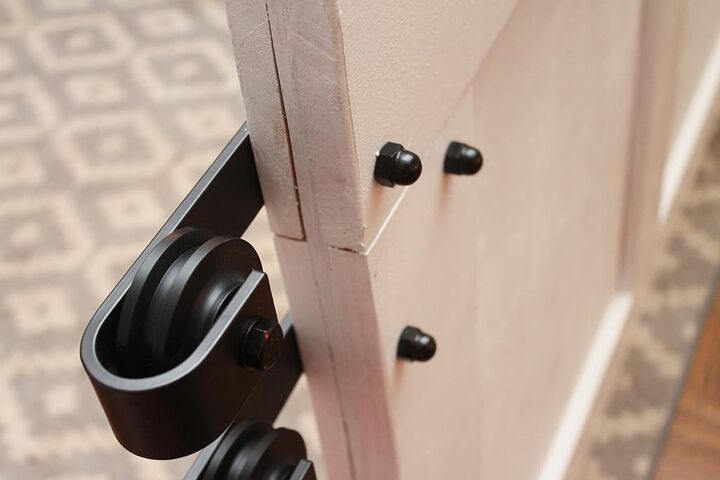
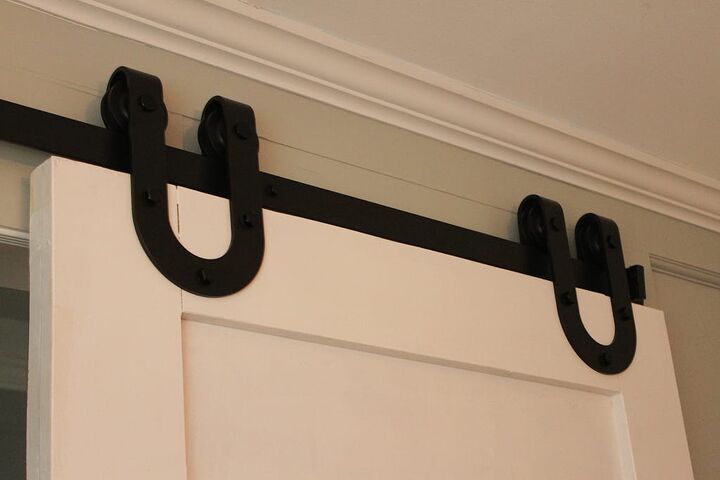
We took the door inside and installed the “U shape” brackets to the top using the provided template.
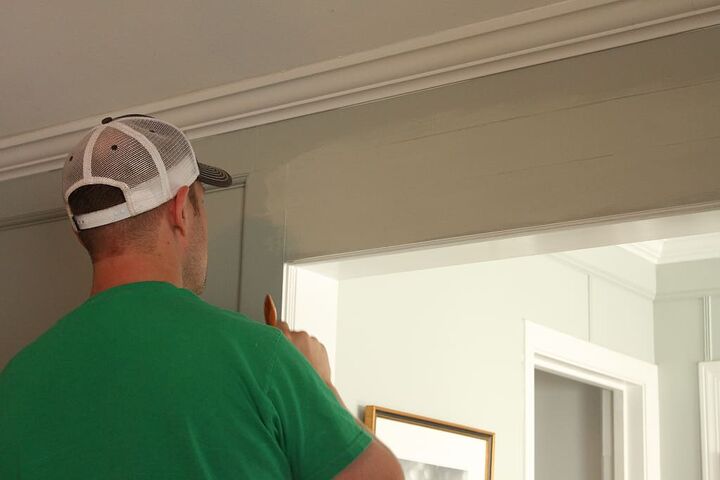
Next take the door to it’s new home and start on the wall mount part. Since we have a board and batten style of wall, we had to do some panel removing and filling in order to have a solid and flat surface for the barn door bar to be hung.
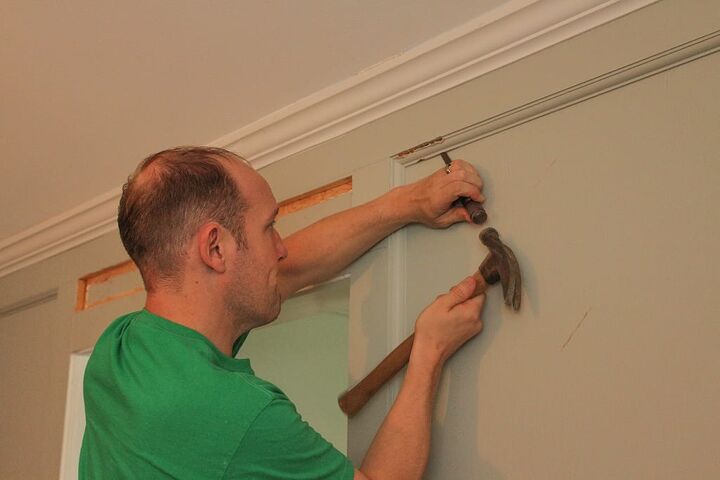

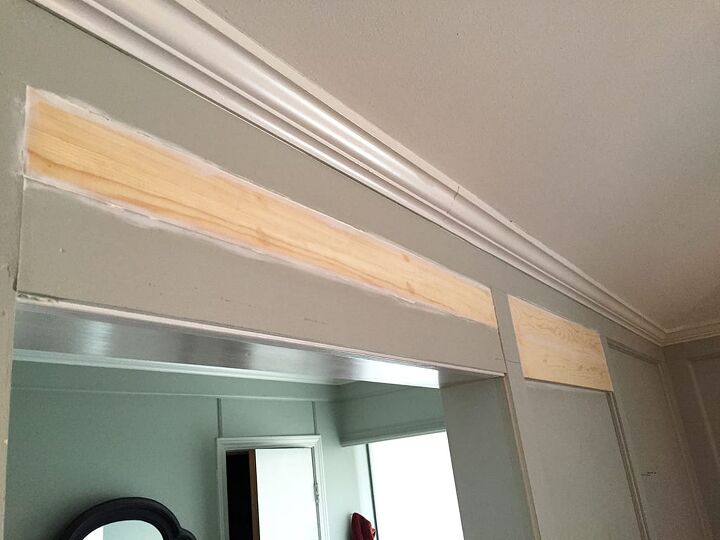
Ted removed some panels, and filled in the wall with excess wood from the door project. He took a section to the hardware store and had it color and finish matched. Thankfully it was an EXACT match (that’s a first for us!) He then painted the wood to match.
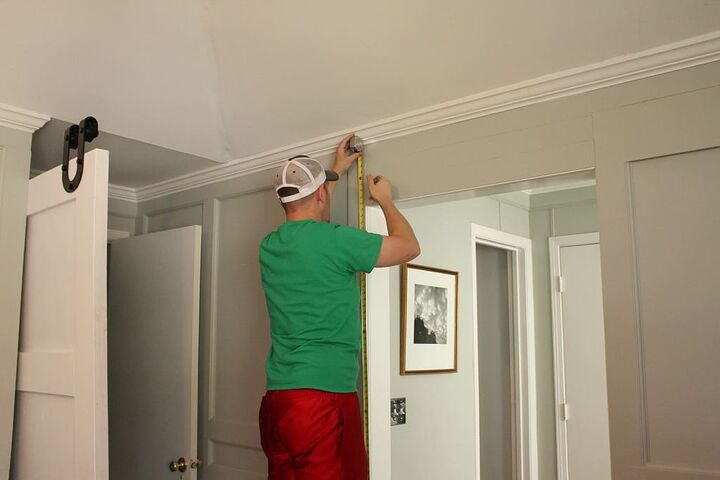
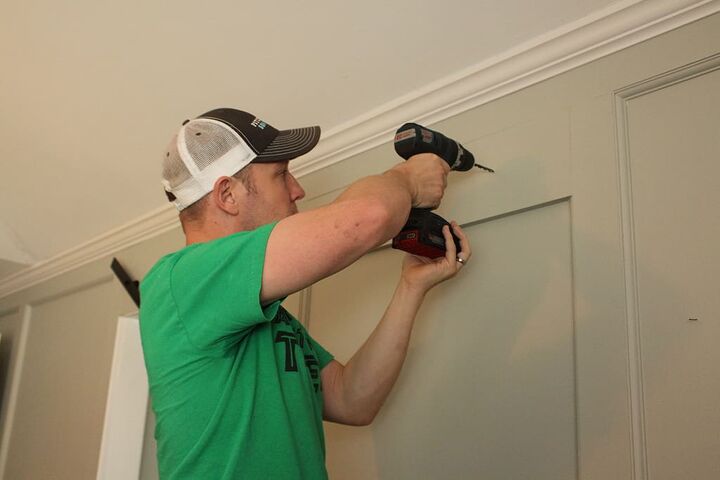
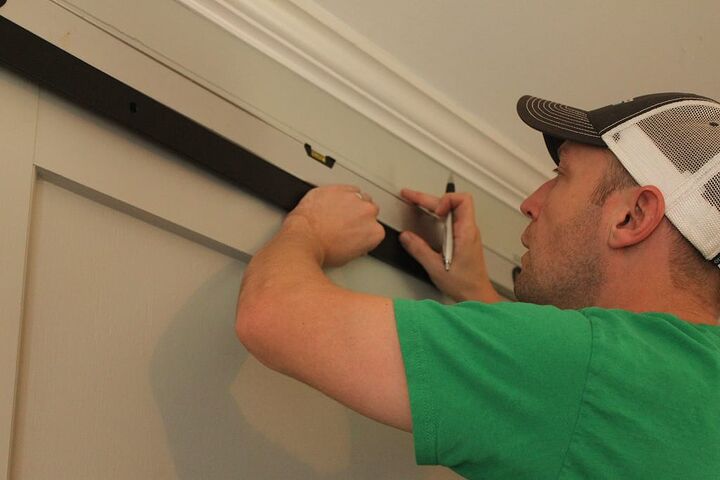
Once dry, he measured and hung the large bar using a level and drill.
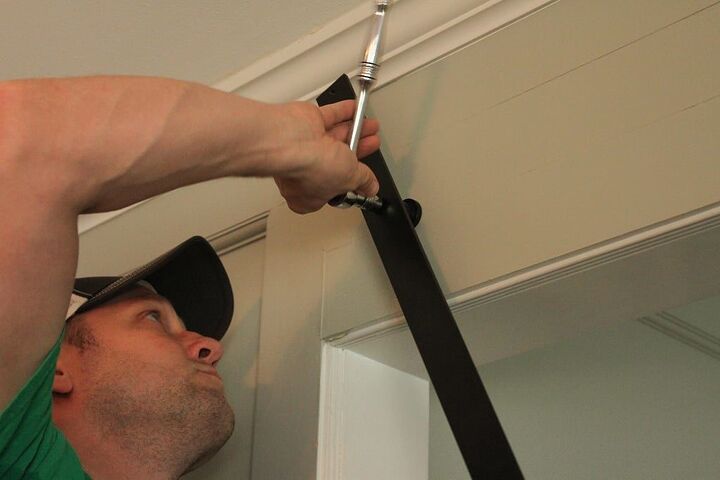
Once the bar was hung, he attached the door.

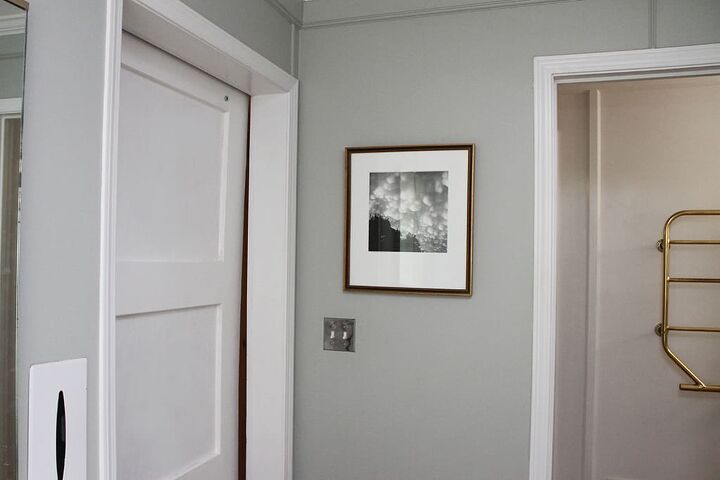
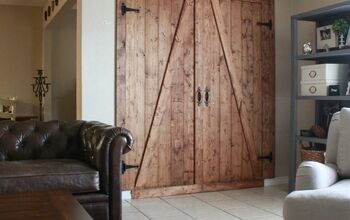
Here she is opened.
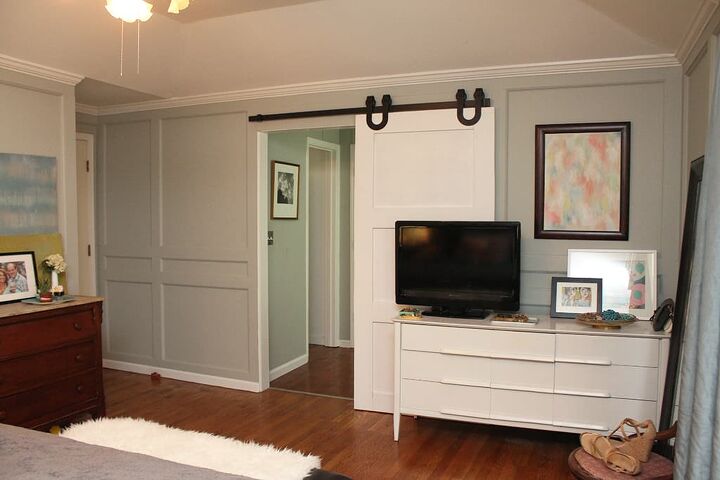
And closed.
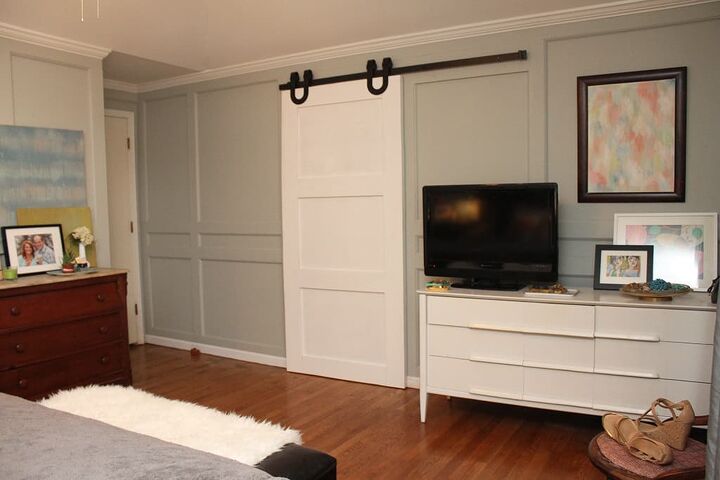
And a view from the master bathroom (I cannot wait to completely renovate this room).
It looks so awesome, and serves as a focal point in the room. And man, does it have such a smooth open and close movement. We absolutely love how it turned out, and it’s definitely going to get a lot of use! We have a coordinating handle for each side of the door, but Ted decided that he won’t be installing them until after the kitchen is finished. He has to switch his focus back to that project now. I’ll report back once the handles are in place. 🙂
What do you think? After seeing these somewhat easy steps, do you want to build your own DIY sliding barn door? I highly recommend it if you’re on the fence.

xoxo
Audrey


Frequently asked questions
Have a question about this project?