


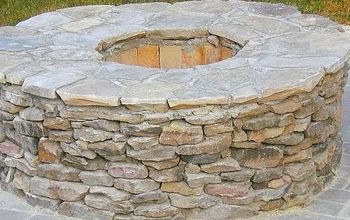
Stonehenge Style Fire Pit

11 Materials
$120
1 Day
Medium
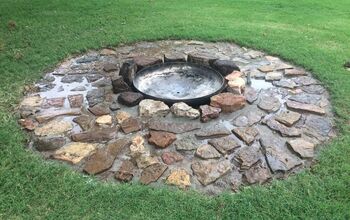
Fire pits are a fall must-have but clean up can be a messy pain! Enclosed pits quickly fill up after a few uses and you either have to shovel out the ash or carry the pit away to dump it out. Both result in dirty ash plumes during the cleanup process. And if you can't get it cleaned out before it rains, you'll have the added hassle of dealing with soupy ash afterwards. With a Stonehenge Style Fire Pit, you'll have that fun place to gather around on chilly nights with effortless cleanup! And an unexpected rain? If anything, it'll do the cleanup for you!
{
"id": "4528312",
"alt": "",
"title": "",
"video_link": "https://www.youtube.com/embed/l7xRQUPxxwY",
"youtube_video_id": "l7xRQUPxxwY"
}
{
"width": 634,
"height": 357,
"showRelated": true
}
You'll need:
172 bricks, eight screws, a drill with bits for the screws and for small pilot holes, and a tape measurer.
A few bags of paver base, a level, and a mallet...a few tubes of Liquid Nail and a caulk gun.
You'll also need a saw and four - 8 foot two-by-fours.
First, clear a four and a half foot square area. I took off the top layer of grass and dirt and used a little paver base and a scrap piece of two-by-four to work the ground to make it level-ish. Yes, 'level-ish' because it doesn't have to be perfect...yet.
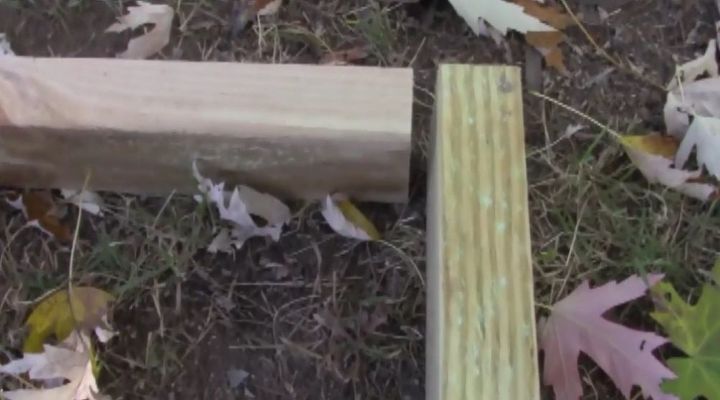
Next, lay out six bricks end to end in a row and a 7th perpendicular to make the corner. You'll use these to get an exact measurement for the temporary frame.
Lay one of the two-by-fours next to the row and measure. Mine came out to 52 and 58ths inches. I did two sides, just to be on the safe side, and cut all four two-by-fours that length. Lay the cut boards out so that the side of one end of a two-by-four screws into the end of the next.
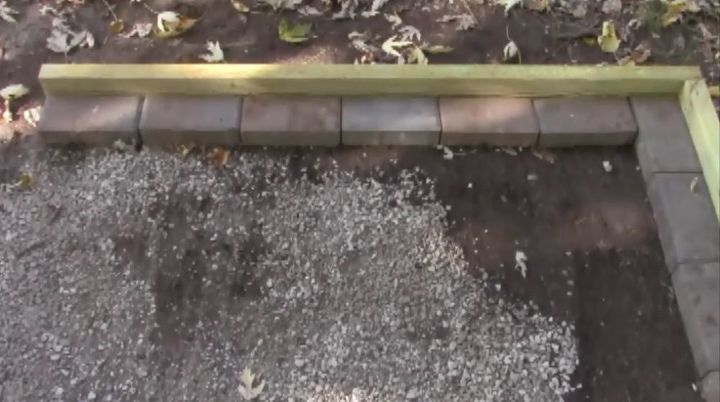
Use the drill to make two pilot holes for the screws so the wood doesn't split. Then securely drive two screws into each hole for a solid frame. Place the frame on your cleared area, dump in the paver base, and level it out. This is where your frame is a huge help! It'll keep the paver base in place and from spreading out too far and it will ensure your corners are nice and square. Starting at one corner, place six bricks out in a row again and the seventh turned perpendicular to make the first brick for the next side. Continue this pattern all the way around, then start the next row to keep the pattern going. The bricks will lay very tightly in the frame so use the mallet to fit them in and to adjust the level as needed.
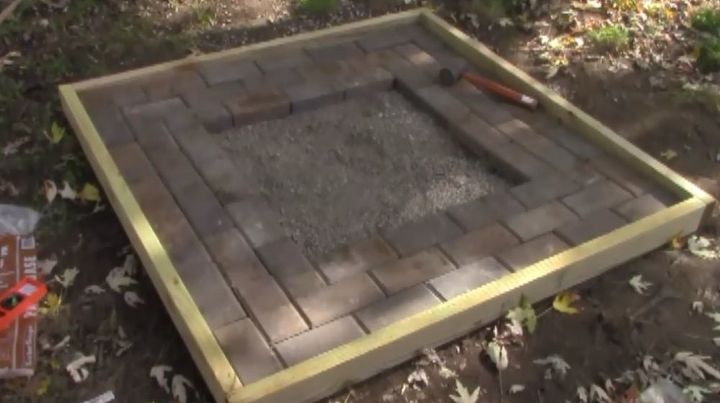
The bricks should fill all but one half brick-sized square in the very middle. I packed that little space with a handful of landscaping rock to finish out the base.
Glue 24 pairs of bricks together with Liquid Nail. After adding a bead of the adhesive, press them together firmly and let them set according to the directions.
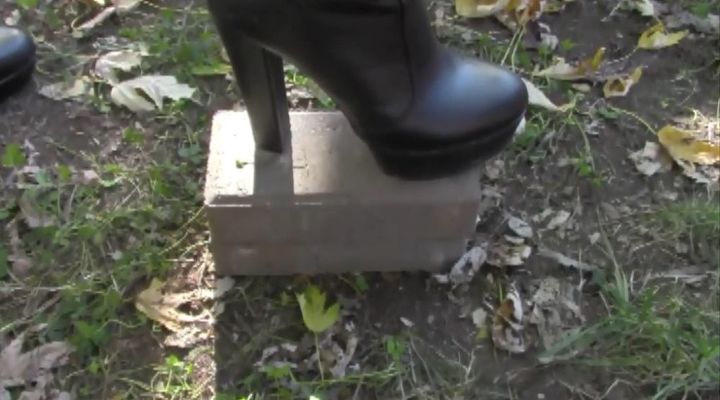
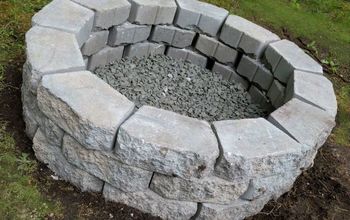
Once the Liquid Nail has set, dry lay the paired bricks. This gives you the opportunity to adjust before permanently gluing everything down. Stand the glued bricks vertically and space them apart so that a brick can lay across the top of both.
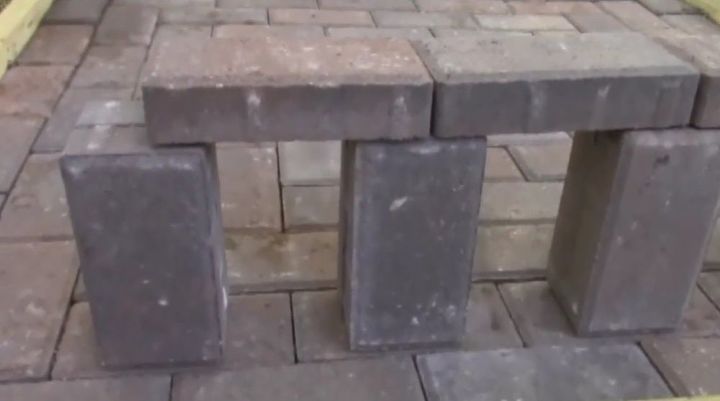
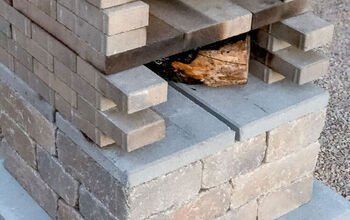
Continue standing them up this way until you get to the corner. With the corner piece, bring the end pair in enough so that they are completely under the horizontal brick. Then place another pair of vertical bricks, facing 90 degrees out, right next to the previous pair and use this next pair to build the wall of the second side. Once you have the vertical pairs and horizontal topping bricks up, use the remaining bricks to build the last layer on the top of the horizontal bricks. Adjust as needed until you have all of the brick lines straight.
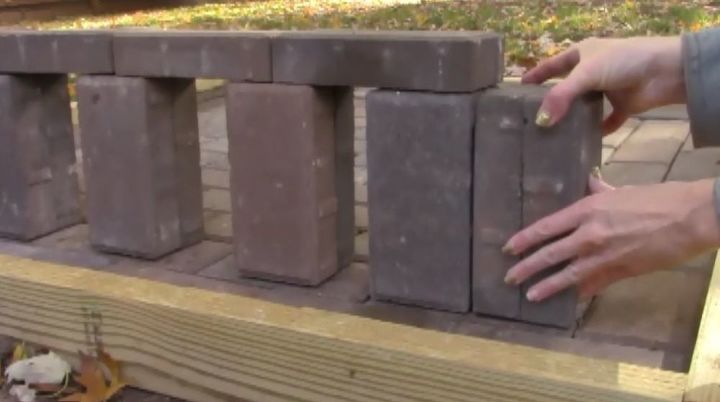
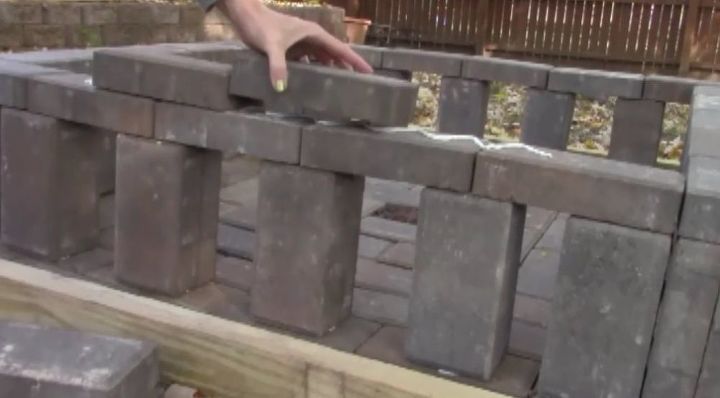
Disassemble the top two layers of horizontal bricks, leaving only the paired vertical bricks in place. Carefully tip each pair in order to apply a thick bead of glue underneath and place back in the same spot. Apply pressure and immediately wipe any glue that may seep out from underneath. Work your way around all four sides, gluing the pairs to your base. Add a bead of glue to the top of the vertical bricks and place your first layer of horizontal bricks the same way you did during the dry lay. When you've worked your way around the pit and glued your first level down, add Liquid Nail to the top of these bricks to lay your final level.
Remove the screws holding your frame together but leave the boards and screws close by. Use the Liquid Nail to glue your base's outer row of bricks to the next row in. Add some glue to the ends of each brick as well to glue them to each other. This will make a solid border and those outer bricks won't easily move away from the rest of the base. Clean up any glue that squeezes out between the bricks. Put the boards back in place and screw them in again. Let everything set according to the glue's directions.
When the Liquid Nail has dried, remove the frame and your Stonehenge Style Fire Pit is ready to use!
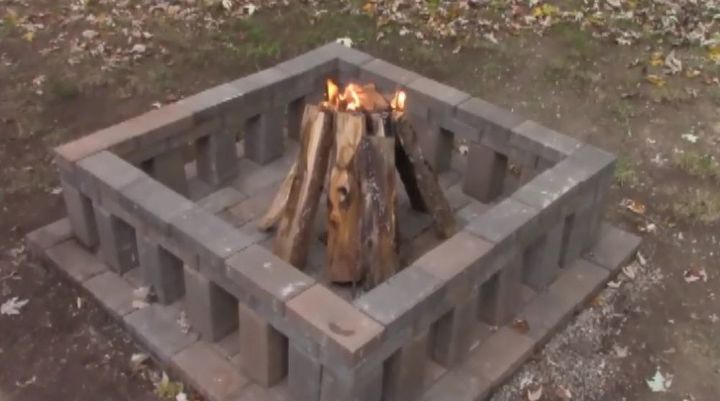
Your fire has an attractive surround that does a better job of providing air flow to the combustibles and when it's over, just hose it out! The ash provides an added benefit as it's great for highly acidic soil.


Any price and availability information displayed on [relevant Amazon Site(s), as applicable] at the time of purchase will apply to the purchase of this product.
Hometalk may collect a small share of sales from the links on this page.More info


Frequently asked questions
Have a question about this project?
What size brick did you use