


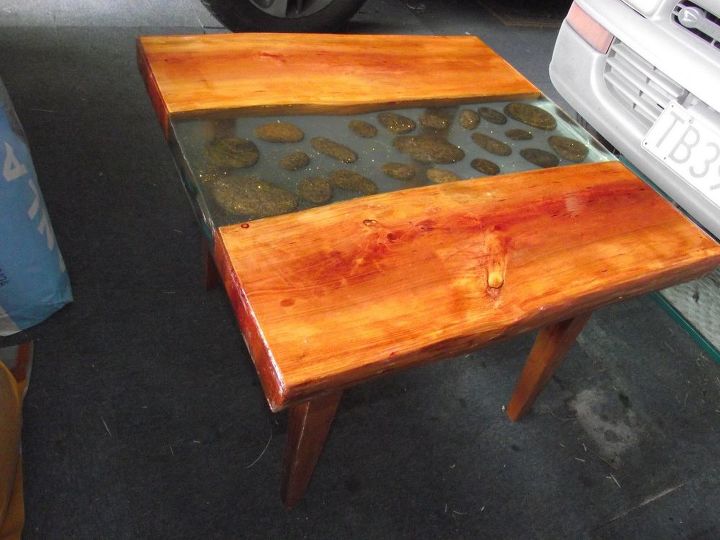
A Poured Epoxy Resin Coffee Table

Continuing my adventures with Epoxy Resin, I decided it was time to make something a bit bigger.
Most of the materials used in this project I already had knocking around so I will estimate costs
The Wood
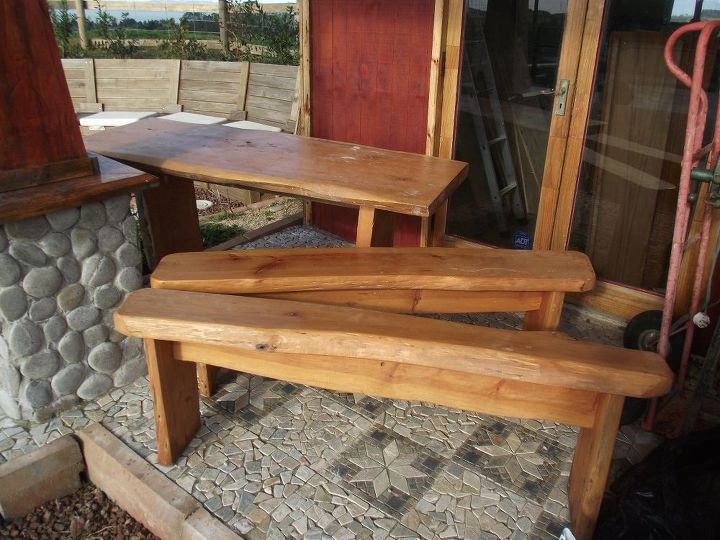
I was on Facebook and this Garden table and bench set came up for sale locally in Helensville, I got it for the princely sum of $80 NZ. It was poorly put together, but I only wanted it for the wood
For this project I used the top of just one of the benches (the second one back)
This is all 2 inch thick Macrocarpia and normally is quite expensive, however I estimate that I have used $15 worth at the price I got it
The Wooden Slabs
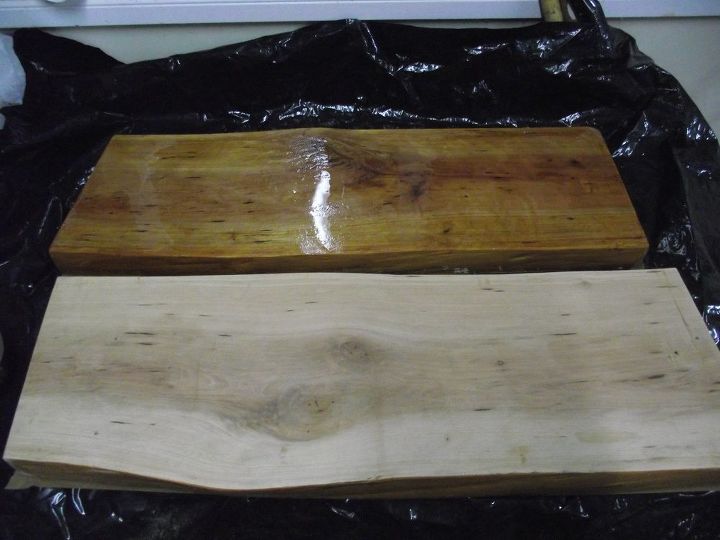
I cut 2 equal size slabs approx 700mm long (and 200mm wide decided by the seat size)
I taped around the top surface so I could epoxy seal the edges and underside, I used packing tape for masking, this proved to be a mistake as the adhesive peeled off and had to be sanded down for the rest of the project I used paper masking tape
The picture shows the sealed pieces (one is upside down)
Setting up for the Resin Pour
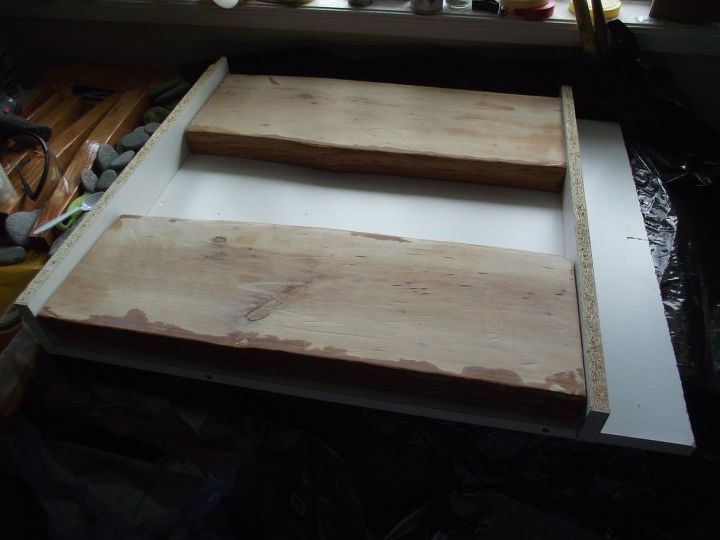
I set the 2 pieces of wood resin side down on a melamine backed chipboard, and boxed in with two offcuts.
This was rescued from a skip, it was probably an old wardrobe.
Once in position I taped all the gaps I could find (the resin made sure that I quickly found any I missed)
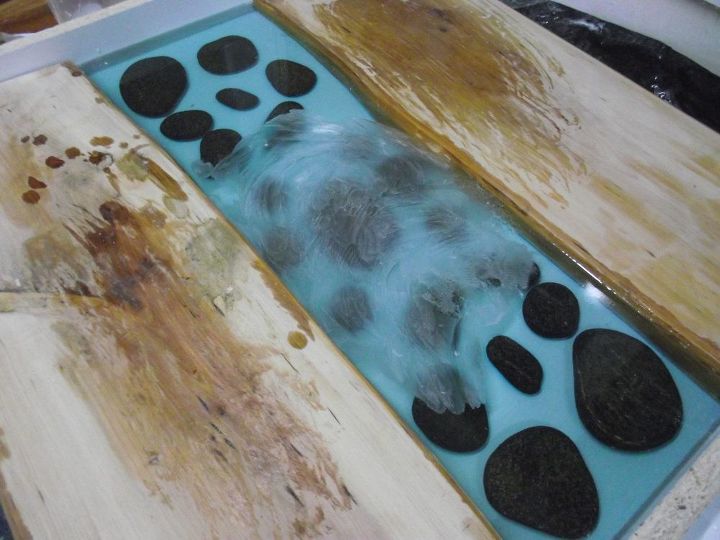
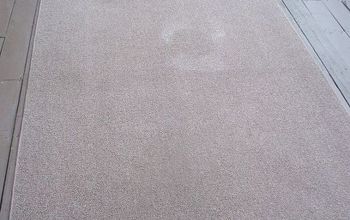
I then poured a thin coat of blue tinted resin as a base
Once this had dried I set in some Schist pebbles (which is appropriate as my wife often says that I'm full of schist!)
Unfortunately forgot to take any pictures of this

Disaster!!!
I had done about 4 x 10mm pours and had done one early (5am) before I went to work, but I had an Airbnb guest and she let chickens into the garage, not only did they poop everywhere but one decided that the warm setting resin was the ideal place to roost!!
I got home that evening to find a stuck solid chook, unfortunately I was unable to free her alive and I thought that the whole thing was ruined.
With nothing to lose I used an abrasive wheel on my grinder to try to remove the damage.
I then did a re-pour
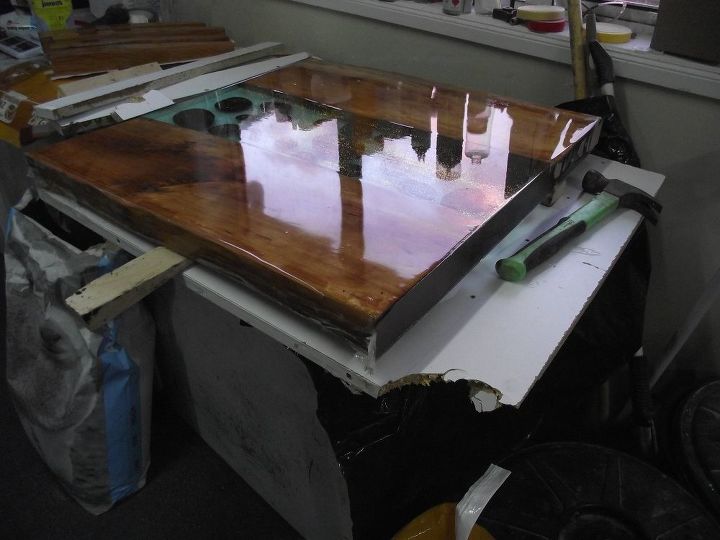
Repoured and released from the mould
I wasn't totally happy with the repour as I could still see marks from the grind out, I guess that they are probably not noticable to the casual viewer but I know that they are there.
To disguise them I put a small amount of gold glitter in the centre section before the final pour, I was quite pleased with how it turned out in the end
I then released it from the mould using a couple of wooden wedges (tbh I was quite surprised how easily it came apart)
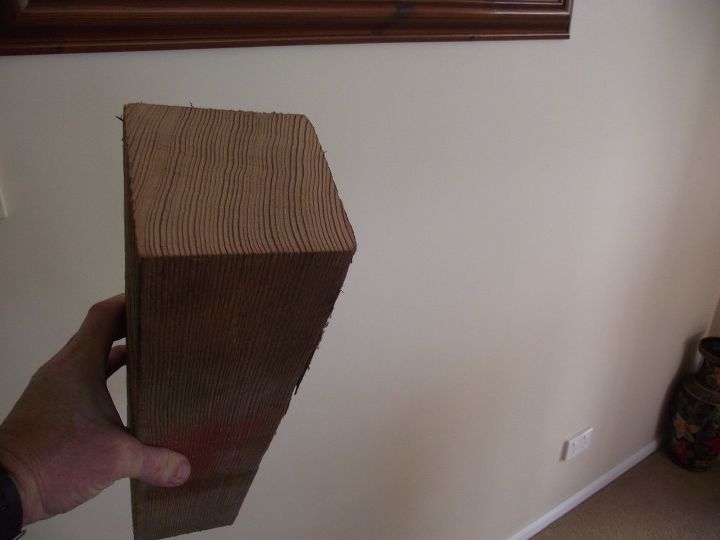
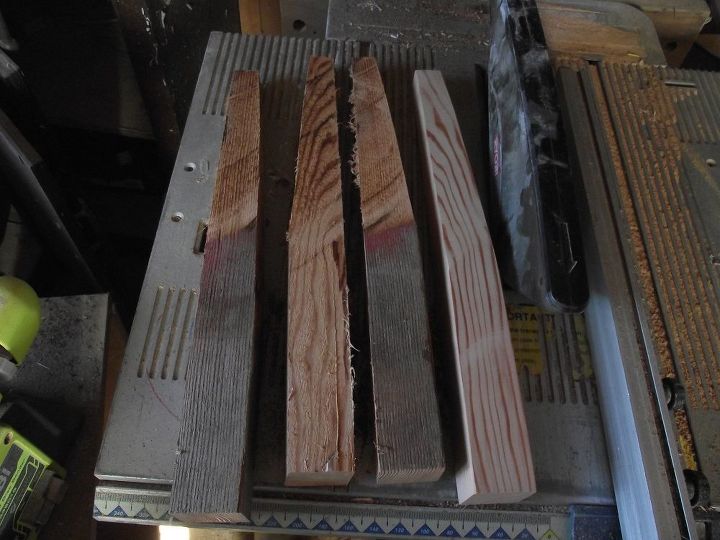
The Legs
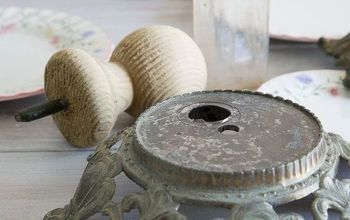
I had a 4x4 fence post that had a lovely grain in it so I cut it into quarters on my table saw and then tapered the legs as I didn't want them too chunky (this was done by eye with a couple of pencil marks on the saw bed) they seemed to turn out ok.
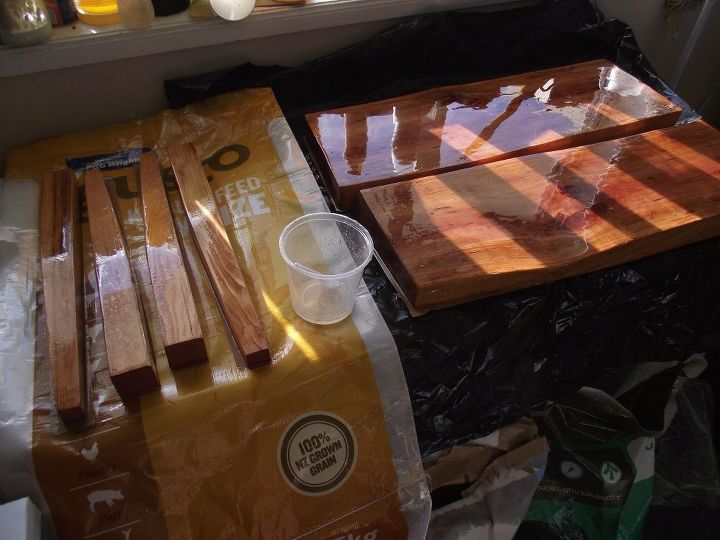
I then sanded them down and gave them a coat of epoxy (3 sides the 4th will be done after it has dried)
(For info This was all done prior to the table top being poured)
Attaching the Legs 1
I wasn't absolutely sure how I was going to attach the legs, I didn't want bolts or nails through the top so I had to have a bit of a think and this is my solution -- your mileage may vary
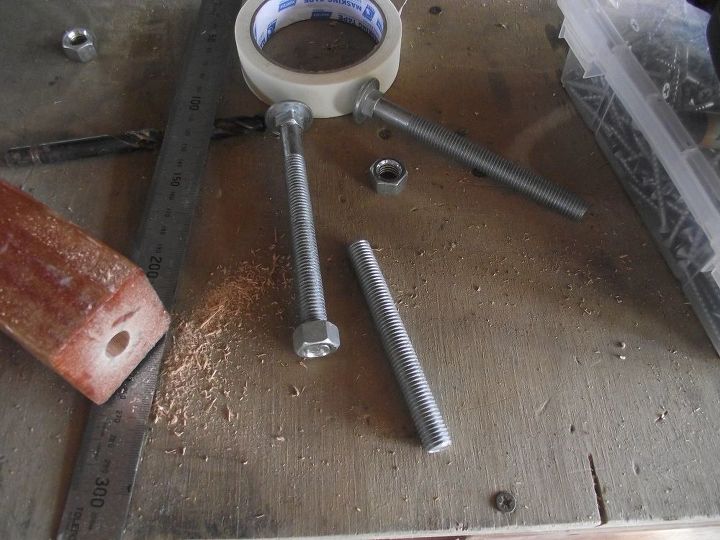
First I had a whole bunch of these M12 coach bolts, I got these free as a friend had bought them for gate hinges and then realised he needed M10 instead, so I cut the heads off to leave me a piece of threaded bar
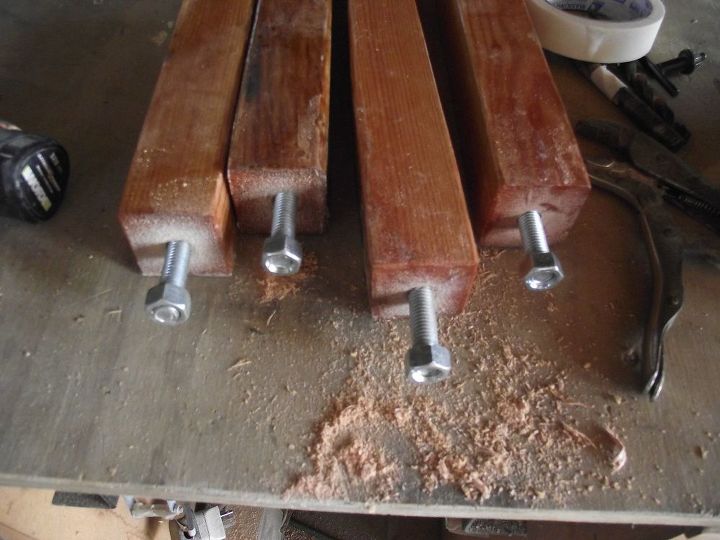
Attaching the Legs 2
I drilled an 11 mm hole in the end of each leg and wound in the cut off bolts using vice grips, the bolts cut their own thread and I left about 40mm hanging out
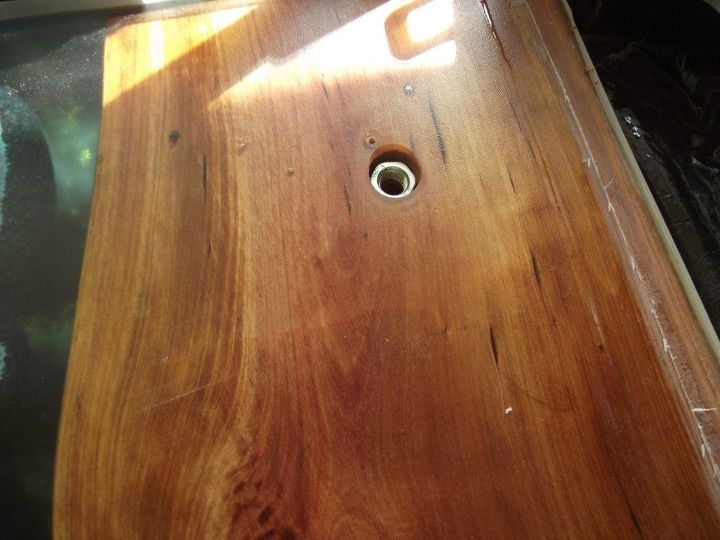
Attaching the Legs 3
To screw the legs in I drilled a 19mm hole to accept the M12 nut I also counter drilled an 11mm hole in the centre to accept the rest of the threaded bar
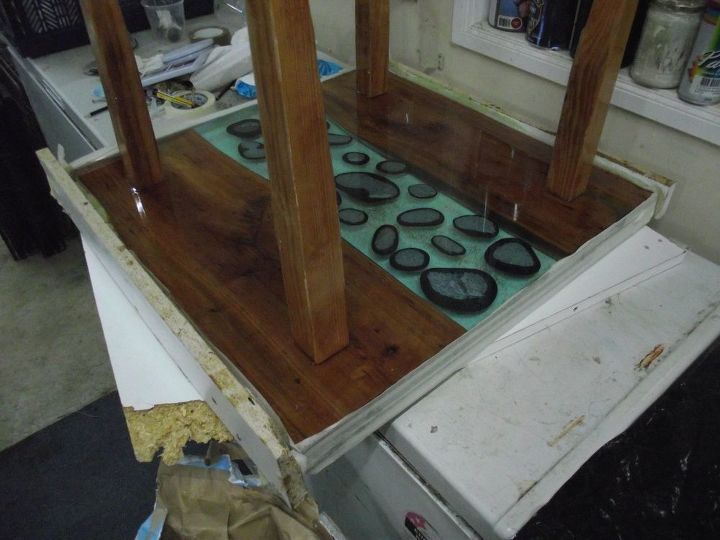
And they're on
Not the clearest picture but screwed the legs in position, I have masked up to do one last pour which will both secure the nuts in position and wick up the threaded bar to secure the legs
Finishing
I removed all the masking tape and cleaned up all the edges with a sharp knife and 1200 grit paper then using an artists brush painted a thin coat of resin on all the sanded edges to restore their shine.
And that's it -- done ready to go out in the garden
The resin was $20NZ per litre and I used 8 litres (would have been less if I hadn't had the grind out and a couple of spills)
The bolts were free but I guess $2 each
the wood was $15
The Pebbles $4
a bit of sandpaper of various grades and a couple of $2 Dollar Shop paint brushes
So all up about $200NZ
(plus about 16 hours work!!)
Resources for this project:
See all materials


Comments
Join the conversation
-
very nice, but, but now, your not gonna let anybody set anything on it.......
-
My Dad recently passed away. My sister and her family still have the family farm. Dad loved wood and used it in so many ways so he has a shop and there is a lot of wood stacked upstairs. There is also a creek on the farm. What a neat idea to use some of his wood and some farm creek rocks (the kids have loved playing in the creek all their lives for 2 generations). I would love to use this idea!


Frequently asked questions
Have a question about this project?
Is there any chance of the resin center separating from its surrounding wood pieces over time? Without any support, what would you say is the weight limit is for setting something on this table? It is beautiful, and I thank you for the instructions, but wish you had left out the part about the poor chicken!
How do paper materials react to the epoxy resin? We are considering creating a table with our cardboard beer coasters that we've collected from our travels.
Table turned out Gorgeous I was wondering how does the epoxy that had the rocks with it not stick to the wood that was underneath it when dry just curious!!!