DIY Outdoor Pallet Table - (First Woodworking Attempt)

by
Dube Fam DIY
(IC: blogger)
$15
8-10 Hours
Easy
We recently moved from the city to the country, so after years of living in apartments we are living in a house with lots of outdoor space, which means we were finally able to start working on some DIY projects! We have both been dying to work on various projects forever, but neither of us have much experience with woodworking and power tools. For our first few projects we wanted to work with pallet wood only because a) we figured we'd mess up and being that pallets are free we wouldn't be wasting any good wood or money, and b) we thought it would be cool to do a serious repurpose and construct something out of something completely different.
For our very first project, we decided to make ourselves an outdoor table and chairs to enjoy in our new outdoor space. Below is the step by step for how we created the table.
For our very first project, we decided to make ourselves an outdoor table and chairs to enjoy in our new outdoor space. Below is the step by step for how we created the table.
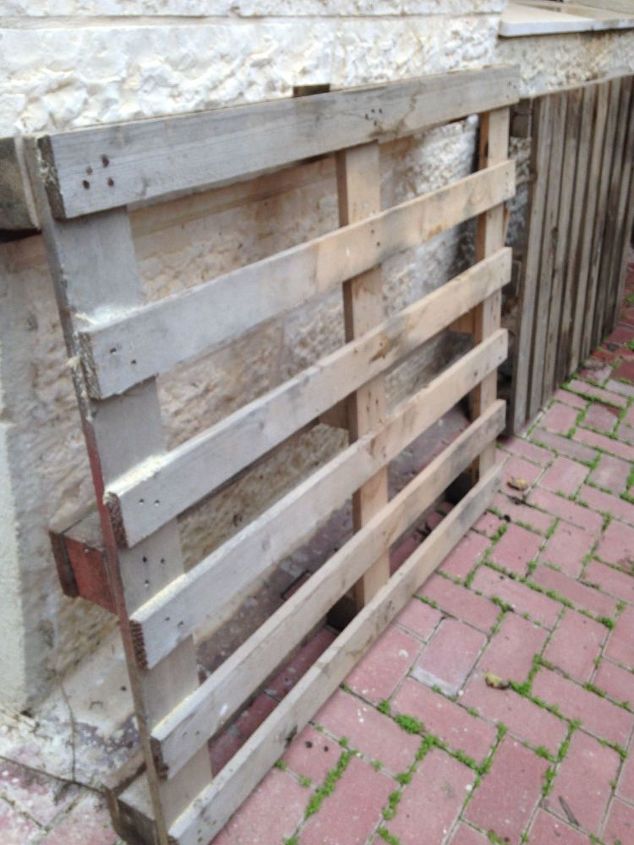
We found a few pallets that looked like they were in good condition, meaning the wood wasn't split or rotted. Often with pallets, especially older ones, the wood becomes rotted or swollen from getting wet a few too many times, and the wood can also be split from some of the nails holding it together. It's best to find a newer looking pallet. We used about 2.5 pallets for the whole table.
The first thing we did once we chose our pallets was take the pallet apart. The best way to do this is by using a reciprocating saw. The advantage of using a reciprocating saw when working with pallets is that the blades are long and thin, so it's relatively easy to get the blade in between the two pieces of wood you need to disconnect. What you essentially need to do is cut the nails which are holding the pieces of wood together. So, you need to place the blade at the top of a connection you want to cut and saw until you've cut through all the nails. Once you've cut all the nails connecting a specific piece of wood, that slat should just fall right off.
Once we'd taken apart our pallets we took an inventory to see how many slabs of usable wood we had and what the dimensions were.
At this point, before starting to put together is a good time to do all the preparations to the wood that you will need, like removing nails and sanding the wood. We didn't actually do these until later on in the process, but now that we've completed a full project we realize that those are two steps that should really be done at the beginning.
We screwed together 4 pieces of wood, 2 120x10 and 2 100x10 (5cm thickness), to make the rectangular frame of the table top (130x100cm).
Then we decided which slats from the pallets we wanted to use for the table top and cut any that were too long to size using a circular saw. (In hindsight, we should probably have used larger cuts or made the rectangular frame more narrow so that the top hangs over the frame, rather than sits aligned with the base.) We found a few pieces that had angled cuts on two corners and used two of those pieces for either end of the table top. We lines up 12 slats along the frame to make sure they were all even and fit on the frame.
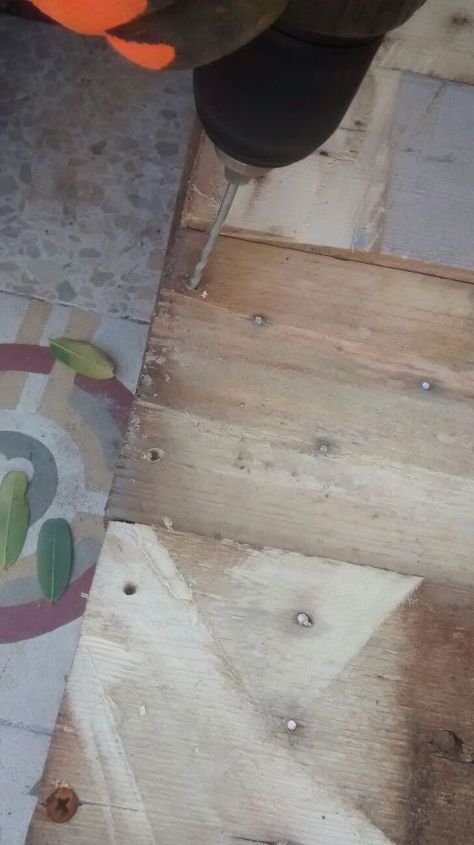
When the slats were all lined up we started fastening them to the frame. Before screwing in the screws, it's best to drill pilot holes through the two pieces of wood which are slightly smaller than the screws. It's also important to make sure that as you attach each piece, the other pieces remain in place so you don't end up with unwanted spaces between slats. (When pros do this type of stuff, they actually glue the slats together and clamp them). If we could do this over again, we would fasten the slats from the bottom, so that the screw heads wouldn't be exposed.
Now that the table top was done, it was time to make the legs. We probably should have used nice, thick, strong pieces of 4x4 wood from a lumber store, but we really wanted to only use pallet wood in this project. A single piece of wood for each leg would have made the legs way too weak and wobbly so for each leg we used two pieces which we screwed together and cut to 73cm long, using the circular saw. Then we screwed the legs onto the inside corners of the two table ends.
We figured there probably wouldn't be enough support in the middle of the table, so we also place two crossbeams inside the frame along the length of the table.
Now the assembly was complete and the tedious part began - the finishing. The mistake we made, was not removing all the nails and sanding before assembly. We used a random orbital sander with a variety of grit, but the protruding nails interfered with the sander and tore apart the sandpaper. The results was a less than smooth surface, but we were not willing to disassemble the whole table and start over.
After sanding, we applied the first layer of "dark walnut" oil-based lacquer and left it to dry for 24 hours.
When the first layer of lacquer was dry and before we applying a second layer, we saw that it was a little wobbly so we decided to secure to legs using small pieces of wood, cut at a 45 degree angle on both ends. These were then screwed into the legs on one end, and into the tabletop on the other end. This made the structure very sturdy, with no wobble.
Then we sanded the whole table at high grit (220), and applied a second layer of finish.
We are quite happy with the final result and pleased with ourselves for the work we were able to do. We have definitely learned a lot from doing this project and will make a lot of changes to how we do things in the future. Feel free to give your feedback too! :)
Enjoyed the project?

Want more details about this and other DIY projects? Check out my blog post!
Published November 23rd, 2015 1:16 AM
Comments
Join the conversation
2 of 56 comments











Frequently asked questions
Have a question about this project?