


Easy Build Pallet Vanity or Desk!

Well I'm always in need of shelving and extra storage. I also love to work with wood so I decided to make a vanity for the bathroom! 

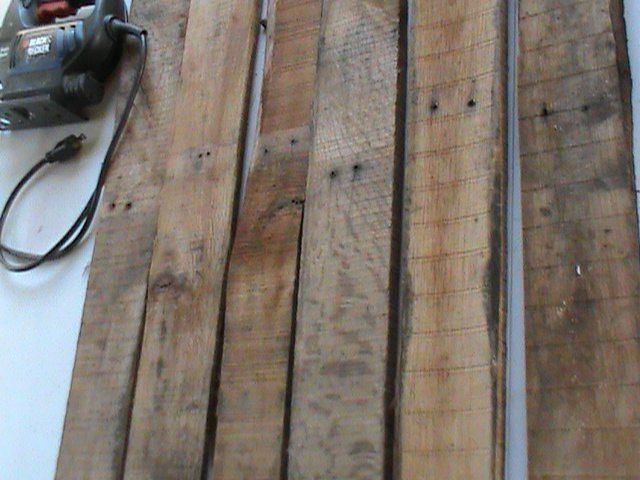
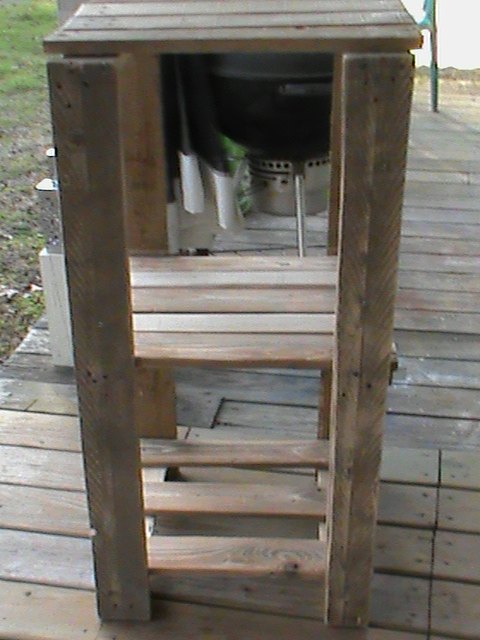
I started with parts from different pallets. All pallets are not the same, various sizes and wood types so trying to meld several types together to make one piece can be challenging but it can be done! I ended up using that top part for my new vanity (the other part you see is a medicine cabinet of sorts). The top part is half of a really big pallet. I ended up with 3' by 18" and that will make a great surface top!
I will need legs and maybe another shelf or two, not sure right at this moment what I will add. I wanted it on the tall side, 32" high will work but I also thought maybe I should add a thin top shelf to it so I cut the two front legs at 32" and the two pieces of wood I used for the back legs were already at 36"!
I sanded down all the wood with 120 grit and a palm sander. 120 or 150 grit is good for raw wood will leave it very smooth to the touch!
So far this is working out great !
!
Next...
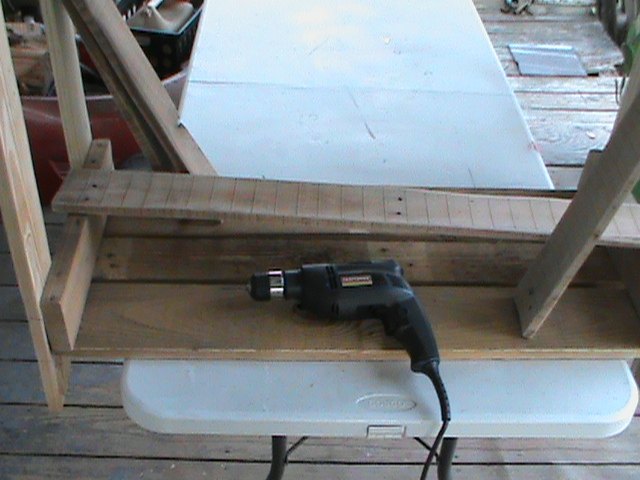
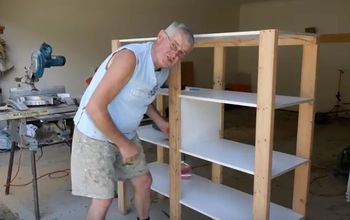
I flipped over the top part and added the front legs right to the top. The back legs I measured 4" down and marked it , lined it up and drilled those legs on the back.
Not a lot of measuring with this vanity just squaring up! I pre drilled all holes for the wood screws because I didn't want the wood to split! Depending on the size of the screw is how you determined what drill bit to use for the pre drilling holes. You should go a little bit smaller than the screw size so the screw will still have some wood to grab onto but not to the point that you are shoving the screw in and that could split the wood too!
Now I need to stabilize the long legs with more pallet wood and add the top shelf! I attached brace pieces on the bottom for 2 reasons, one of the pieces I used as a leg was a bit bowed and just was not lining up right (squaring) and I might add a bottom shelf to this in the future!
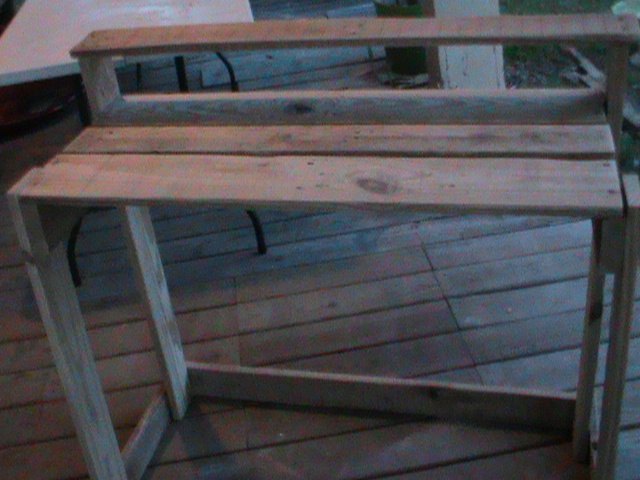
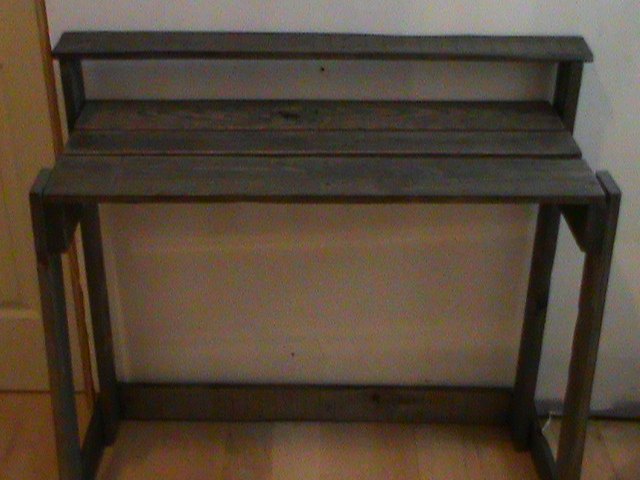
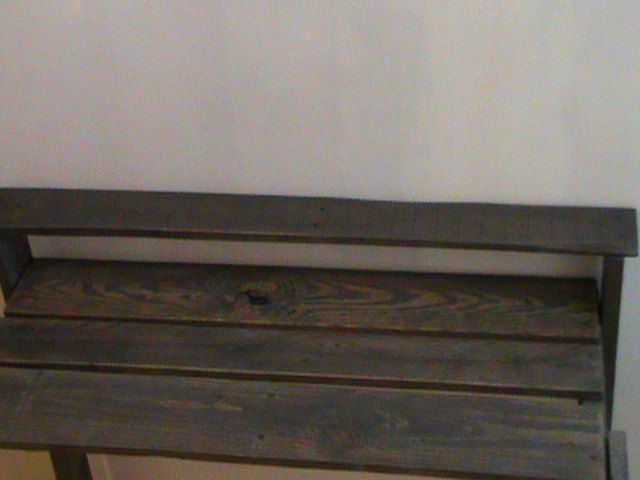
I then attached the top board to the back legs sticking up and building is finished!!! Oh boy it is looking great!
Top shelf! Well it is dark so painting will have to wait until the morning!
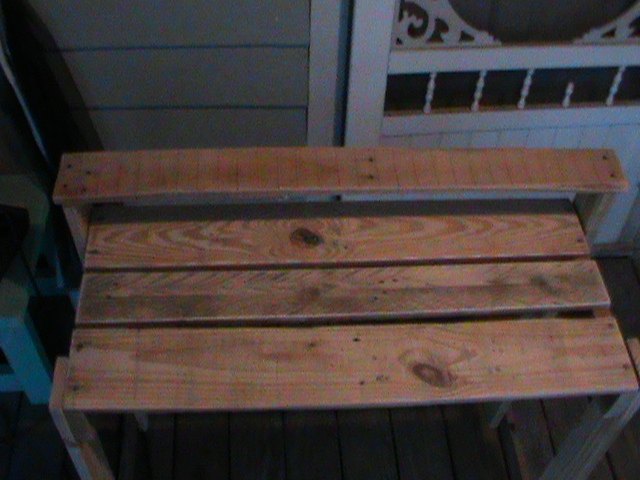
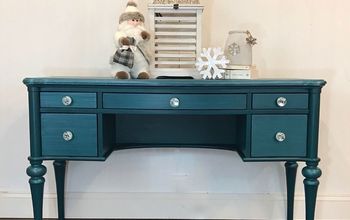
The next morning I used Unicorn SPiT in Weathered Daydream Gray. Watered down so you will see the wood grain! I love this stuff!
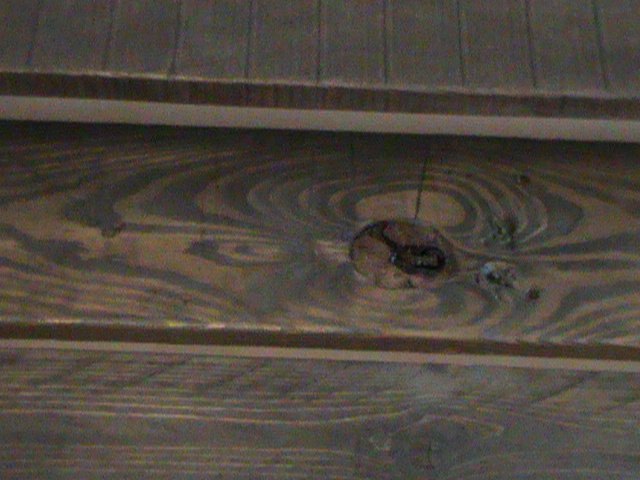
See the wood grain! So pretty!
I let that dry for about an hour, then spray painted 2 coats of Rustoleum 2x clear gloss spray paint on the legs and braces. I put 2 coats for poly on the top surface and top shelf, this is a big part of the SPiT look and it seals the wood too!
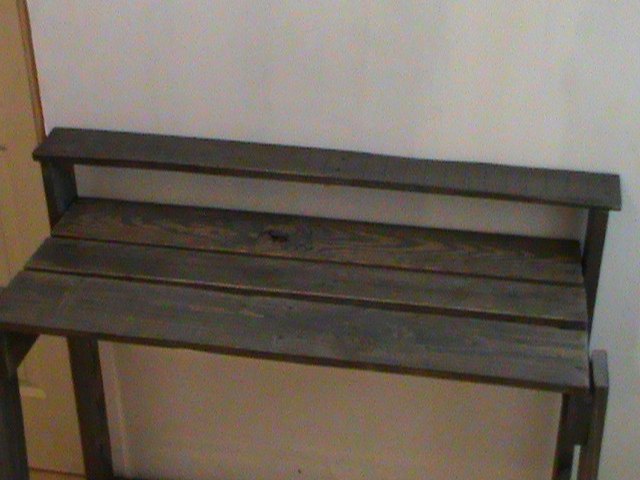
Now that it is finished I will put it in the bathroom! If or when I ever get more cabinetry in the bathroom I will still use this for other purposes like a desk or a makeup table in the bedroom!
It matches the big shelving stand I made for the bathroom and posted here on Hometalk.com! All stained in the Weathered Daydream Gray Unicorn SPiT!
So two days later, not bad timing, I now have a lot of shelving in my bathroom! YAY for me!!!
Any questions or comments are always welcomed! Thank you so much for looking at my new vanity/desk and remember if I can do this so can you!
Resources for this project:
See all materials


Comments
Join the conversation
-
Thanks for this great project! When we get around to our bathroom project it's on my to do list.
-
Yes, I’m very inspired please keep up the good work. And I agree with Wendy, you go girl 🤙🤙
 !
!


Frequently asked questions
Have a question about this project?