


How I Cleaned the Vents and Replaced My Rusted Baseboard Cover

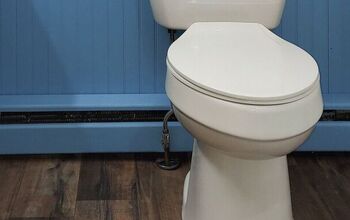
The baseboard cover in my bathroom was rusted and overall horrible. I decided to clean the vents and replace the cover.
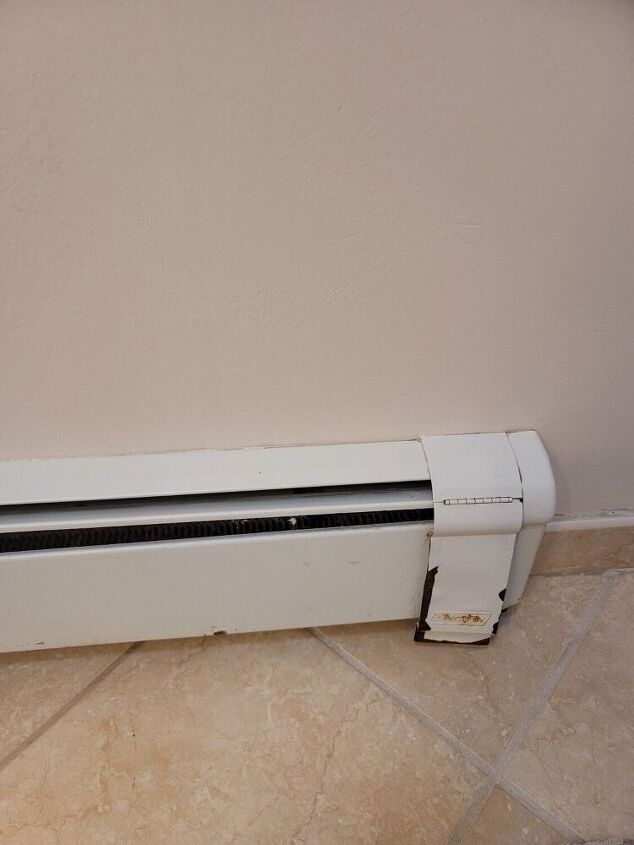
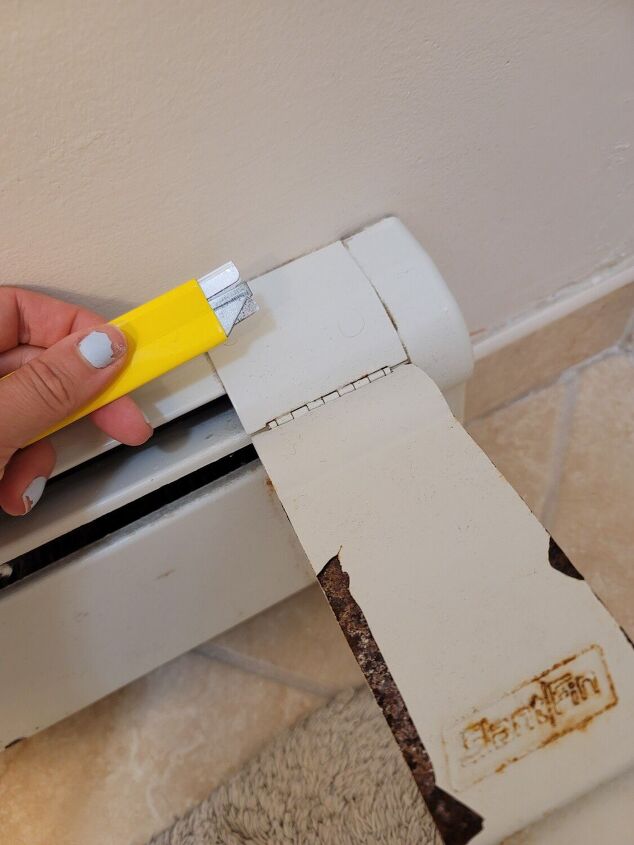
I started by using a razor to cut around the cover to remove any caulking holding it in place. Then I pulled off the side panels.
The front panel comes off pretty easily if you pull from the bottom up.
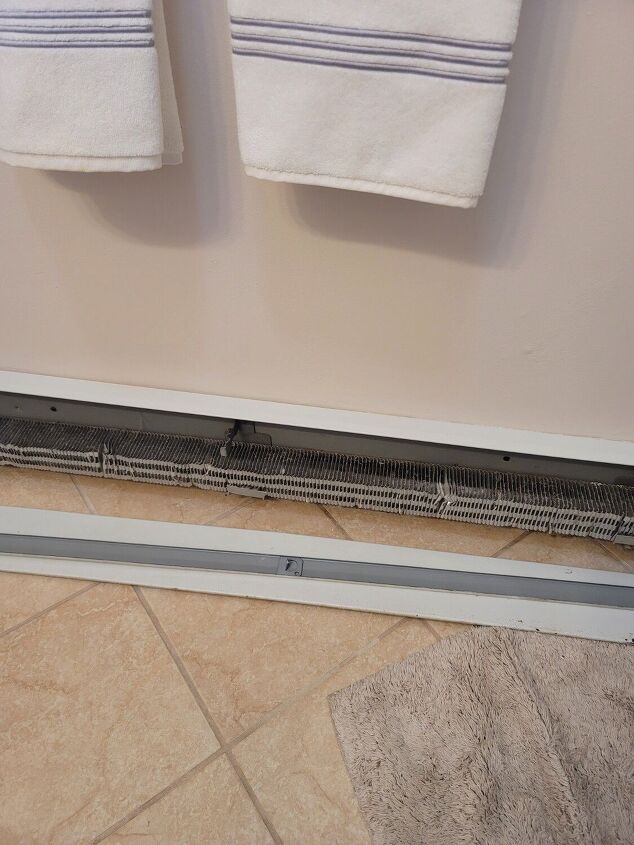
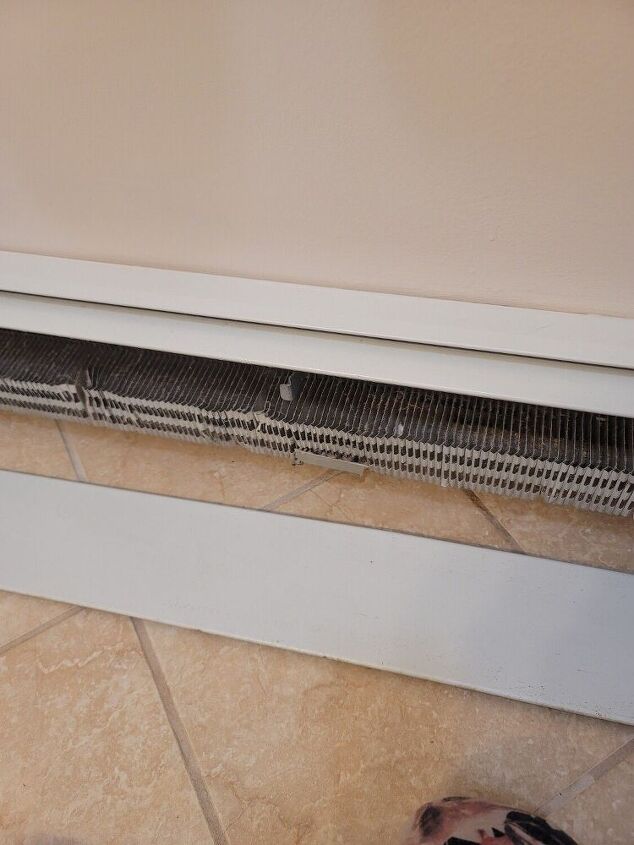
Then you can slide the top panel off. Don't remove the back piece as the new cover sits right no top.
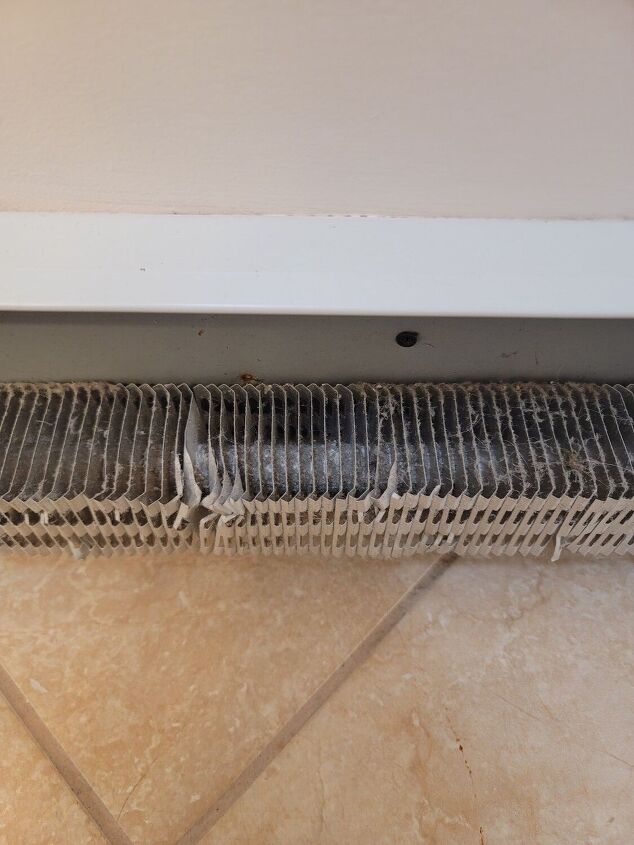
What I found was absolutely filth! It was disgusting! First I vacuumed as best I could.
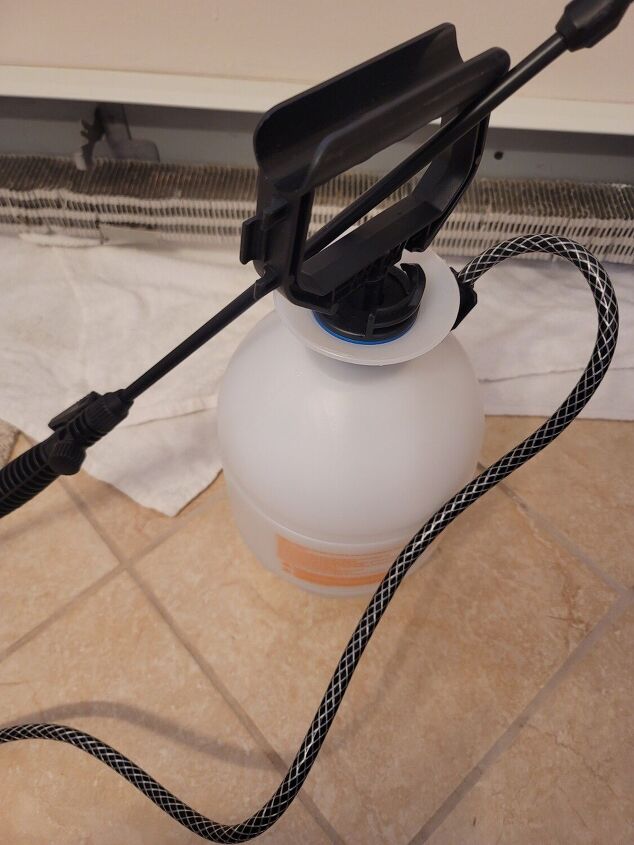
I got this hand pump sprayer at Home Depot (I think a spray bottle would work too but this was only $10 and I feel made the job quicker).
I filled the pump with 1 part white vinegar and 2 parts water. Lay rags underneath and spray away.
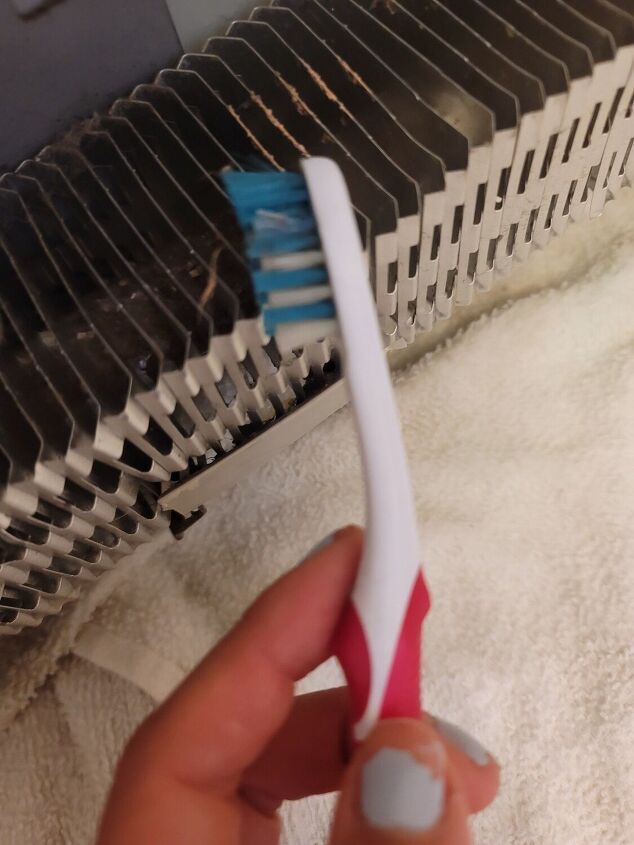
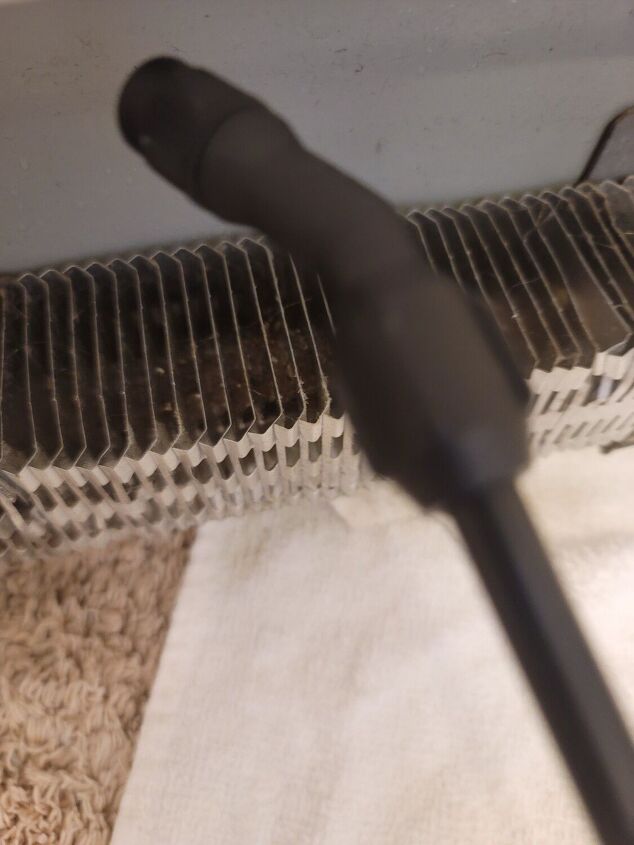
I then used a toothbrush to get the top of the fans.
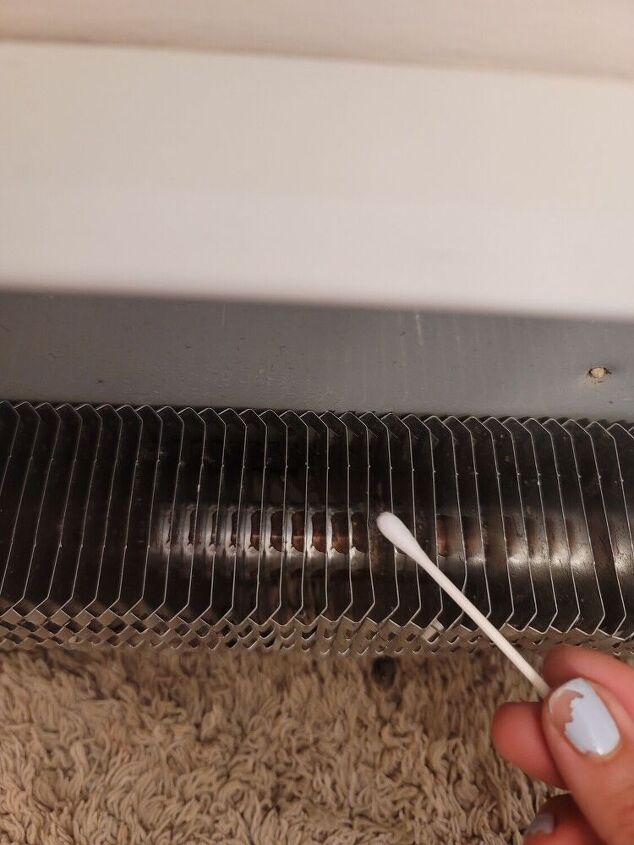
The vent was SO dirty, I cannot stress that enough, so I ended up also using a q tip to get in between each fan and get all that dirt and grim. In this picture the left hasn't been done yet. THAT IS NOT A SHADOW!
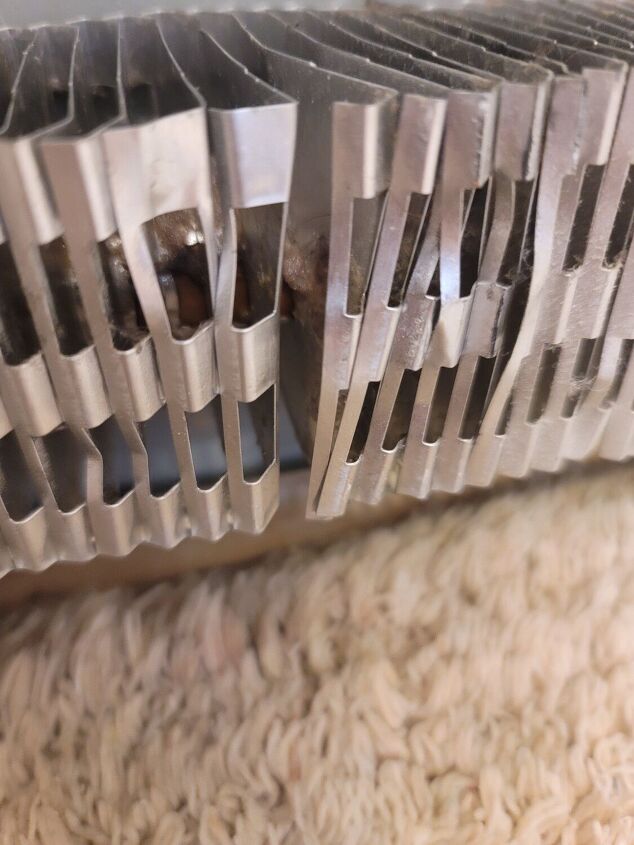
Finally, I used plyers to straighten out any of the bent blades like this on in the middle that was pushed into its neighbor.
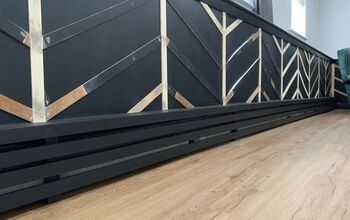
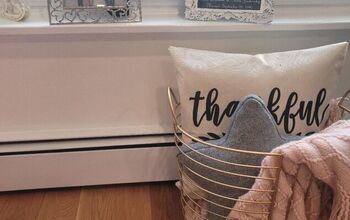
Then I purchased a new cover from Home Depot, they come in 6 foot increments. To be honest, I would only do this for ones that were rusted like mine because a new cover is $40 a pop! If yours aren't in horrible shape, I would suggest cleaning and painting them with high gloss paint.
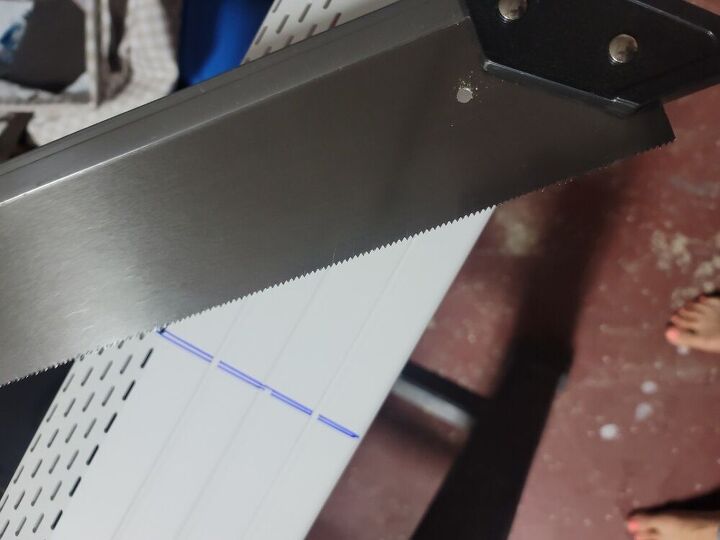
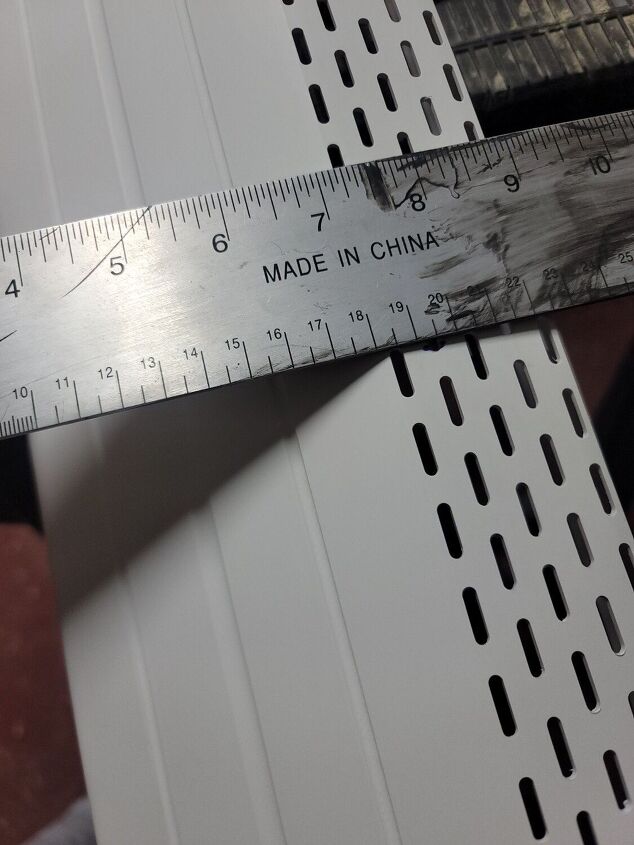
I measured and cute the new cover with a hand saw.
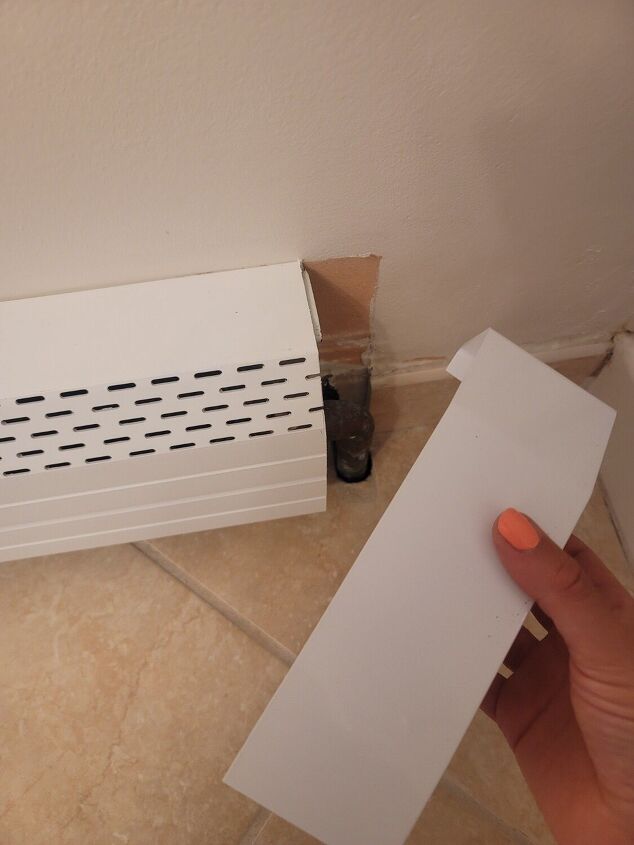
You can just pop this right on top of the old back cover which is nice.
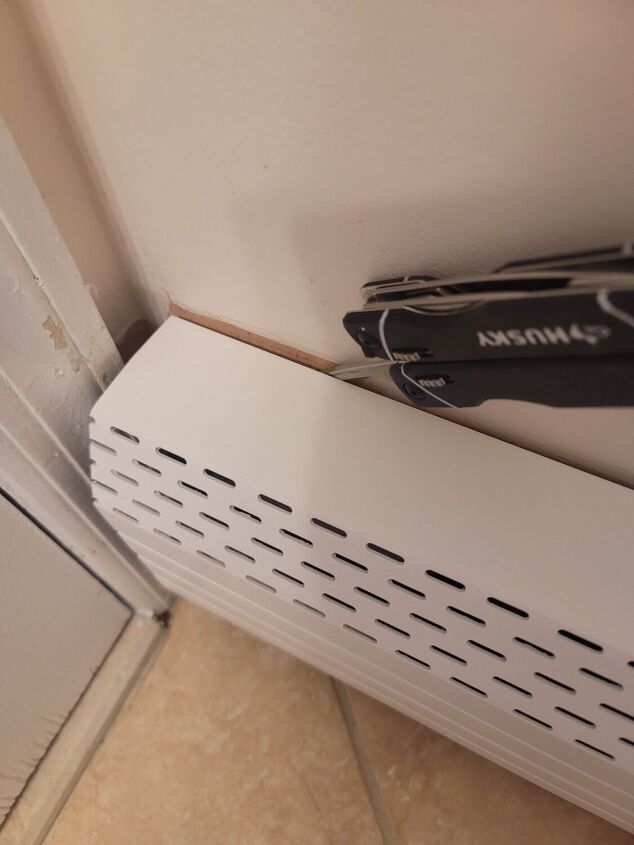
In order to put the sides on you may need to use a tool to pry it from the wall.

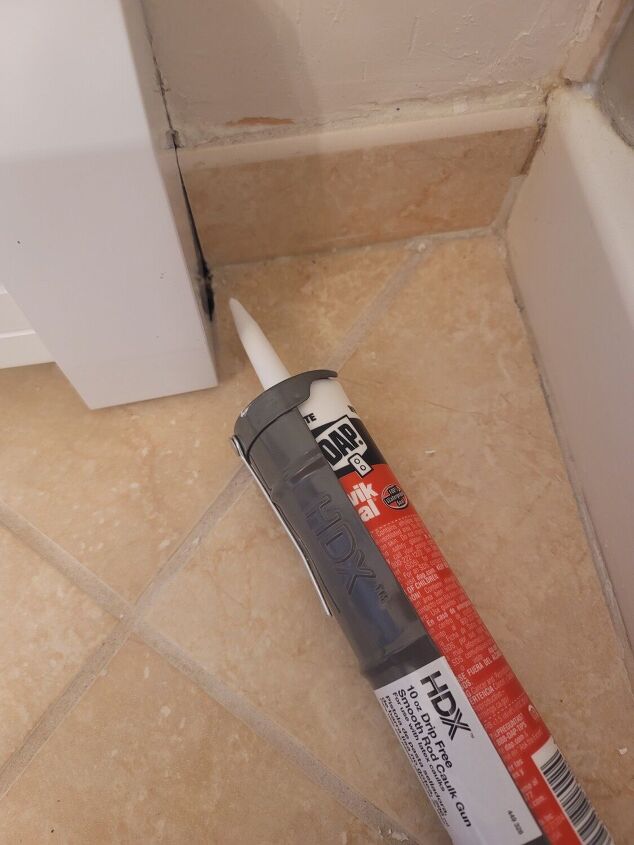
Then I just used a little caulk to seal the ends!
Resources for this project:
See all materials


Comments
Join the conversation
-
Great job! Excellent tips!
-
I love a woman who isn't afraid to show a working woman's reality - chipped manicure and all! No pearl necklace June Cleaver in my world.


Frequently asked questions
Have a question about this project?
Did it noticeabley work better?