


Cement Candle Eggs-DIY Fail / Candle Tins

I saw on Lilyardor.com how to make these and thought I would give it a try. Let’s see if it works or if it is a fail for me. Fair warning, this is possibly the messiest project that I have ever done. If you didn’t enjoy making mud pies as a kid, this probably isn’t for you. Also, my cement took a long time to dry. The tutorial said 24 hours but mine took twice as long. It might have been because my mixture was runnier than hers was or maybe because she used Sakrete cement and I used mortar mix. I had it left over from a bathroom remodel and I when I looked it up online, it sounded like I might be able to swap the two in this scenario. Thought it was worth a try but this mix may have been the, if not at least part of the problem. Update - to date this has been my biggest fail. I think the problem was that my cement mix wasn’t thick enough to mound up higher than the crack in the egg. I am leaving the pictures and steps because maybe you can derive a better outcome. I am also lucky because my candle making kit gave me enough supplies for a back up plan. I think if I hadn’t had the extra supplies to make a successful candle, I might be feeling down right now. But I jumped in 6 am the next day and made two adorable candles inside two tins that were provided in my kit.
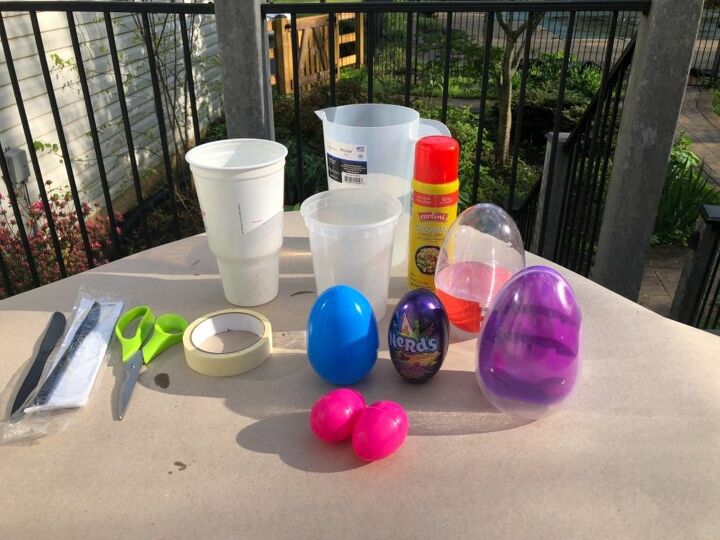
I started with an assortment of plastic eggs. I gathered my mortar mix powder, water, tape, eggs, cooking spray and a mixing container with disposable stirrer together outside.
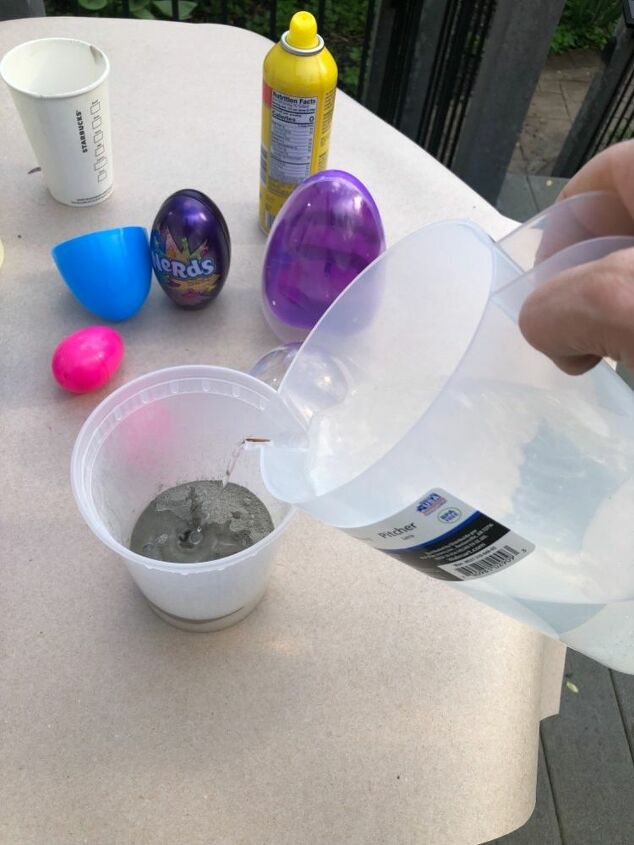
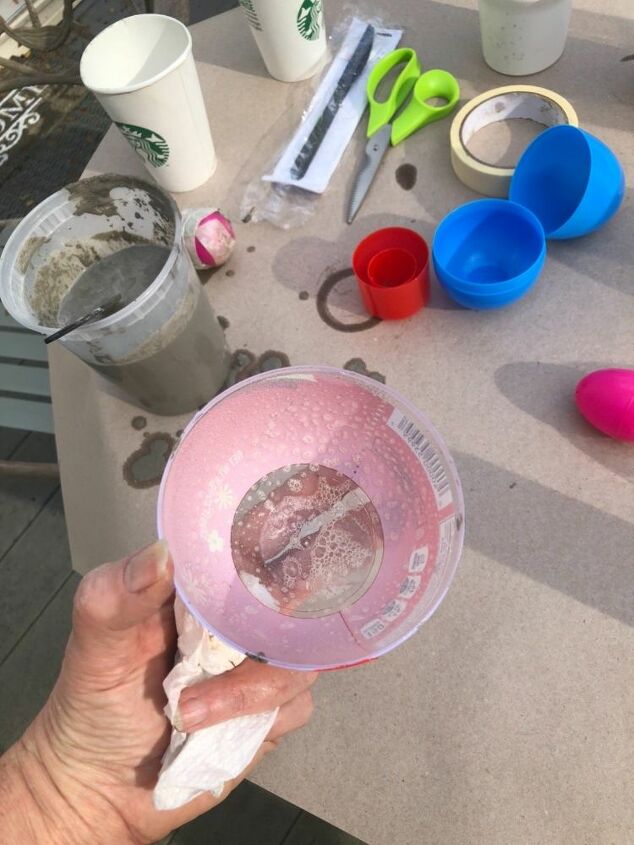
I added water to the cement/mortar mix.
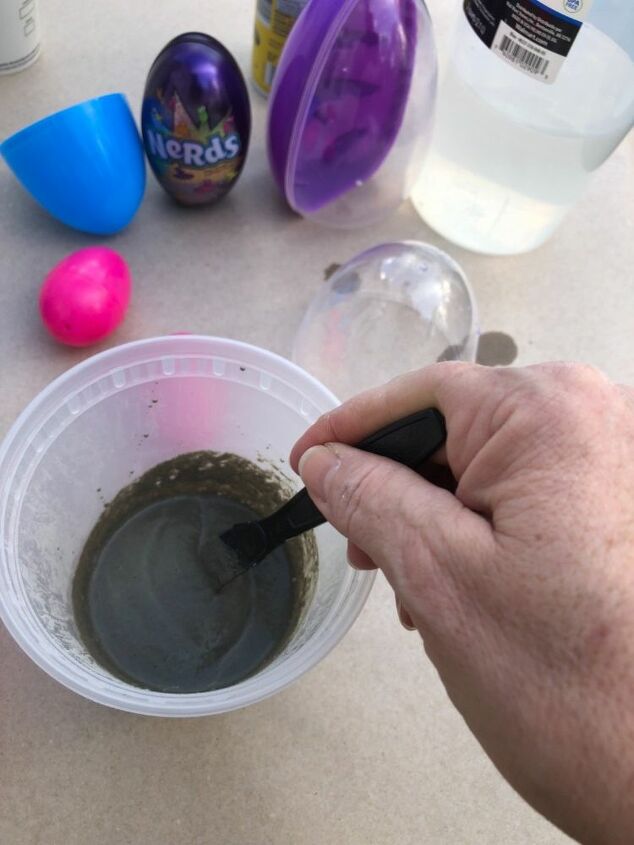
Stir till smooth.
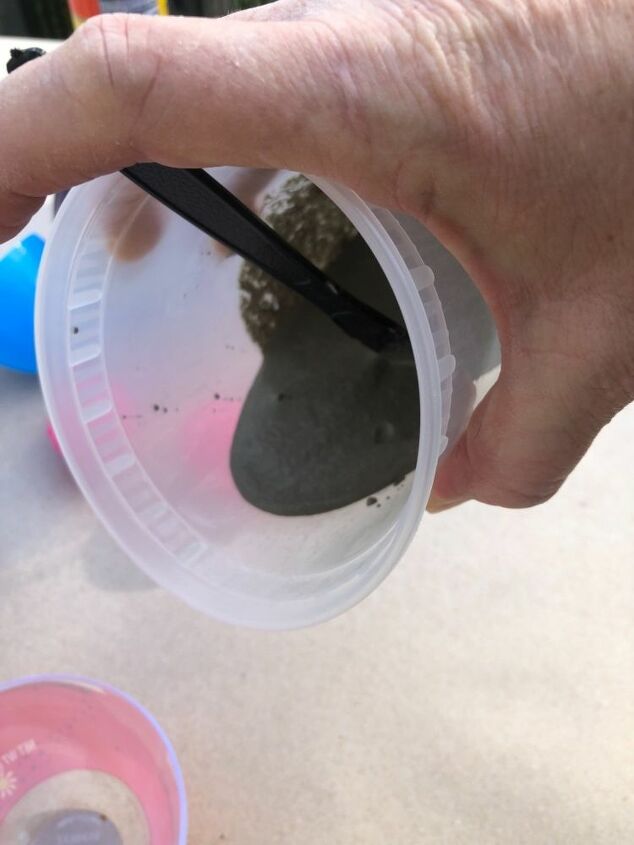
I made two eggs. One was the consistency of pancake batter and one was the consistency of a thick milkshake. This one above was pancake batter.
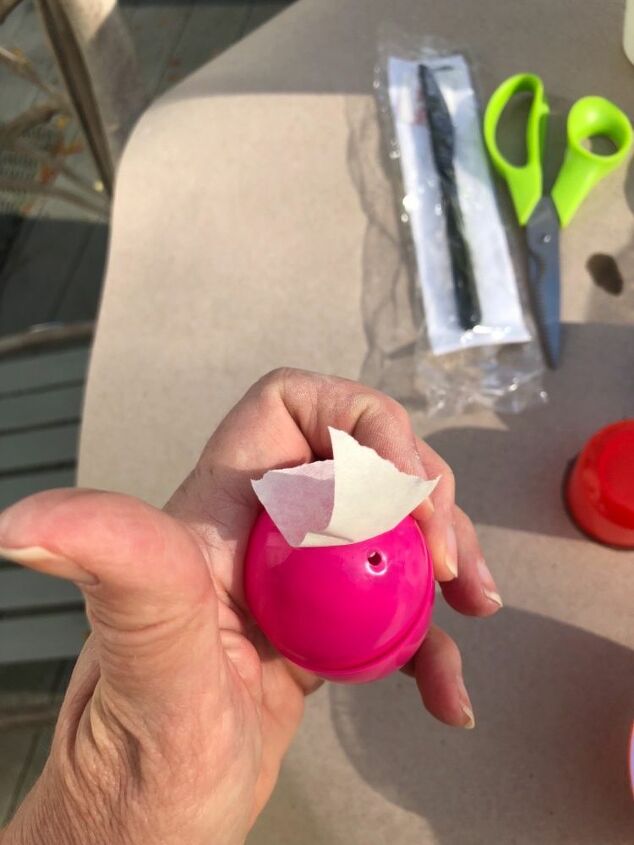
Check your plastic eggs for holes and cover with tape.
Spray the inside of the egg bottom and top with cooking spray oil.
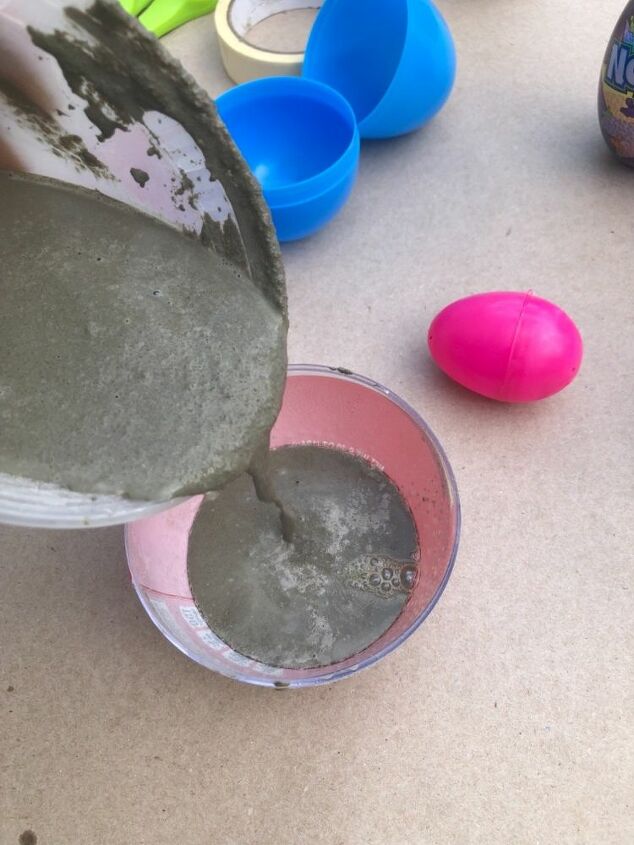
Fill your egg bottom with the cement mixture.
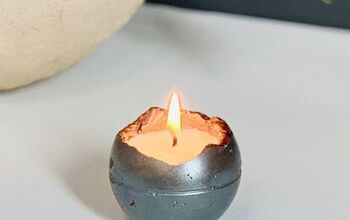
In Lily-Ardor’s post, she said if you want a bowl like middle, put a smaller egg in the cement. Weigh it down with a rock. She suggested using the cement bowl as a ring dish after the candle is gone.
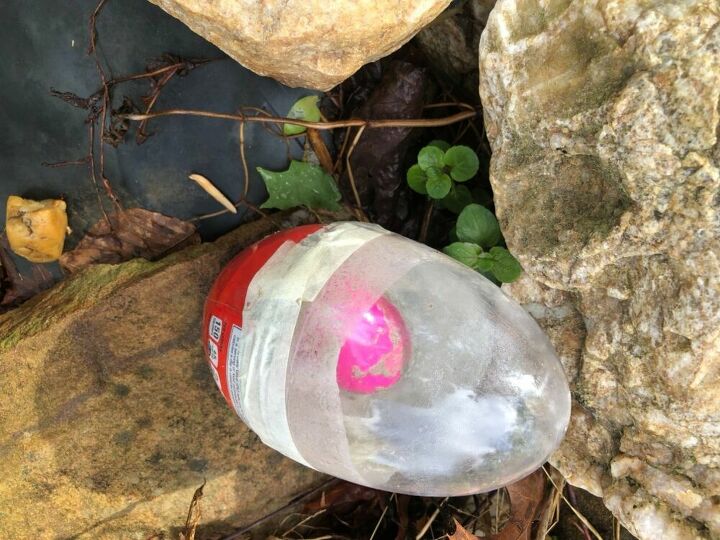
Seal the egg with tape. I put this egg to dry tipped on it’s side because one of Lily-Ardor’s had this sloping on one side look and I loved it.
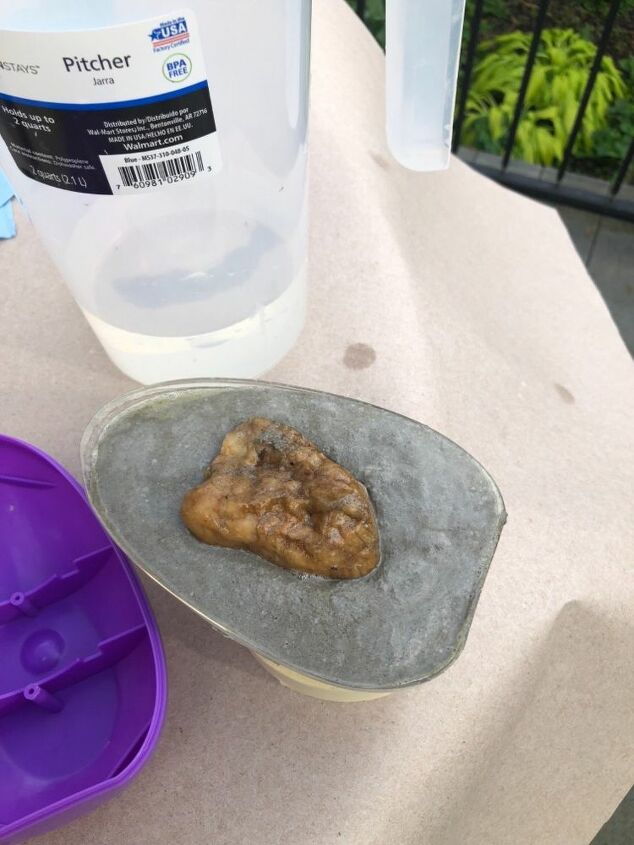
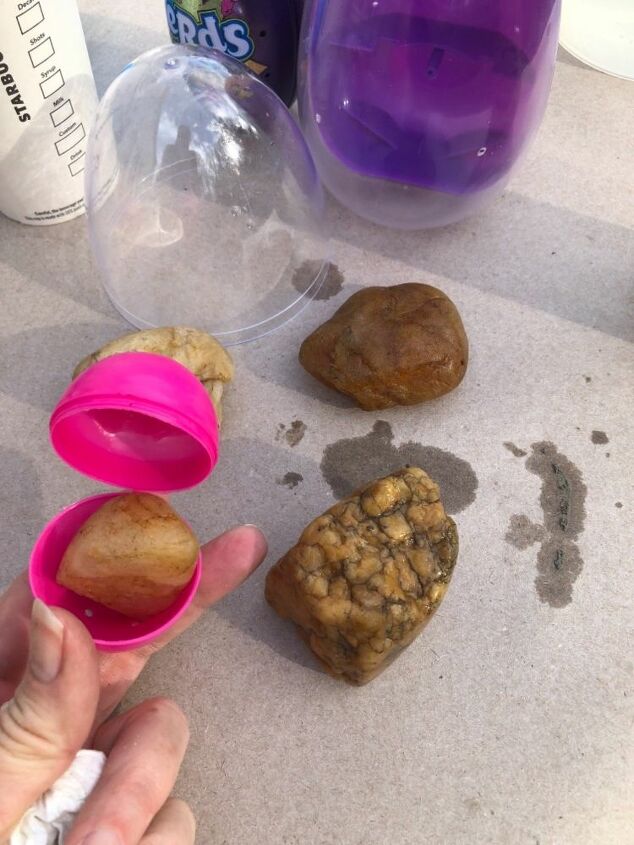
This is cement egg bowl version 2. Sideways split egg, thicker cement (thick milkshake consistency) and an oiled rock in the center instead of a plastic egg. Update: My rock ended up sinking completely in. But since when I removed the top it wasn’t dry, I was able to use a bamboo skewer and pry it out. I taped it and set it outside to dry. It looked like an Easter egg hunt but thank goodness my kids didn’t find them and open them.
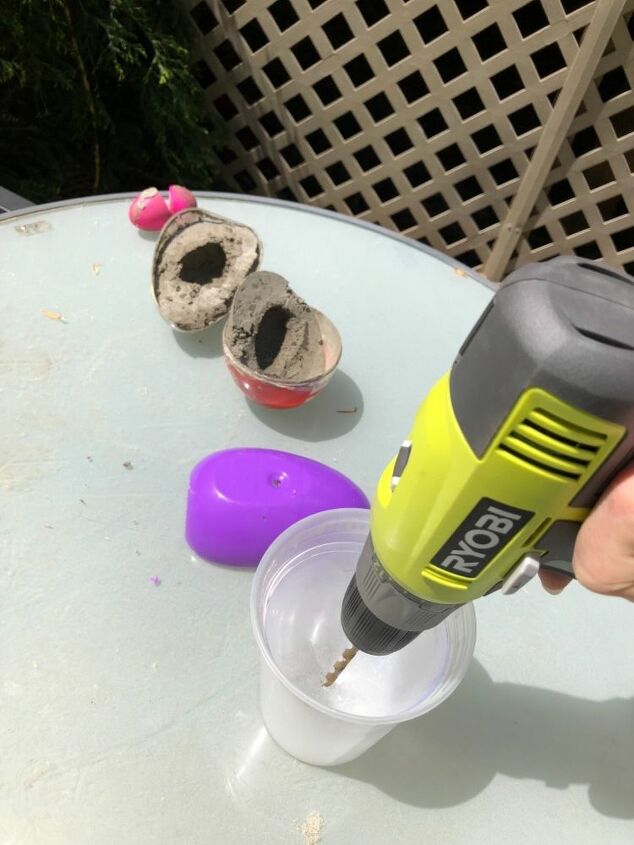
I am not the most patient person in the world so after 24 hours, I removed the tops, cleaned them and drilled holes in the tops for the candle wicks. Lily-Ardor used a lighter to burn her holes. So, your choice. The purple egg was stable to drill like you see it on the table. The other egg top, I inverted it inside a won ton soup container and drilled it while the plastic container kept it stable. I let the uncovered concrete dry another 24 hours.
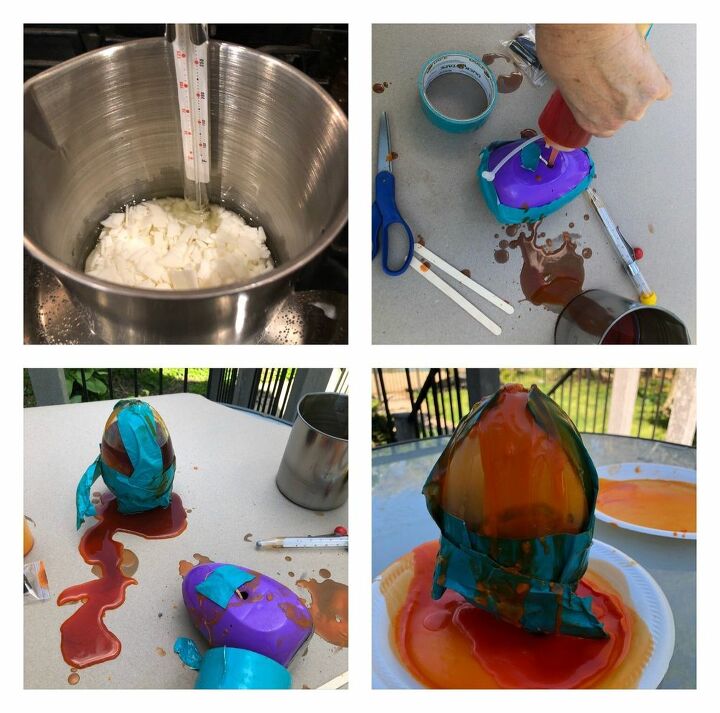
This was one of my biggest diy fails ever! Also, wins “the messiest”. I am going to try to salvage it but at this point, it may be a loss. What has been your biggest diy fail? TBT, it was a hot mess. I had melted wax all over my hands. Since it was soy wax, my hands felt lovely and smooth after wards but I did regret all the dye that I added. Have you ever hand your hand dipped in wax for a beauty treatment? I love that!
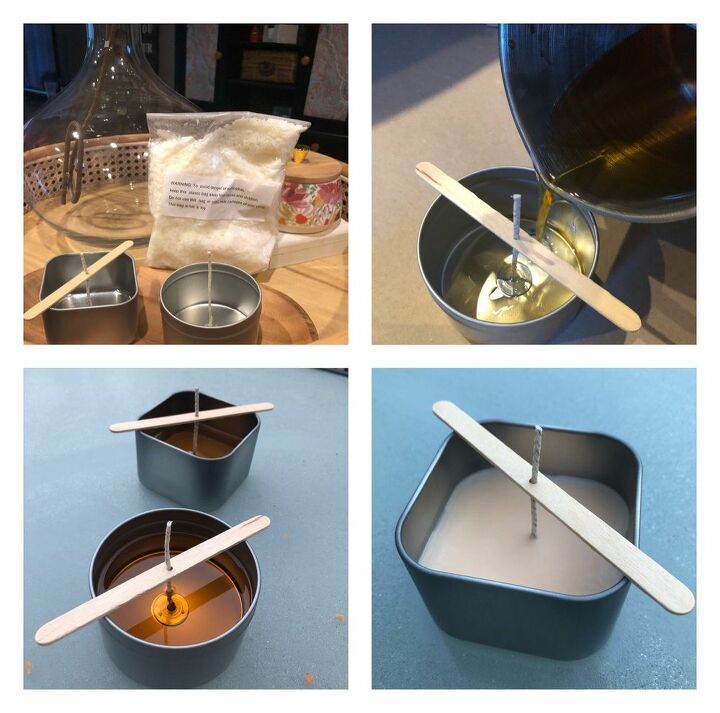
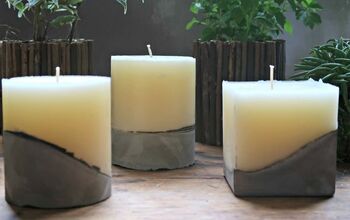
Here is the satisfying tin candle making process. Thank goodness for a happy ending to this project.
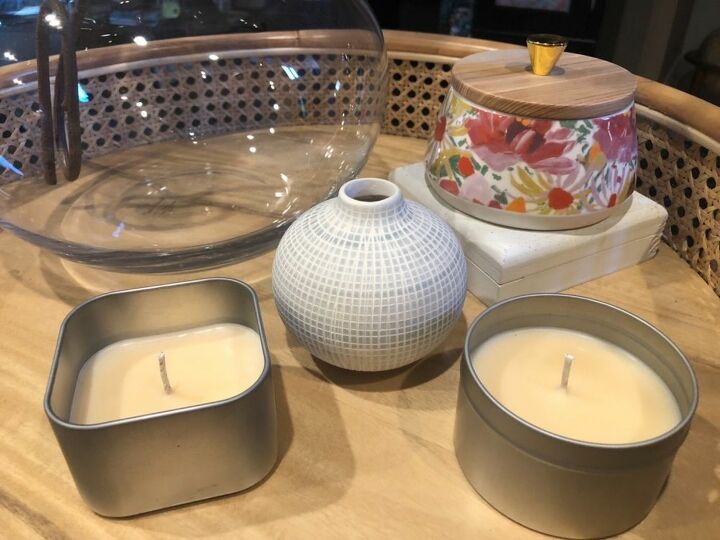
So pretty and so easy.
Have you ever done a project that you were so excited omg nly to have it not turn out as you planned? I was so excited to try these candle cement eggs. I was sure success would be imminent. I mean what could go wrong?
Comments
Join the conversation
-
Haha, oh no! I'm happy you made something work. I love your candles


Frequently asked questions
Have a question about this project?