


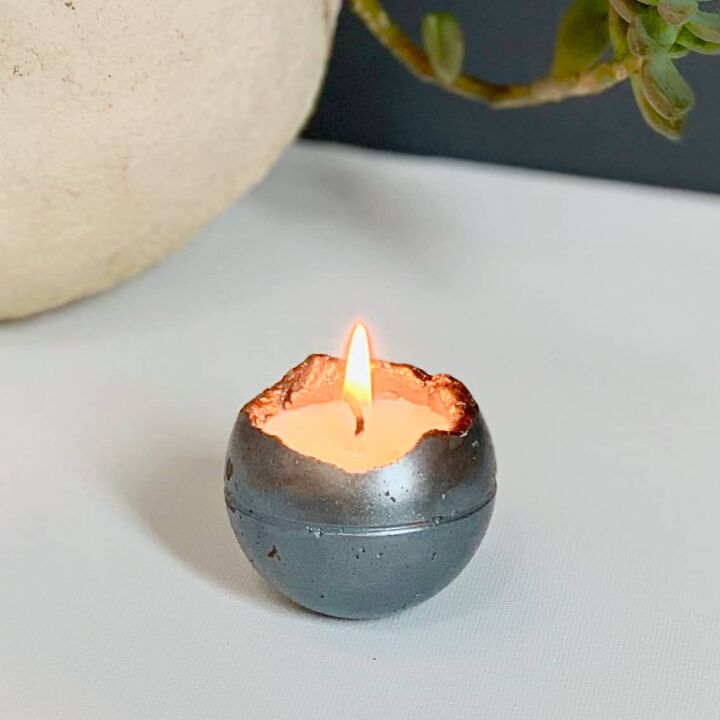
Gorgeous Concrete Candle –Easy DIY
Make your own candle out of concrete! With a gorgeous and functional design, this simple DIY also makes a great gift for any occasion.
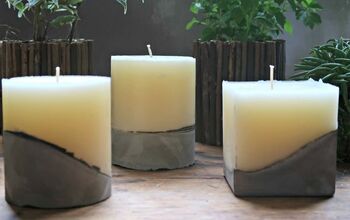
I’ve made multiple types of DIY concrete candles and DIY candle holders.
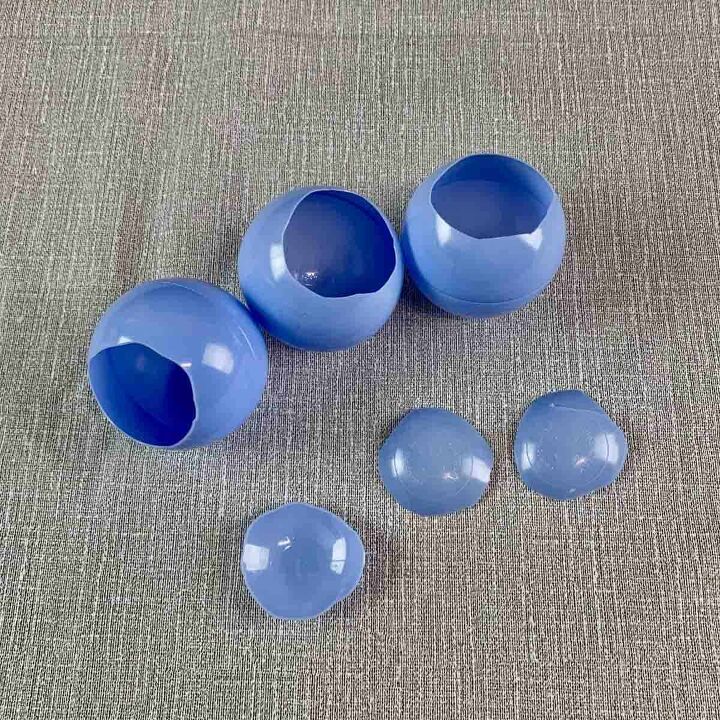
This plastic bouncy ball method is my favorite as it’s the simplest and cheapest because you can skip having to pay for expensive silicone molds.
And you’ve got a few fun options for how you make these. If you want to test your candle making skills, you can make your candles scented.
As a person with migraines and scent sensitivities, I live scent-free. But you could add fragrance oils, or even essential oils to the candle wax during the melting process.
Or maybe you want to turn these into concrete candle holders instead of concrete candles? You can do that by skipping the step where you add the melted wax.
And instead, you would just simply place a tea light candle inside, you just won’t get as long of a burn time.
Just make sure you make the opening wide enough to have the right fit for the tea light.
So the next time you’re at the home improvement store, be sure to grab a box of cement so you can get started making this concrete candle.
After checking out this tutorial, you may be interested in the concrete rainbow candle holder and this Christmas concrete candle holder.
Questions You May Have About How to Make A Concrete Candle
Can You Pour Candle Wax Into Cement?
You can pour candle wax into cement. Cement is a great choice because it can become a permanent candle vessel.
It will continue to hold the wax until it burns away. You can replenish the wax as many times as you’d like just by melting more wax chips and pouring it in.
What Concrete Should You Use For Candles?
The concrete to use for candles is any concrete that is smooth and easy to work with. I recommend this one or this one, which will require adding sand. Both you can find at a hardware store.
How To Seal Concrete Candle Holders and Concrete Candles
The way you seal concrete candle holders to protect them from oily wax residue is to either paint them with acrylic paint or use a sealer made for concrete.
If using a sealer, recommend sealing them twice. Alternatively, you can use a clear acrylic top-coat spray.
How To Make An Easy Concrete Candle Step By Step
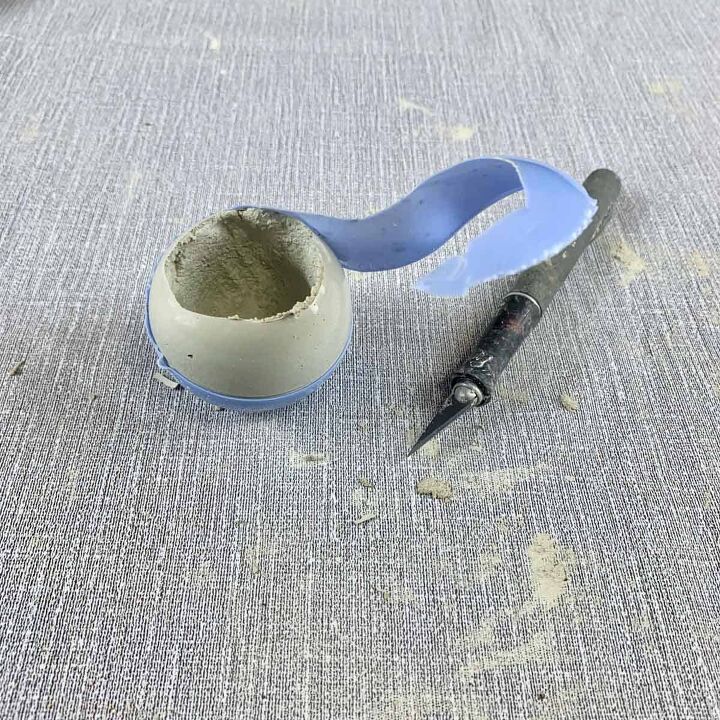
Step 1. Cut The Tops Off The Balls
Use an X-acto knife to slice the tops of the balls. Point the blade into the ball and the cut sideways and away from your body. Take care to not hit your fingers.
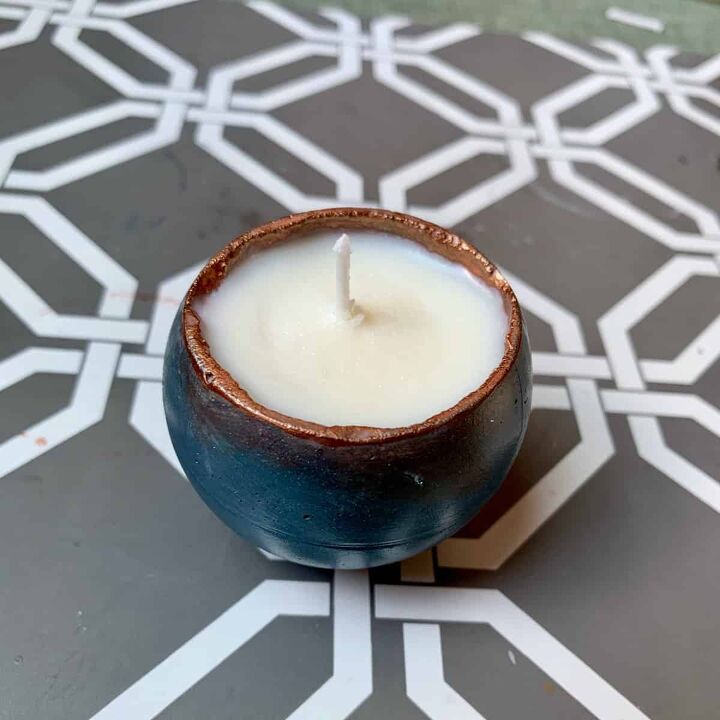
If you want the rustic look that I gave these, then don’t worry about making a perfectly round cut.
If you do want straight, even edges, you can achieve this even if your cut isn’t straight. You will still have the ability to form a straight edge in the next step.
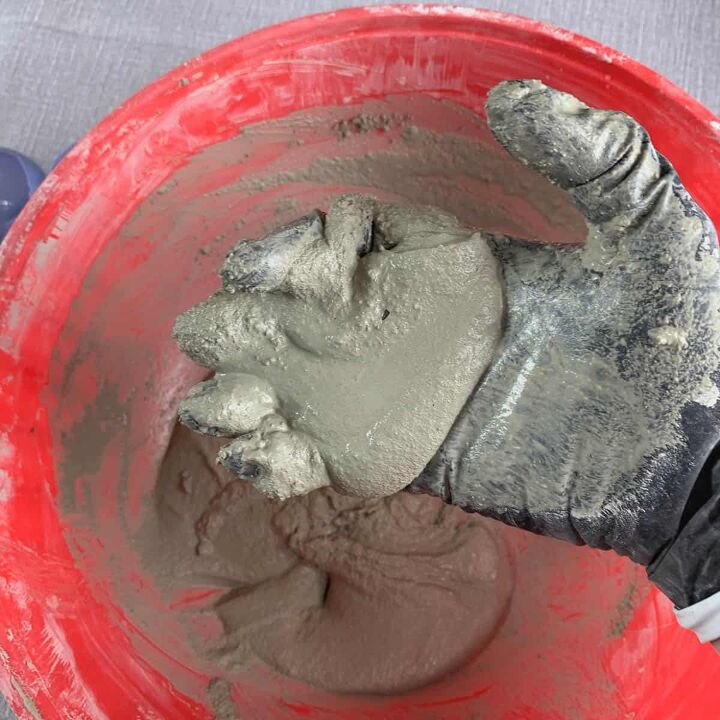
Step 2. Mix The Cement And Cast The Ball
**If you love making concrete projects, then check out my Pocket Guide to Concrete Mixes! I tested 6 mixes and made a handy reference chart. It's a FREE download. 😉
Mix the cement to the consistency of a mud pie. The cement should be fairly formed, rather than runny. It should be more like a very thick brownie batter, and smooth.
Place the mix into each ball and start shaping it with your fingers. Don’t make more than three of these at a time or the cement will start setting too quickly.
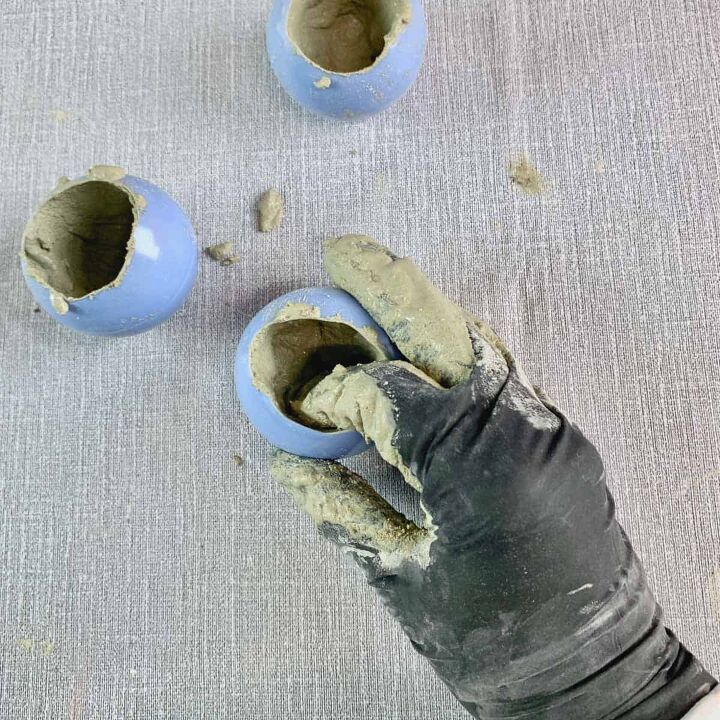
When placing the concrete mix inside, I find it easiest to fill the ball to about ¾” full and start placing pressure toward the sides to build them up with the concrete.
Then I’ll remove the excess concrete as needed so that I have a cavity wide enough for the candle wax.
If you want to avoid pitting, then before you start smoothing the sides, tap your ball with the concrete in it, several times on the table to help settle it and eliminate air bubbles.
At the top edges, I intentionally let parts of them be thin so I could get some angles and curves at the top. If you want them smooth, then take care to make them at least ⅛” thick and smooth and even.
You should make sure the bottom has a decent flat spot so that you can easily glue the wick to it in a later step.
It will also be helpful for you when you go to paint the inside of the inside walls are fairly smooth. So try to smooth them, but don’t make it a priority, it just makes painting them easier.
Once these are shaped, tap the bottom lightly on the table–just a touch to create a small flat spot.
When you place the ball on the table, it should be standing fairly straight up and not rolling.
I happen to prefer when the candles are slightly angled, so I don’t fuss with them much, I mostly just let them be.
The way the ball is positioned when curing is the way it will lay as the finished, concrete candle.
However, if you are worried about someone or a pet in your household bumping into the table they are sitting on, then you can create cement bases for them.
Just take small gumball-sized pieces of cement and roll them up into balls, and then press your thumb in the middle to indent them.
This will create mini dishes for the concrete candles to sit on.
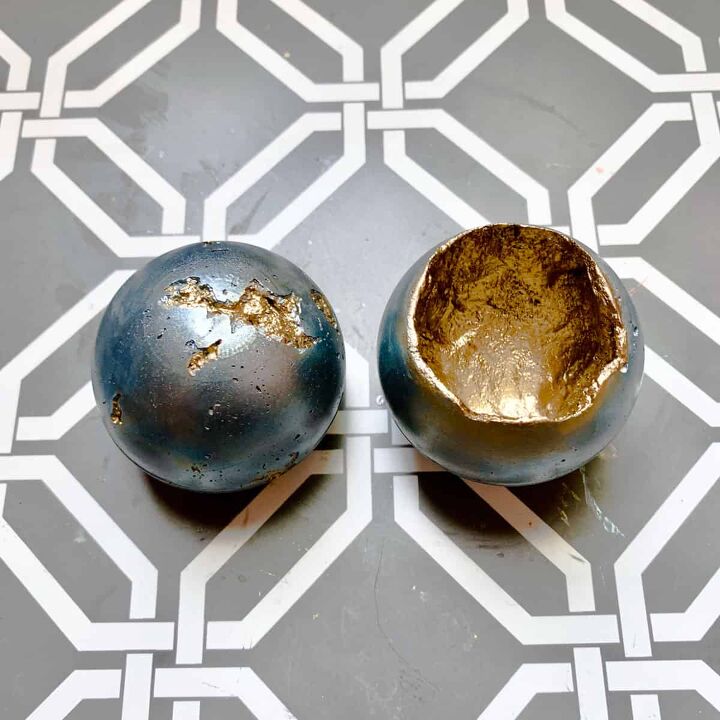
Step 3. Demold The Candle From The Plastic Mold
Use the X-acto knife to make a slit at the top of the plastic mold. Be sure to cut away from your body.
Once the slit has started, grab ahold of it and tear it away so it peels away off of the ball.
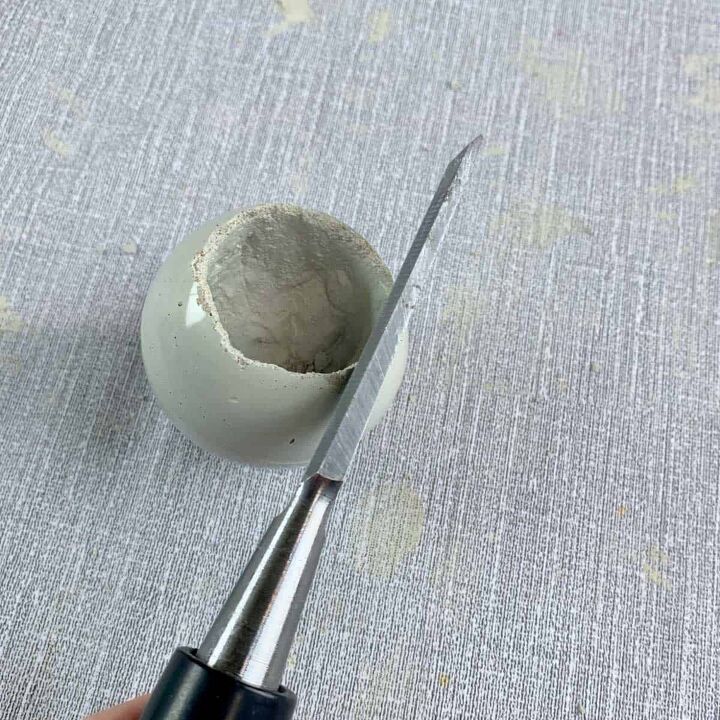
You can add a little character to the edges by creating some extra peaks and valleys. Do this by tapping on the edges with a tool like a chisel or a larger screwdriver.
Step 4. Paint The The Concrete Candle Vessel
To paint the concrete candles, I recommend you use your finger. The reason is that you will be able to avoid brush marks.
I used a soft cloth to apply the paint at first, but my finger got paint all over it anyway.
So I gave up on the cloth and just used my finger, which ended up being less cumbersome.
Start with the outside. The reason for this is that it will be easier to hold the candle from the inside while painting, and this way you won’t get paint on your fingers.
The paint inside the concrete candle will be thicker and take longer to dry, where the outside dries very fast.
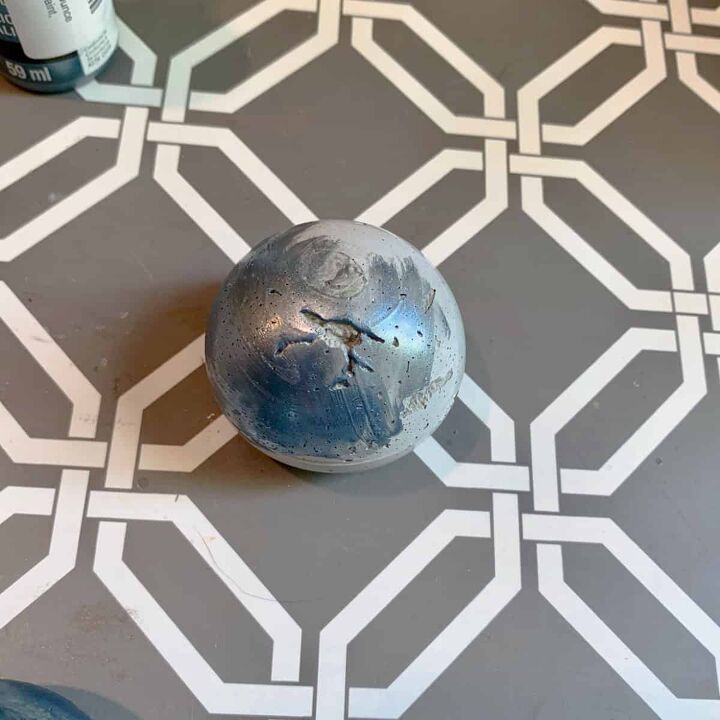
First pour some of the pewter or obsidian base layer paint into the tray, then use two fingers to hold the concrete candle vessel upside down.
Now dip your finger on your other hand into the paint and rub it onto the concrete ball.
Spread this around the ball evenly. I found that a great way to do this is to overlap strokes going in different directions, and this kept away streaks.
If you find that the paint is drying too quickly or leaving a streak or mark of some kind, then just dip your finger in water and rub it over that spot to blend it in.
You can even use a paper towel or soft cloth to wipe it off if you need to.
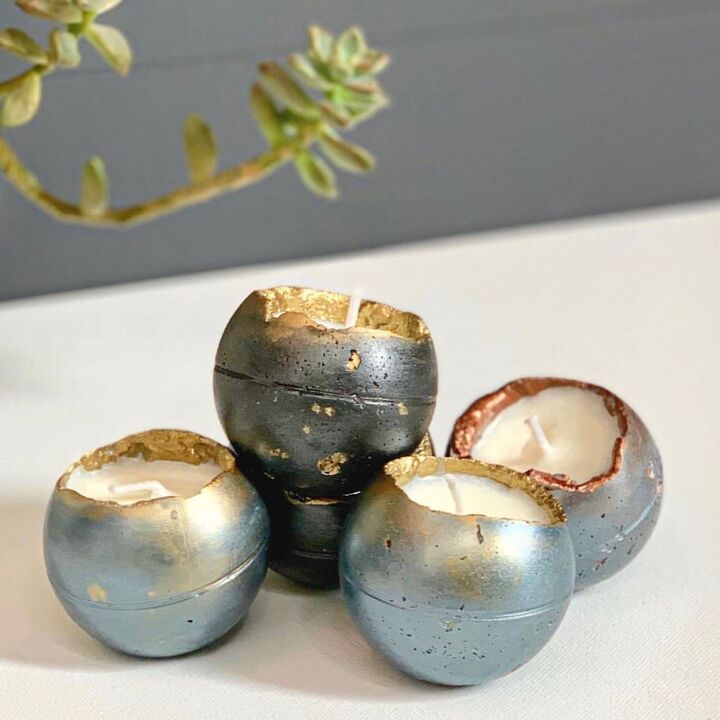
Once the concrete ball is covered with the first layer of the metallic color, then let it dry completely before layering on the second color.
Once I was done with the third candle, I waited about another 15 minutes before starting the second color.
The reason you want the paint to be very dry is that when you do the second layer, you will be rubbing some of it off and you don’t want to take off the first layer with it.
Be sure to wash the paint off of your fingers before starting the next layer.

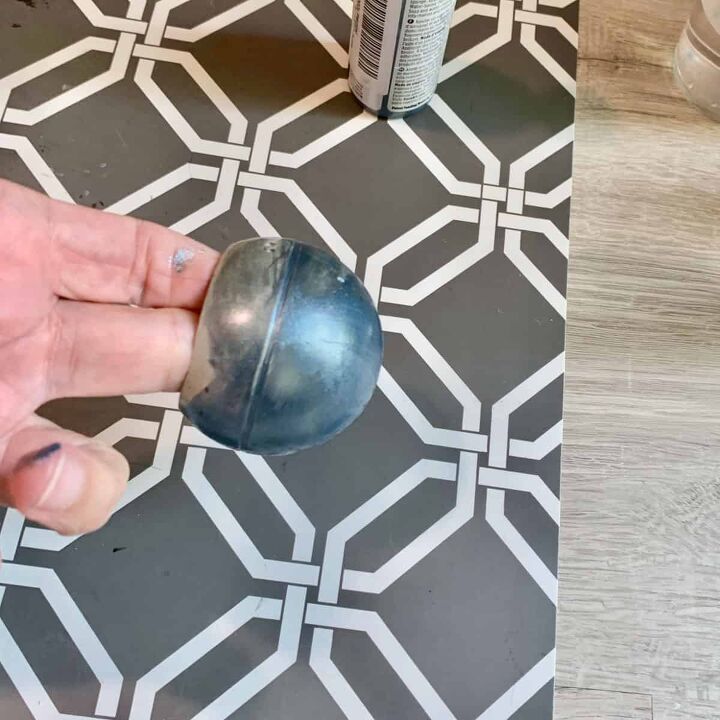
Now add a dab of the second metallic color– bronze or gold, onto the paint tray and dip your finger into it. Then lightly rub the color along the top edge of the concrete rim.
This is where your artistry comes into play. You can choose to just paint the rim and the inside, or you can add the shimmer to parts of the round candle or to all of it.
After playing with it, I decided I preferred the color being added to most of it, but in select areas–more so near the top and any place there was pitting/craters.
As I rubbed the paint on, I used my other fingers to blend parts of it. And sometimes I added larger sections and used the palm of my hand to rub it off right away.
This pushed the bronze or gold into the tiny pinholes and left just the sheerest of color on top.
For the deep craters, I used a tiny paint brush to get the color inside.
Once the second layer is done, you can paint the inside. Again, use either a foam brush or your finger for this.
The paint will need to be completely dry before you can glue the wick in Step 5, so time the next step accordingly.
And just a reminder, that there is no need to seal these as the paint is acting as a sealant and will protect the candle from the oily residue from the wax.
However, if you want to give the candle extra protection, you can spray it with this acrylic top-coat spray.
Step 5. Heat The Candle Wax
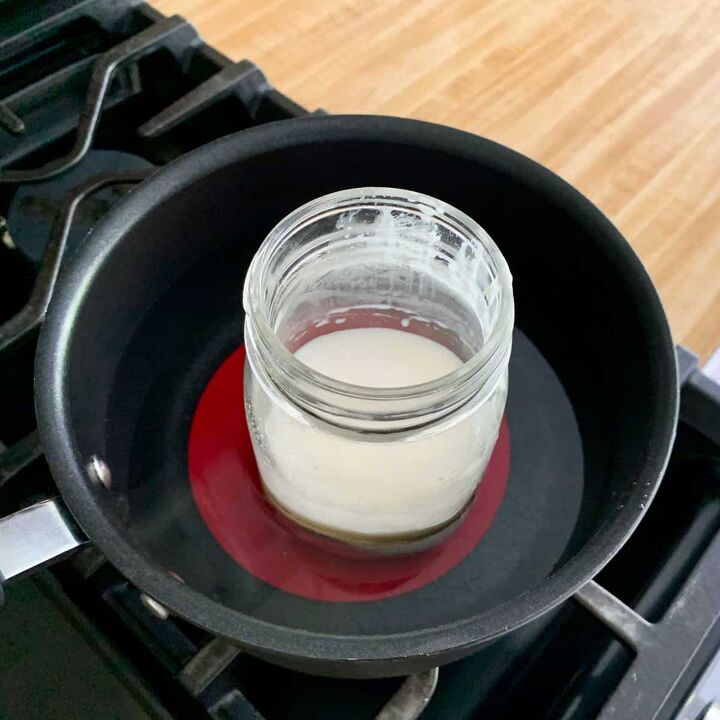
Heat water in a saucepan on low heat in a saucepan. Pour the wax chips into a glass pyrex cup, or a glass jar like a Mason jar and place it into the saucepan.
If your pan is a non-stick type, you may want to use a silicone jar gripper on the bottom to protect it from getting scratched from the glass jar.
While you wait for the wax to melt, you can glue the wicks in the next step.
Step 6. Glue The Wick To The Concrete Vessel’s Bottom
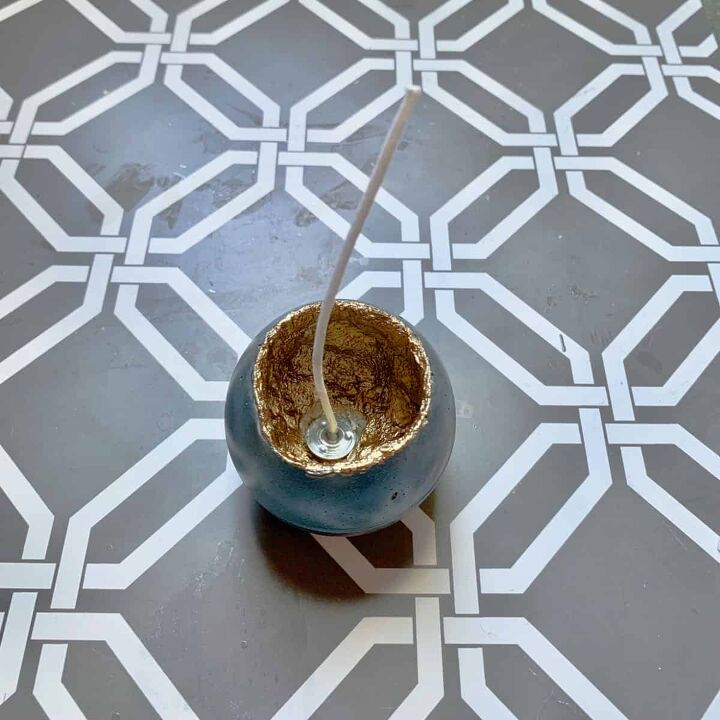
Once the paint inside the concrete candle vessel has dried, heat the glue gun to low and then take a wick and place the hot glue to the bottom of the wick holder and then press it to the center bottom on the concrete candle.
Now trim the wick so that it is 1-2” above the rim.
The reason you want it longer, but trimmed, is because when it’s really long, it’s floppy and gets in the way, so by trimming it above the candle, you will be able to hold it and position it after the wax is poured in.
You will do a final trimming later.
Learn how to make a candle wick.
Step 7. Pour The Wax Into The Concrete Candle Vessel
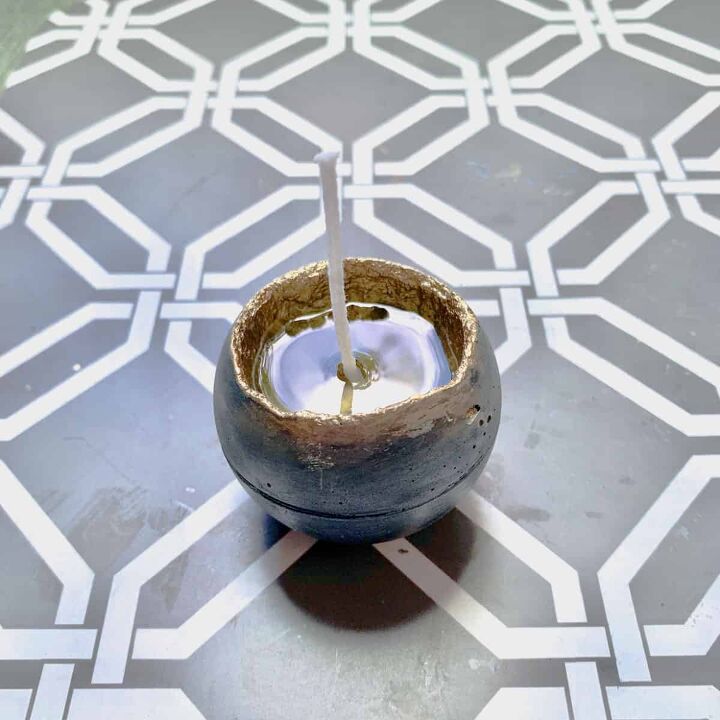
Carefully pour the melted wax inside the concrete vessel and take care to not let the hot wax drip on your fingers.
Also, take care to not let it overflow as it is easy enough to add more wax if needed. After pouring, you can straighten the wick.
If a little bit drips over the edge of the candle, just wipe it off with a paper towel.
At first, it may still be loose and fall to the side, but after a few minutes, the wax will thicken and the wick will become more agreeable and you’ll be able to get it to stand straight up.
I usually move onto the next two candles and fiddle with them after.
Once the wax has fully hardened, go ahead and trim the wicks so they are about ¼” above the wax or just above the rim of the concrete candle.
DIY fall candle holders
Resources for this project:
See all materials


Comments
Join the conversation
-
They are lovely. Very creative. I like the ones with a rough edge. Good share
-
Great idea! The rough edge gives it the look!


Frequently asked questions
Have a question about this project?
I really like those!! :)
The only thing I would want different is that 'ring around the middle' left by the mold. Is there any way to avoid/fix that..? I was thinking one might just add a thin layer of concrete to the indent but...that seems like it might mess up the smooth finish..?