


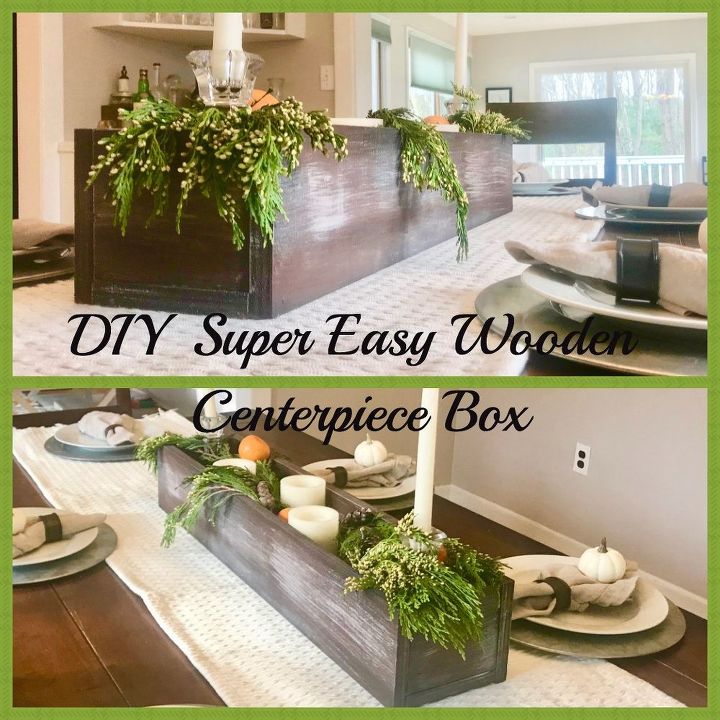
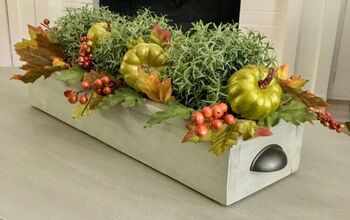
DIY Super Easy Wooden Centerpiece Box

The holidays are upon us everyone, like it or not! This year has gone by so quickly and the holidays have snuck up on me! So, although I look forward to celebrating, I’m having a little trouble getting in the mindset. If you are like me, you likely spend a lot of time decorating your table for the holidays just to have to move everything off of the table when meal time comes. It’s annoying. So this year I decided to make a DIY wooden centerpiece box for my table that not only looks lovely, but is portable so you can easily remove the whole box from the table when meal time comes. Super functional, super easy, and really beautiful!
Most of my projects are on the easier/beginner side of woodworking, but this one is beyond easy! I used scraps of plywood that I had left over from building my barn doors, but you could very easily buy a piece of wood from Home Depot and have them cut it down for you. This whole project will cost you less than $10 depending on how elaborate you want it to be. My 4 year old helped me and I was still done building it in about 10 minutes!

To start, I had 3 equal strips of wood that are about three-quarter inch thickness by 5 1/2 inch width. If you were using a board from Home Depot you could buy a 1×6 board and get similar dimensions here. One strip acted as the bottom and the other two strips were the sides. These are easily attached using wood glue and nails.
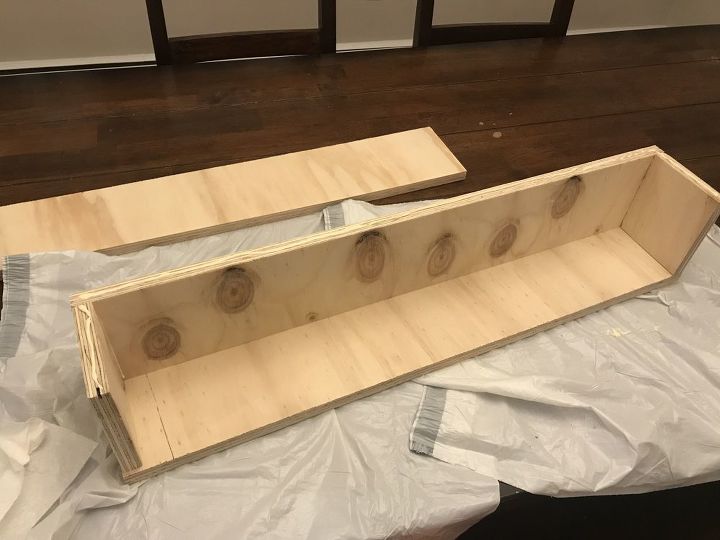
The end pieces are cut to fill that gap between the bottom and the top of those side pieces. If you were having this cut in the store, just make sure you draw it out and do your math before you go in there. Otherwise it’s a quick cut using your miter saw. Again, these are attached using wood glue and nails.
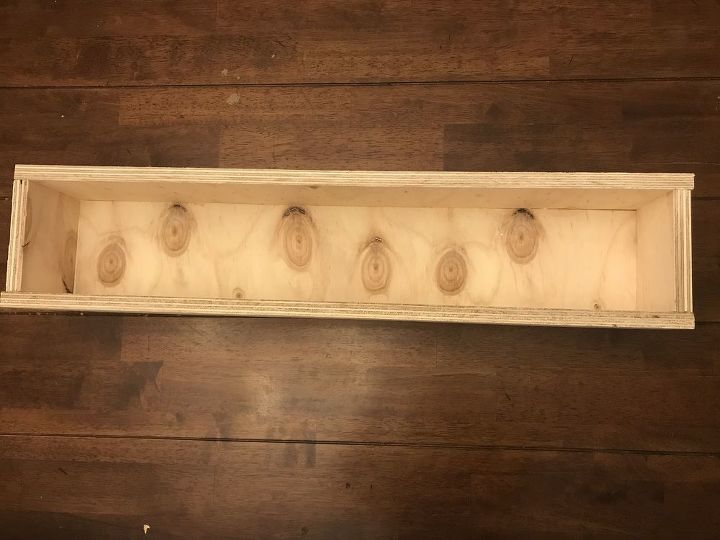
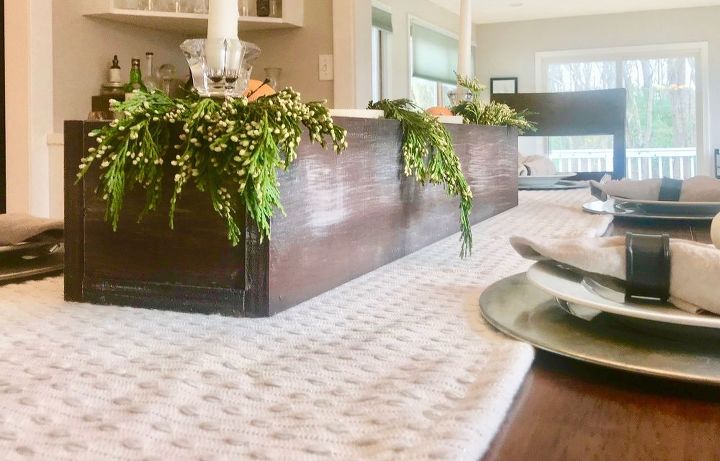
And that is it! Your box is built. It seriously takes like no time to build. Now it is time to finish the box with whatever look you are going for. I wanted mine to be on the rustic side so I started with a dark wood stain, similar to what I have on my dining table. Then I added a little light grey paint (that I had leftover from another area of my house) over the top to give it a more weathered look.
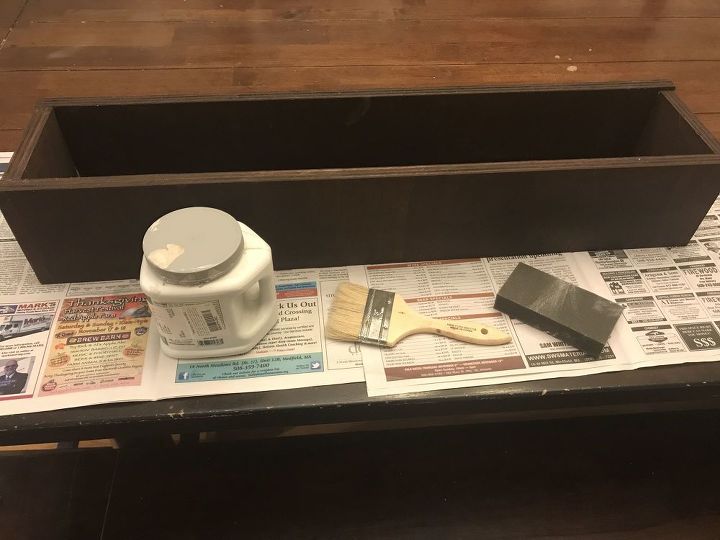
The painting part was done with some dry brushing. A short stubby dry paintbrush works best for this. Dip the ends in the paint and remove as much of the excess as you can before lightly running the brush horizontally over the surface of the box. Once the paint is dry, sand over it a bit to blend and create a more weathered look.
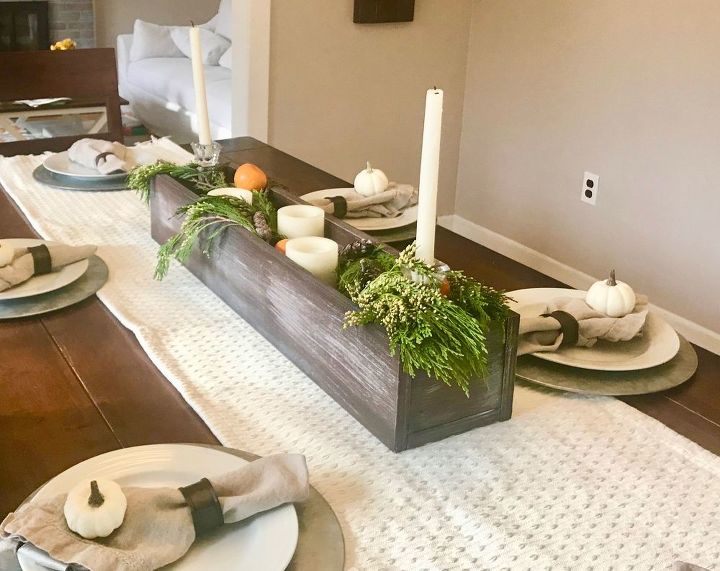
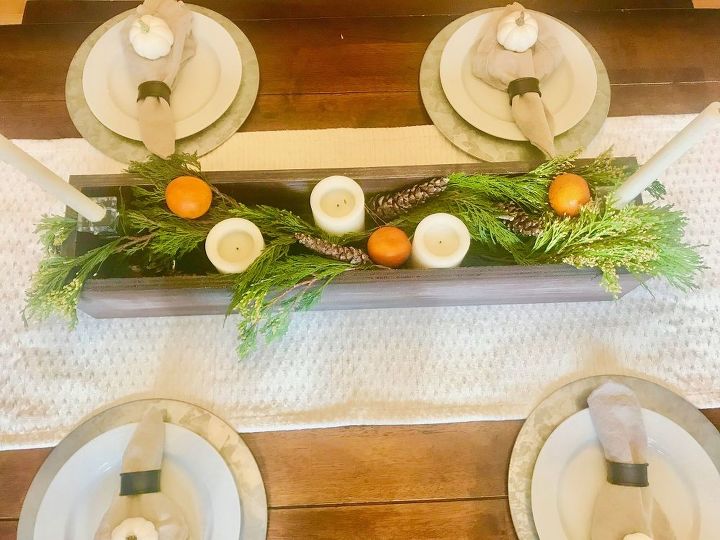
And lastly, you decorate! You can fill this with basically anything. This year for Thanksgiving I am keeping it simple and using white candles, greenery that I snipped from a tree in my yard, some clementines, and pinecones. I just love the rustic natural look that this provides and also the ease of moving it at meal time. Hope you enjoy as well! Happy holidays!


Frequently asked questions
Have a question about this project?