


How to Make White Cherry Blossom Stems
I love flowering branches and these will last you forever. My white cherry blossom stems are a Pottery Barn knockoff and cost one-third the price.
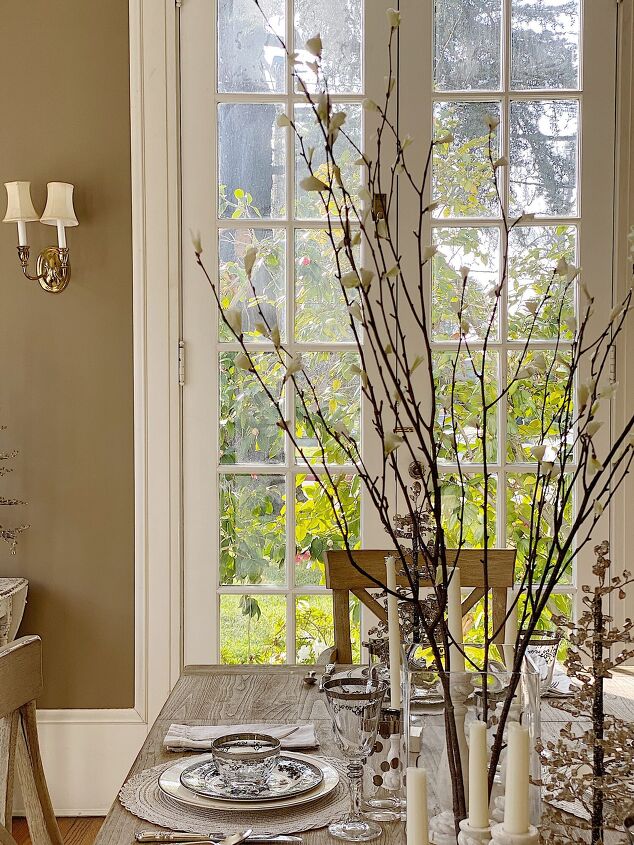
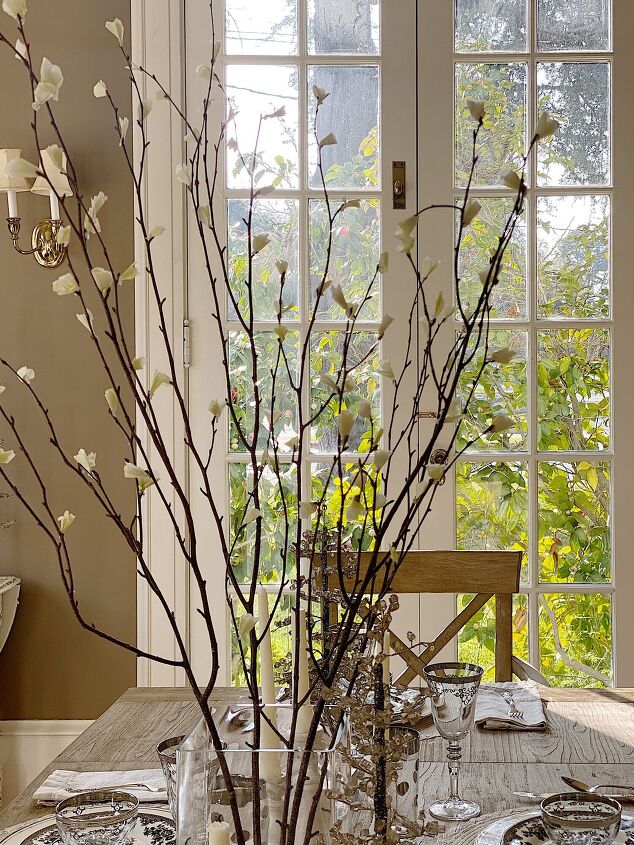
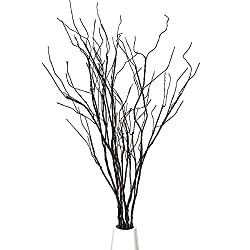
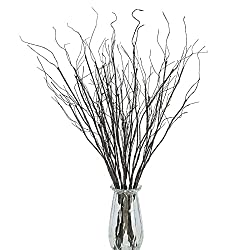
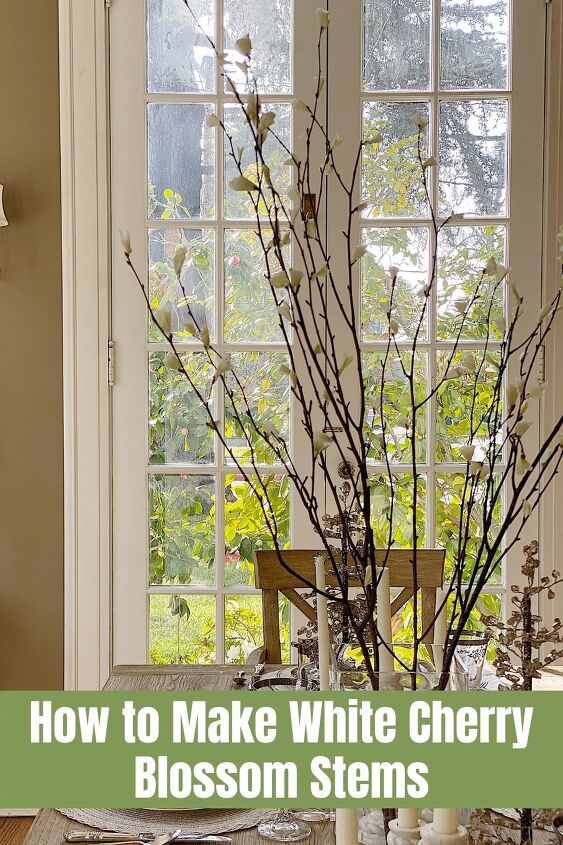
There is nothing prettier than a vase with flowering branches. Individually or clustered together, white cherry blossom branches, or any flowering branch, is such a lovely peek into spring during the winter.

I saw some beautiful flowering branches online on the Pottery Barn website. They were spectacularly beautiful. I am partial to a flowering branch, but these really were quite gorgeous. Here is the photo from the Pottery Barn website that sparked my inspiration.
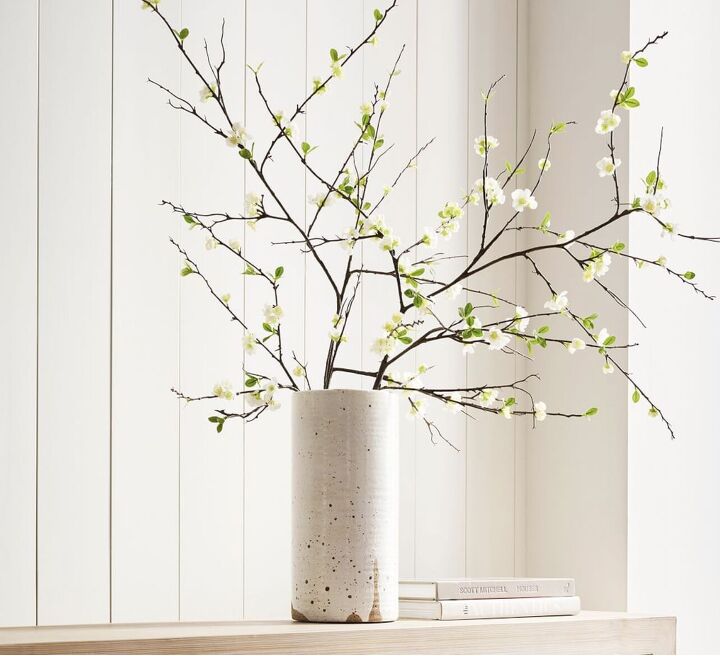
For those of you that have followed me for a while, you know that I am a huge fan of beautiful decor items. However, I do not like to spend a lot of money on them. I love these. I just didn’t like the price. $59 was outside of my price range. So, I zoomed in on the photo to see all of the details and then set out to make them myself! Step one was to gather supplies.
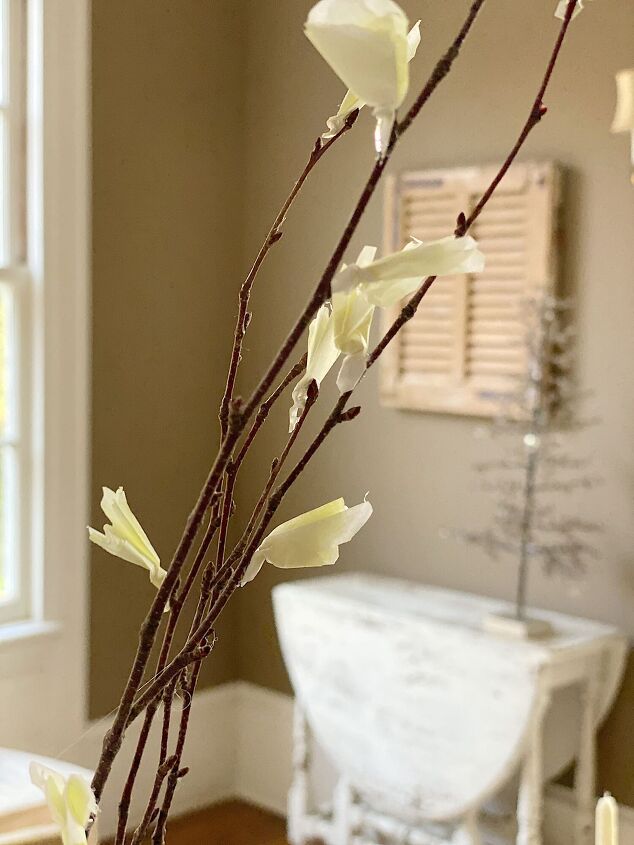
And then I made these, for less than one-fourth the cost.
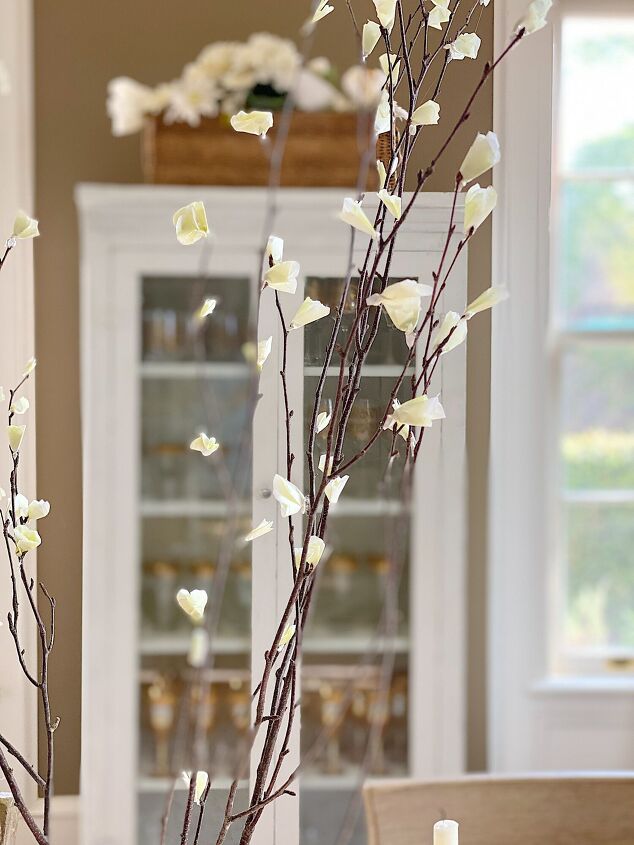
If you look closely you can see the cherry blossom branches are made from tissue paper and are glued to real branches. (In fact, you can also see are a few glue string threads, but you can ignore those.)
I can;t believe how great these blossoms look on my table!
And when you see how easy they are to make, you are going to want to make some for sure.
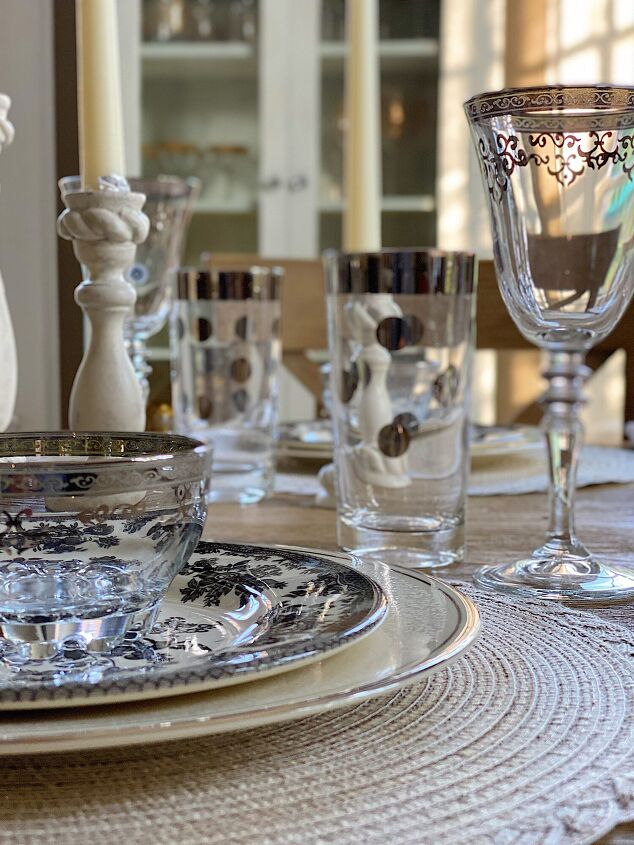
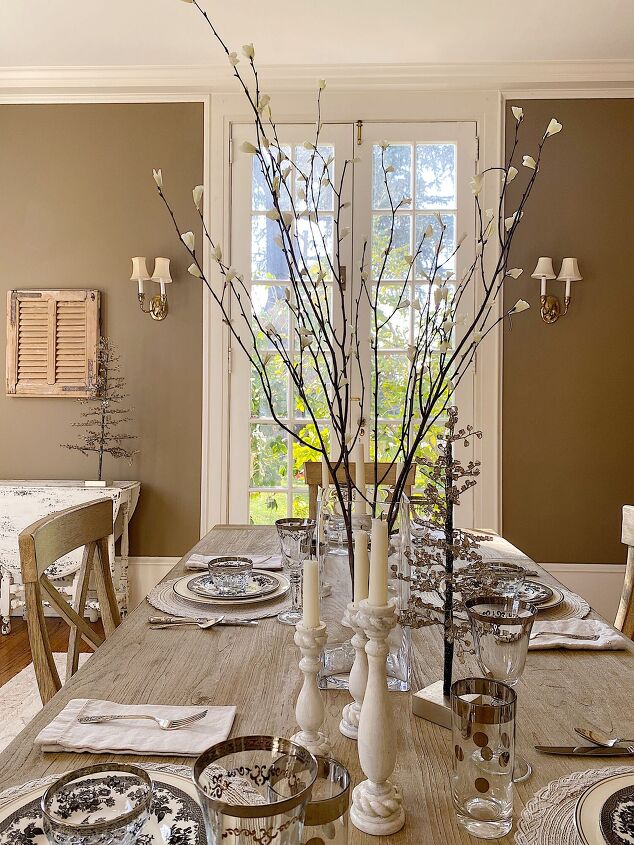
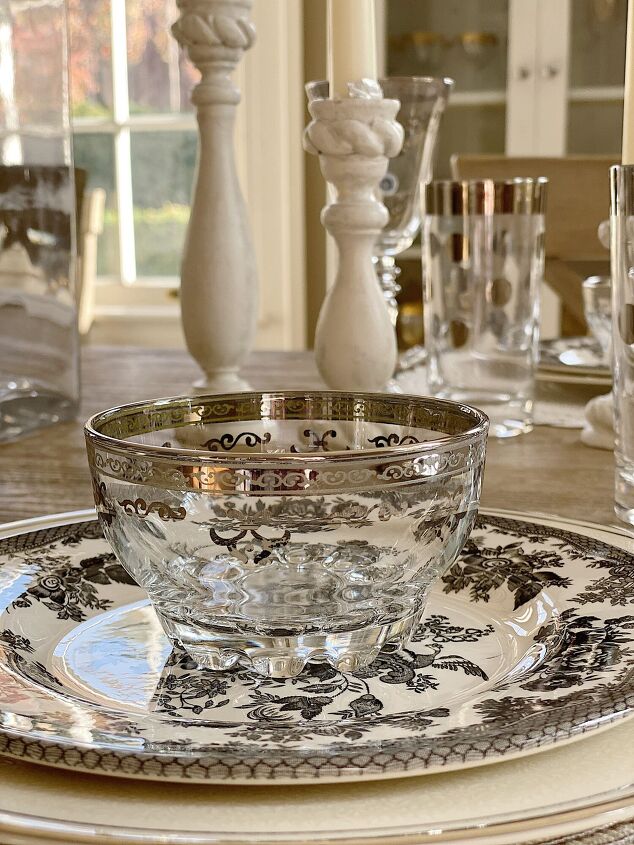
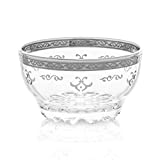
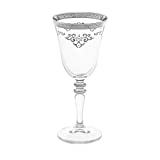
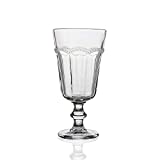
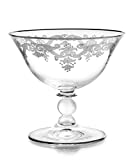
I had so much fun putting together this table ot go with my Cherry blossoms. I went with a silver theme because one of my most favorite Christmas gifts was these amazing silver rimmed wine glasses and bowls! They both have a silver rim and some beautiful silver detailing.
So what do you think?
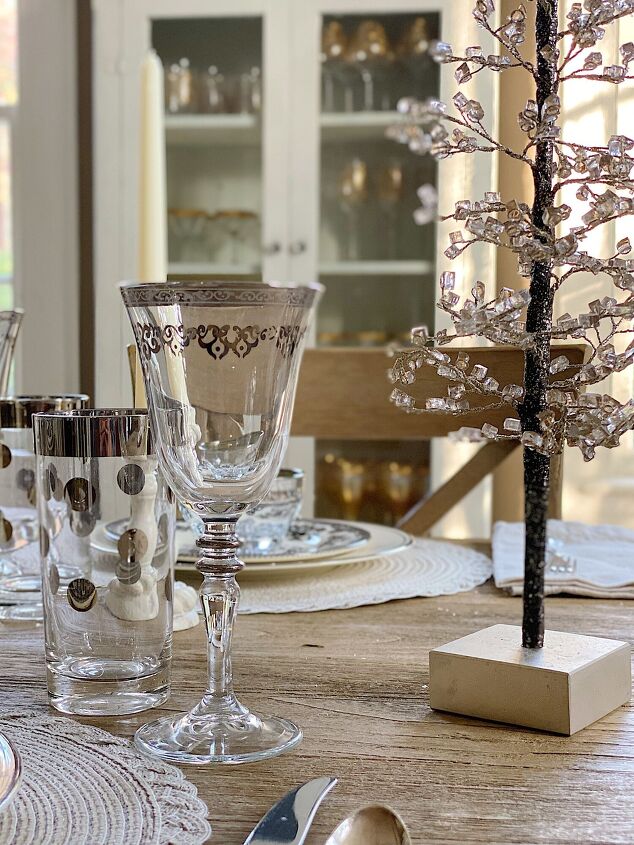
The silver polka dot glasses are vintage Dorothy Thorpe glasses. I bought them at the Rose Bowl Flea Market.
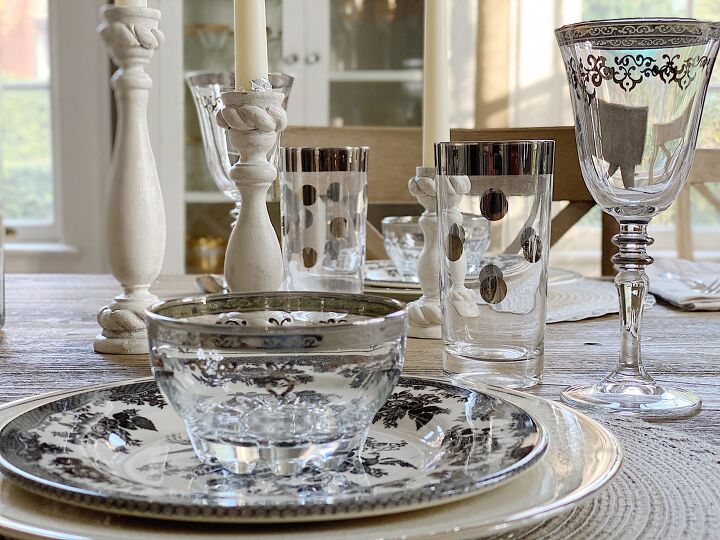
I am the lucky gift recipient of sixteen glasses and bowls. Now I want to have a dinner party so I can use my new silver glassware!
These bowls look great with my Black and White Asiatic Pheasant Dinnerware.
Branches (you can also find the branches from a tree)
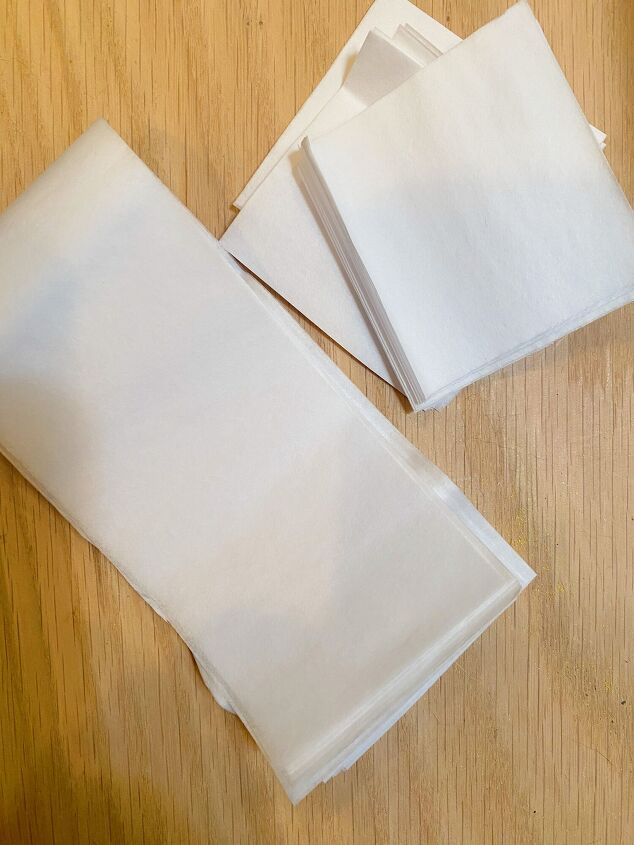
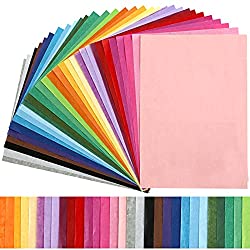
Ten sheets of Tissue Paper – I ordered this paper from Amazon. It comes in about 50 colors so you can choose your color.
Scissors
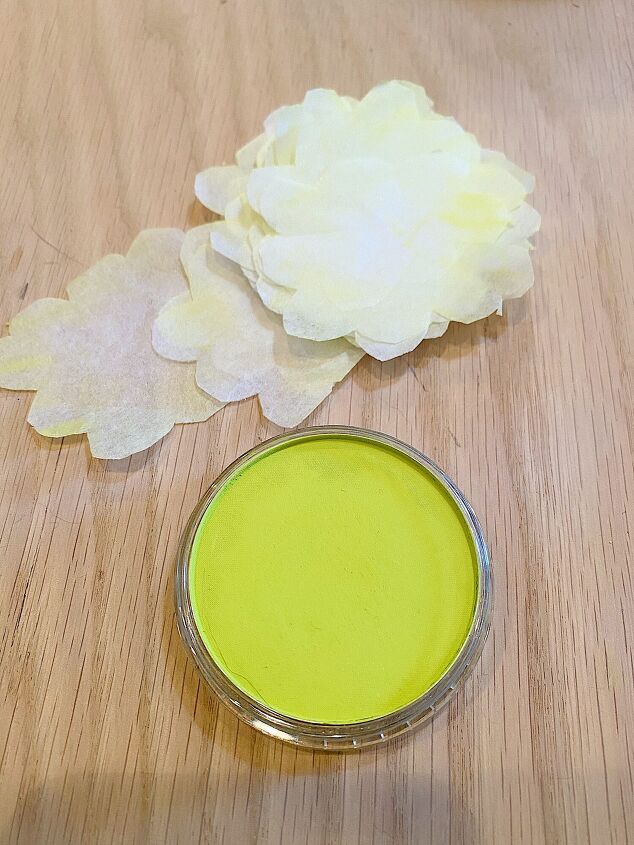
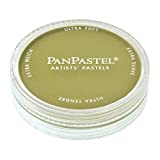
Pan Pastels (optional)
Glue gun and glue sticks
easiest DIY I will post this entire year. There is no pattern and all you need is tissue paper and branches. There are two steps to this DIY. Cut the blossoms out of tissue paper and glue them to the branches. That’s pretty much it.
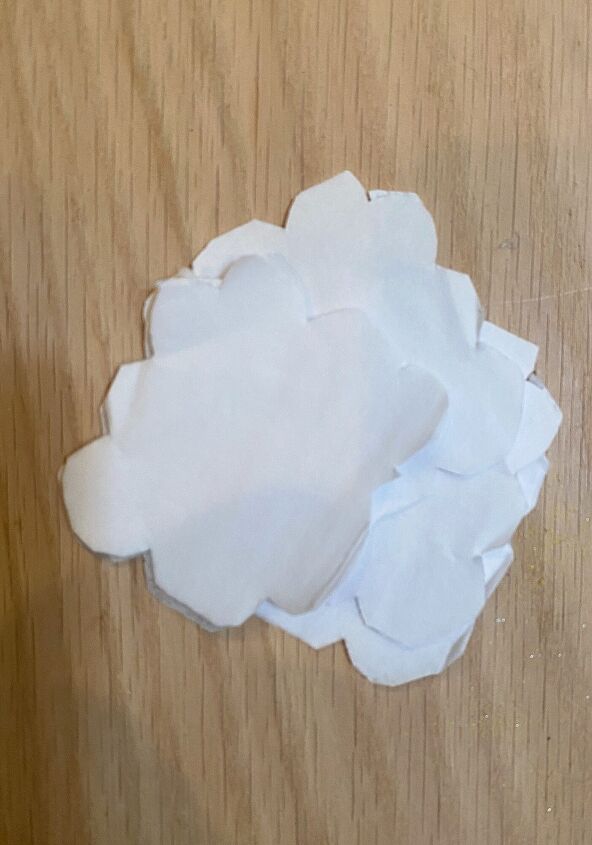
- Lay six sheets on top of one another and cut them into two-inch strips.
- Cut strips into roughly 2″ pieces. You do not have to be exact. The more random the better.
- Cut the tissue paper into “flowers” with five petals. These should not all match. Just cut them out very loosely.
- If you want to add some color to the petals, use Pan Pastels and wipe on the pastel coloring with a small pastel sponge.
- Fold the petal in half. Fold in half again. Then fold it in to thirds.
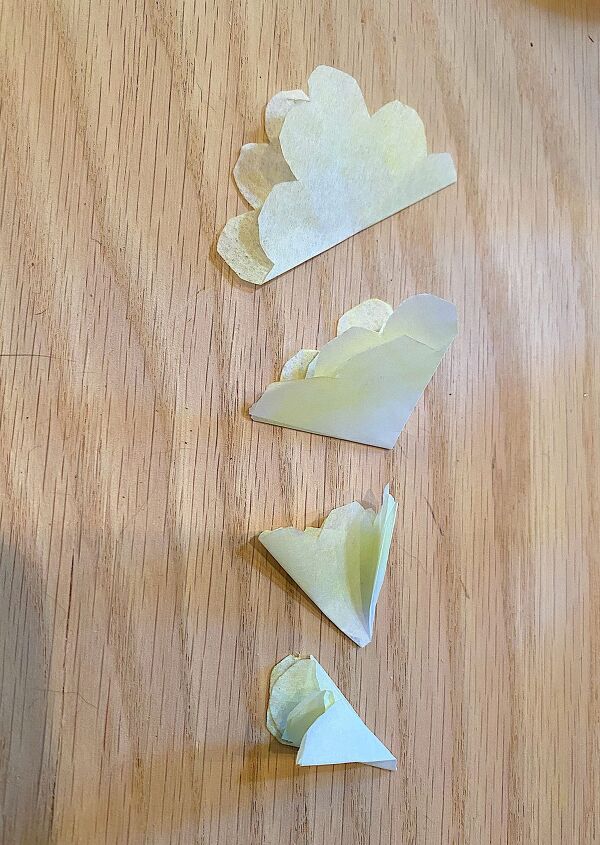
- Twist the folded corner on each piece (as seen in the photo below). Your flowers should not look the same so don’t worry if they don’t.
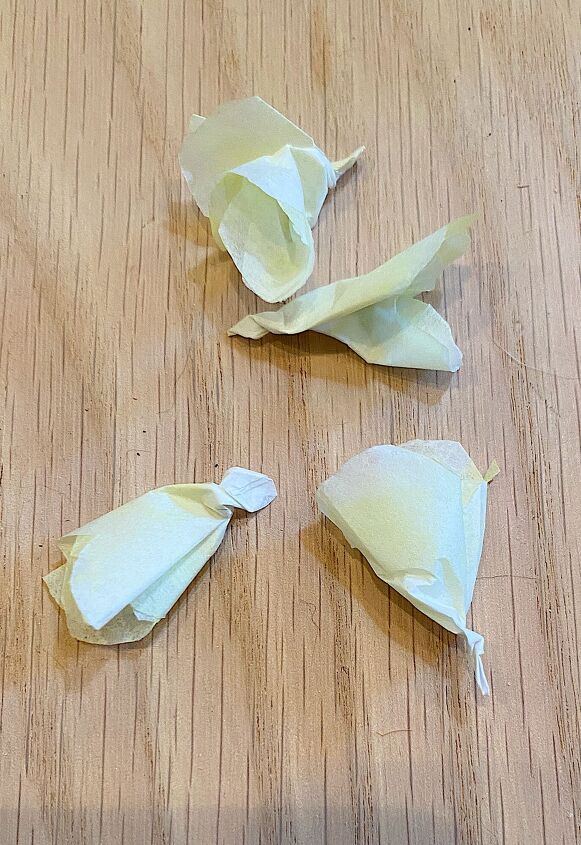
- With a hot glue gun, attach the bottom of each flower along the sides of the small buds.
If you are enjoying my blog, you can sign up to receive my blog updates here. .
I shared two Amazon Live broadcasts last week. They are Resetting For a Healthy New Year and Think You Hate Faux Flowers? I Can Change Your Mind! You don’t want to miss these.

Are you looking to get in shape for the New Year? Here are some great items to help you get started. Click here.
On this broadcast, I shared some of my favorite faux flowers and showed how to arrange them as well! Click here.


Pin the image below to your boards on Pinterest (just click the Pin button in the top left corner). You can also follow along with me on Pinterest!
For more real-time updates, follow me on Instagram @My100YearOldHome

ABOUT LESLIE
Welcome to My 100 Year Old Home. I started my blog so I could share my passion for entertaining, décor, cooking, and crafts. You will find all this and more right here. Read more…

Comments
Join the conversation
-
Aren't you the clever one. Such simplicity with beauty. Your home must be gorgeous. Thankyou for sharing.


Frequently asked questions
Have a question about this project?