


How to Make a DIY Wooden American Flag for Your Heroes

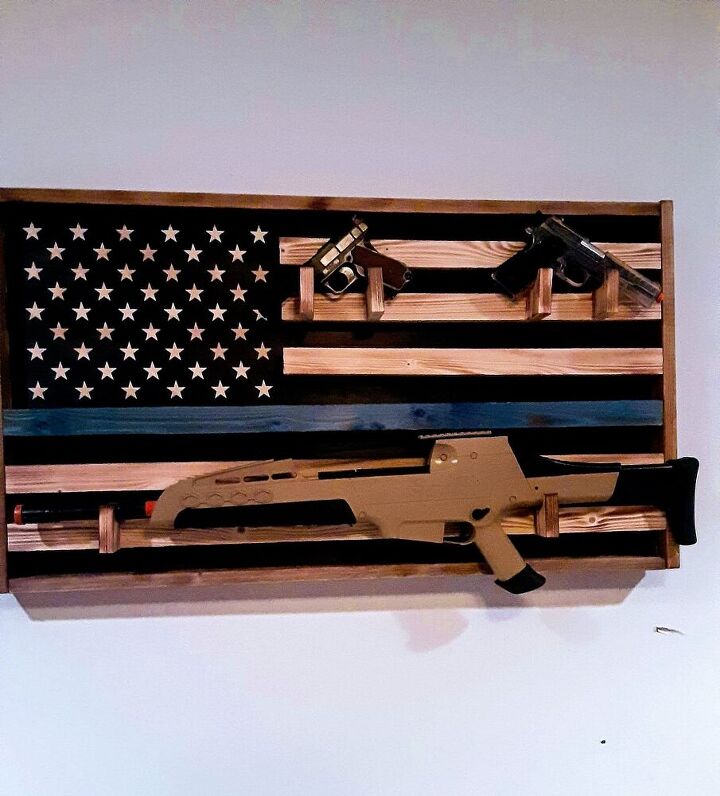
We have a teen in our neighborhood who wants to be a policeman when he's an adult. To encourage him to follow his dream and be the best person he can be, Tony made him a DIY wooden American flag for his wall.
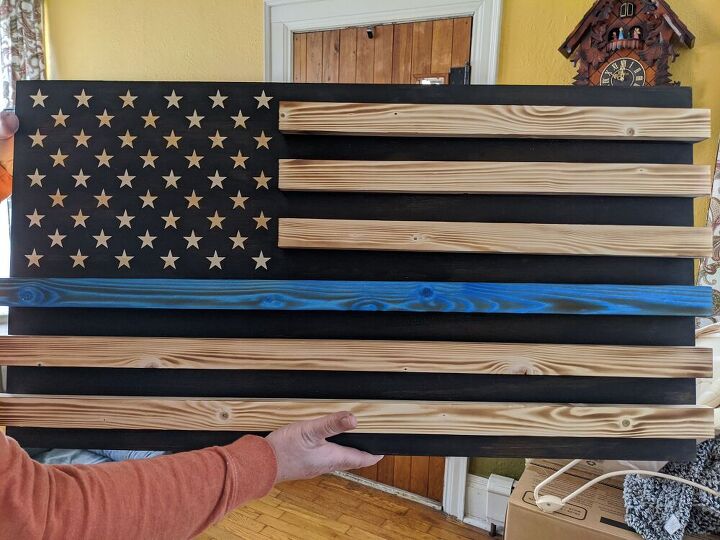
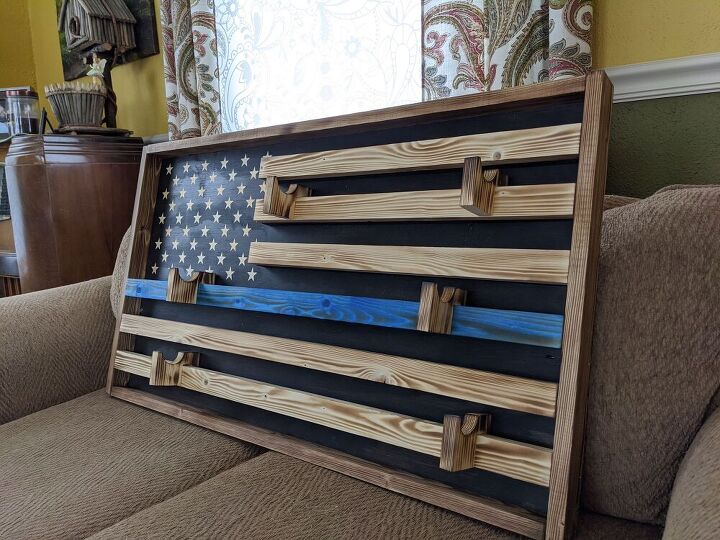
This one has the blue line and removable hangers to hang to his airsoft guns.
This could be made as a simple DIY wooden flag with or without a blue line (or whichever color line you want) to mount on the wall, or as we did with wood hangers to display something.
Wooden American flag dimensions
You can make your flag the size you want using this handy American flag size proportions calculator, which adjusts the proportions of your project.

1. Cut the wooden pieces
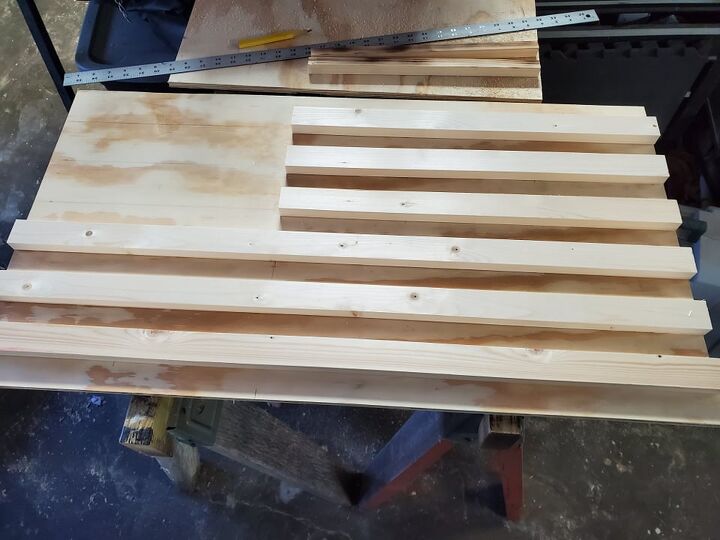
Cut 5 pieces of 1 X 2 to 36 inches. Rip 2 of these in half with a table saw into ¾ X ¾ pieces.
Cut 5 pieces of 1 X 2 to 21 9/16 inches. Rip 2 of these in half with a table saw into ¾ X ¾ pieces.
Full-size stripes and half-size stripes are arranged in an “L” shape.
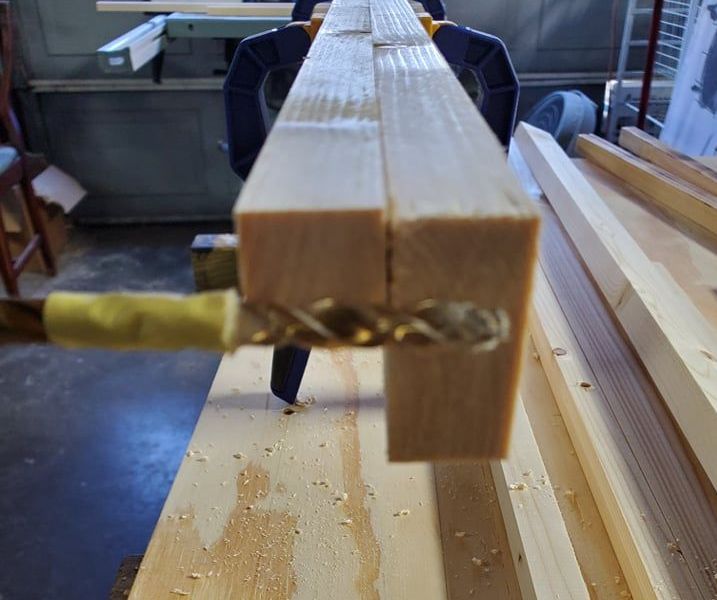
2. Clamp & drill
Clamp 1 X 2 stripes to the drilled standoffs using clamps. Drill a 3/8 hole in the stripe to the depth required for a ¼-20 threaded insert for your screws.
3. Attach the stripes
Layout stripes on your plywood base (shown further below) to drill mounting holes. I used 4 for long stripes and 2 for the short ones.
Set the inserts into the 5 stripes: 4 holes for the long and 2 holes for the short.
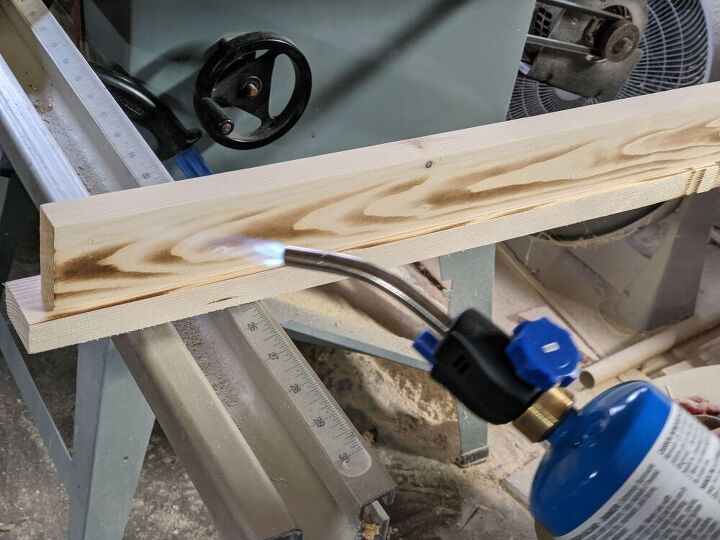
4. Burn the wood grain
Use a propane torch to burn the wood grain in the stripes. This technique is called Shou Sugi Ban. We love the look and it's rather fun to do!
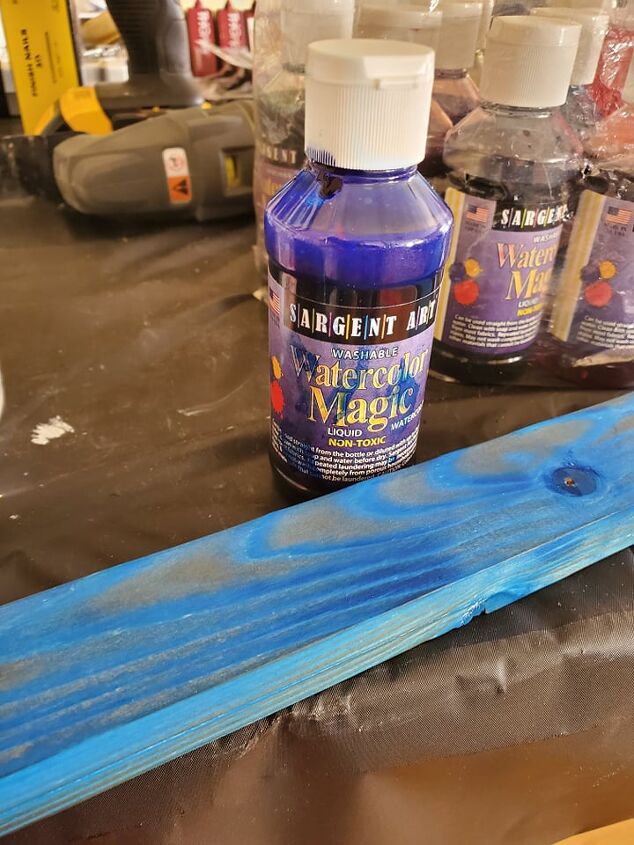
5. Dye the wood
On one stripe, after burning, I used liquid bluewater color dye diluted with water to create the “Police” blue stripe.
6. Make the flag base & stars
Our flag was to be a maximum of 3' wide. So, using the calculator linked earlier, we cut a 1/2" thick plywood that was 2' x4' in size down to 36" x 19-1/2" which made it proportionally correct.
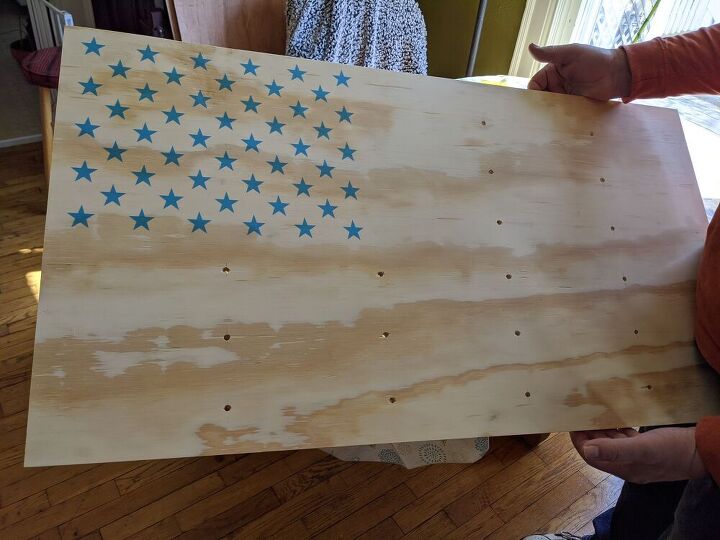
I have a Cricut machine and was able to make my American flag stars proportionally correct thanks to this free flag stars SVG stencil for personal use.
Holes were pre-drilled to hold the wood strips (the flag stripes) that will be attached through the back.
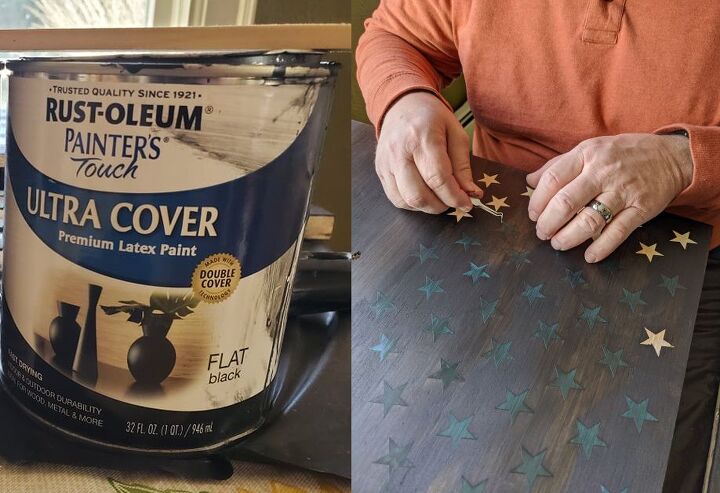
We thinned out some black paint we had on hand and used it like a stain and wiped it off leaving a nice wood grain look still. If you dab carefully around the sticky-backed vinyl stars, it won't bleed underneath.
Once it's dry you're ready to remove the vinyl stars to expose the light wood color. Tweezers work really well to remove the vinyl stars.
7. Assemble the stripes
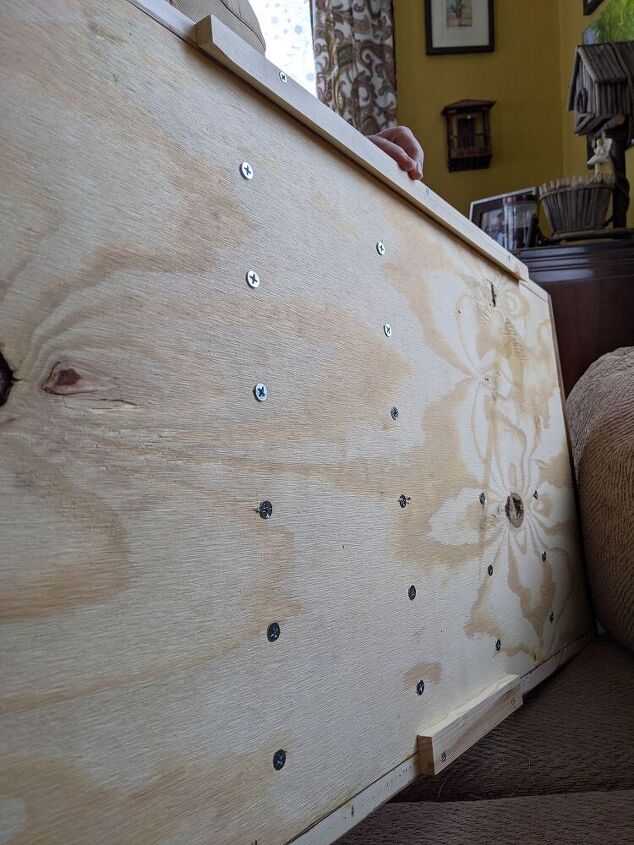
Assemble the stripes to the front of the flag base using 1¾ long ¼-20 flat head screws. Screw them in from the backside so the front looks good.
8. Make the wall mount
Knowing this was going to hold a lot of weight, we used what is called a French cleat system for the wall mount.
Here you see it's coming together but we're not done just yet! It needs a simple frame around it!
9. Make the frame
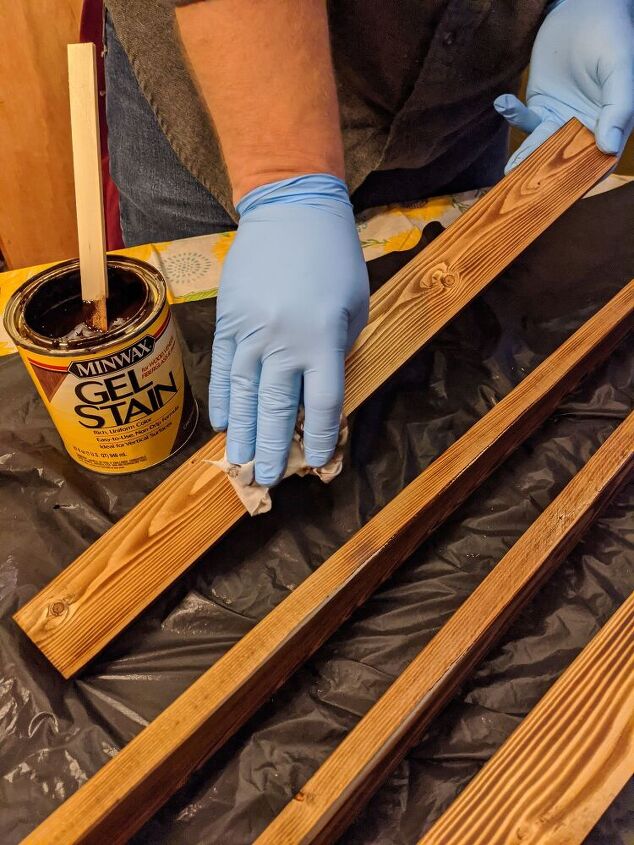
Burn the 1 X 3’s with the propane as before. Then stain them a darker color and attach them with brad nails as a simple frame around the flag. Frames are easy!
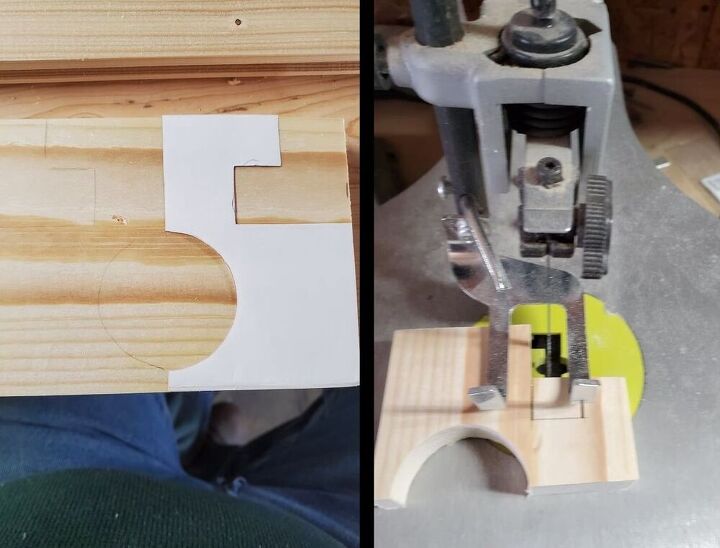
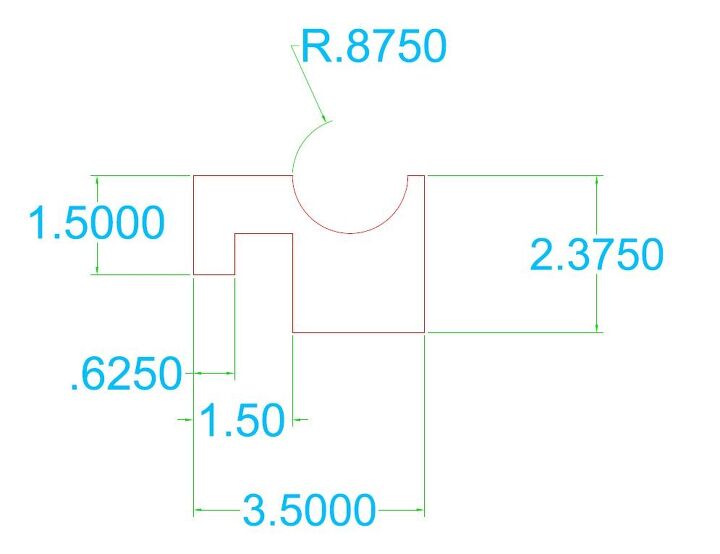
10. Make the hangers
Using the 1x4 cut the hangers using a scroll saw and the pattern supplied below.

Burn the wood to match the stripes and simply hang them on your stripes to hold what you wish to display.
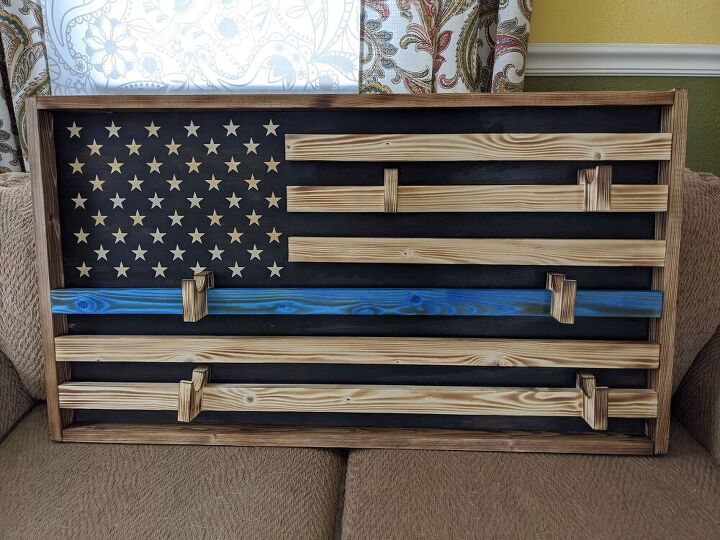
DIY wooden American flag
Here is the DIY wooden American flag ready to mount on the wall. We love the wood look that Shou Sugi Ban gives and it's really popular in all kinds of wood projects.
Let us know what you think of this DIY wooden flag project in the comments below.


Frequently asked questions
Have a question about this project?