


Patriotic Pin- Easy DIY Project
Love my craft box! There are many things that are patiently waiting for their turn to craft! Today is the day!!

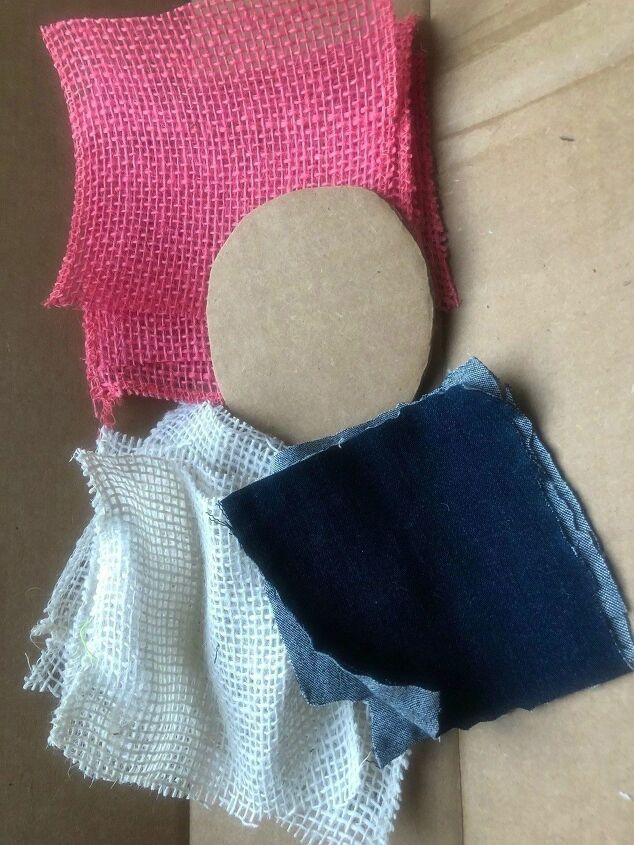
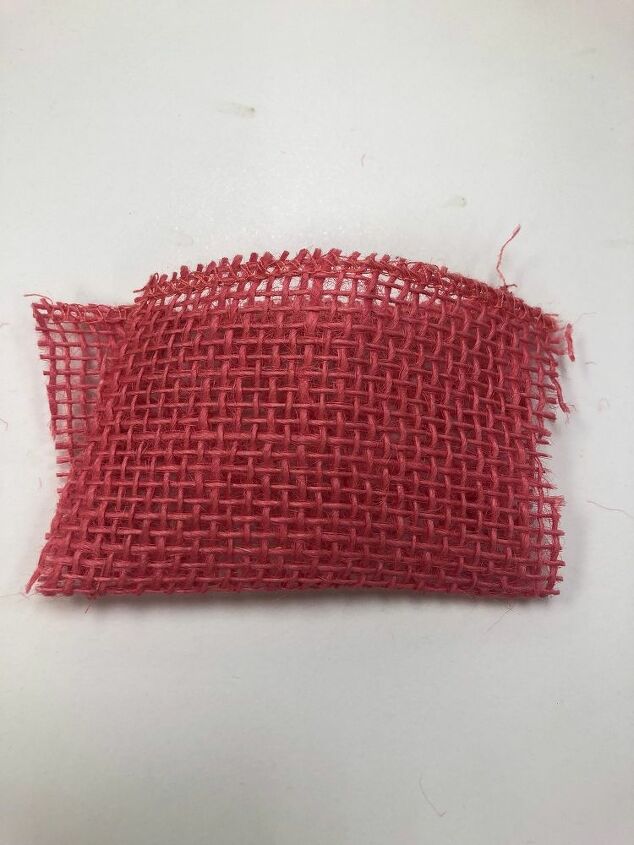
This burlap ribbon was purchased a loooong time ago and was waiting for me to be used today! (Wide ribbon would work too if that is what you have ) I was missing a blue so I thought I would spray paint my burlap BUT I went on the hunt and found my daughter jeans that were in a pile to give away… ha ha ha.
Let's begin!
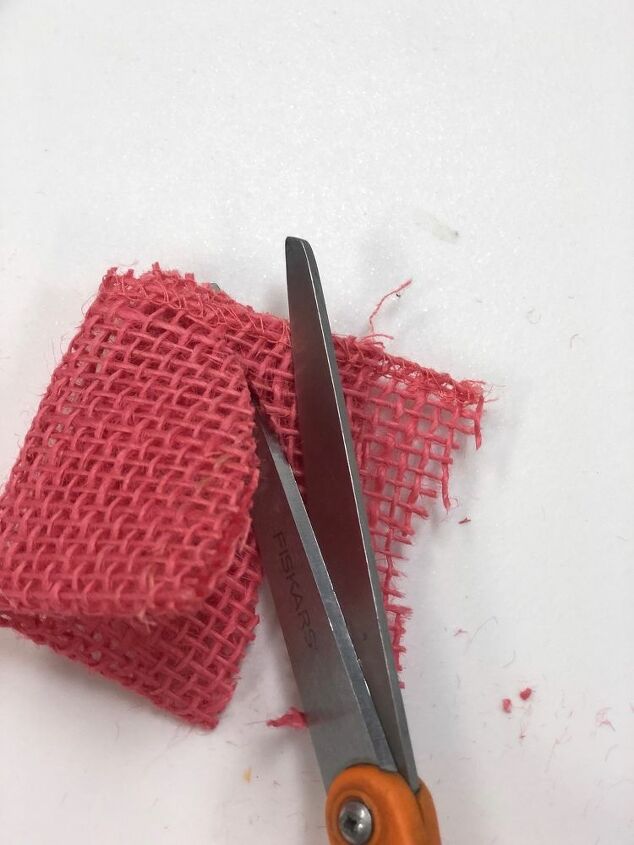
Cut 3 strips around 6 inches long from each roll and then cut them in half to create squares.
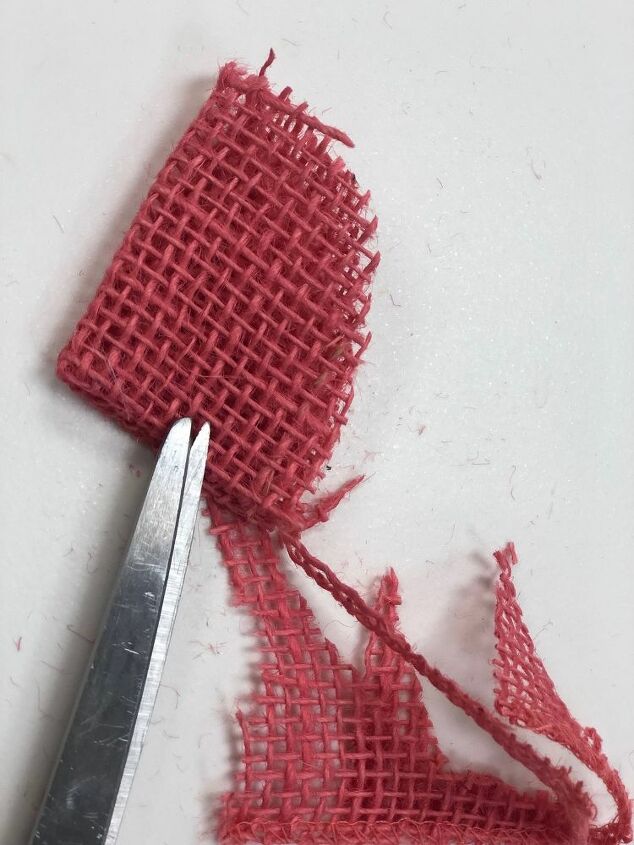
Fold again each square in half and round off the edges
Place a drop of HOT glue in the center of one of the circles of fabric. Fold the circle in half then place another drop of glue on the center edge of the half circle

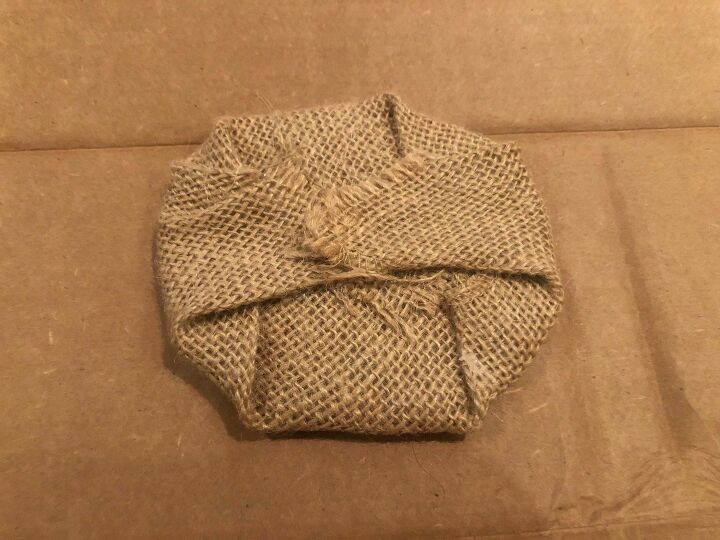
Let’s prepare a base for our pin now. I used a cardboard and covered it with burlap to make it more aesthetically pleasing.
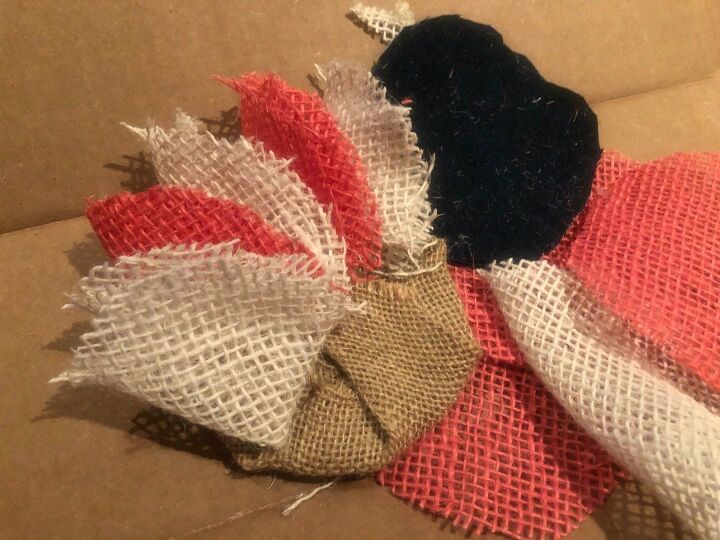
Finally we are ready to apply our colorful circles. We are going to glue them on the side . Start with the red and white pieces.... overlapping them slightly. Don’t forget about blue part of the flag as you having fun! I used 5 red squares/circles and 4 white ones but it is up to you how many repeats you like to see on your pin
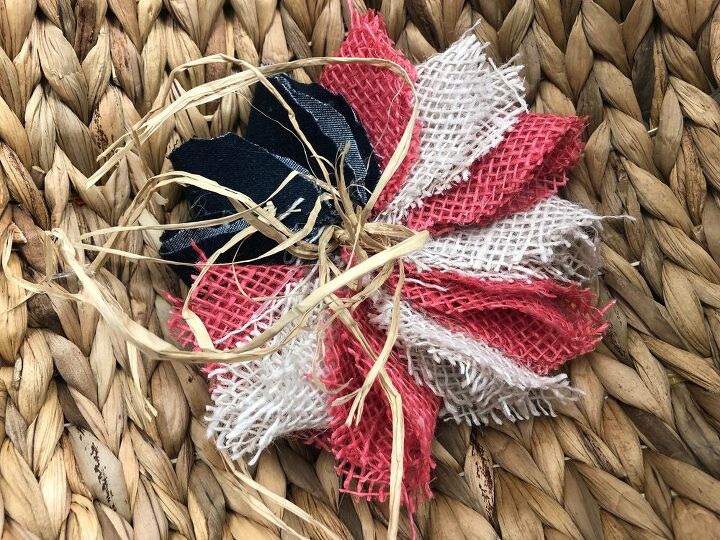
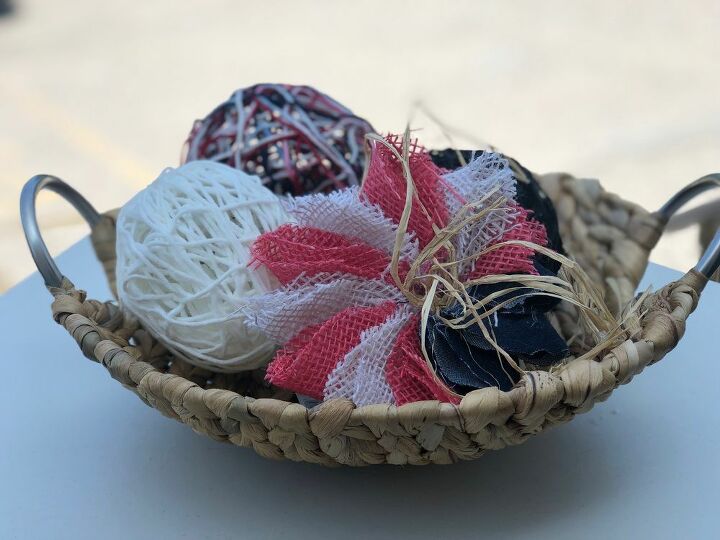
So what do you think ?? Easy right? I love it!! There are so many ways you can use that pin … you can apply a safety pin and use it as a brooch or dress up your bag or simply showcase it in the basket
Check our other affordable Patriotic projects and party ideas HERE


Frequently asked questions
Have a question about this project?