


Wooden Jack O Lantern DIY
I’ve been wanting to make a wooden Jack O Lantern for some time. This was a fun project and only requires a few tools. There are so many design possibilities. And it’s a wonderful scrap-wood project.
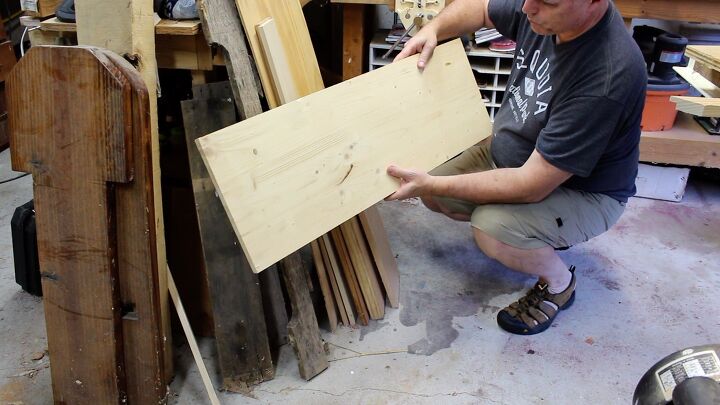
Obtain Scrap Boards
Just about any scrap boards will work for this project. I had some pine boards lying around and so I went with those.
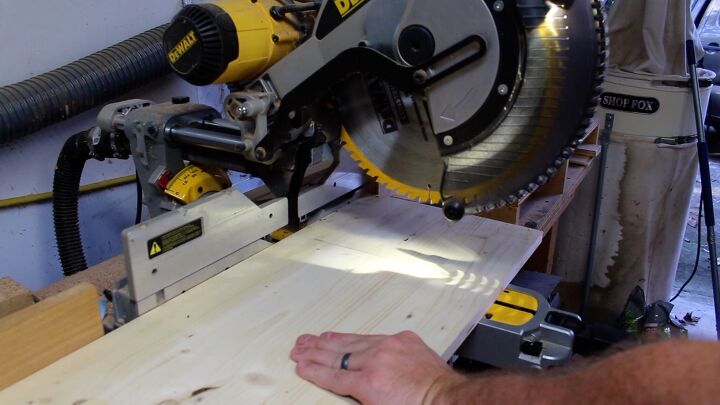
Cut Out Side Boards
Cut out the 4 sides. I used a stop block to get the boards cut to identical widths.
To get plans and the face template for the Jack O Lantern, please visit my blog post.
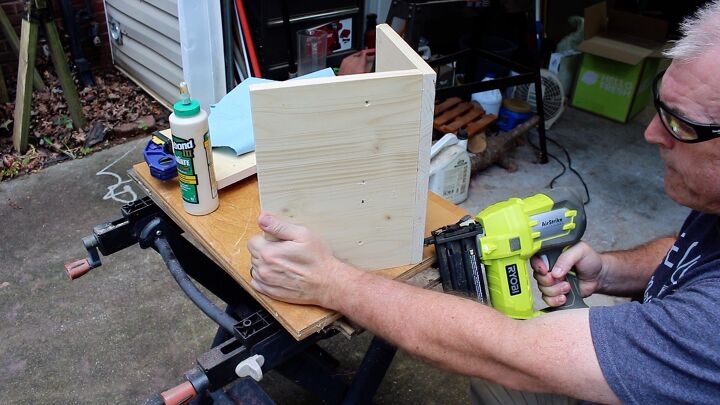
Starting Assembly

Beginning to assemble the wooden Jack O Lantern. Photos above show me assembling sides with glue and nail gun.
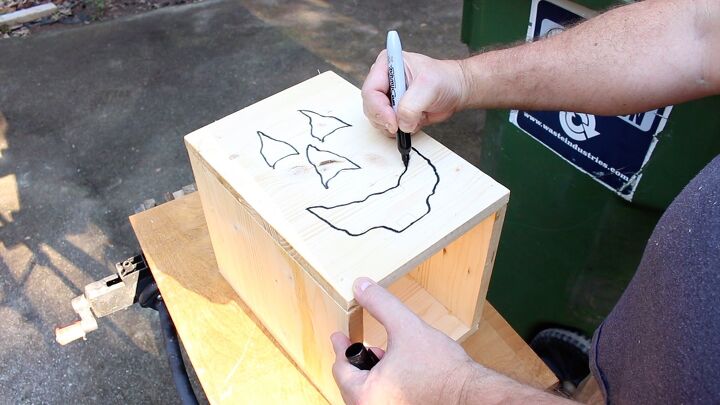
Draw On The Face
I used my imagination and freehanded the face on the Jack O Lantern. You can find plenty of ideas and templates on the internet. Feel free to use my design. You can get my Face template on my blog post.
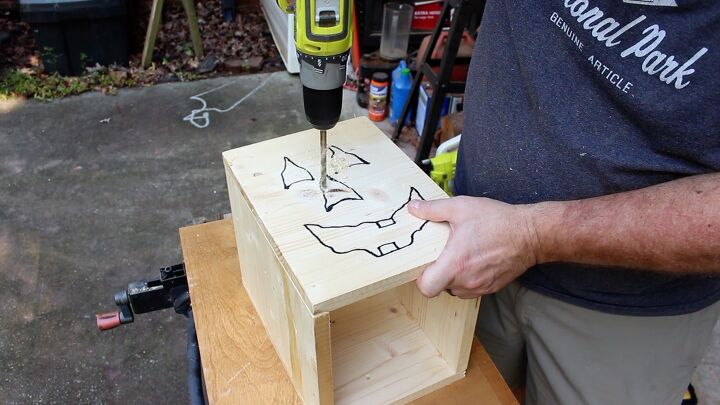
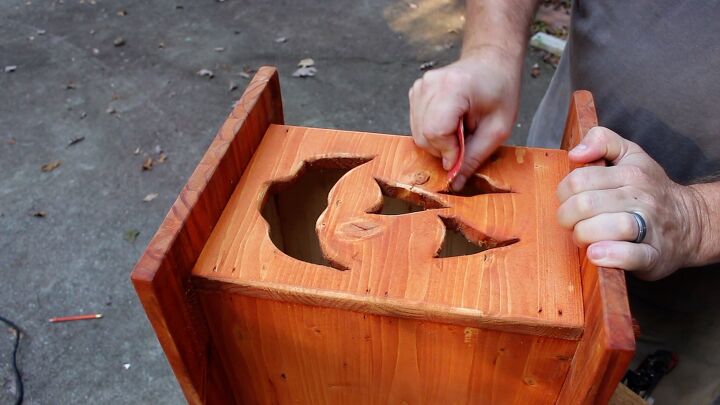
Cut Out the Face
Drilling some starter holes for the jigsaw. See next step.
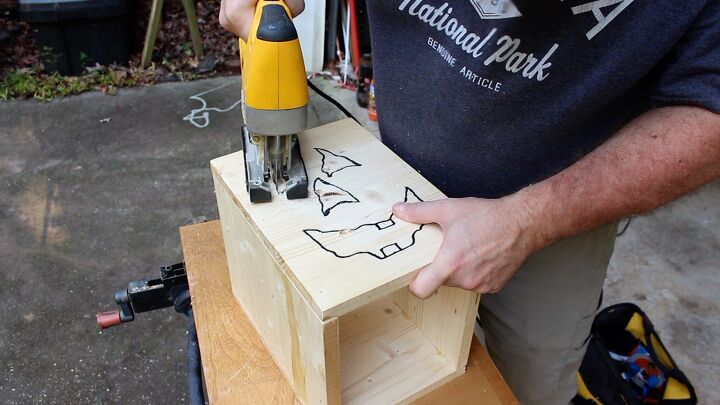
Next, I will cut out the face with the jigsaw. I used scroll-type blades for the jigsaw to help cutting curves.
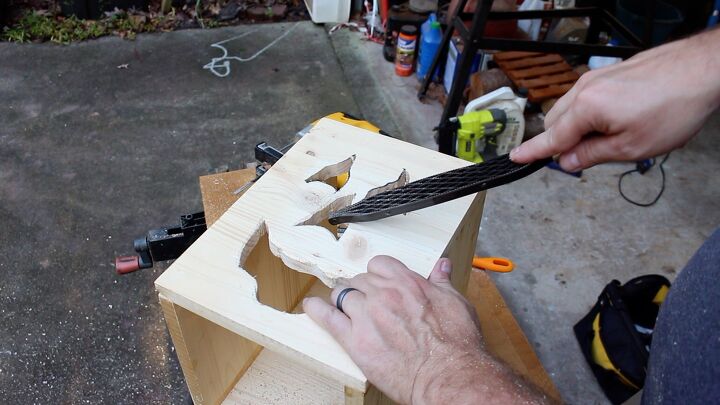
Shape and Sand the Face
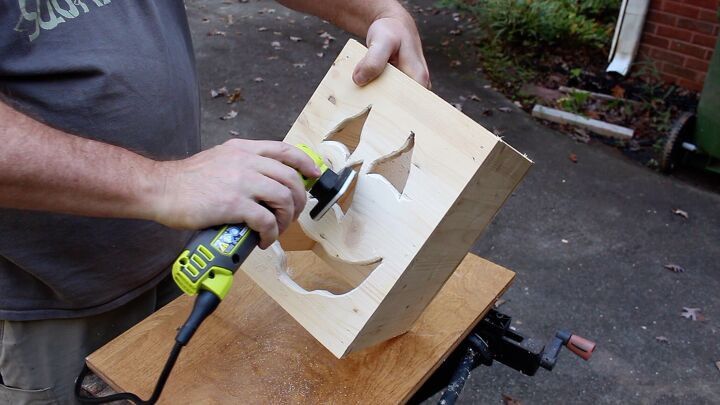
After cutting out the face, I used a rasp and detail sander to clean up the cut edges. I think it looks better if the edges are rounded over.
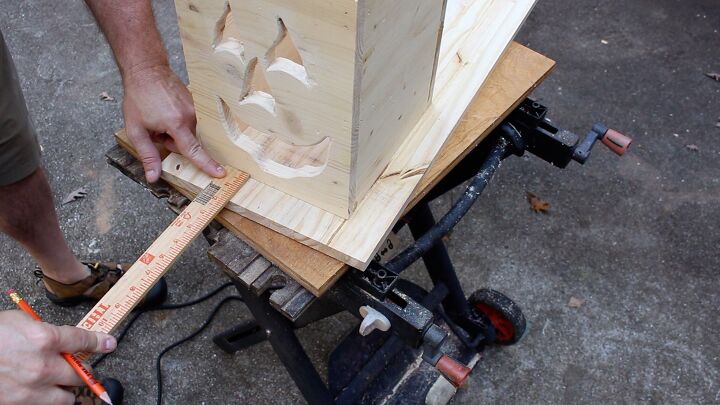
Sizing Top and Bottom Boards
Measuring and sizing the top and bottom pieces. See plans for dimensions.
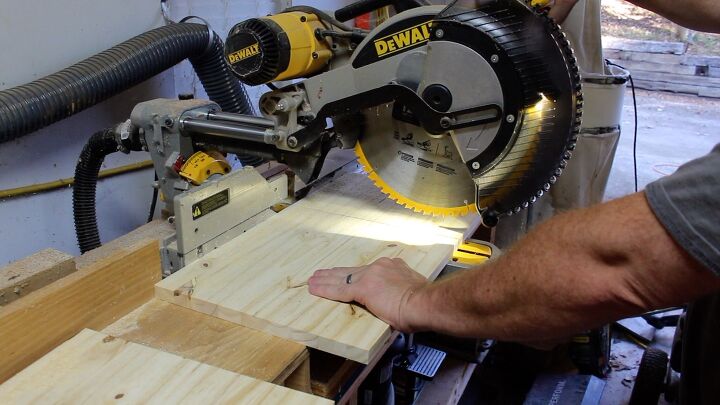
Using my miter saw to cut out the top and bottom of the Jack O Lantern.
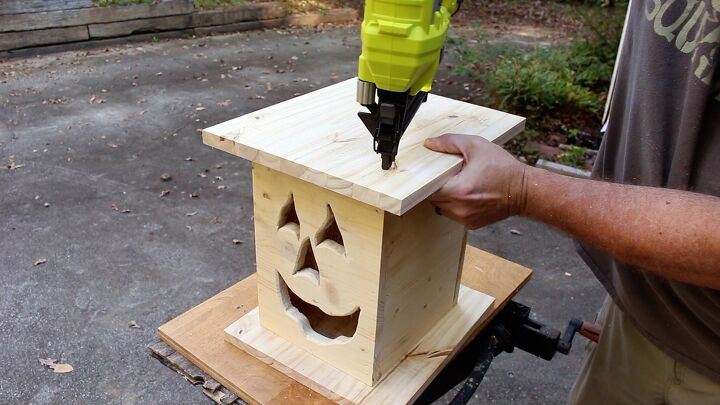
Attaching the top with electric nail gun and glue.
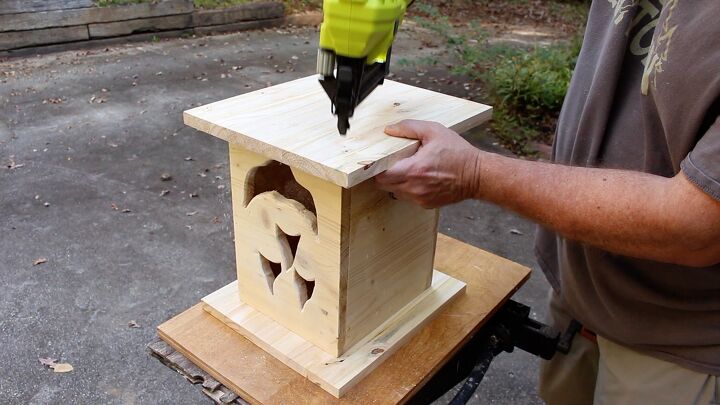
Attaching the bottom with electric nail gun and glue.
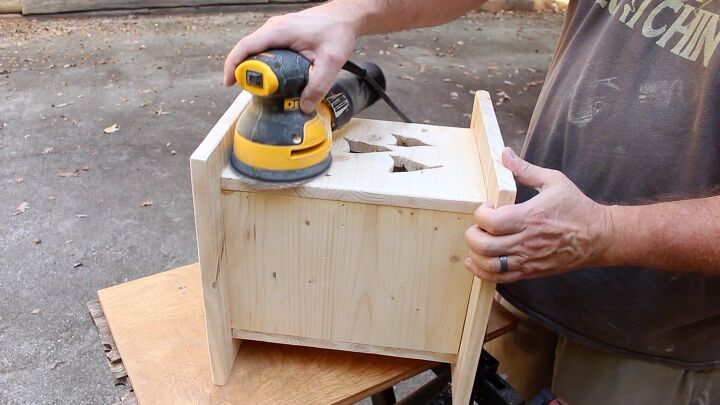
Finish Sanding
I used the orbital sander to go over the whole wooden Jack O Lantern. I used 120 grit sandpaper.
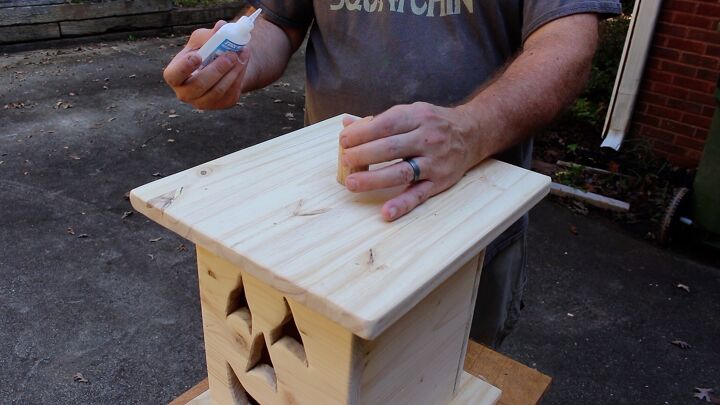
Attach Stem
Every Jack O Lantern needs some kind of stem. I simply cut off a piece of oak dowel and glued it to the top.
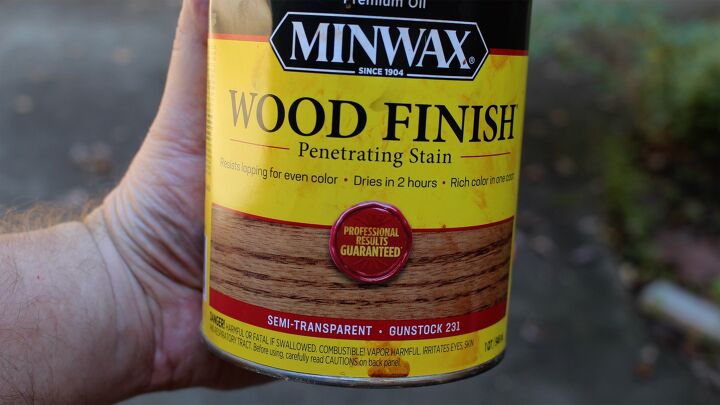
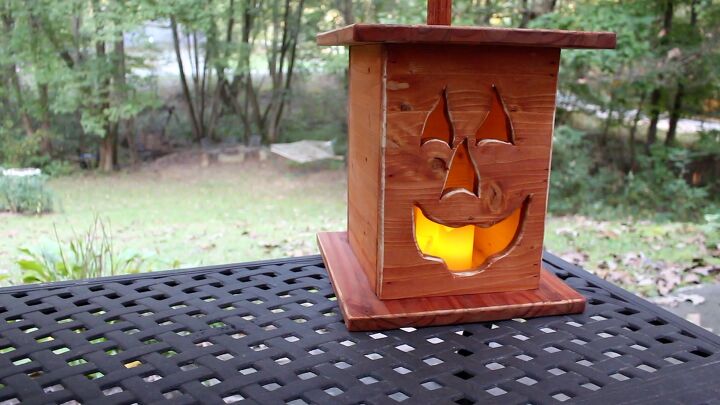
Apply a Stain Finish
The Minwax stain worked great. It’s called Gunstock and happens to have an orange tint.
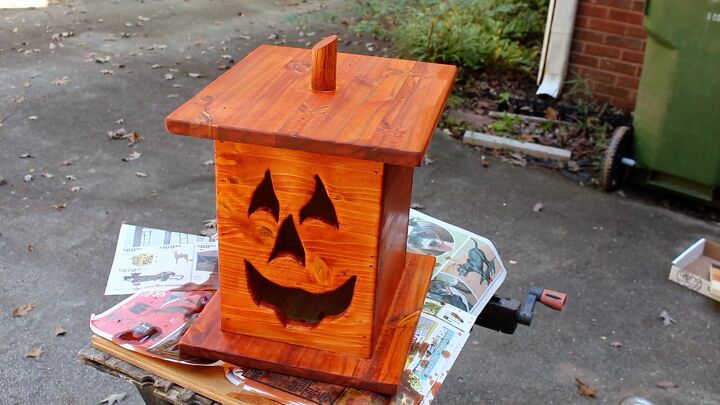
Antique the Jack O Lantern
After the stained dried, I took some sandpaper and sanded around the edges of the eyes, nose, and mouth. This gives the Jack O Lantern more of an antique look.

Apply Spar Urethane
Since the wooden Jack O Lantern will probably be spending a lot of time outdoors, I put 3 coats of spar urethane over the stain.
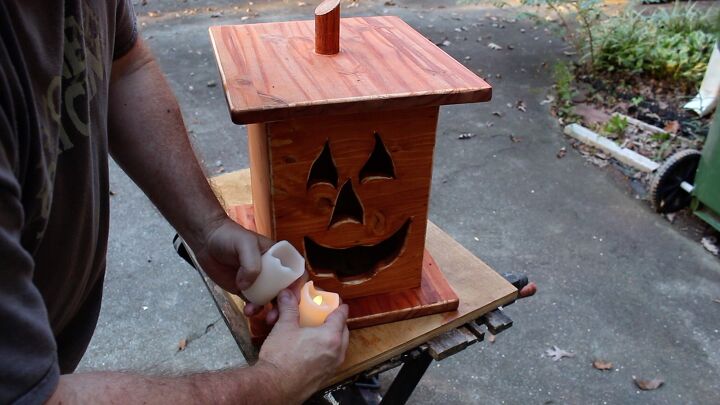
Add LED Candles
I got these LED candles from Hobby Lobby. Fortunately, I made the mouth wide enough to slip the battery-powered candles inside the Jack O Lantern.
I hope you enjoyed the tutorial. Feel free to reach out to me with questions or comments. If you like the content you see here, please consider subscribing to my blog through the sign up on the side bar. Also, check out my Four Oaks Crafts Youtube site.
For full plans on the Jack O Lantern and Face Template, check out my blog post.
If you like videos, check out my YouTube video.
Resources for this project:
See all materials


Comments
Join the conversation
-
First thought was another blockhead pumpkin. But you fooled me. I’m love the lantern idea but you made it over the top with your face. Thanks for sharing
-
Thanks!


Frequently asked questions
Have a question about this project?
Awesome! But, since it is completely nailed together, how do you get a candle in?
Wonderful!! Thank you for sharing your process. I have one question please. I researched Skroll Saw blades for a jigsaw but still not sure which to use. Could you please give me the product name and the ones you used and why did you use them instead of regular blades? Do the scroll saw blades cut smoother and better for this type of work when you don't have a scroll saw?? Thank you for taking the time to answer :)
Love your pumpkin.!
Was wondering if you could attach the top with hinges so you could put the candle in easily and perhaps clean out the leaves that are sure to blow in around here???